By Christine Hattingh
How to Draw an Apple
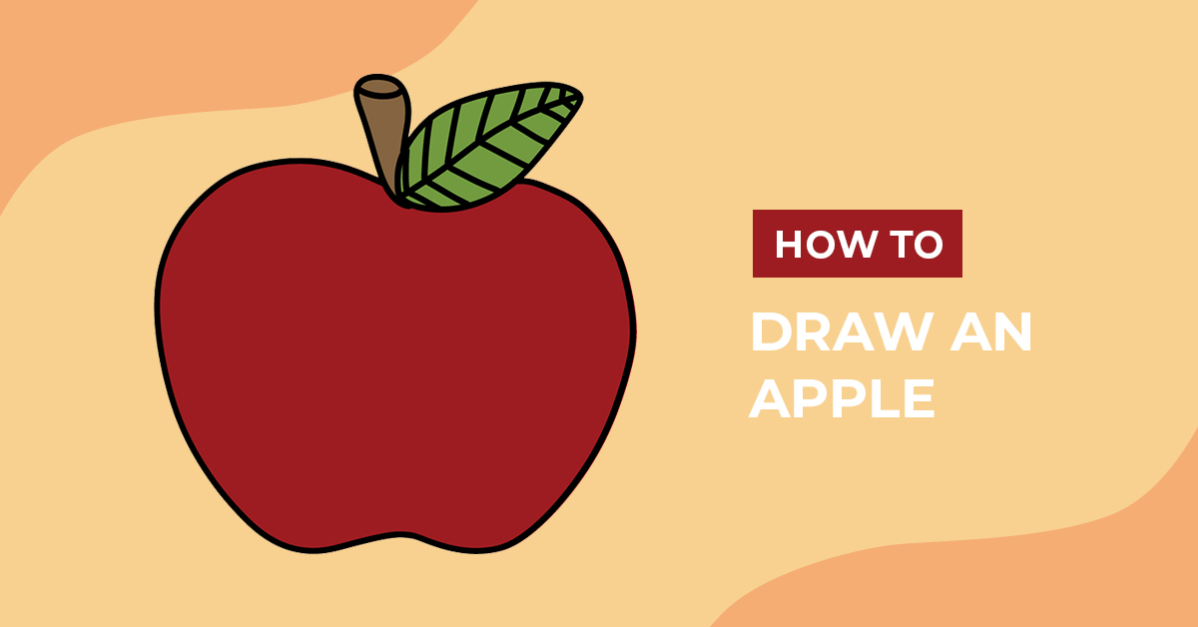
Today we bring you another fruit drawing lesson on how to draw an apple. We will guide you through sketching, lining, and adding color to your apple illustration in just three easy steps. Add your drawing to all kinds of kitchen decor and teacher sublimations, or save it to your food clipart collection.

For this drawing guide, you can make use of any art medium you have. Easily create watercolor art, pencil drawings, and digital illustrations with DesignScape.
DesignScape is a free online design program for our Gold Plus Membership. If you're not a Plus Member yet, sign up today and get a 30-day FREE Gold Membership trial!
Step 1 - Create an Apple Sketch
You will need a sketching medium to get started with your apple sketch. You can use a pencil or light shade of your chosen medium and cover it up when outlining or applying your color. We will create the base shape of our fruit and add a stem and leaf.
Draw the Shape
Start by drawing an oval for the apple's base shape. This will be the main shape of the apple. Your oval width will be the max width, so feel free to make it as big as you want.

Then, draw a curved line on the top with an indent in the center to form the top shape of your apple (shown in red). Draw another smaller curved line the same as above to shape the bottom.

Add the Stem and Leaf
Next, add elements to the apple, such as the stem and leaf. To make the stem, draw a rectangular shape in the center top that is narrower at the bottom.

Draw a leaf next to the stem and have them slightly overlap on the bottom. You can add more details like an apple core, veins on the leaf, or even add a worm coming out.

Step 2 - Outline your Apple Sketch
Once you are happy with the general shape of your apple, swap to a defined medium. It's time to make your apple outline with a pen, marker, or monoline brush to trace your rough sketches carefully. Pay close attention to overlapping sketch lines, as we want to define only some of them.

Start tracing around the leaf and stem of your apple. Then trace around the whole apple shape and line the extra details you added.

After tracing your outlines permanently, remove any remaining sketches that you no longer need.
Step 3 - Add Color and Shading
Get your color and shading tools ready for our third and final step. You can use any mixture of mediums and color palettes to decorate your apple clipart. We have a great selection of ready-made Procreate color palettes for your drawing.

Add highlights and shadows to your fruit clipart by layering, or use these 4 blending methods in Procreate to create a gradient effect between the colors.

Your fruity drawing looks fantastic! Easily add it to your next project or craft, making delicious-looking stickers, digital paper, and witty t-shirt designs. You could even combine your apple with other food clipart or check out our free drawing tutorials to create a unique collection for your digital library.