

By Christine Hattingh
How to Draw a Teddy Bear
Want to create a cute teddy bear craft for someone you know? Then today’s free drawing guide is just for you, as we take you through the steps of how to draw a teddy bear. Use your bear illustration for all kinds of crafts and projects. Just think how cute your teddy bear drawing will look as wall art, on a get-well-soon card, or add to your animal clipart collection.

You can be sure that your teddy bear illustration will look fantastic no matter what you use it for. Create even more animal drawings with our drawing tutorials, like learning how to draw an owl or draw a red panda.
Before you move on to the guide, get your drawing supplies ready. Our drawing tutorials cater to everyone, so whether you have paint or your tablet on hand you can join in on the drawing fun.
Step 1 - Create the Shape of your Teddy Bear
Using a pencil or color medium that is light in color, create the shape of your teddy bear. We will begin our drawing with a rough sketch of the head in the shape of a circle.

On either side of the head, draw half circles for the ears. Our bear's ears are about one-fourth the size of its head.

Below the head, draw an oval shape that gets narrower toward the head, and rounded at the bottom.

Lastly, on the top sides of the body, draw small curved shapes for the arms (shown in green below). Then, leaving a gap at the bottom of the body, draw an oval on each side for the ends of the teddy bear's feet (in red).
Simply connect the teddy bear's feet to the body by drawing a curved line from the top and bottom. See our example sketch below.

Step 2 - Add Teddy Bear Face Details
Continuing with your sketching medium, let’s add our final details to our teddy bear's face and ears. First, sketch a small circle on the lower half of the bear’s head and add a smaller set of half circles inside the ears (shown in blue).

With a slight gap on both sides of the small circle, draw the eyes as circles and add details such as lashes or eyebrows. Then, inside the small circle, sketch the bear's nose and mouth as we did in our example sketch.

Step 3 - Outline your Teddy Bear Sketch
For this step, replace your sketching medium with a permanent one. This can be a marker, black of your chosen medium, or an inking brush. Carefully trace along your rough sketches and outline your teddy bear sketch.
For our teddy bear outline, we made the eyes and nose a solid color. When you are done tracing your sketch lines, if you have any sketches visible, remove them.

Step 4 - Add Color to your Teddy Bear
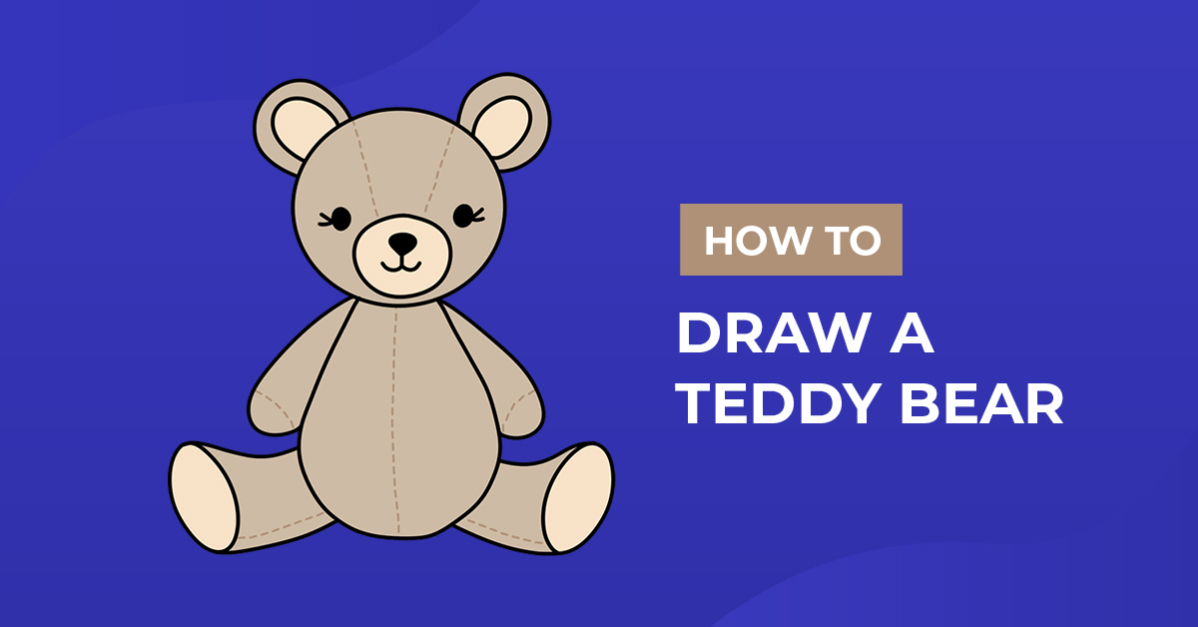
With your sketches and outlines complete, swap to your color medium. Add color to your teddy bear clipart in any shade or combination you have on hand. We kept our illustration minimal by applying two shades of brown to our bear.

We then added a subtle stitch line to make a stitched teddy bear drawing using these Procreate stitch brushes. Feel free to add any extra details to your teddy bear to finish your drawing.

Thank you for following along with our drawing exercise! We hope we have inspired you to create all kinds of projects like Valentines clipart, or baby illustrations using your teddy bear drawing.
We can’t wait for you to join us in our next drawing lesson. So be sure to check out our free drawing tutorials and learn to draw animals, food, and plants.



