By Christine Hattingh
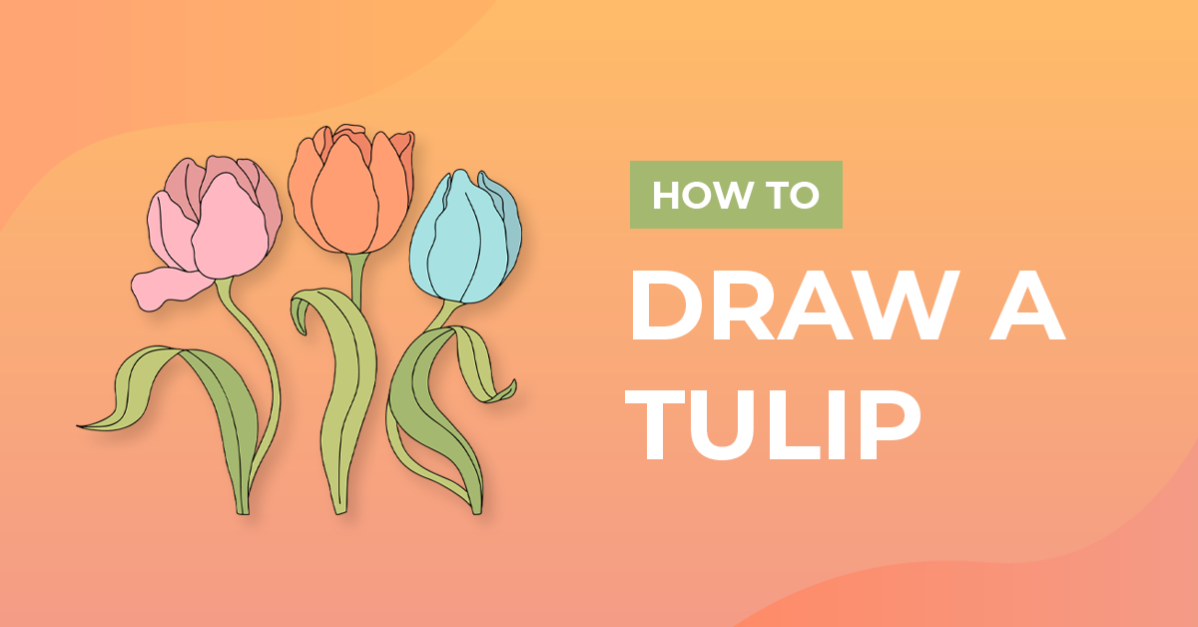
How to Draw a Tulip
Fields of rainbow colors and the Netherlands' most famous attraction, today we are going to learn how to draw a tulip. Known for their almost perfect symmetry, tulips only bloom for three to seven days during spring and are part of the lily family.
In this tutorial, we take you step-by-step on how to draw a tulip from a single base shape all the way to adding color to your drawing.

Before starting this tutorial, get all of your supplies together. You can use any medium you have on hand like pencils, watercolor paint, or a digital medium like Procreate.
We are going to use Procreate with traditional brushes for sketching and adding color to our tulip. If you are using Procreate like we are, we have a great selection of Procreate texture brushes for you to choose from.
Step 1 - Sketch the Bud of the Tulip
For the first step in how to draw a tulip, we need to sketch a base shape that will guide you when adding petals. We recommend using a medium that is easy to remove, like a pencil or these realistic sketch brushes for Procreate.
Sketch a tall bowl shape for your tulip base guide. This base shape will guide the overall shape of your tulip bud.

Sketch the Front Center Petal
With your base shape sketched, it’s time to start adding petals to form your tulip bud. We will start with the center front petal that is rounded at the bottom and tapers a bit towards the top. This first petal touches the bottom of the base shape but doesn’t fill the entire space. See our example below.

Sketch the Back Two Petals
Next, sketch the two petals at the back of the center petal. Looking at our example below, the back petals connect in the center of the base shape at the top of the front center petal. They curve up and outwards and then down towards the bottom of the front center petal.
You can add more depth by having one or both back petals show on the sides. Keep space on the sides for your last set of petals to fit inside the base shape.

Sketch the Wrapped Side Petals
The last petals we are going to sketch for our tulip are the side petals that wrap around the first three petals we sketched. Starting at the bottom of the base shape at the previous petals, sketch a line going up with the curve of the base shape.
Curve the corner slightly outside the base shape and go in lower towards the middle petals. (See our example below.)
To add a wrapped effect to your petals, sketch in a crease line that starts at the bottom going over the front center and/or back petals. We will not connect the crease line to a petal line, and it will end close to the edge of the side petal.

Step 2 - Outline the Tulip Bud and Stem
In this step, we switch to a more defined medium to outline the sketch of the tulip bud and draw in the stem. We used these Procreate watercolor brushes to outline our sketch of the tulip.
When outlining, keep in mind where your petal sketches and the base shape sketch is. You don’t want to outline the base shape, and you don't want to outline some areas where your petal sketch lines overlap. Once you are done outlining your tulip bud, go ahead and remove the rough sketches.

Next, draw in a stem. It is important to keep in mind that the stem and leaves of a tulip are long and grow vertically. As inspiration, see our example below for the tulip’s leaf shape. If you want to keep your tulip drawing minimal, feel free to skip drawing leaves on the stem.

Step 3 - Add Color to the Tulip
For the final step in how to draw a tulip, we will add some color to our drawing. We decided to do a fun experiment and make two tulip drawings and add color using two different types of Procreate brushes.
For our red tulip, we used watercolor Procreate brushes to get a traditional texture, as if we used real watercolor on paper. For the pink tulip, we used Procreate chalk brushes to add texture and layered shades of color to create more depth.

Now you know how to draw a tulip. See how you can use your beautiful tulip drawing in DesignScape to make sublimation designs for custom gifts. Looking for more drawing tutorials? Have a look at how to draw a dog or how to draw a Christmas tree.