By Design Bundles
How to draw your first line with the foil quill in silhouette studio
Today you will learn how to use your foil quill with your Silhouette Cameo 3 settings. The foil quill is a craft product that uses heat to transfer foil to a medium. You can create some really beautiful designs on cardstock. Let us quickly guide you through the setup so you can start foiling.
We will be using some basic shapes for this tutorial but do check out the Foil Quill designs we have. These designs are specifically made for use with the foil quill.
Step 1 - Draw your Shapes in Silhouette Studio
Go ahead and open Silhouette Studio.
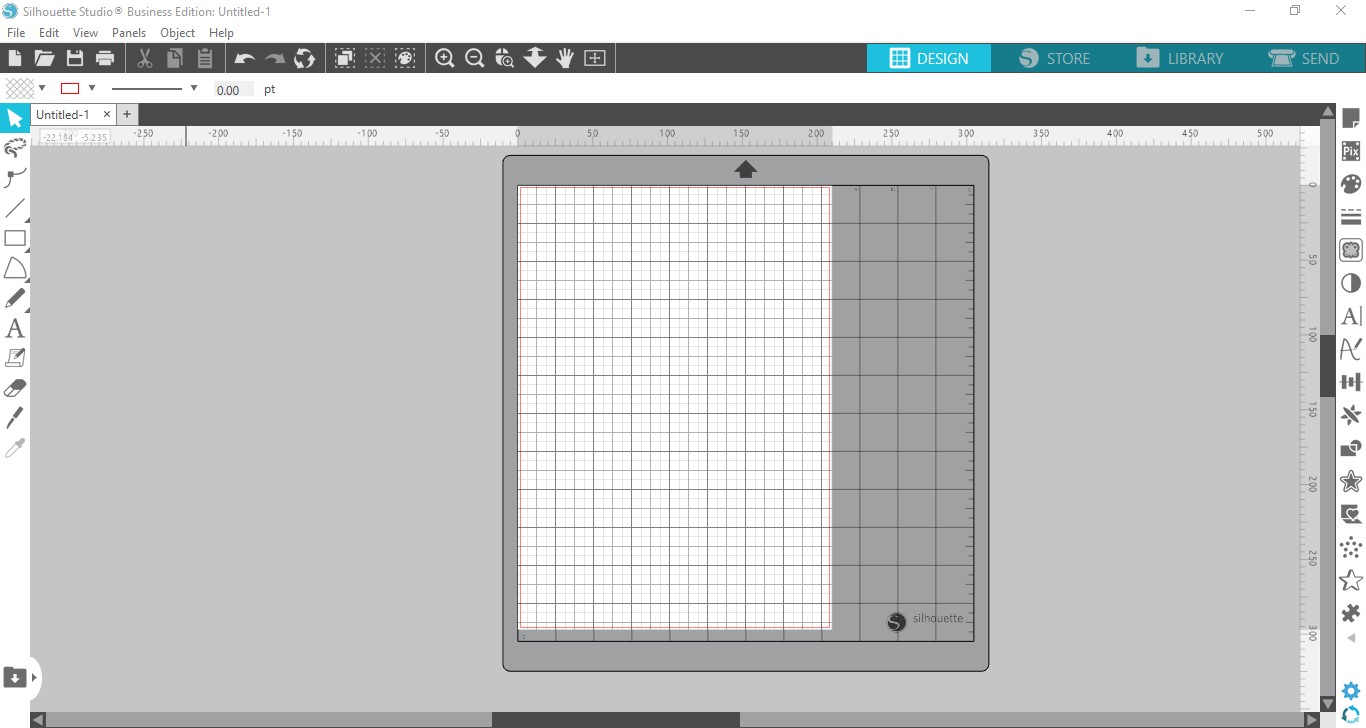
On the left side panel, click on the Drawing Tools menu. Now select the icon Draw a Rectangle. To draw out a square, hold Shift then click + drag.
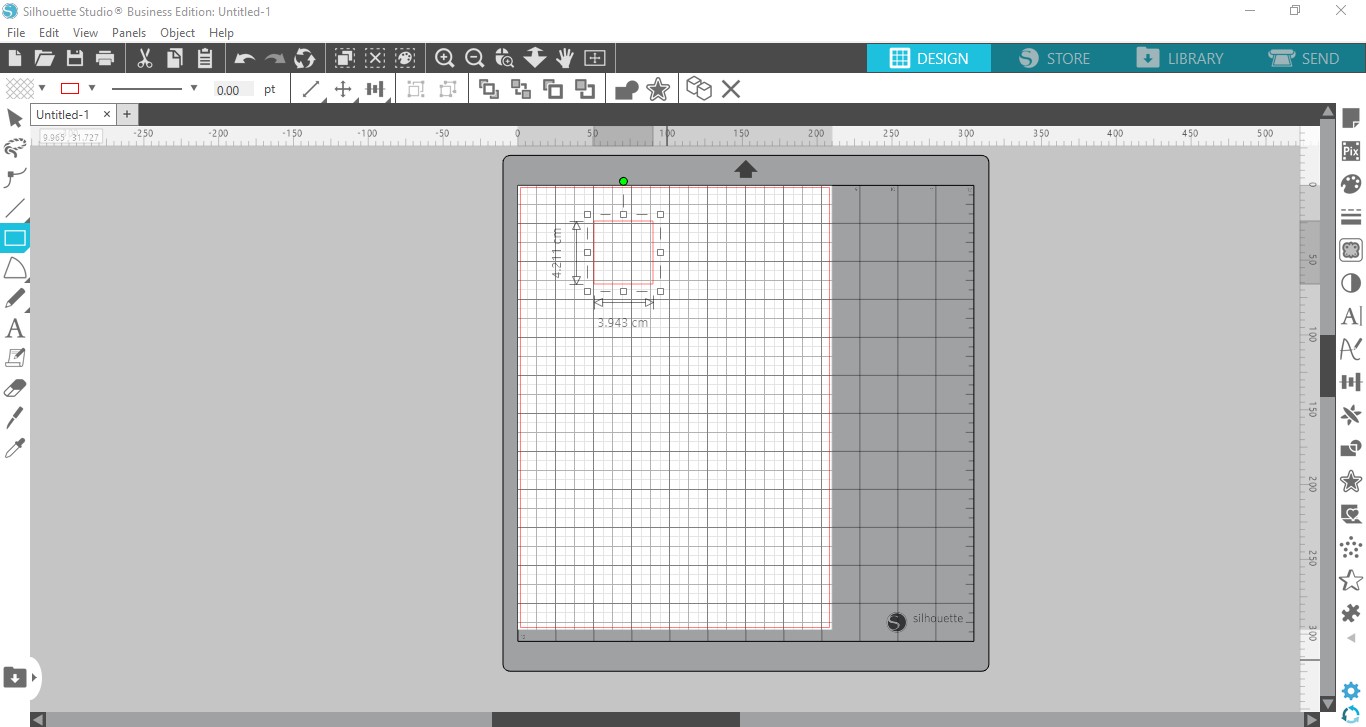
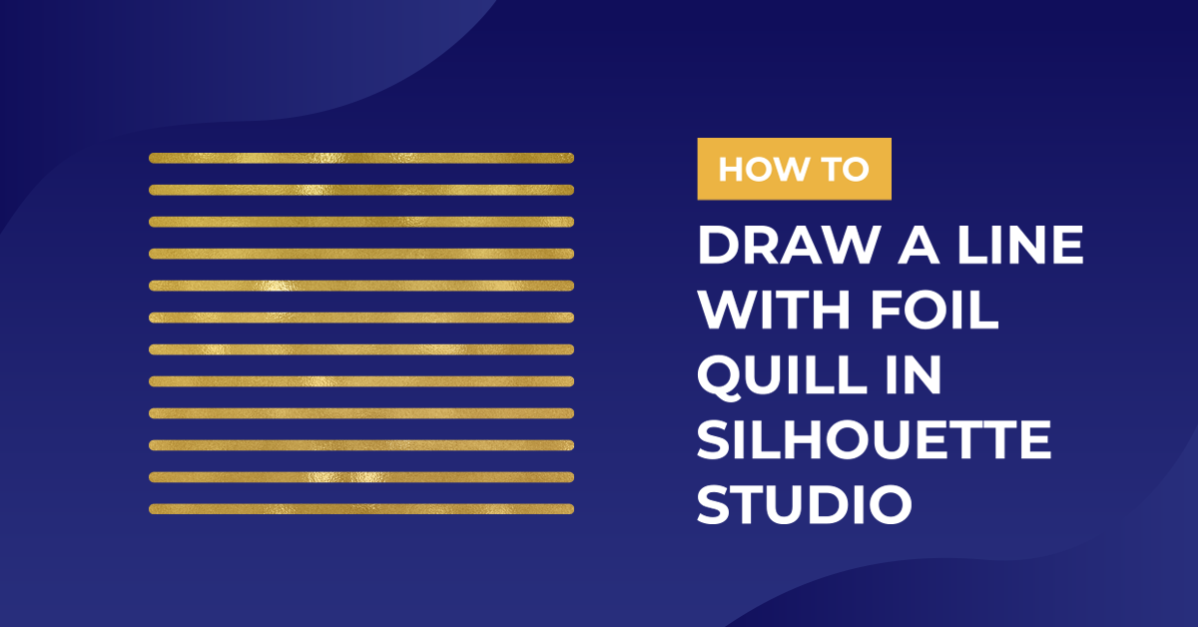
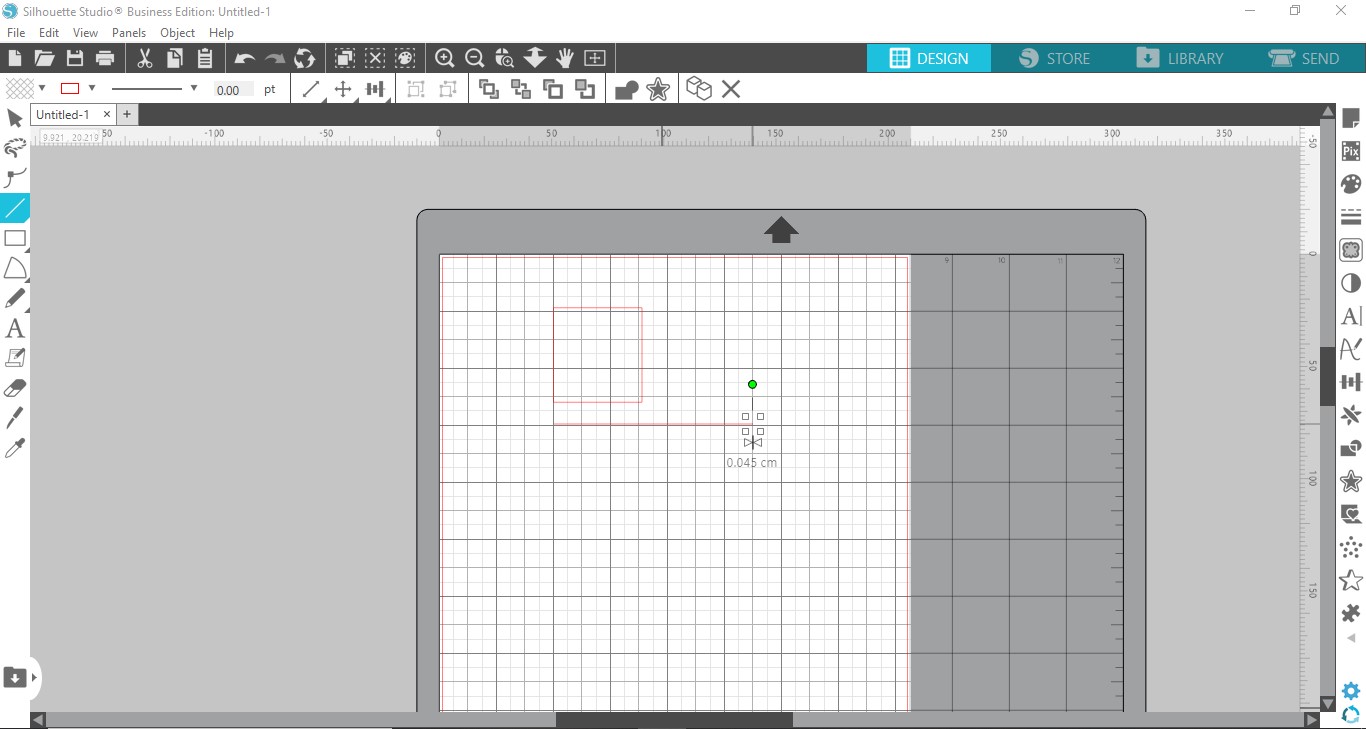
Next, click on the Line Tool on the left side toolbar. In the options select Draw a Line. Draw a single cut line. These lines can be used as a single line for the foil quill.
Step 2 - Choose your Foil Quill Settings
We are now going to choose our foil quill settings. Click on the Send panel top right.
When using the foil quill you will need to change certain settings. Firstly, change the Material to what you are using. For this tutorial we are using cardstock.
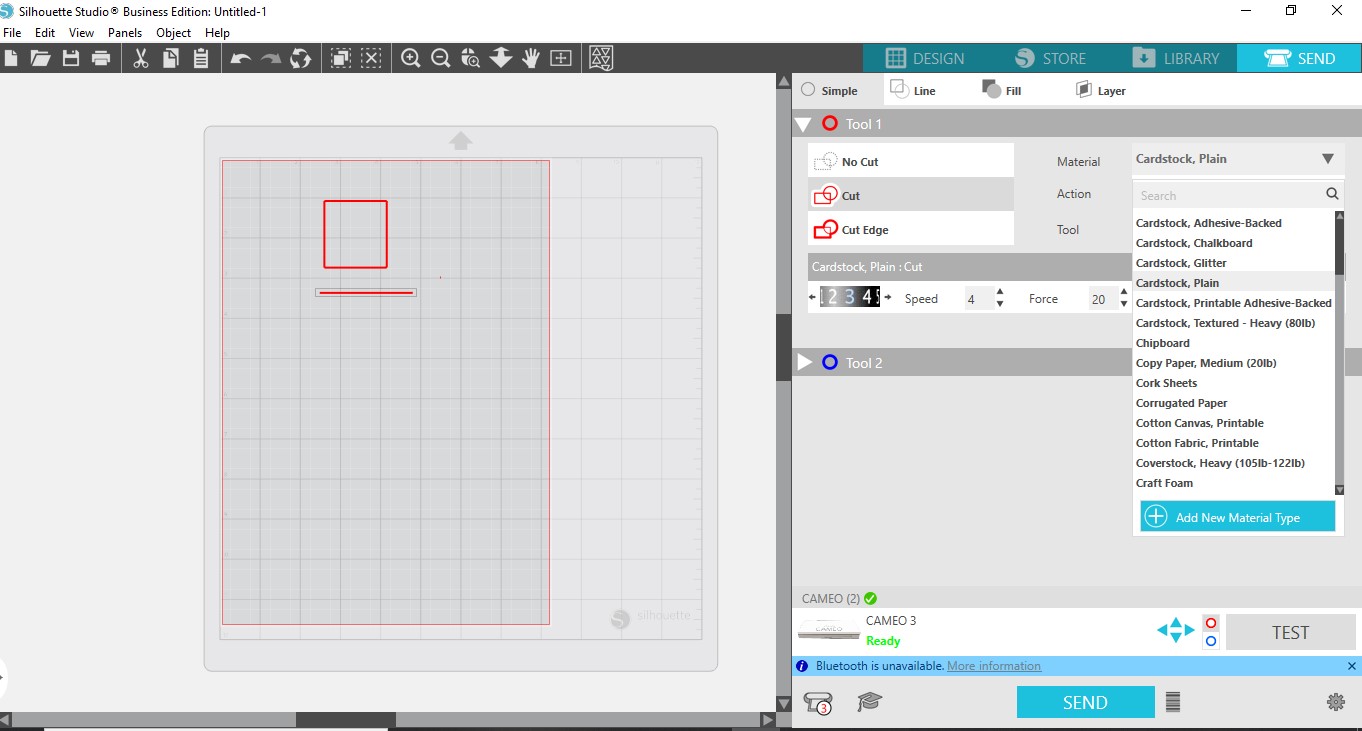
Next, you need to change the tool type. For the foil quill, we have to use the Sketch action. You don’t want to use the Cut option here.

Change the Speed to 5, Force to 4 and Passes to 1. We keep the speed and force low to give the foil time to adhere to the cardstock with heat. You want to be careful about more than one pass as this will dull the foil.
It should be noted that different models of Silhouette machines may vary. It’s a good idea to do a test run with your settings before you create a full design.
When you are ready, place the foil over your medium, then load into the machine. Next, click Send at the bottom of the screen.

The machine will start to foil. Make sure that the USB cord does not get caught up while the machine works.
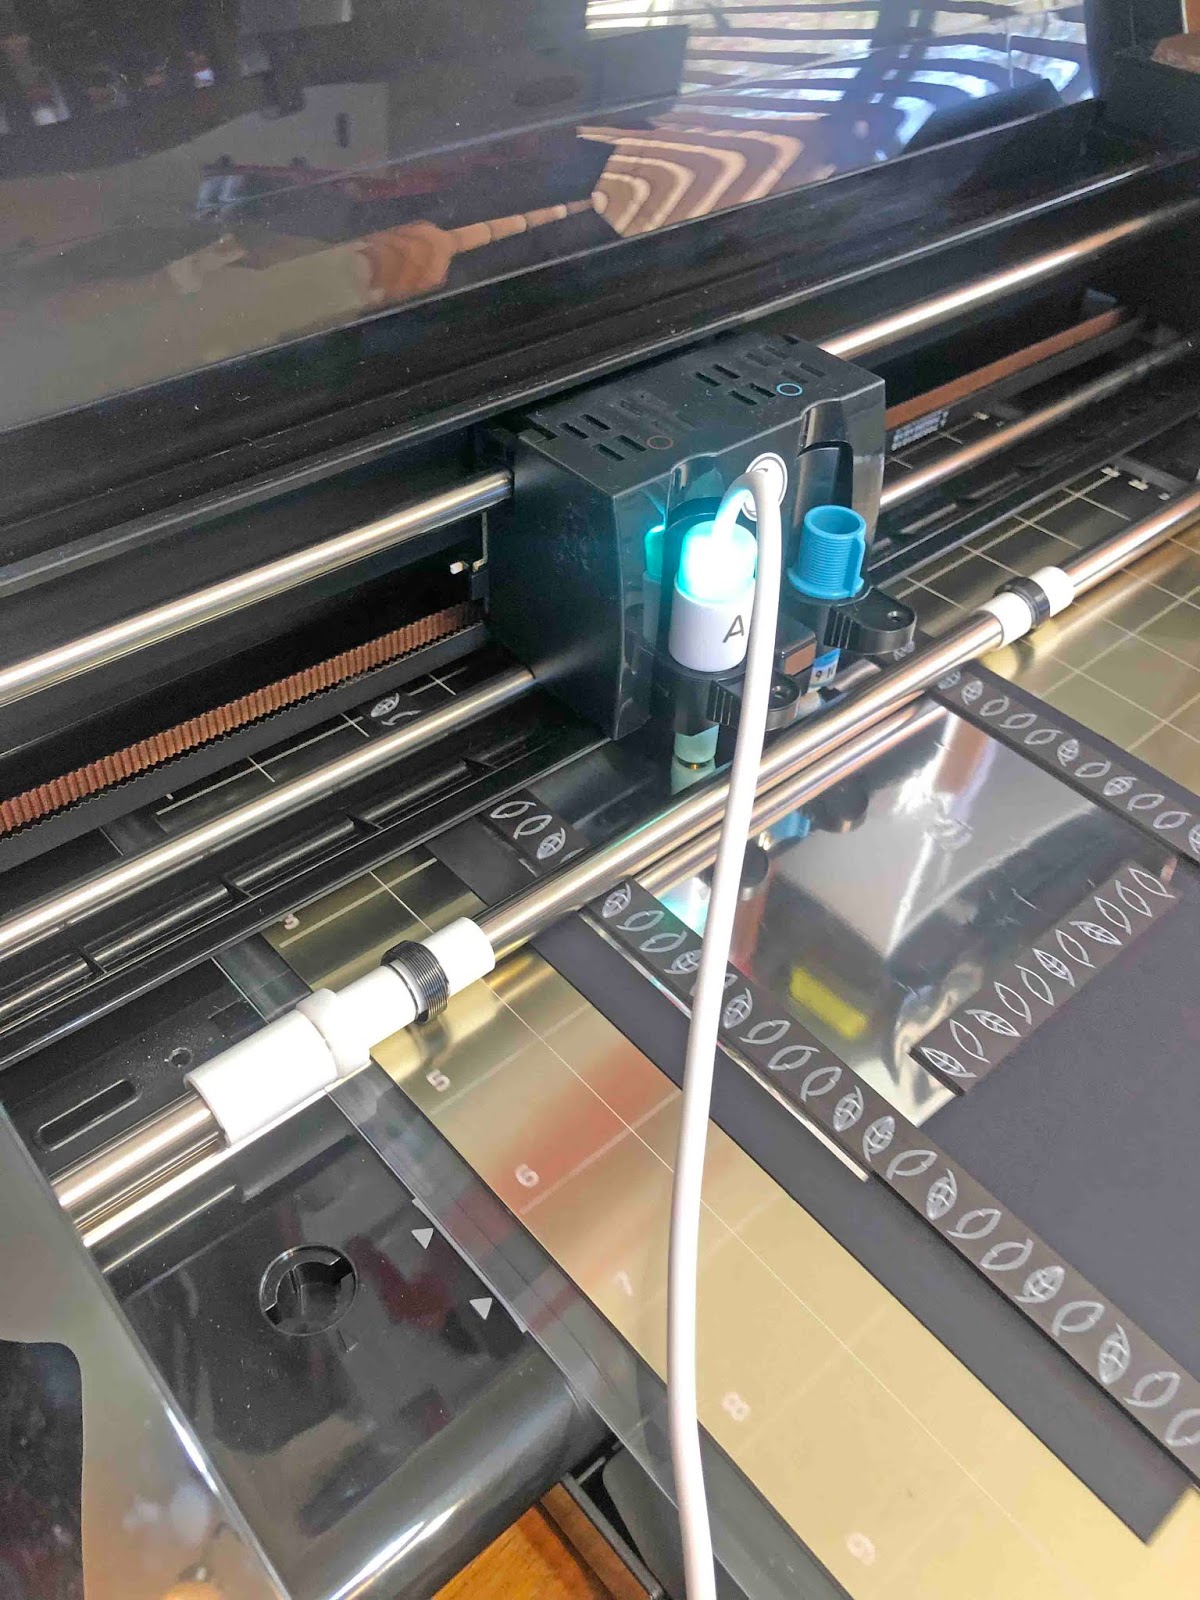
Once done, remove the foil quill but be careful, it’s very hot! Pull back the foil and check out the awesome result. You now have your foiled lines.
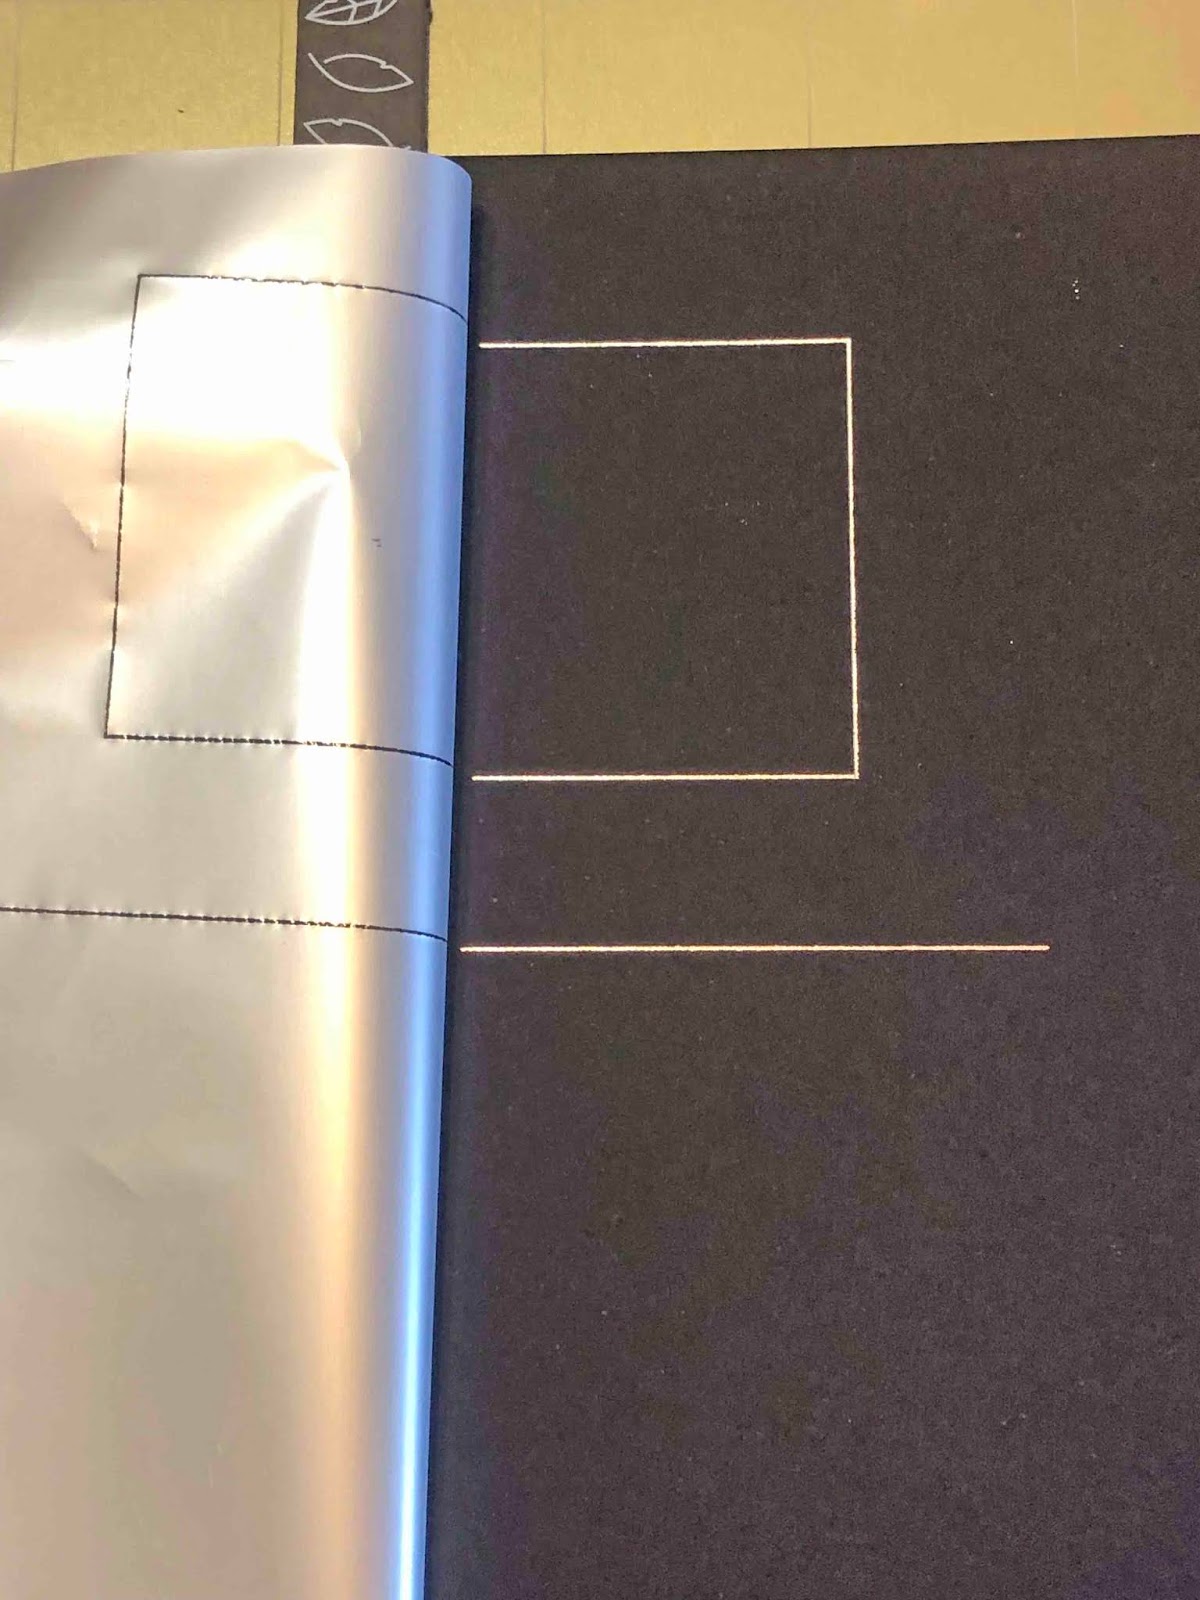
The foil quill is a wonderful way to add some bling to your projects. Make wedding invites sparkle, create lovely stickers and much more. We hope that this tutorial has inspired your confidence to explore more.