By Christine Hattingh
How to Draw an Ant
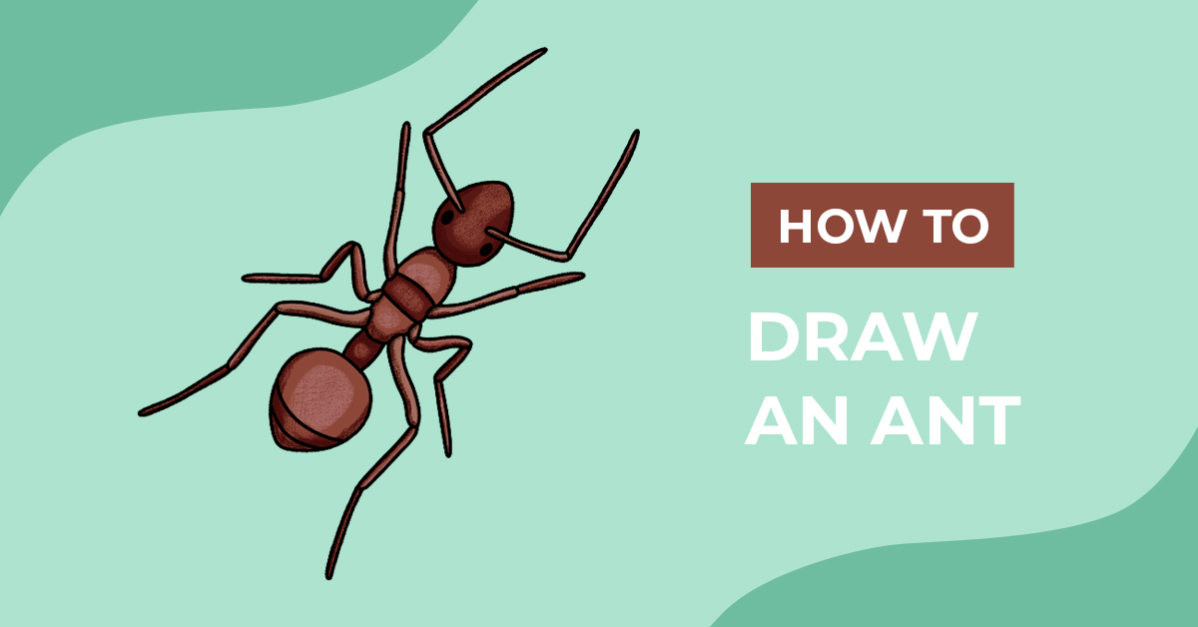
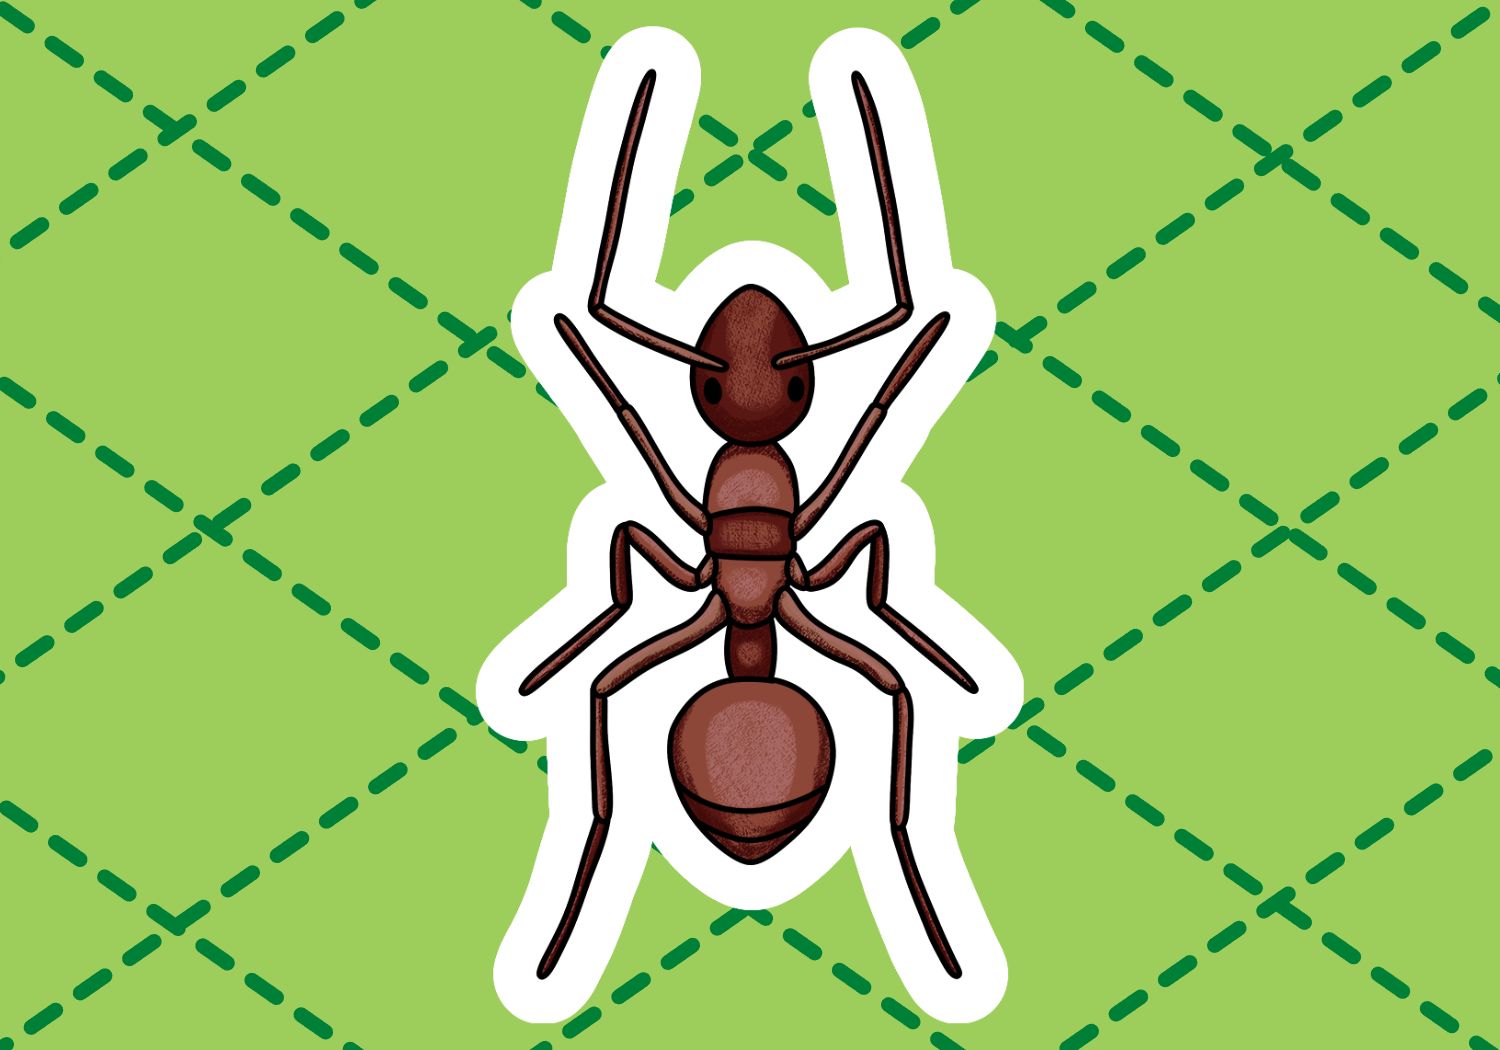
In today’s drawing tutorial, you can learn how to draw an Ant from basic sketches to adding color and shading. Your ant illustration is just perfect for educational projects or an insect enthusiast. Imagine the fun drawing pages you can create, lunch bag stickers, or even digital patterned paper.
Before you begin, get your drawing supplies ready. For your drawing, you can use any art supplies you have available, like pencils, and paints, or use a digital drawing app such as Procreate or DesignScape.
We have a bunch of tutorials on how to use DesignScape at our Design School. Not a member yet but would love to join? Sign up today and get a FREE 30-day Gold Plus Membership trial with access to all Plus exclusive products and DesignScape.
Step 1 - Sketch the Body of your Ant
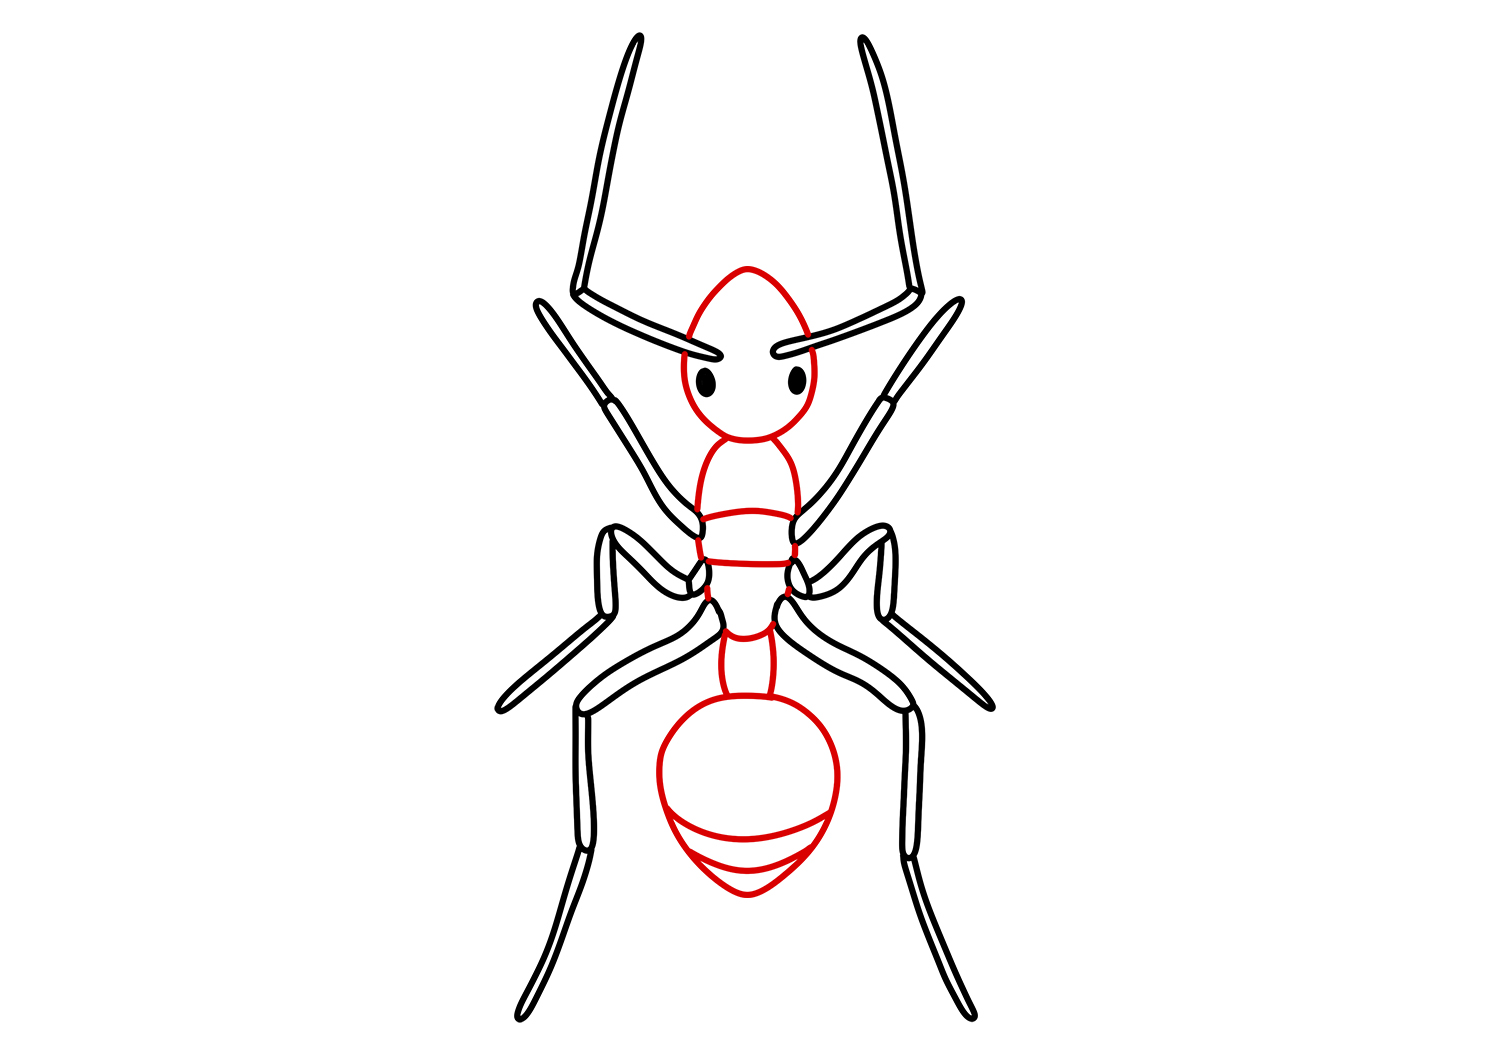
Using a sketching medium, you are going to roughly sketch the body of your ant. You can use any light-colored or erasable tool as your sketching medium. An ant's body consists of four groups, namely the head, alitrunk, petiole, and gaster.
Starting at the top of our ant drawing, roughly sketch a vertical egg shape for the head. Right below the head sketch a long oval shape for the alitrunk. The alitrunk should be narrower than the head and slightly longer.

Below the alitrunk, draw a small squared shape for the petiole. Then, draw a large circle with a pointy bottom for the gaster.

Step 2 - Add the Ant Legs and Detail
In our second step, we are going to add the antenna, legs, and details such as the eyes to our ant sketch. Looking at our sketch example number five below, on either side of the head, draw narrow rectangles for the first half of the antenna.
Then, on the alitrunk, add the six ant legs with three on each side. Our legs mirror each other and are angled in different directions. Next, add the second half of your antenna and legs. You are welcome to draw the position of the legs as we did.

Lastly, add two small circles below the antenna for the eyes, and make a few lines on the legs, alitrunk, and Gaster.

Step 3 - Make your Ant Sketch Permanent
With your rough sketches done, switch to a permanent medium. You can use any dark or defining medium to make your ant outlines. As you begin tracing your bug sketch lines, pay close attention to any overlapping lines as some of these you don’t want to outline.

Next, trace your antenna and leg sketch lines. You can also go ahead and fill the eyes in. Then, carefully line the rest of your ant illustration around the legs and antenna.
Step 4 - Apply Color to your Ant
In our fourth and final step, gather the colors you want to use on your ant drawing. Use any color you want for your drawing, including bright pink and blues or neutral colors. For our bug drawing, we used three shades of brown to apply color to different parts.

We wanted to add extra depth and texture on our ant. We used these chalk brushes and added light shading with highlights to our drawing. You can create your own style of coloring for your illustration, or gain inspiration from our other drawing tutorials.

You have completed our drawing exercise! Great work on sketching, lining, and coloring your ant. Change things up a bit and draw a couple more, with different body shapes and colors to create a colony. Be sure to browse through our ant clipart collection to add to your digital library.
Thank you for following along with our drawing guide. We hope you had a great time going through the steps and learning how to draw an ant from scratch.