By Christine Hattingh
How to Draw an Eye
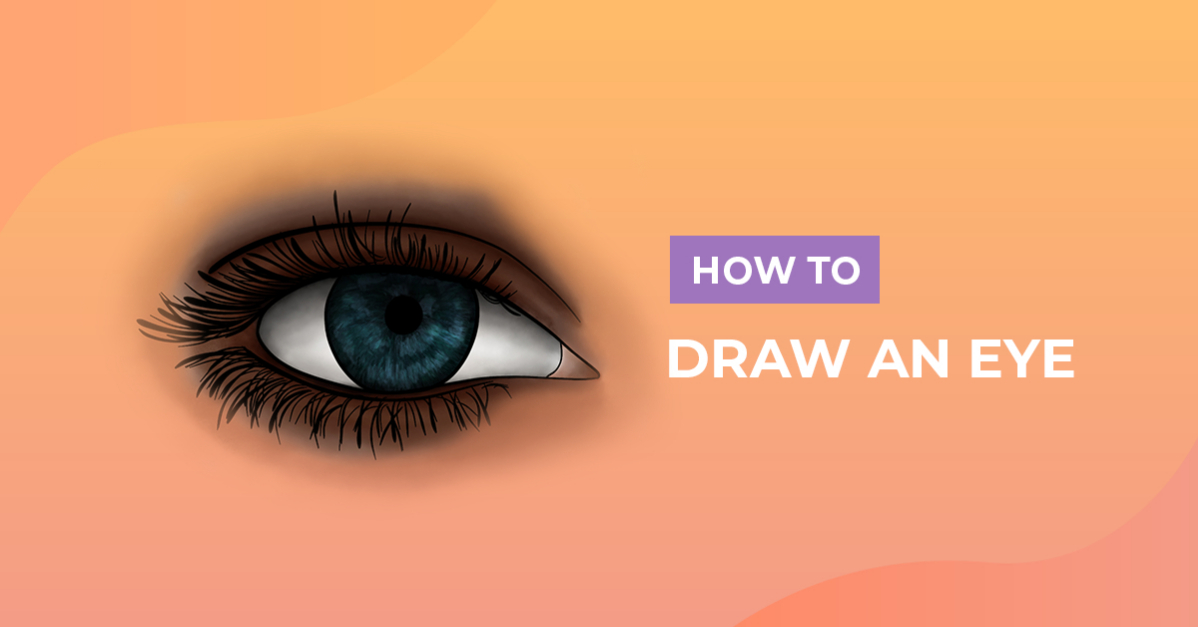
Do you want to take your drawing skills to the next level and learn how to draw an eye? In today’s drawing guide, we are going to carefully take you through step by step. Create all types of eye art, from minimal outlines for use as blank makeup practice guides, to full-color drawings that you can frame.

With this eye drawing tutorial, you can use any medium you are comfortable with. These could be colored pencils, crayons, or a digital program like Procreate. We would recommend using some form of sketching medium to make your rough sketches like a pencil.
Once the rough sketch has been made, you can use your medium of choice to outline and add color.
If you are following along, we will be using these watercolor Procreate brushes.
Step 1 - Make Rough Sketches of Your Eye
An eye is made of different shapes like ovals and circles. Using your sketching medium, begin creating the main base shape. We provide images below each section as a visual guide during this tutorial so that you can follow along.
Create the Center of your Eye
Create the center of the eye that consists of the pupil and iris by roughly sketching two circles. Start drawing a big circle for the iris and a small circle in the middle for the pupil.

Create the Eyelid Shape
Let’s create the eyelid shape that goes around the eye center. Draw a horizontal oval just below the iris that extends to the bottom. Have this oval positioned more to the left. This will give us the outer corner, top and bottom lid shape.
On the right, sketch a triangle to create the inner edge of the eye. The triangle has a downward curve from the top while aligning with the bottom of the oval.

Add the Eyelid Crease and Inner Corner
Leave some space above the eyelid shape, then draw a curved line to create your eyelid crease. In the triangle, draw a small curved line on the right to create the inner corner of your drawing.

Step 2 - Outline your Eye Sketch
With the main shape created, switch to an outline medium. This can be anything from black writing pens to fine ink liners. Start outlining the eyelid shape, this includes the oval and triangle shape combined as one.

Outline the iris and make a solid-filled circle for the pupil. In the inner corner of the eye, trace over the sketch line.

Trace over the eyelid crease, and add a water line at the bottom of the eye. Create a second crease along the top eyelid (seen in red) as we did in our image below.

Step 3 - Add Eyelashes to your Drawing
Keep using your outline medium and add lashes around the drawing. First, we are going to add a couple of thick lashes. You can use a calligraphy Procreate brush to give you a gradual thickness when you add more pressure as you move away from the eye.
Remember, make your lashes longer towards the outer edge of your eye drawing. On the lower and upper waterlines add a few shorter lash lines with a slight curve.

Fill in the gaps and create a lush set of lashes by adding thinner lines to the top and bottom (seen in blue). After adding your lashes, remove your rough sketches so you can work with a clean outline.

Step 4 - Add Color to your Eye
With the eye shape created, outlined and lashes drawn in, we are going to add color next. For the color, you can use any combination of hues and shades to fill the iris. For our iris, we used shades of blue and green.
Design Bundles has a great selection of skin tone Procreate palettes. You can easily add color around the eye and give a realistic skin tone to your eye clipart. Fill in the whites of the eye with cream or an off-white color. Alternatively, you can leave this area blank.

Tips: Start with lighter colors first and slowly layer darker colors. Experiment with different brushes and textures in Procreate to blend colors. If you can, use Procreate layers to quickly correct your work.
Our eye drawing is now complete.

We hope you found this drawing exercise helpful and picked up a few tips and tricks along the way. Your eye illustration is perfect for practicing colors and shading using different mediums.
Want to work on your drawing skills or create some quick illustrations in your spare time? Then check out our free drawing guides, with skill levels ranging from beginners to advanced artists.