By Christine Hattingh
How to Draw Cherry Blossoms
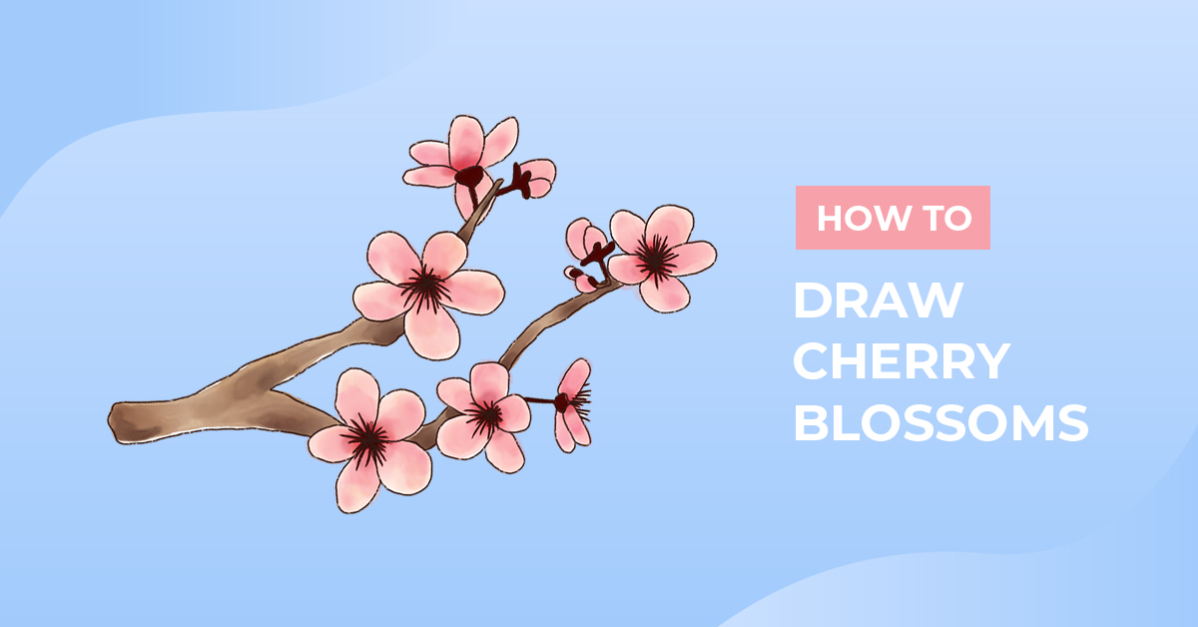
Today we are going to show you how to draw cherry blossoms. Cherry blossoms are some of the prettiest flowers in shades of pink and white. Imagine all the beautiful creations you can make, like a printable wedding collection. You could even use your flower illustration for sublimation projects and digital crafts.

First, gather your drawing supplies. You can use any medium you have available to illustrate your cherry blossoms. No matter what medium you choose, we know your blossom drawing will look amazing.
To sketch, line, and color in our drawing guide, we are using Procreate. If you want to create a watercolor-style drawing with Procreate, we recommend using these Procreate watercolor brushes. It has all the brushes you will need to sketch, outline, and color your cherry blossom flower drawing.
Step 1 - Roughly Sketch your Cherry Blossoms
Let’s begin our drawing by making rough sketches first, using a graphite pencil or light-colored sketching medium. We will remove or cover up our sketches later on in the tutorial.
In your drawing area, roughly sketch a few blossoms with five petals. Our cherry blossom petals are rounded and in different sizes.

Add more blossoms where the petals are angled differently. See our sketches marked with red. Then, add small oval and circular shapes close to your cherry blossoms to make blossom buds.

Step 2 - Add Details to Your Cherry Blossoms
In this step, add the center details to your cherry blossoms. We are also adding stems to the buds and sketching a branch underneath our cherry blossom drawing.
Add the Stamen and Stems
Looking at our red sketches below, add the center line detail to your blossoms for the stamen. We added a bunch of long and short lines to our cherry blossoms that we have a center view of.
Next, we indicated with blue where we added our stems to two of our blossoms and buds. Make your stems with a short line and a rounded end that overlaps some of the petals and buds.

Add the Branch
Add a tree branch to your cherry blossom illustration. We started by drawing rough lines between our bottom and top cherry blossoms. On the right, we connected the two smaller branches to a single bigger branch. Feel free to create a different branch shape or mimic our example below.

Step 3 - Line Your Cherry Blossom Sketch
Swapping over to a more permanent medium, create a clean line drawing of your rough sketch. There will be many overlapping sketch lines. So be sure to pay close attention to which sketch lines you want to make permanent.
The easiest way to ensure you line over the correct sketches, start with your stamen and stems. Then line the blossoms and buds.

After lining your blossoms and buds, create the outline of your branch to complete your cherry blossom outline. You can remove your rough sketches when you are done, or cover them up in the next step with color.

Step 4 - Add Color to Your Cherry Blossoms
For your cherry blossom art use shades of pink with a darker pink for the stems and stamen centers and brown for the branch. If you are using Procreate watercolor brushes, use one color shade and layer it to make them darker.
For opaque colors, start with your lightest shades first. Then add darker shades in some areas to create depth.

You created a beautiful drawing! Why not explore more drawing lessons like this one? We are sure you will love learning how to draw a tulip and creating a sunflower drawing.
Thank you for following along with this cherry blossom tutorial. We hope you enjoyed creating sketches, lining your work, and adding color to your drawing.