

By Christine Hattingh
How to Draw Dragonflies
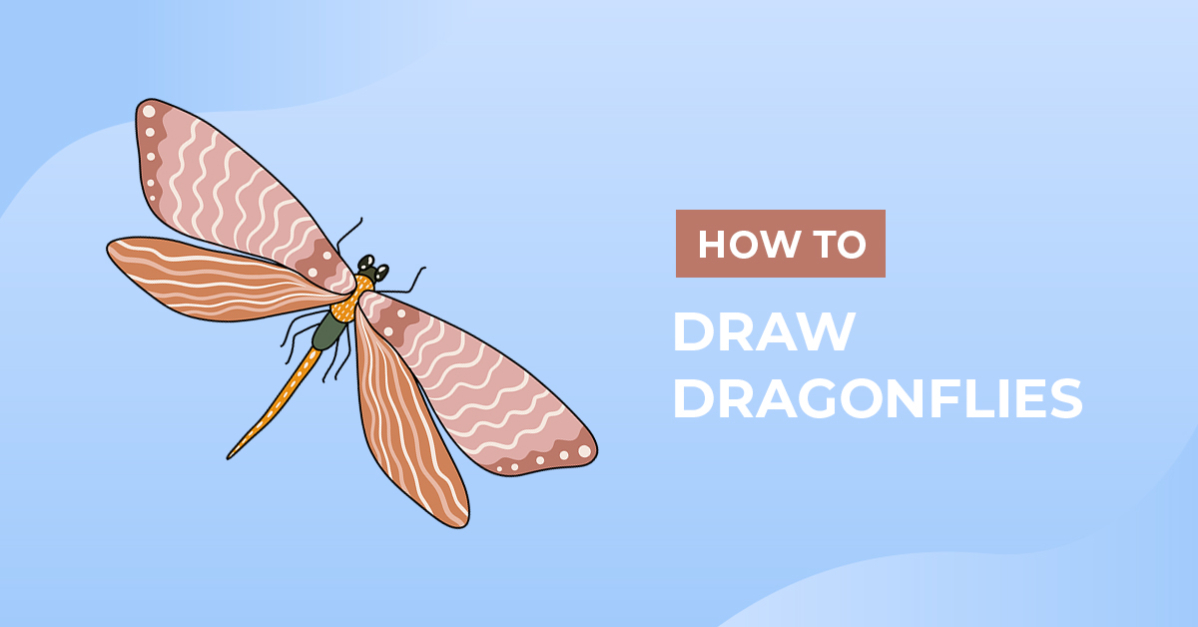
Today's easy-to-follow drawing tutorial will teach you how to draw dragonflies. Dragonflies are graceful and playful creatures often seen fluttering about in gardens. Use your finished illustration to create garden stickers and bug clipart, or simply add a touch of nature to your drawings.

Our beginner drawing tutorials cater to everyone of any skill level. So feel free to use traditional mediums like pencils in your sketchbook or create digital artwork with Procreate and DesignScape.
Create other little bugs and critters to match your dragonfly drawing. This ladybug drawing and drawing an ant tutorial will be perfect for your garden illustrations.
Step 1 - Roughly Sketch your Dragonfly
The first step in drawing a dragonfly is to make rough sketches. This step will allow you to experiment with different shapes and poses for your dragonfly. We recommend using a removable or light-colored medium to make rough sketches, such as a pencil.
Shape the Body
Start drawing in the center of your page. First, sketch an oval for the body's center (shown in red). Then add the head at the top as a small half circle and the petiole at the bottom as an extended half circle.

On top of the head, draw two large oval eyes on either side and create a long-shaped tail at the bottom, as seen in our blue sketch below.

Add the Wings
Add two sets of wings on either side of the dragonfly's body. You can make the wings in oval shapes, draw a butterfly wing, or any other form to make them unique.
Keeping both sides the same is essential, so take your time and carefully sketch the wings. Alternatively, see how to mirror an image in DesignScape or use the symmetry drawing guides in Procreate.

Add the Legs
Lastly, sketch the legs of your bug. To draw the legs, sketch three legs on each side of the dragonfly's body as lines. See our example below.

Step 2 - Create the Dragonfly Outlines
With your dragonfly sketched, swap your sketching medium for a permanent one to make line drawings. Use a Procreate inking brush or marker to trace the outer sketch lines of the body, wings, legs, and other details. As you outline, you can make any final adjustments to the shape and size of your dragonfly to ensure that it looks the way you want it to.
Carefully begin tracing your dragonfly’s wing sketches.

You can define the rest of the dragonflies by skipping sketches that overlap on the wings. Once your lines are permanent, erase your remaining rough sketches to tidy up your drawing.

Step 3 - Add Color to your Drawing
Finally, for this step, you will need to get your colors ready to bring your dragonfly to life. Depending on what style or theme you are creating your bug illustration for, you will need a color palette that matches.
Add your colors in groups like in our example below, or make each section a different color or shade.

Add your final details, such as patterns on the wings, body texture, and other elements that will help bring your dragonfly to life. You can also use ready-made flower garden clipart to decorate the background.

Great job, you have just learned to sketch, outline, and color your dragonfly illustration in 3 easy steps with our drawing exercise. You can create different poses by drawing the wings on one side and curving the body.
Why not create a YouTube template in DesignScape and decorate it with your dragonflies? DesignScape is a free feature of our Gold Plus Membership. If you’re not a Plus Member, sign up for a 30-day FREE Gold Plus Membership trial today!



