By Christine Hattingh
How to Draw Vines
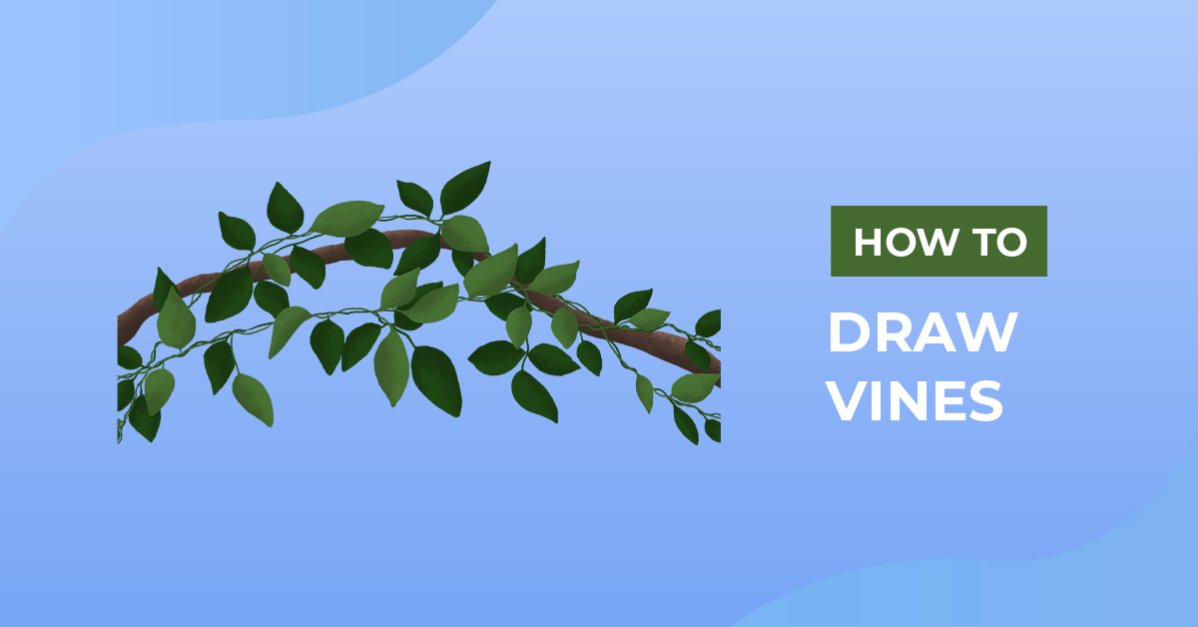
In today’s beginner drawing guide, we are showing you how to draw vines. Add your illustration to jungle or nature crafts, like birthday party invites and backdrops, or add other elements like flowers, bugs, and animals. With our easy-to-follow guide, you will have your vines sketched and colored in three quick steps.

Before you begin, gather your drawing tools. You can use anything you have on hand, from traditional drawing and painting mediums to digital programs. We are using Procreate and these ink brushes for our plant drawing.
Step 1 - Make Sketches of your Vines
Let’s get started with planning how our vines will look using a sketching medium. You can make your rough sketches with a pencil or a light-colored medium.
Create the Base
Begin your sketches by drawing a branch first. This will be the base that your vines grow over. For our branch, we roughly sketched two lines from one side of our drawing area to the other.

Next, draw two curving lines that go over the branch. These two lines will be your vines. You can even add more that hang lower or creep up your page.

Add the leaves
With your sketches made, you can begin adding leaves. Draw leaves sporadically placed on each of your vines. Make each leaf unique by changing the size, shape, and angle at which it is displayed.

Continue adding more leaves and draw a wavy line over each vine. You can also add other elements to your vine drawing, such as flowers, bugs, or animals.

Step 2 - Color or Line your Vine Sketches
For this step, use a defined medium to trace your sketches. We traced our sketches and filled in the leaves with a colored medium. You can also create a line drawing first with a black medium and then add color.

Using a light shade of green, we began tracing and coloring our vine illustration including the leaves that are on the top. Then, with a darker green, we lined and colored the remaining leaves and vine lines.
Leaves that overlap should either be placed first so that they are in the front or last and partially hidden at the back.

Use brown to outline and color your branch. The branch is all the way at the back, so only parts of it can be seen through the vines.

Step 3 - Add Texture to your Vines
To complete our plant illustration, let’s add textured shading for depth. We are using the stipple texture from our ink brush pack, but you can use any texture brush or medium for this step.
With lighter and darker shades, add shading to half of your leaves and to your branch. Here is what our final result looks like.

Great work following along and drawing vines with us. Learn how to draw a flower or draw butterflies to add to your vine illustration. Your newly drawn plant clipart will look amazing on your next craft adventure, or add it to your digital library for later use.