By Design Bundles
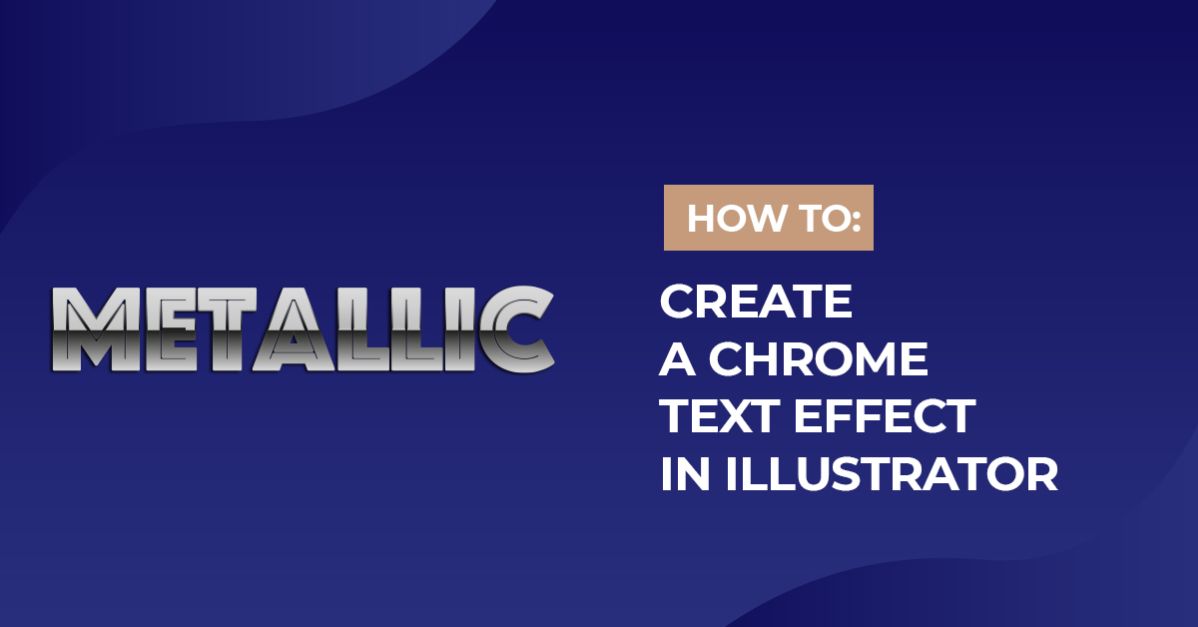
Chrome Text Effect in Illustrator
For this Tutorial, we are going to use the “Barbaro” Free Font from from Iv·n N˙Òez.
1 - In Illustrator, create a “New Document”.

2 - Select the “Rectangle Tool” (M) and draw a rectangle that covers your entire canvas. Fill it with a “Gradient”. You can start by selecting the default Black and White one in the “Swatches Panel”.


3 - Make your Gradient “Radial and fill it with some dark colors (we used #356a72, #00303a and #0a1529).

4 - Lock your Layer by clicking on the left side of its Thumbnail and bring out the small padlock. Then, click on the small “Create New Layer” button at the bottom to create a “New Layer”.


5 - Select the “Type Tool” (T), choose your font (we used “Barbaro”). In the “Pathfinder Panel” use the “Horizontal and Vertical Align Center” options and make sure that “Align to Artboard” is selected to center your text. Right-click on top of it and choose “Create Outlines”.


6 - Fill your text with a “Linear Gradient” composed of White, Black and different shades of Grey (from your “Swatches Panel”). (20% K - Location 0&, 100% K - Location 49%, 30% K - Location 50%, 20% K - Location 100%).


7 - With your text still selected, go to Object > Path > Offset path. Use an “Offset” value of 1 mm, “Bevel” for the “Joins” and a Miter Limit of 4. Without deselecting, right-click on your selection and choose Arrange > Send to Back. Then, change some of the “Gradient” values making sure you are working on the “Offset Path”, not your text.


8 - In the “Appearance Panel”, without deselecting, click on the “Effects Menu” at the bottom and navigate to Stylize > Drop Shadow and use an “Opacity” of 75%, an “X Offset” of -1.45 mm, “Y Offset” of 1.75 mm and a 1 mm “Blur”.


9 - Unlock your “Background Gradient” to make a “Copy” (Command/Control + C) then, lock it again. Create a “New Layer” on top of everything and “Paste in Front” (Command/Control + F). In the “Transparency Panel”, change the “Blending Options” to “Color Burn” and lower the “Opacity” to 30%.


10 - It seems that the Text Effect is a bit flat so let’s fix it. Select all your inner letters and modify the “Gradient” (30% K - Location 0&, 80% K - Location 14.42%, 100% K - Location 41.66%, 80% K - Location 47.54%, 20& K - Location 70.06%, 30% K - Location 80.2%, 10% K - Location 100%). Fix the “Gradient” of the “Offset Path” too (80% K - Location 0&, 5% K - Location 15%, 100% K - Location 48%, 40% K - Location 70%, White - Location 100%).


11 - Unlock your “Background Gradient” again, select the “Ellipse Tool” (L) and draw an oval that covers all the bottom portion of your text. Fill it with a “Radial Gradient” that goes from White at 100% “Opacity” to White at 0% “Opacity”. Then, go to the “Transparency Panel” and change the “Blending Mode” to “Soft Light”.


12 - Your text should be similar to this.

Well done on a creating a chrome text effect in Illustrator.