By Design Bundles
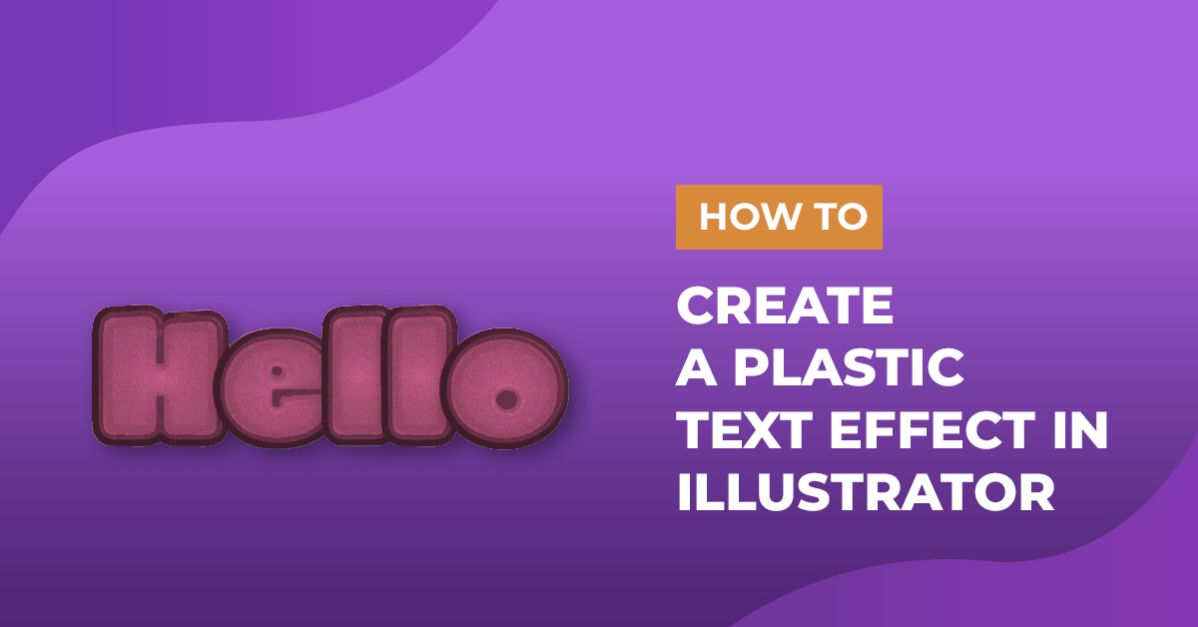
Plastic Text Effect in Illustrator
For this Tutorial, we are using the font Beach.
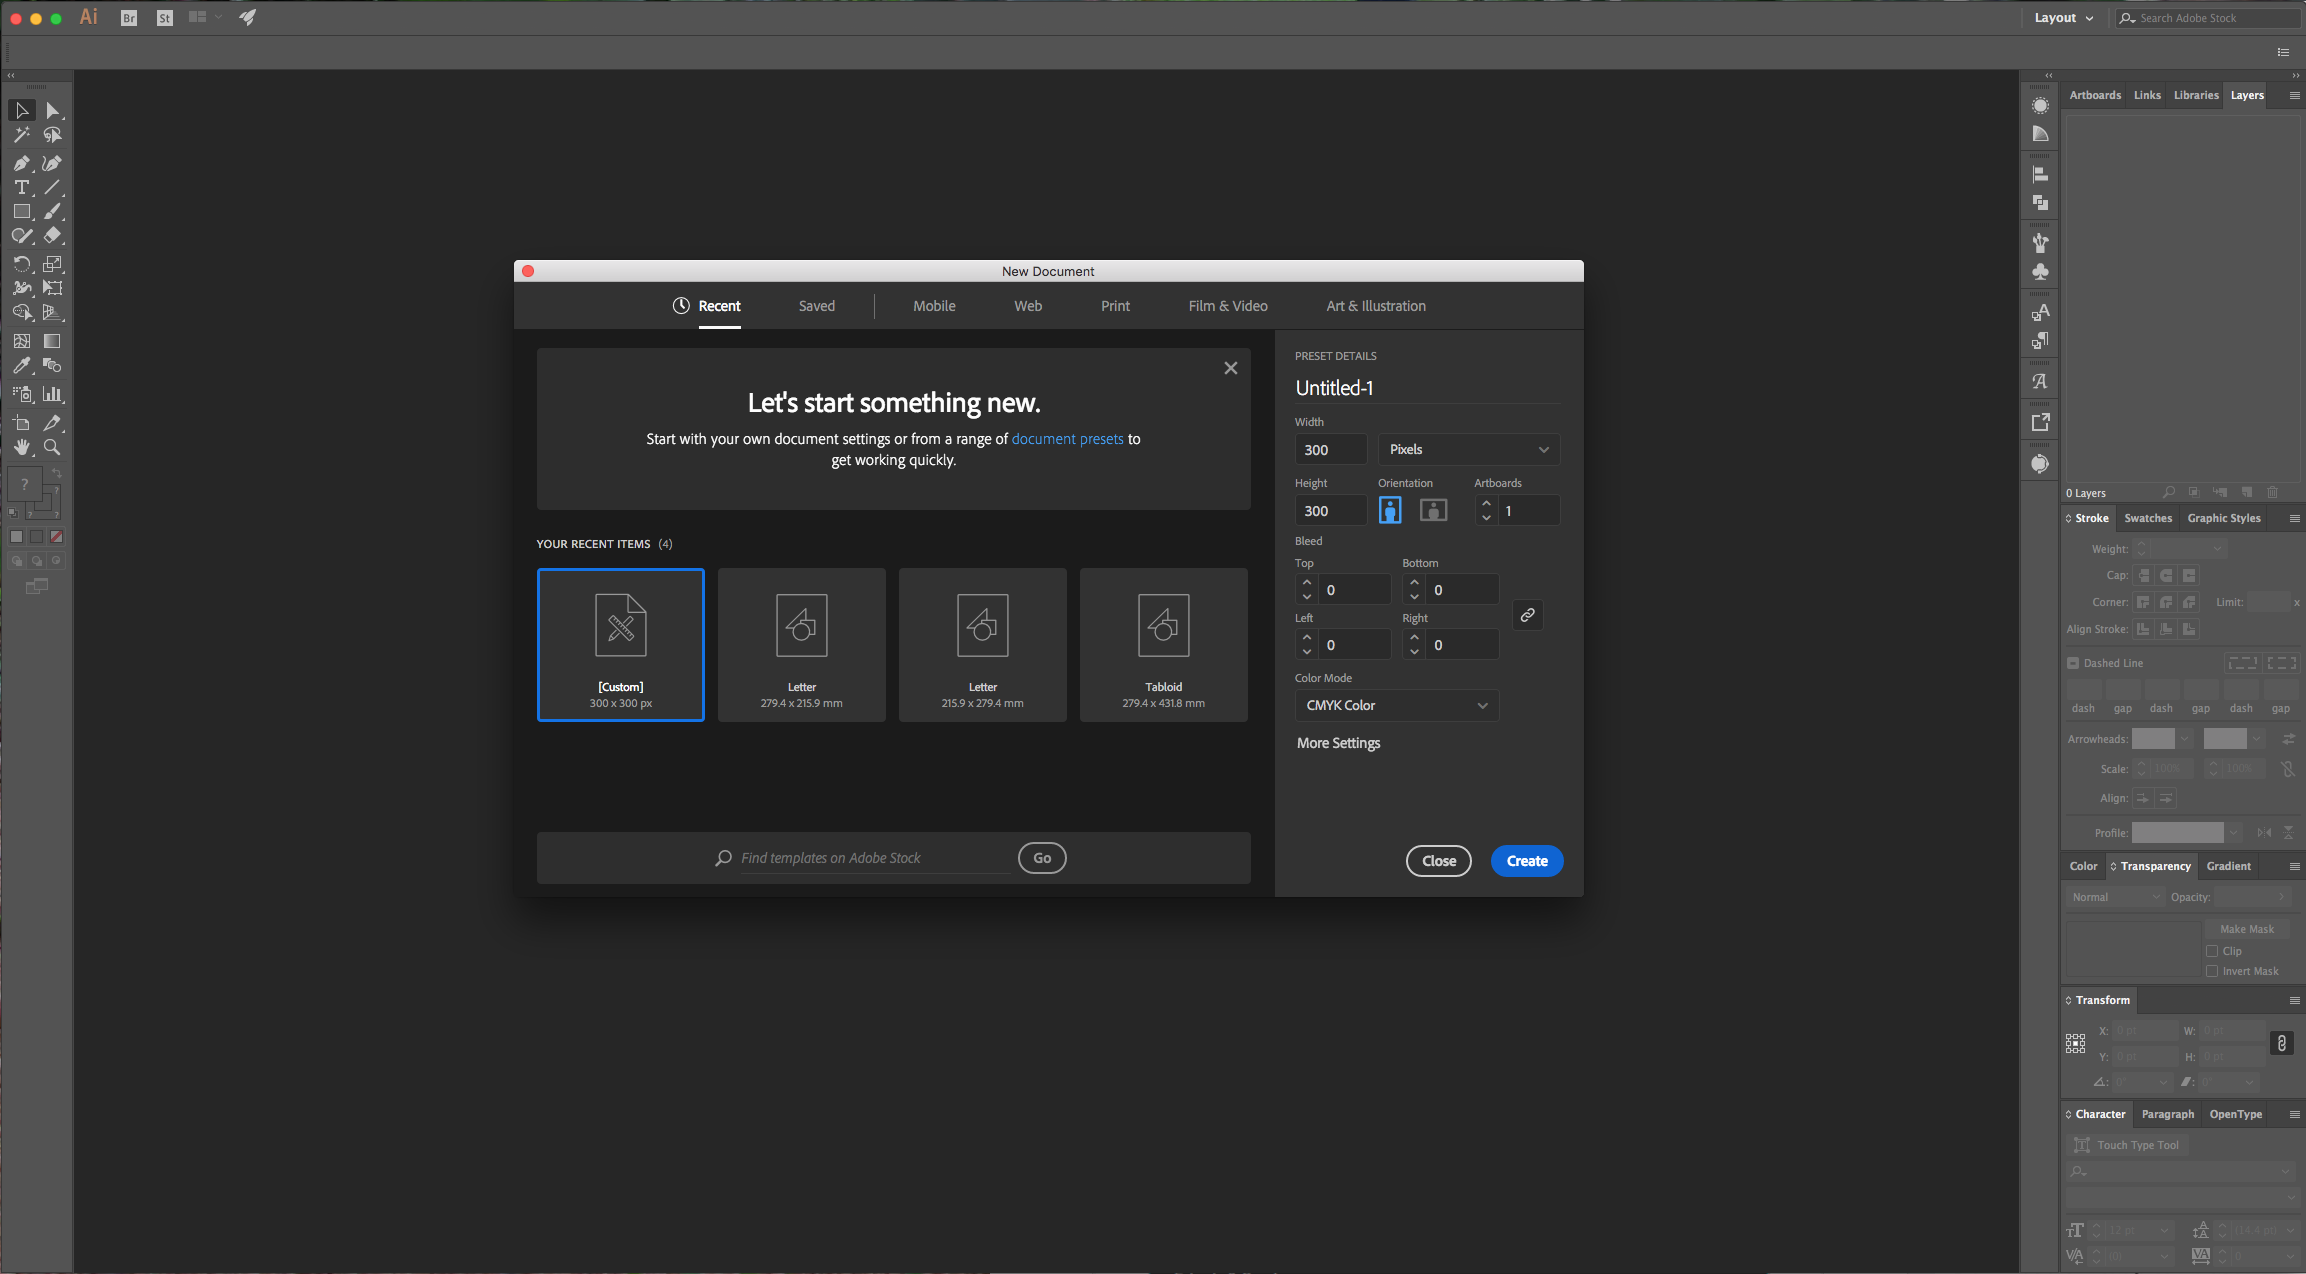
1 - In Illustrator, create a “New Document”.
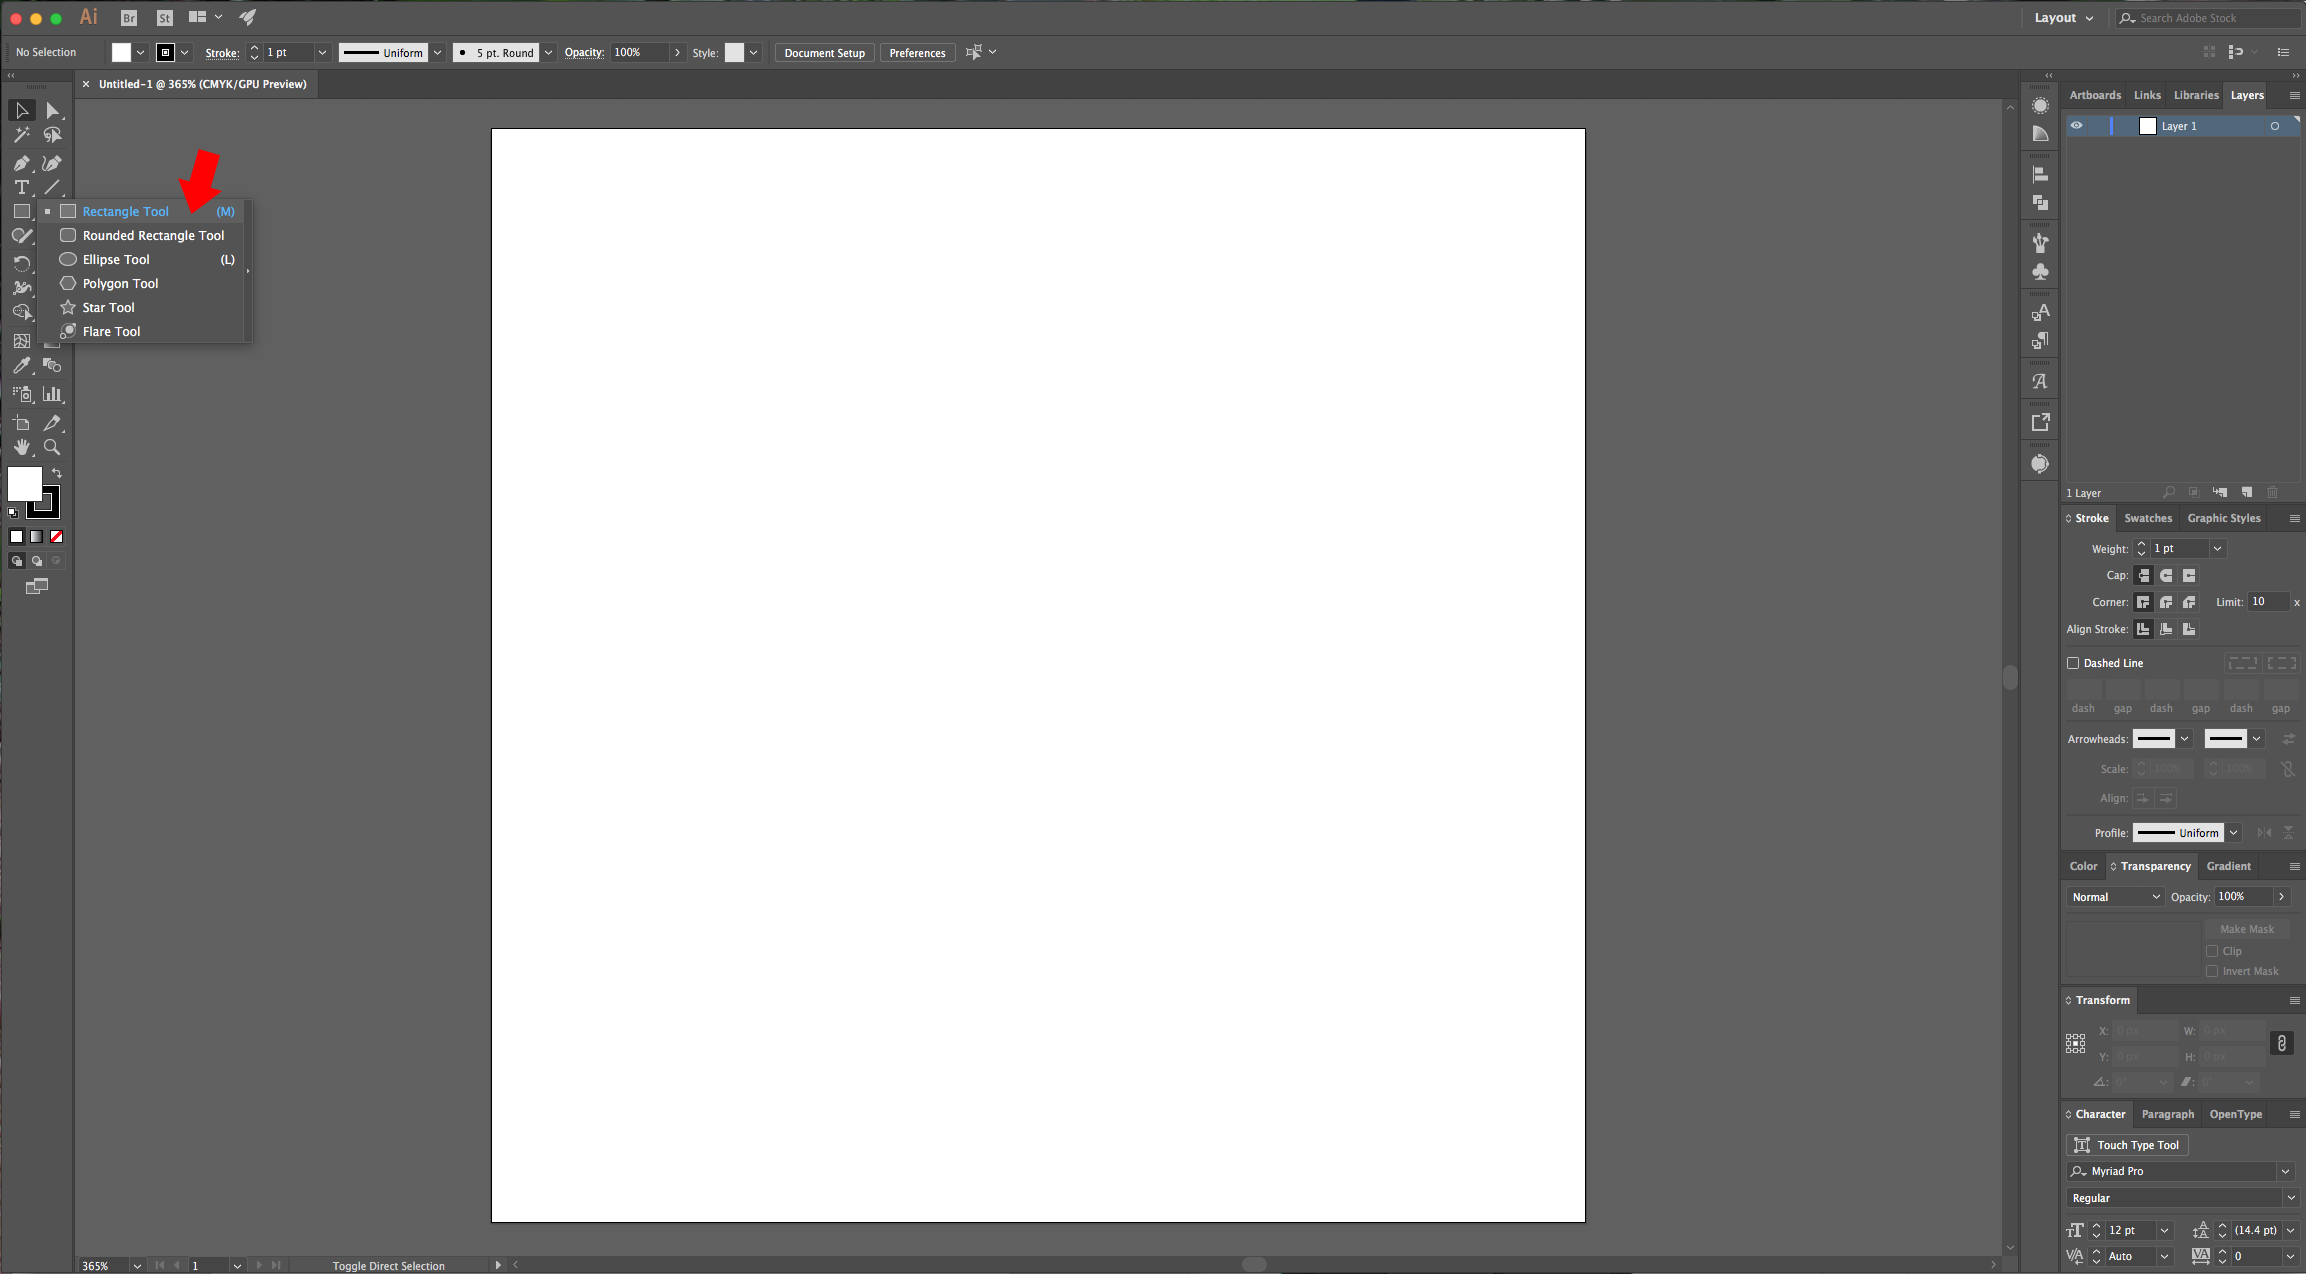
2 - Select the “Rectangle Tool” and draw a rectangle that overlaps your “Artboard”. Use black as “Fill” color and none as “Stroke” color.
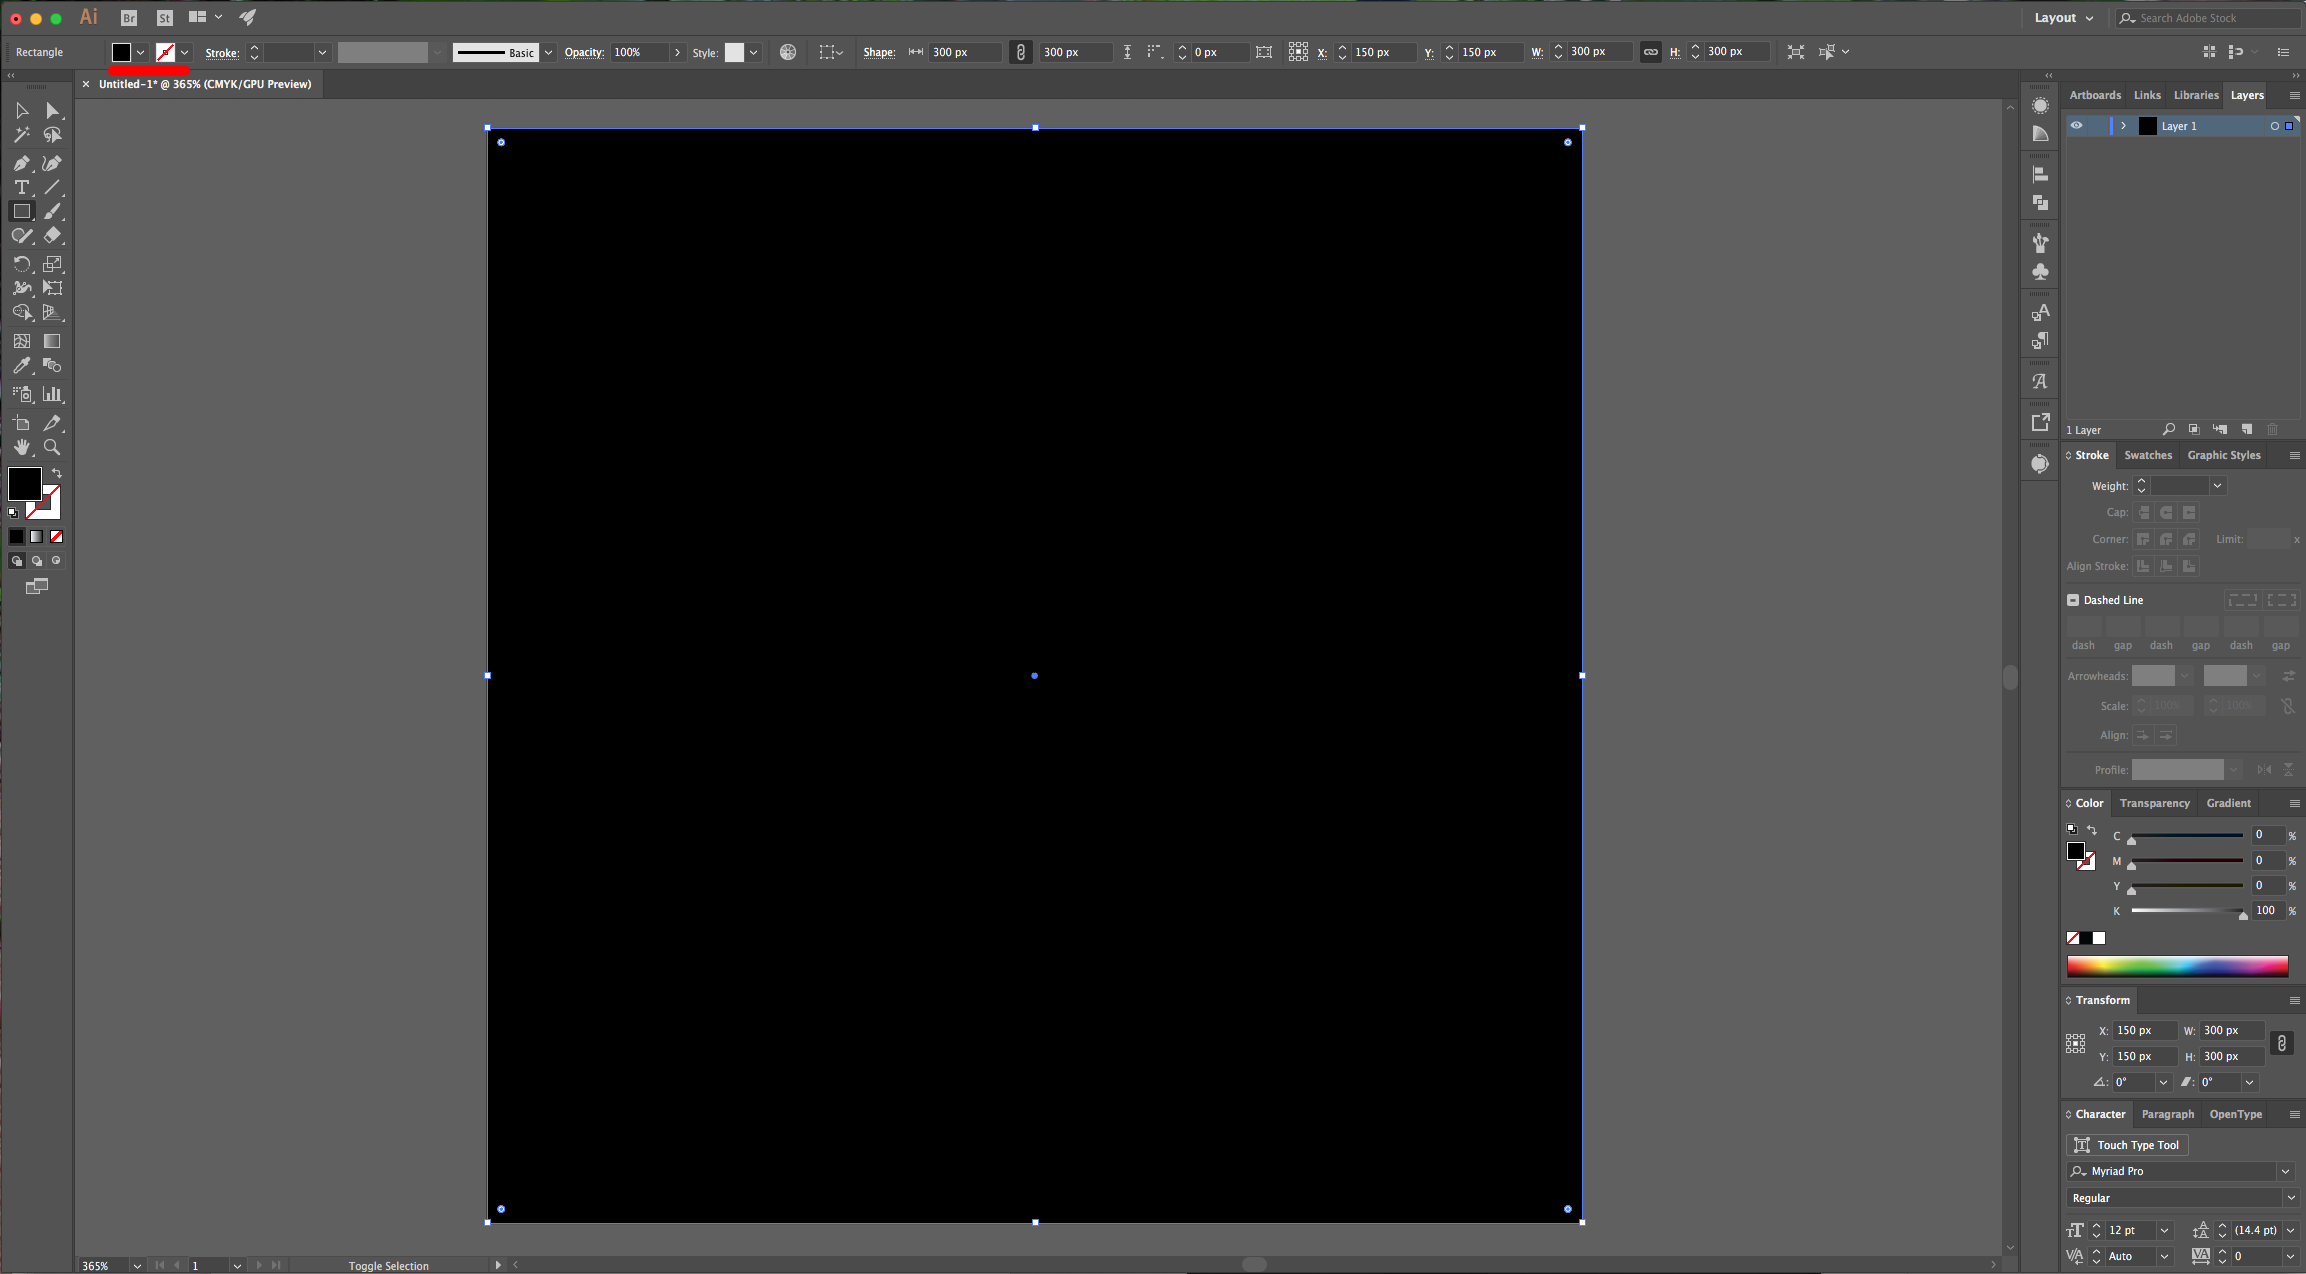
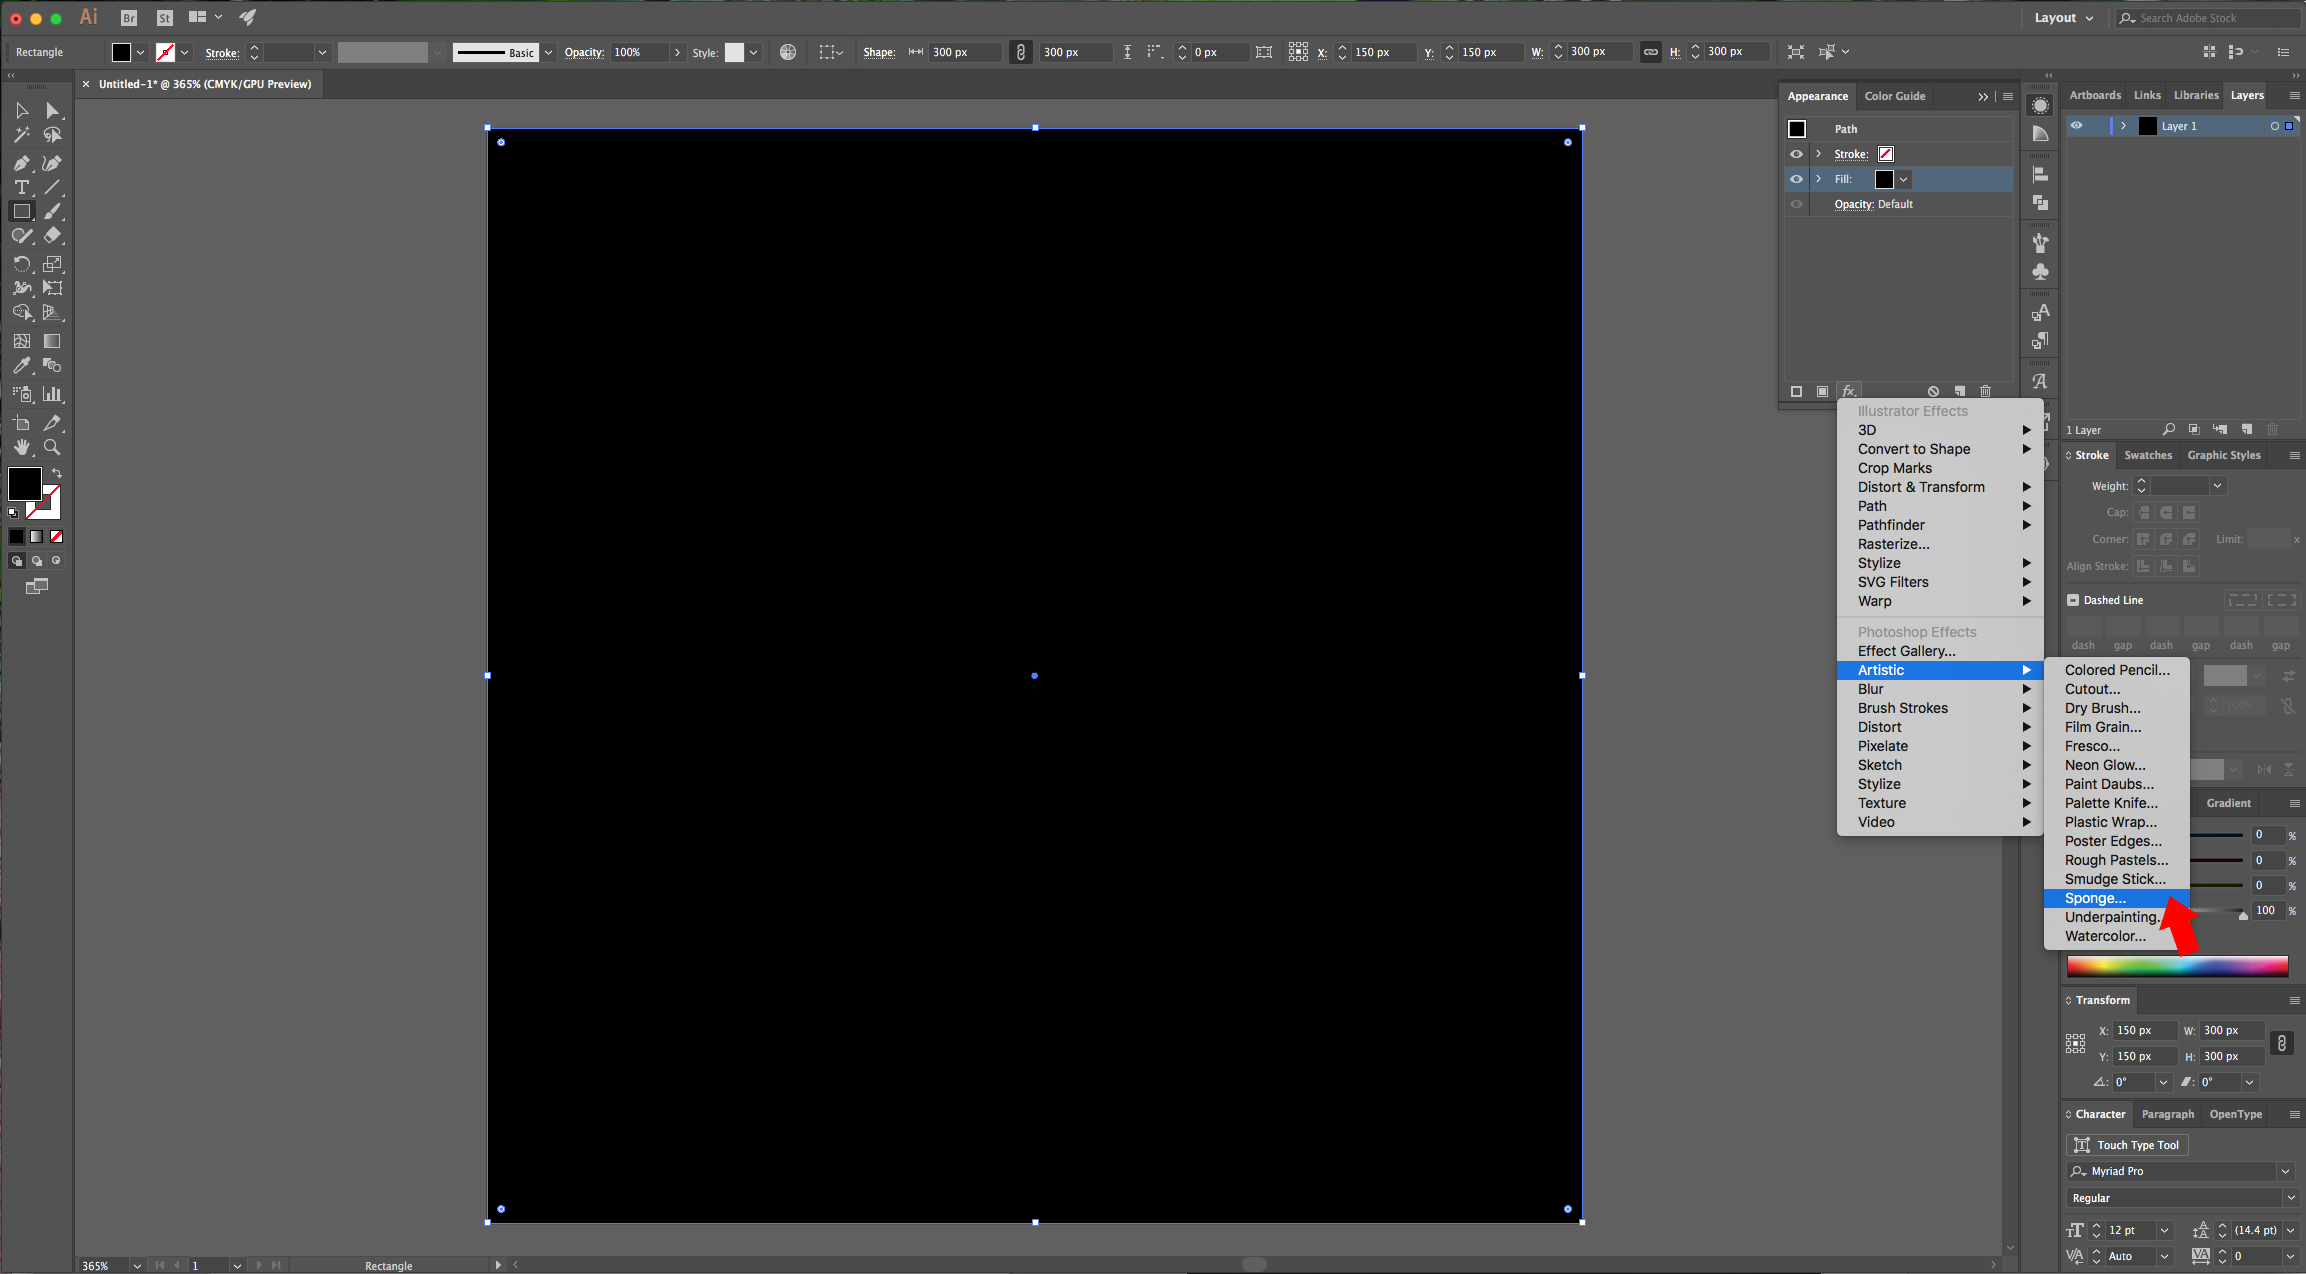
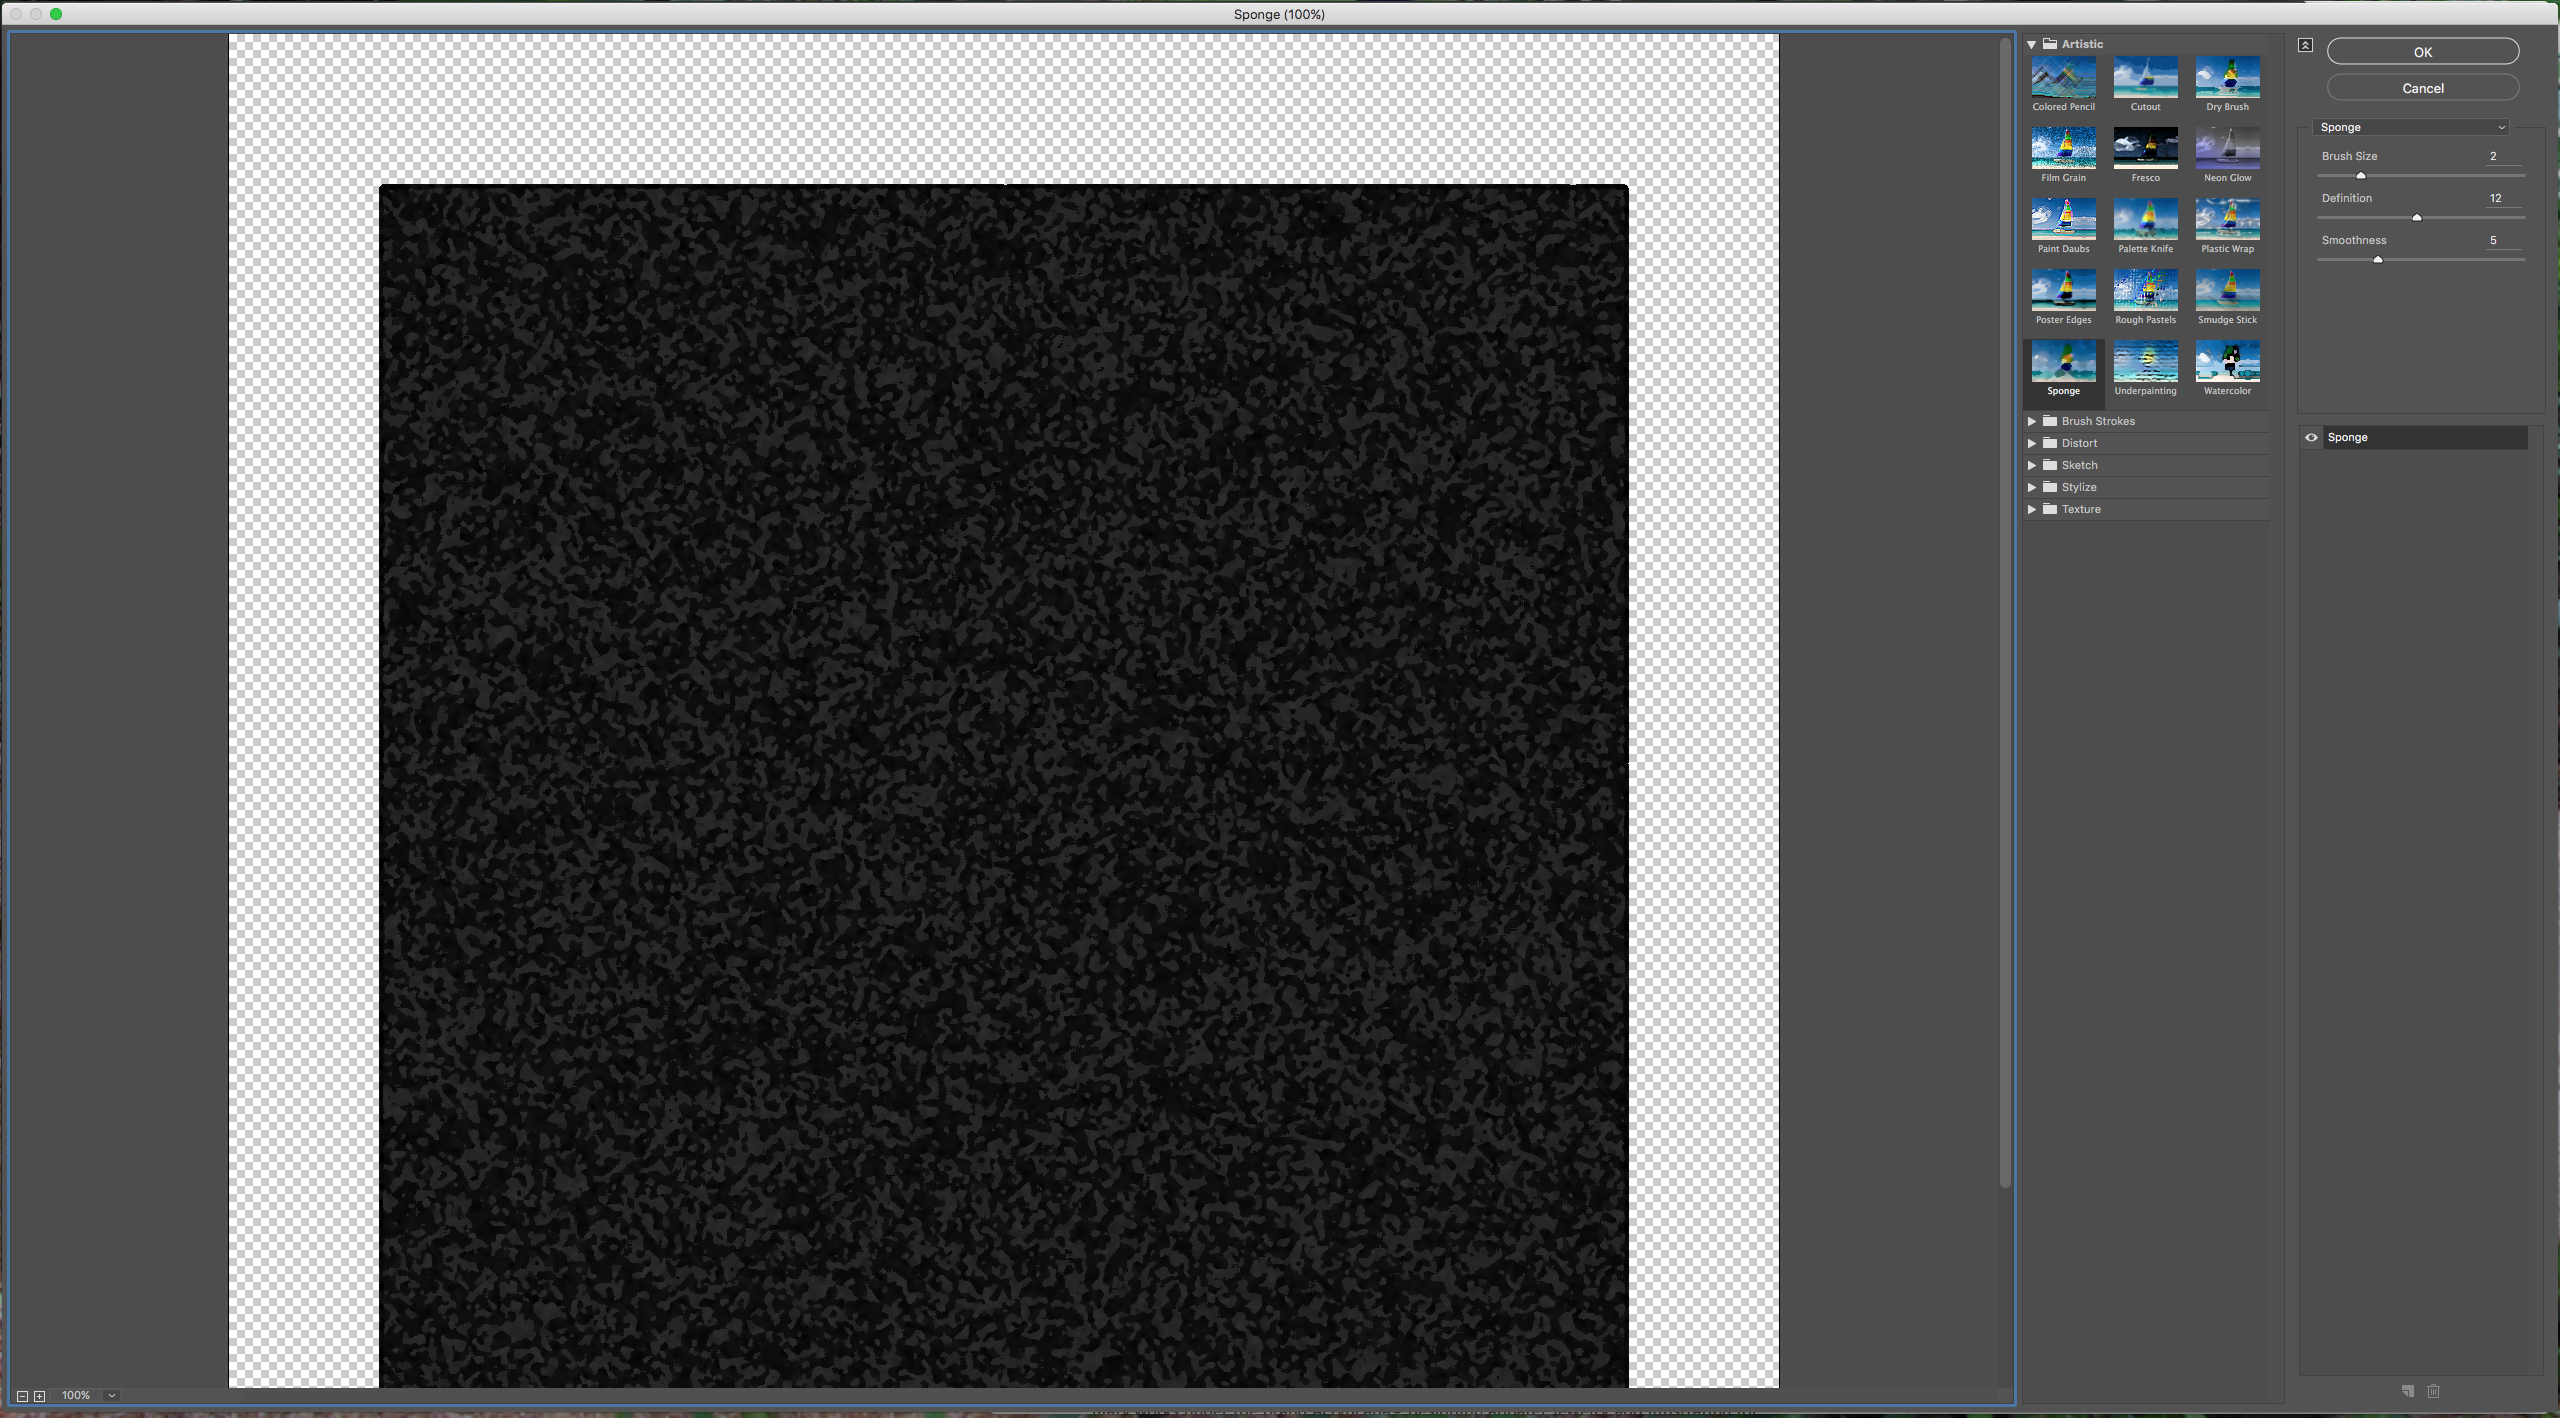
3 - In the “Appearance” Panel select the “Fill”, click on the “Add New Effect” button at the bottom of the Panel and go to Artistic > Sponge, apply the default values:
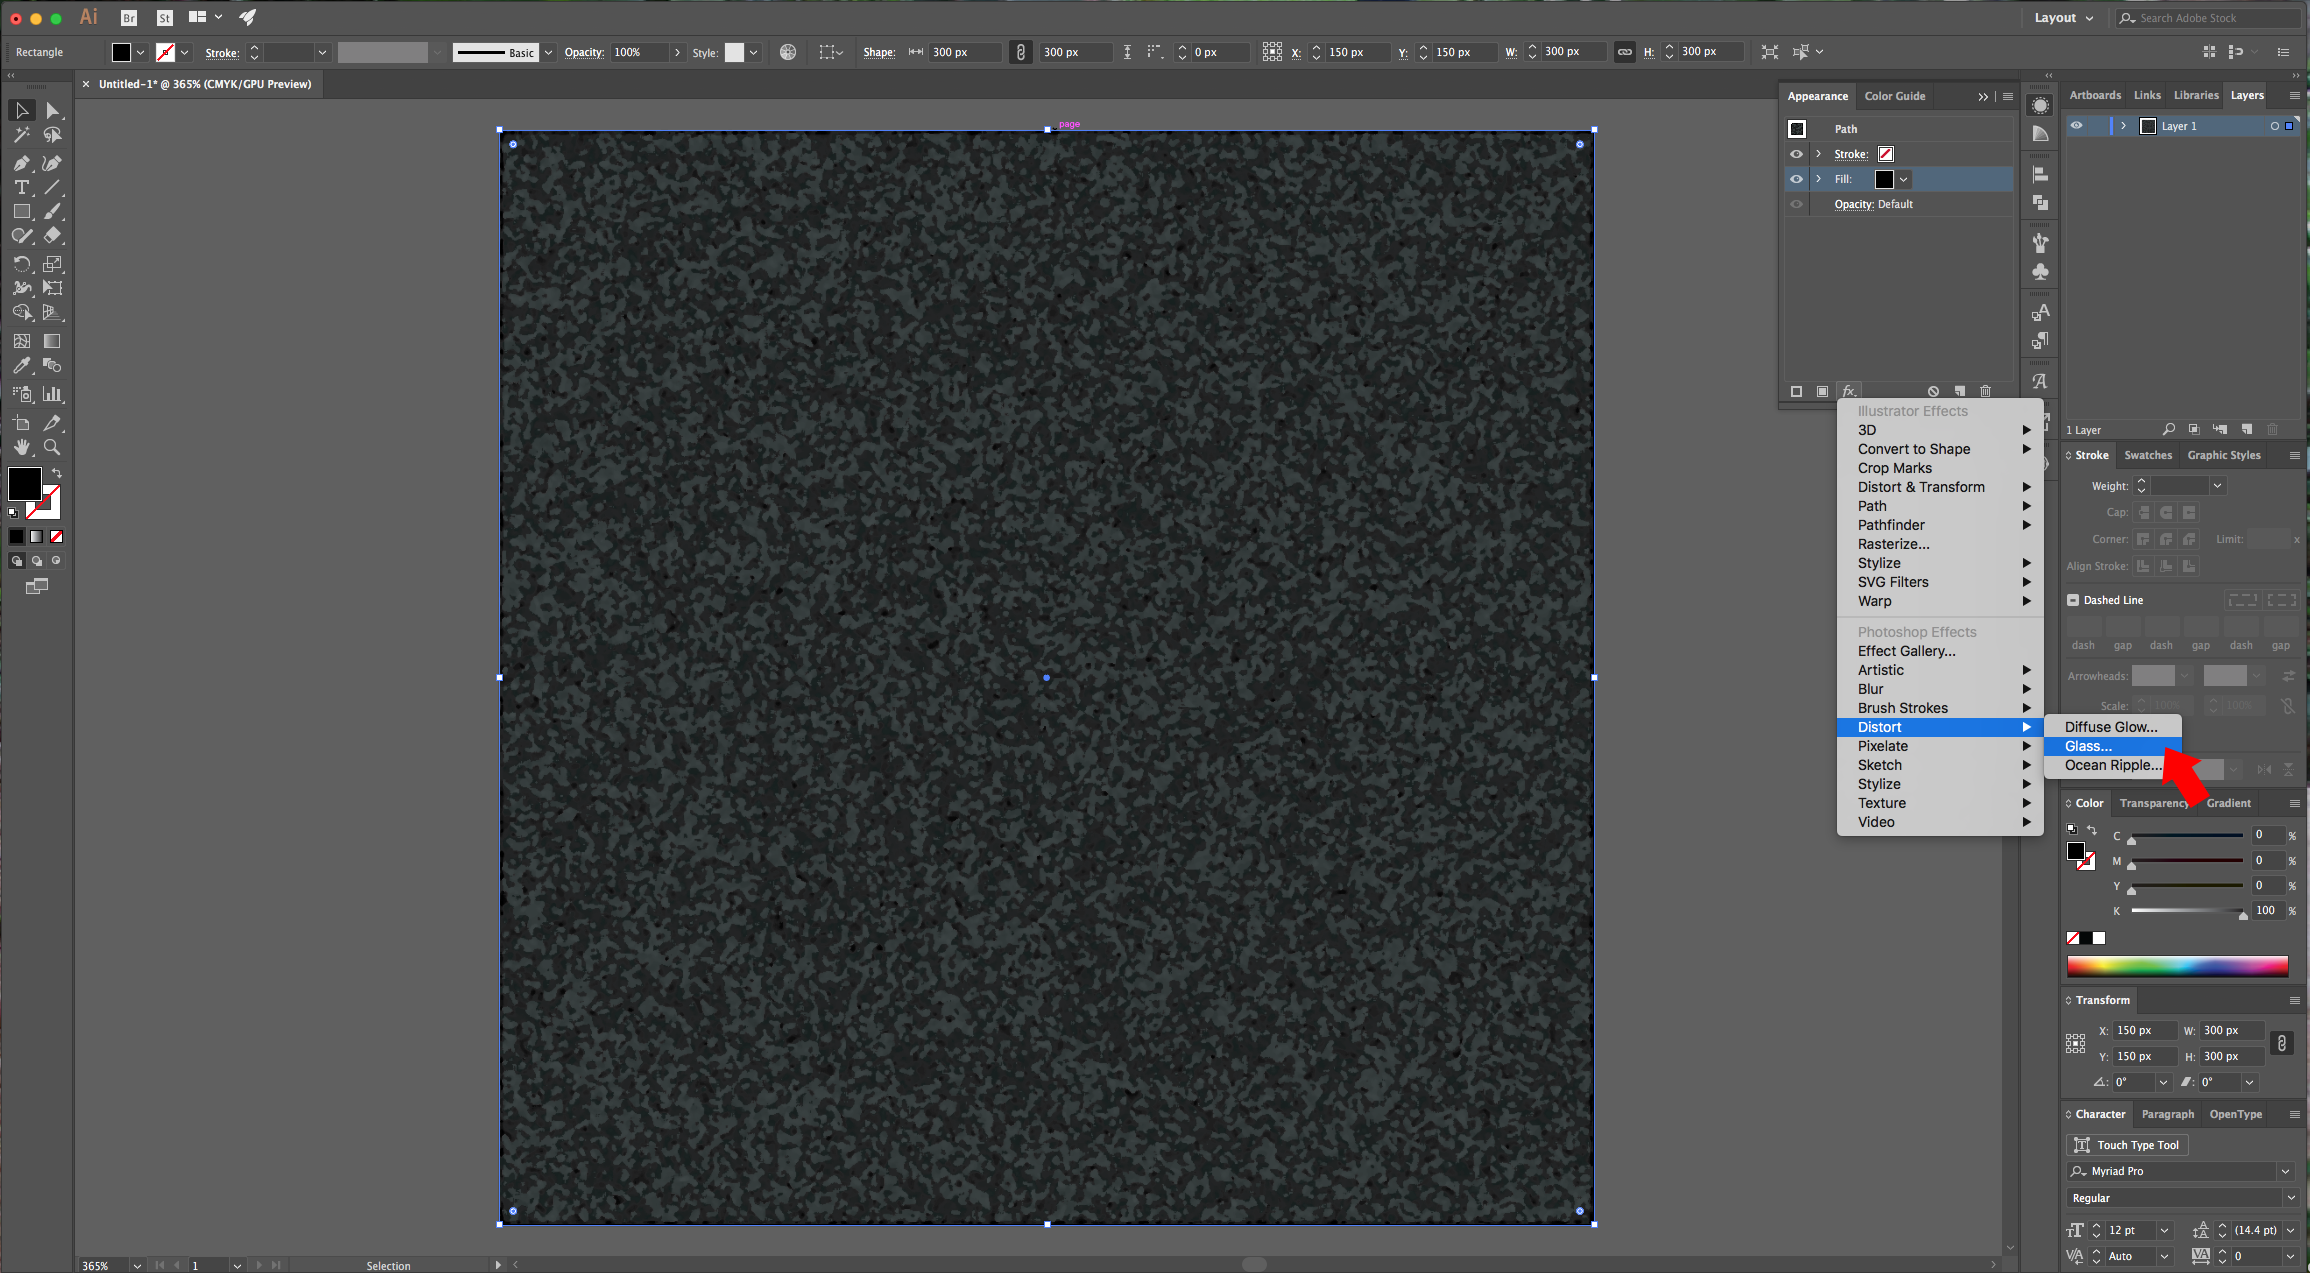
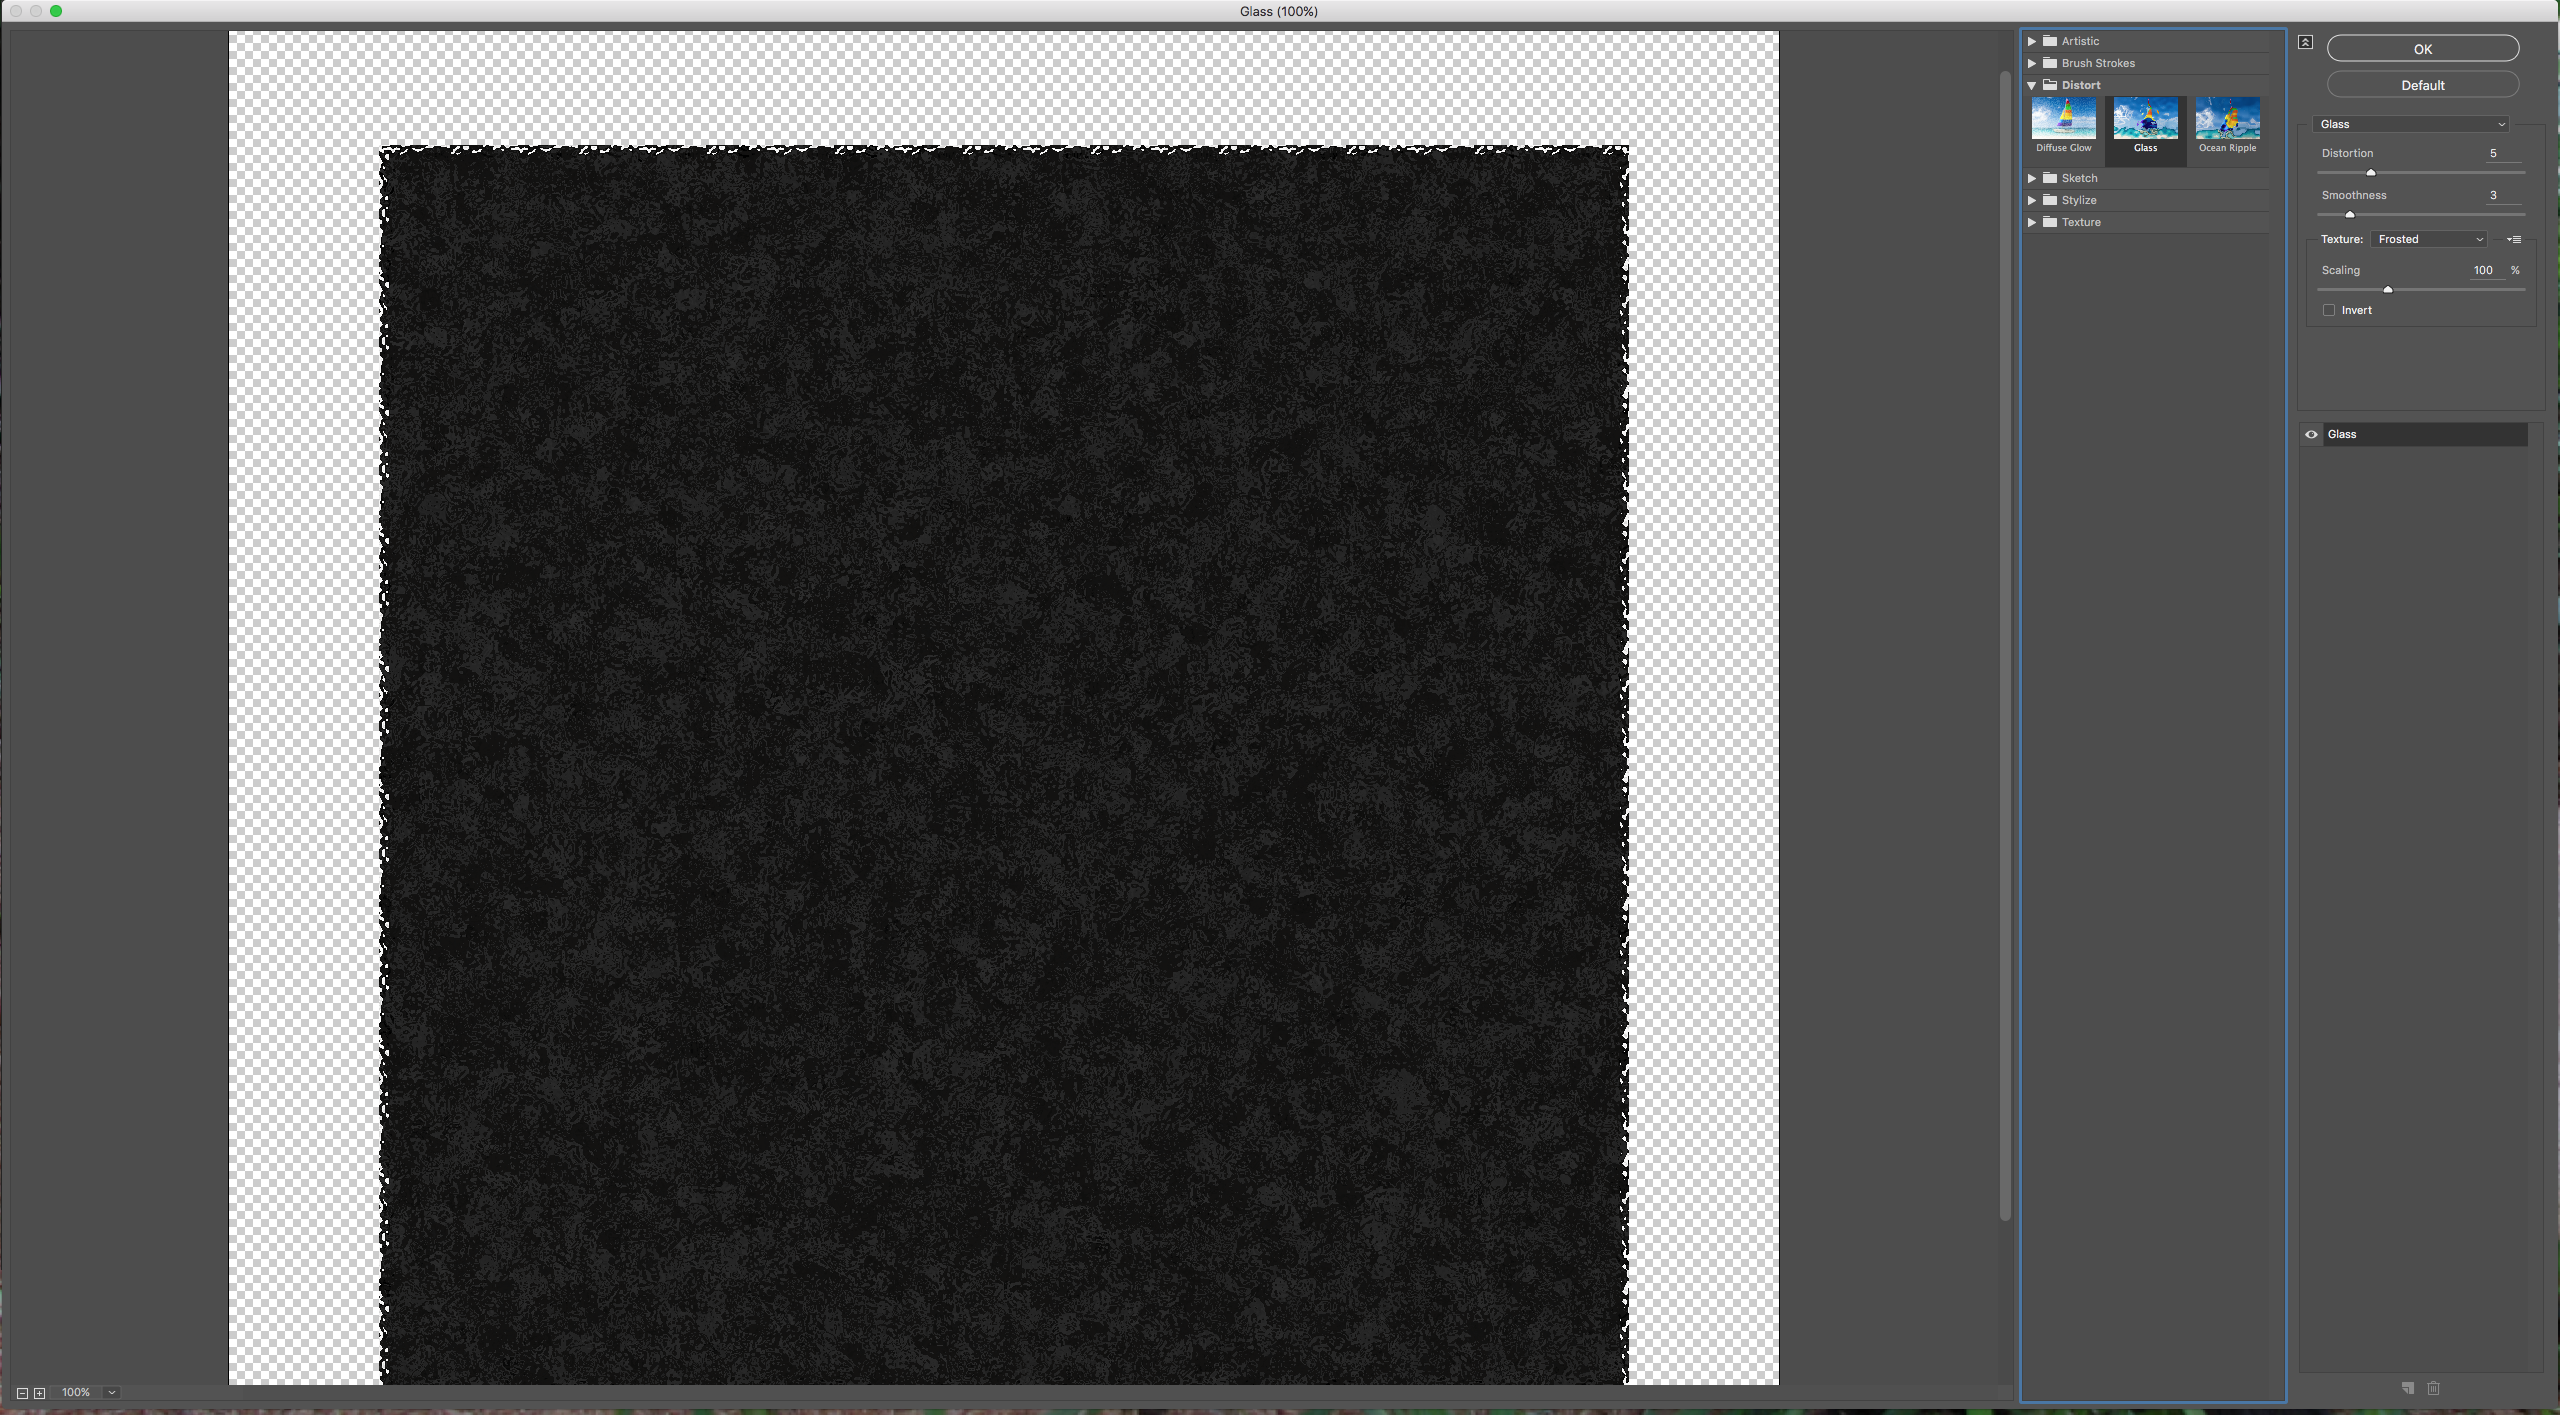
4 - Then go to Distort > Glass and use the following values:
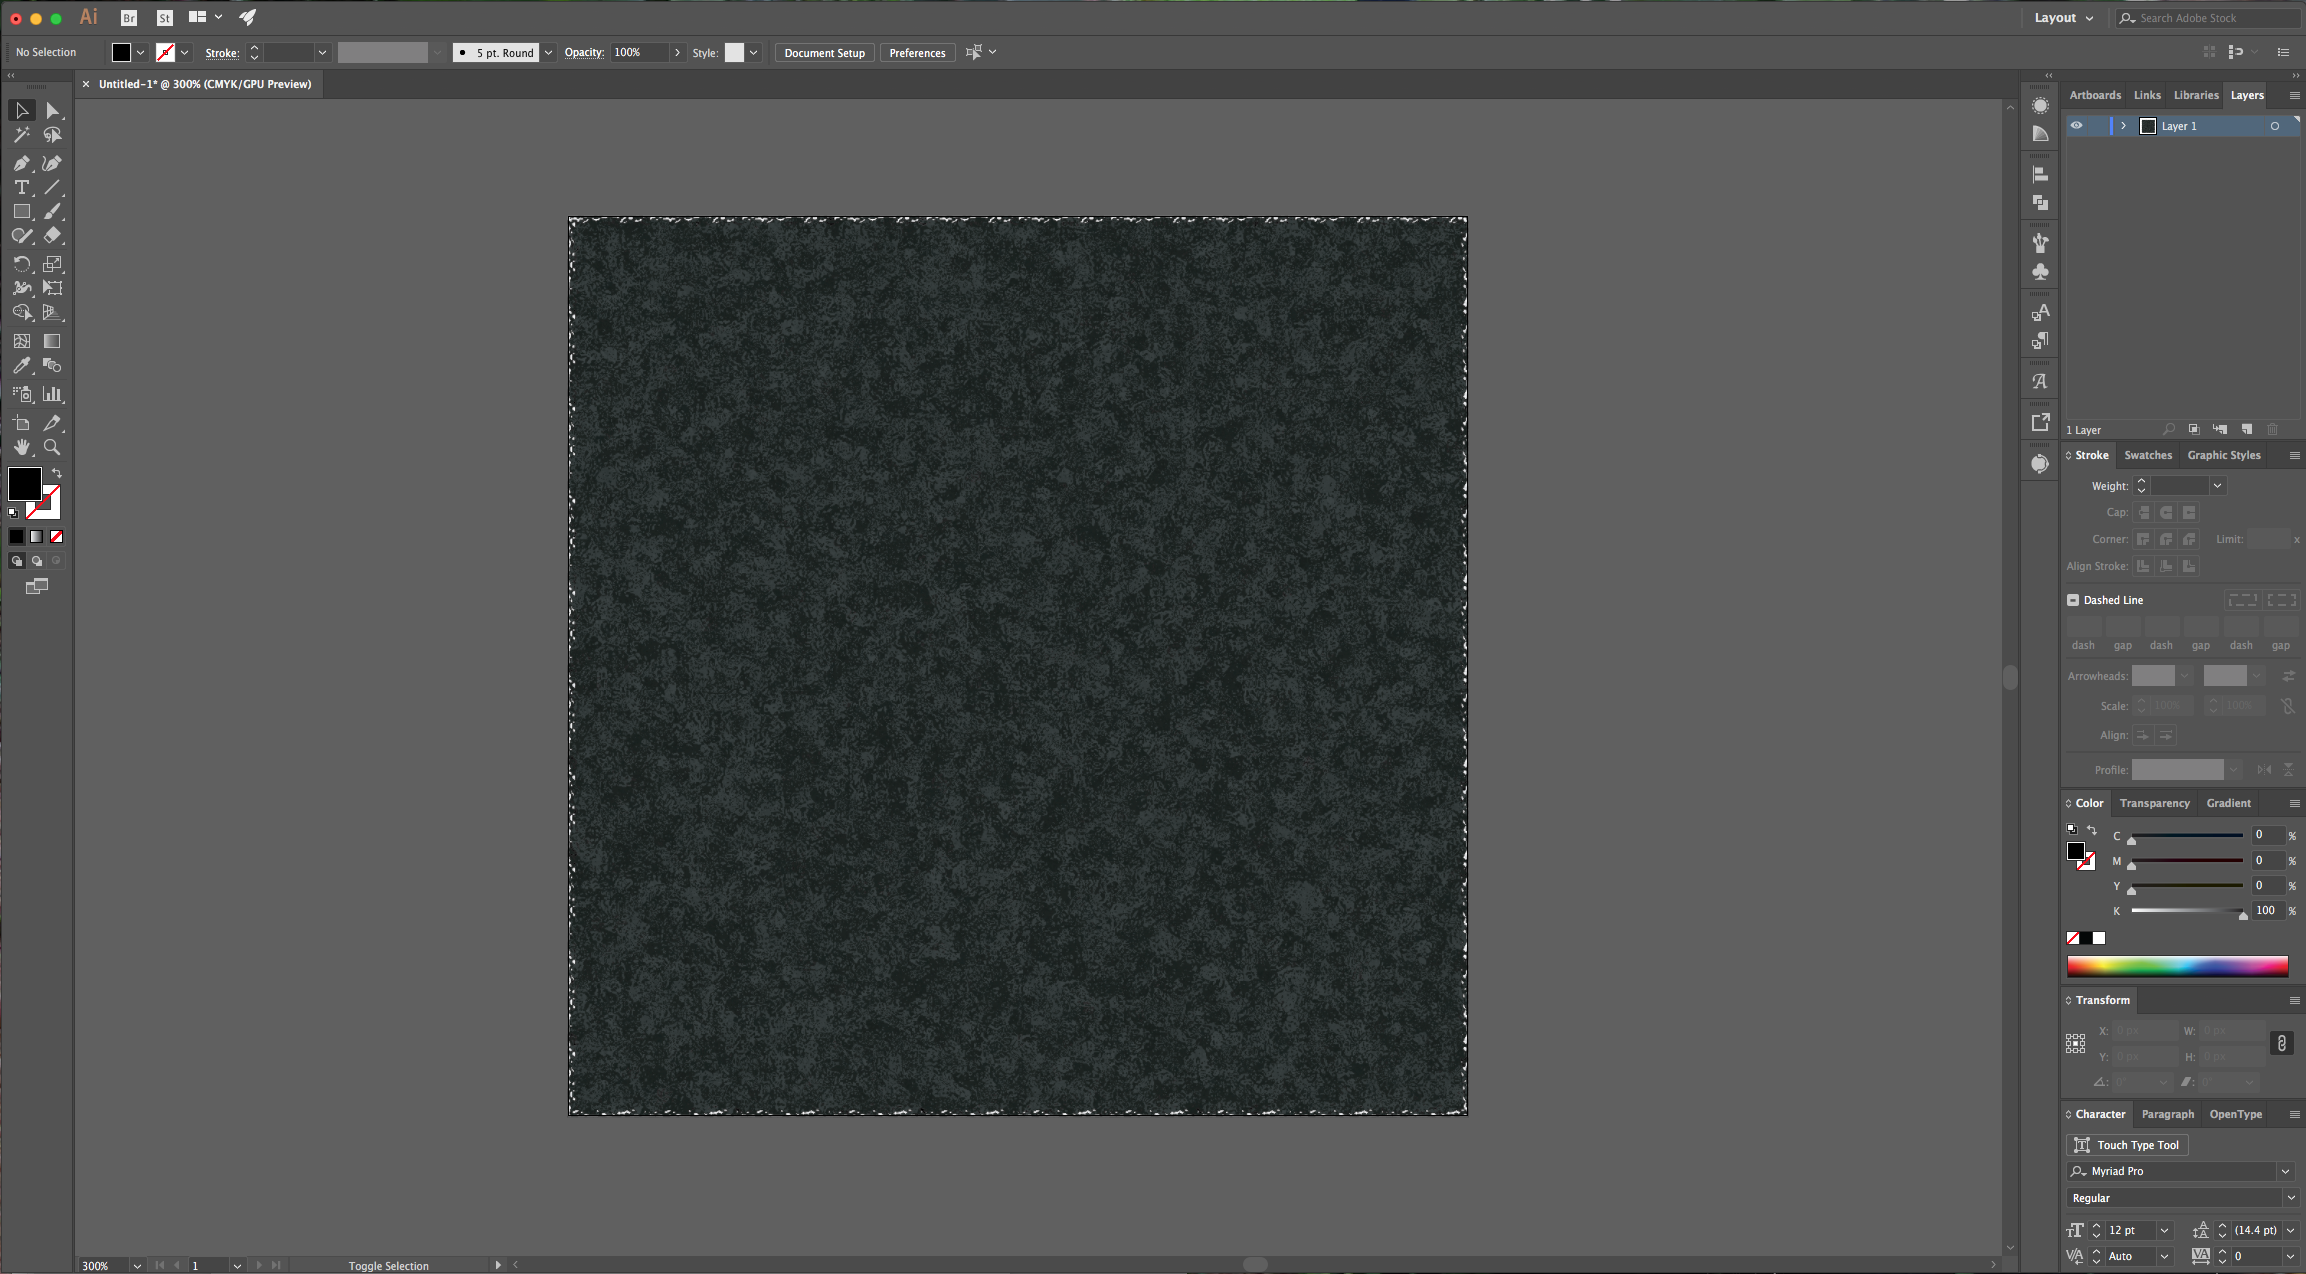
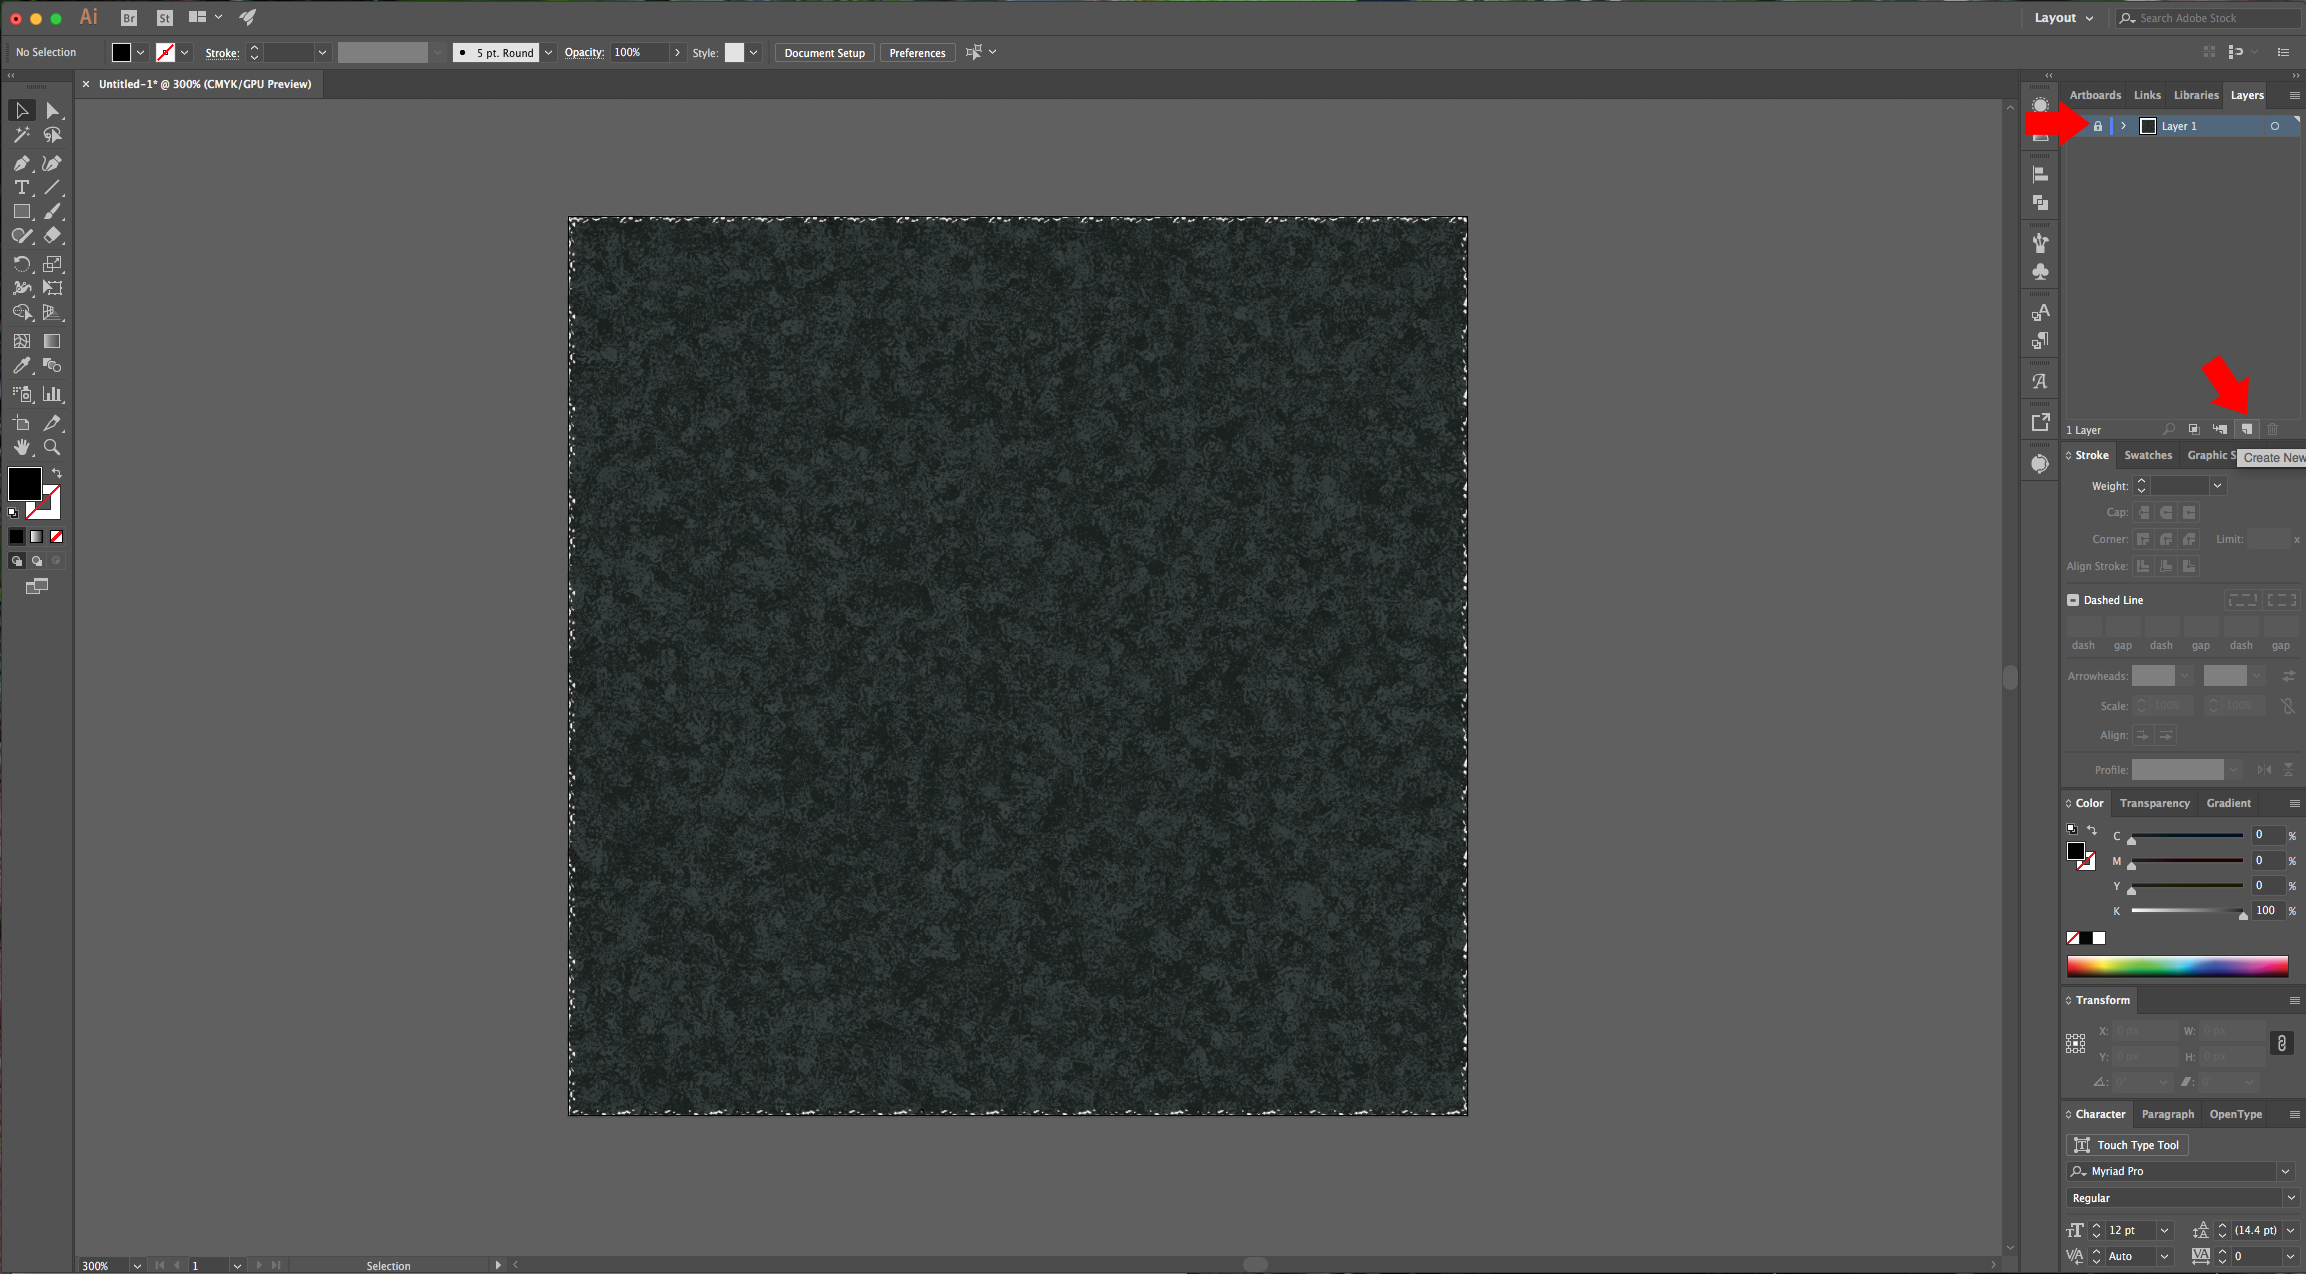
5 - Go to the “Layers” Panel and lock your current layer by clicking on the small space to the left of the thumbnail and invoke the small lock icon. Then create a “New Layer” (Command/Control + L) or click the small button at the bottom of the Panel.
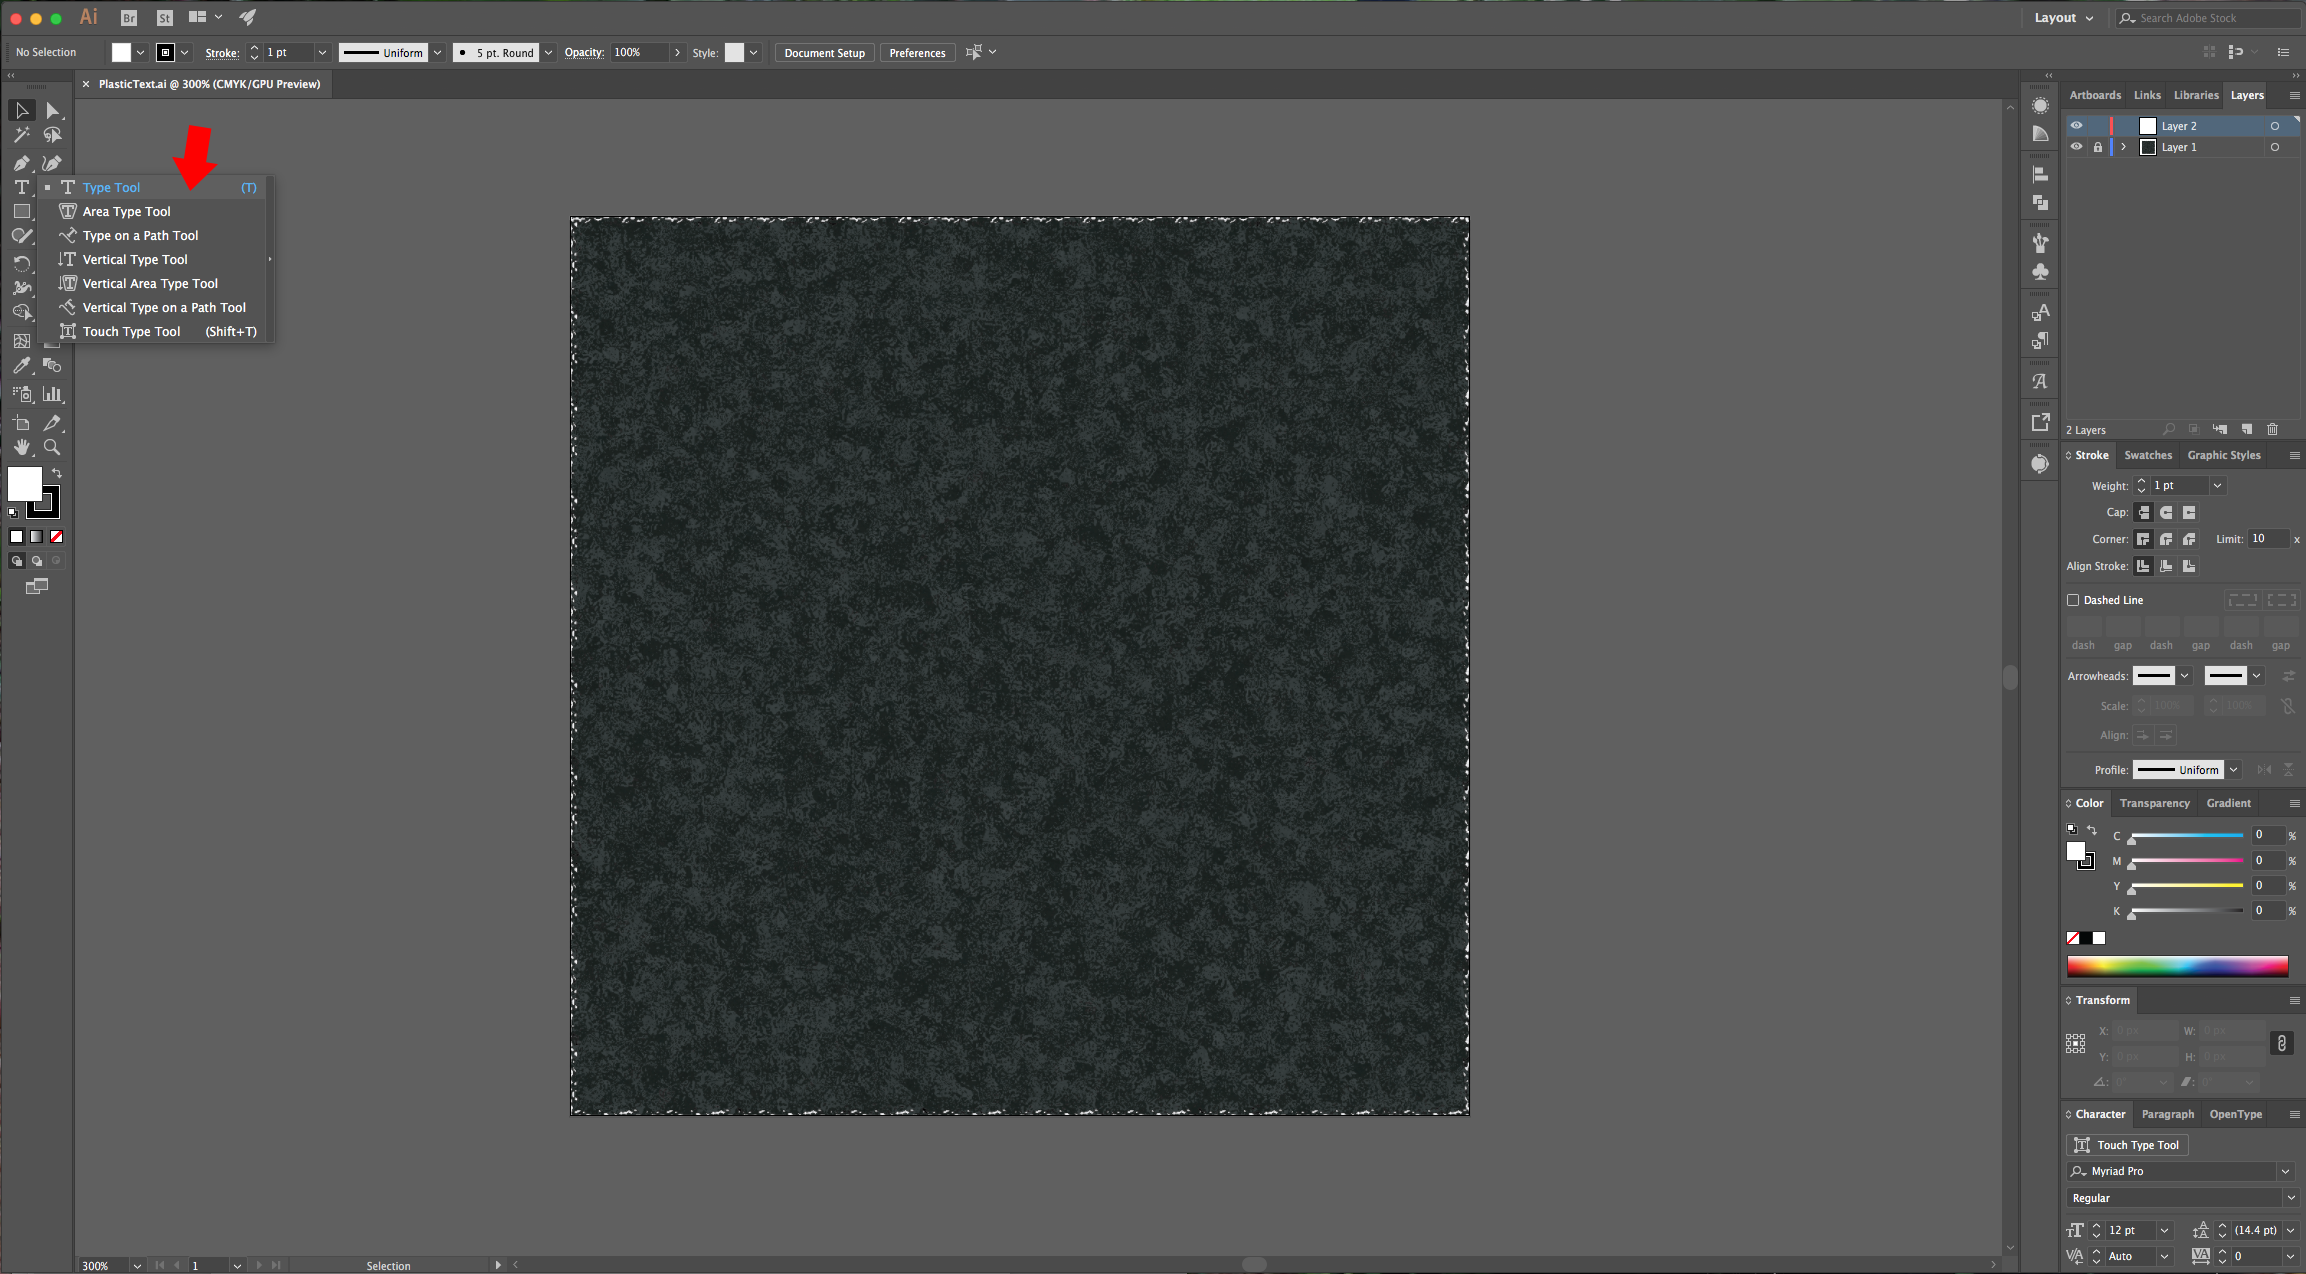
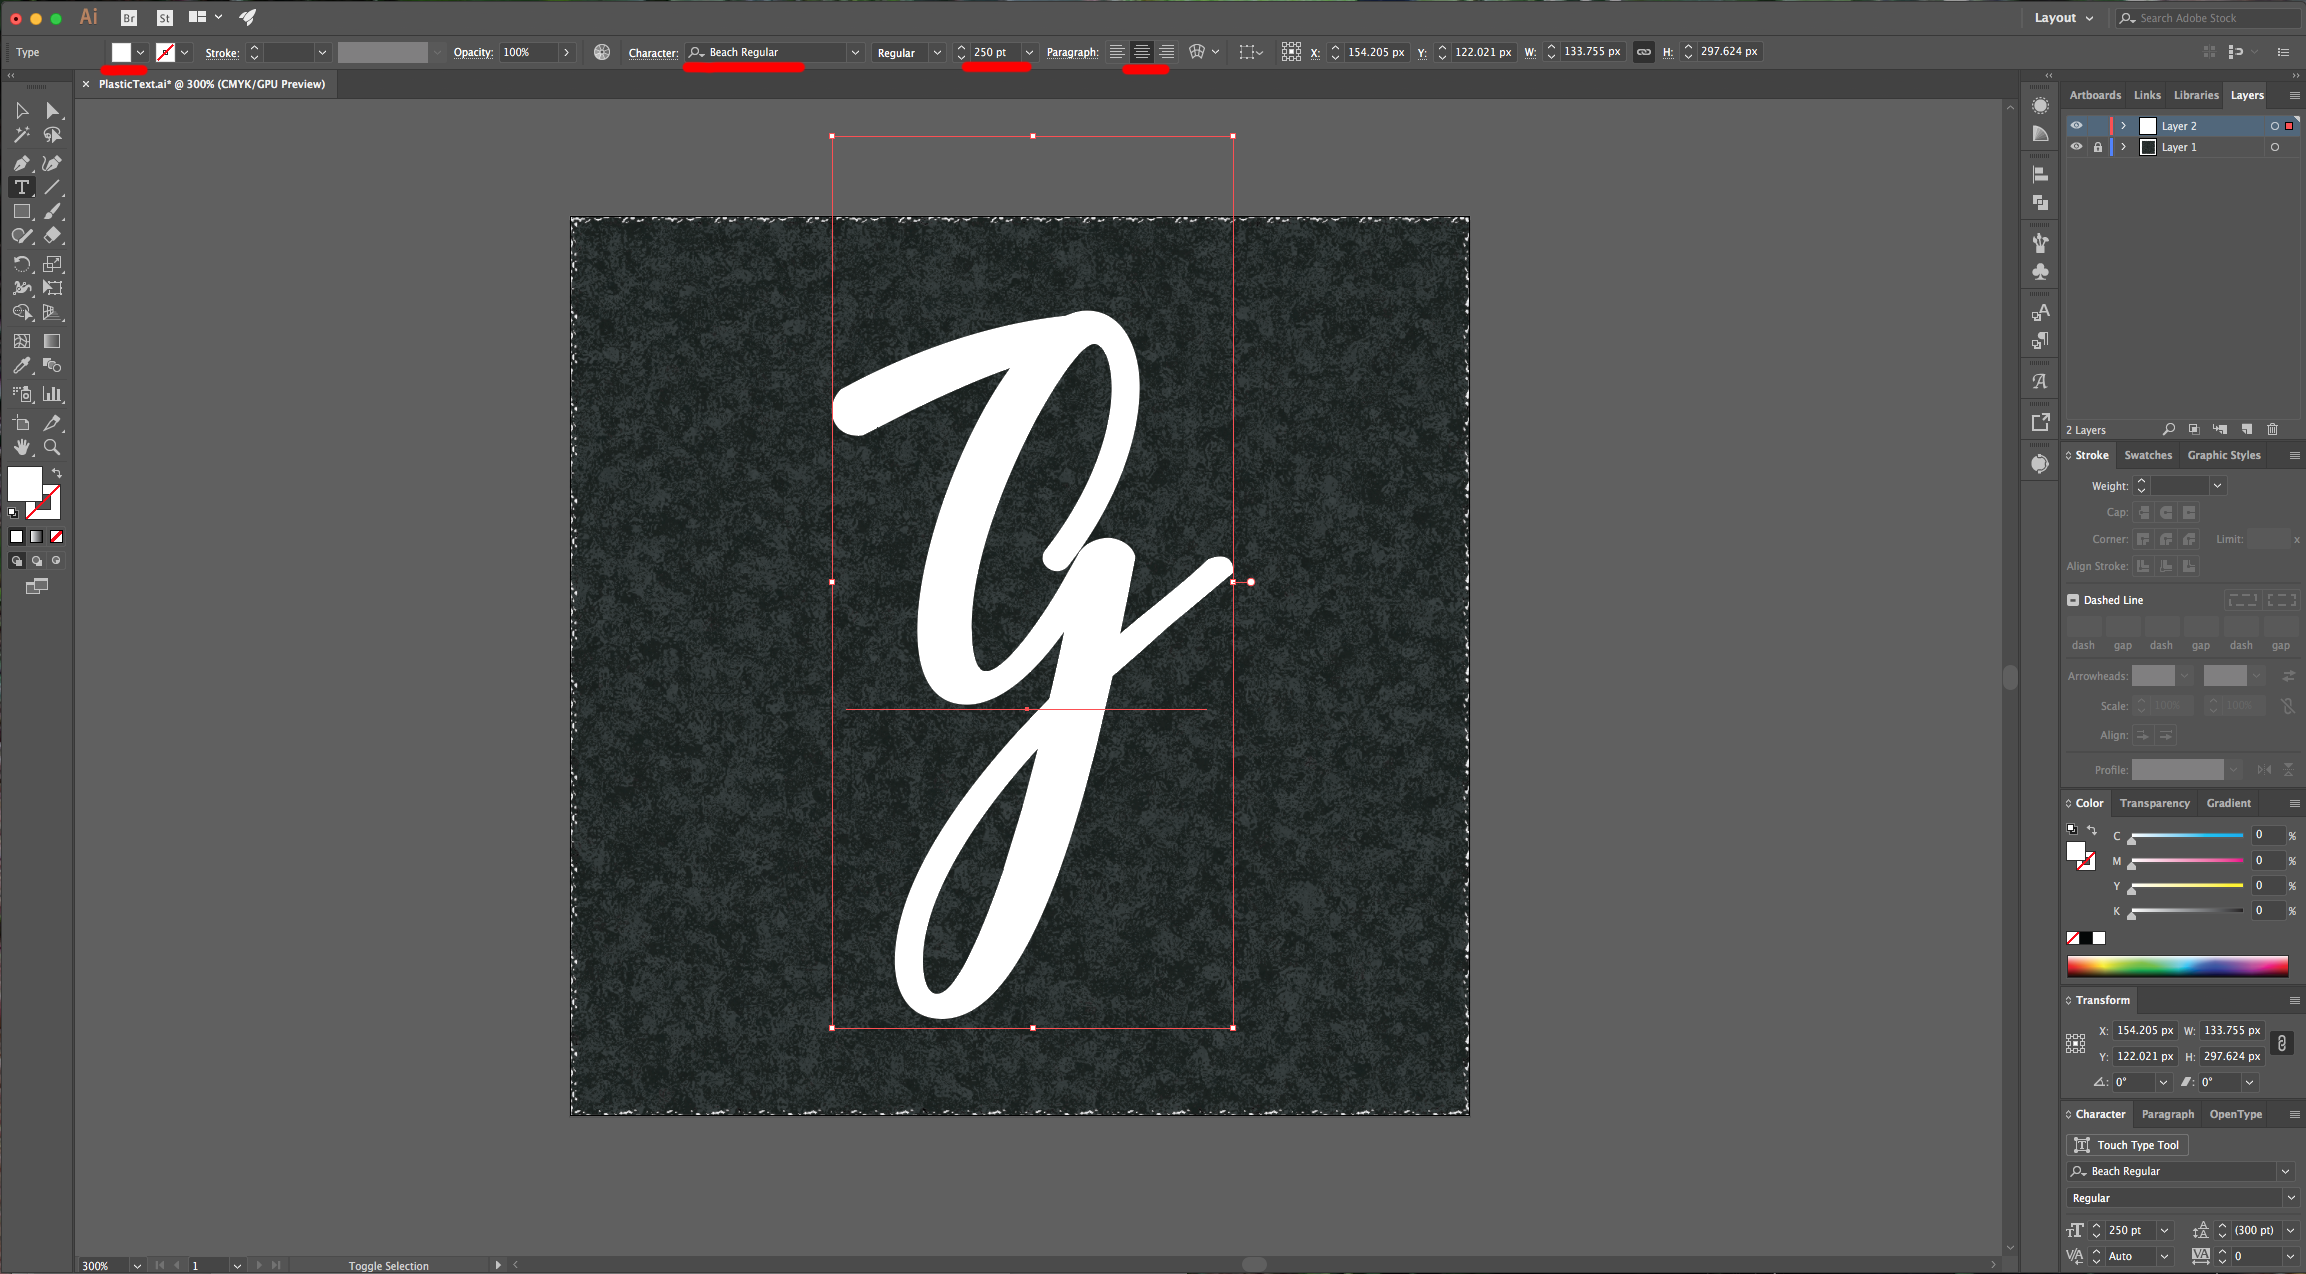
6 - Select the “Type Tool” (T) and choose the font of your liking (we used Beach Regular). Type some text.
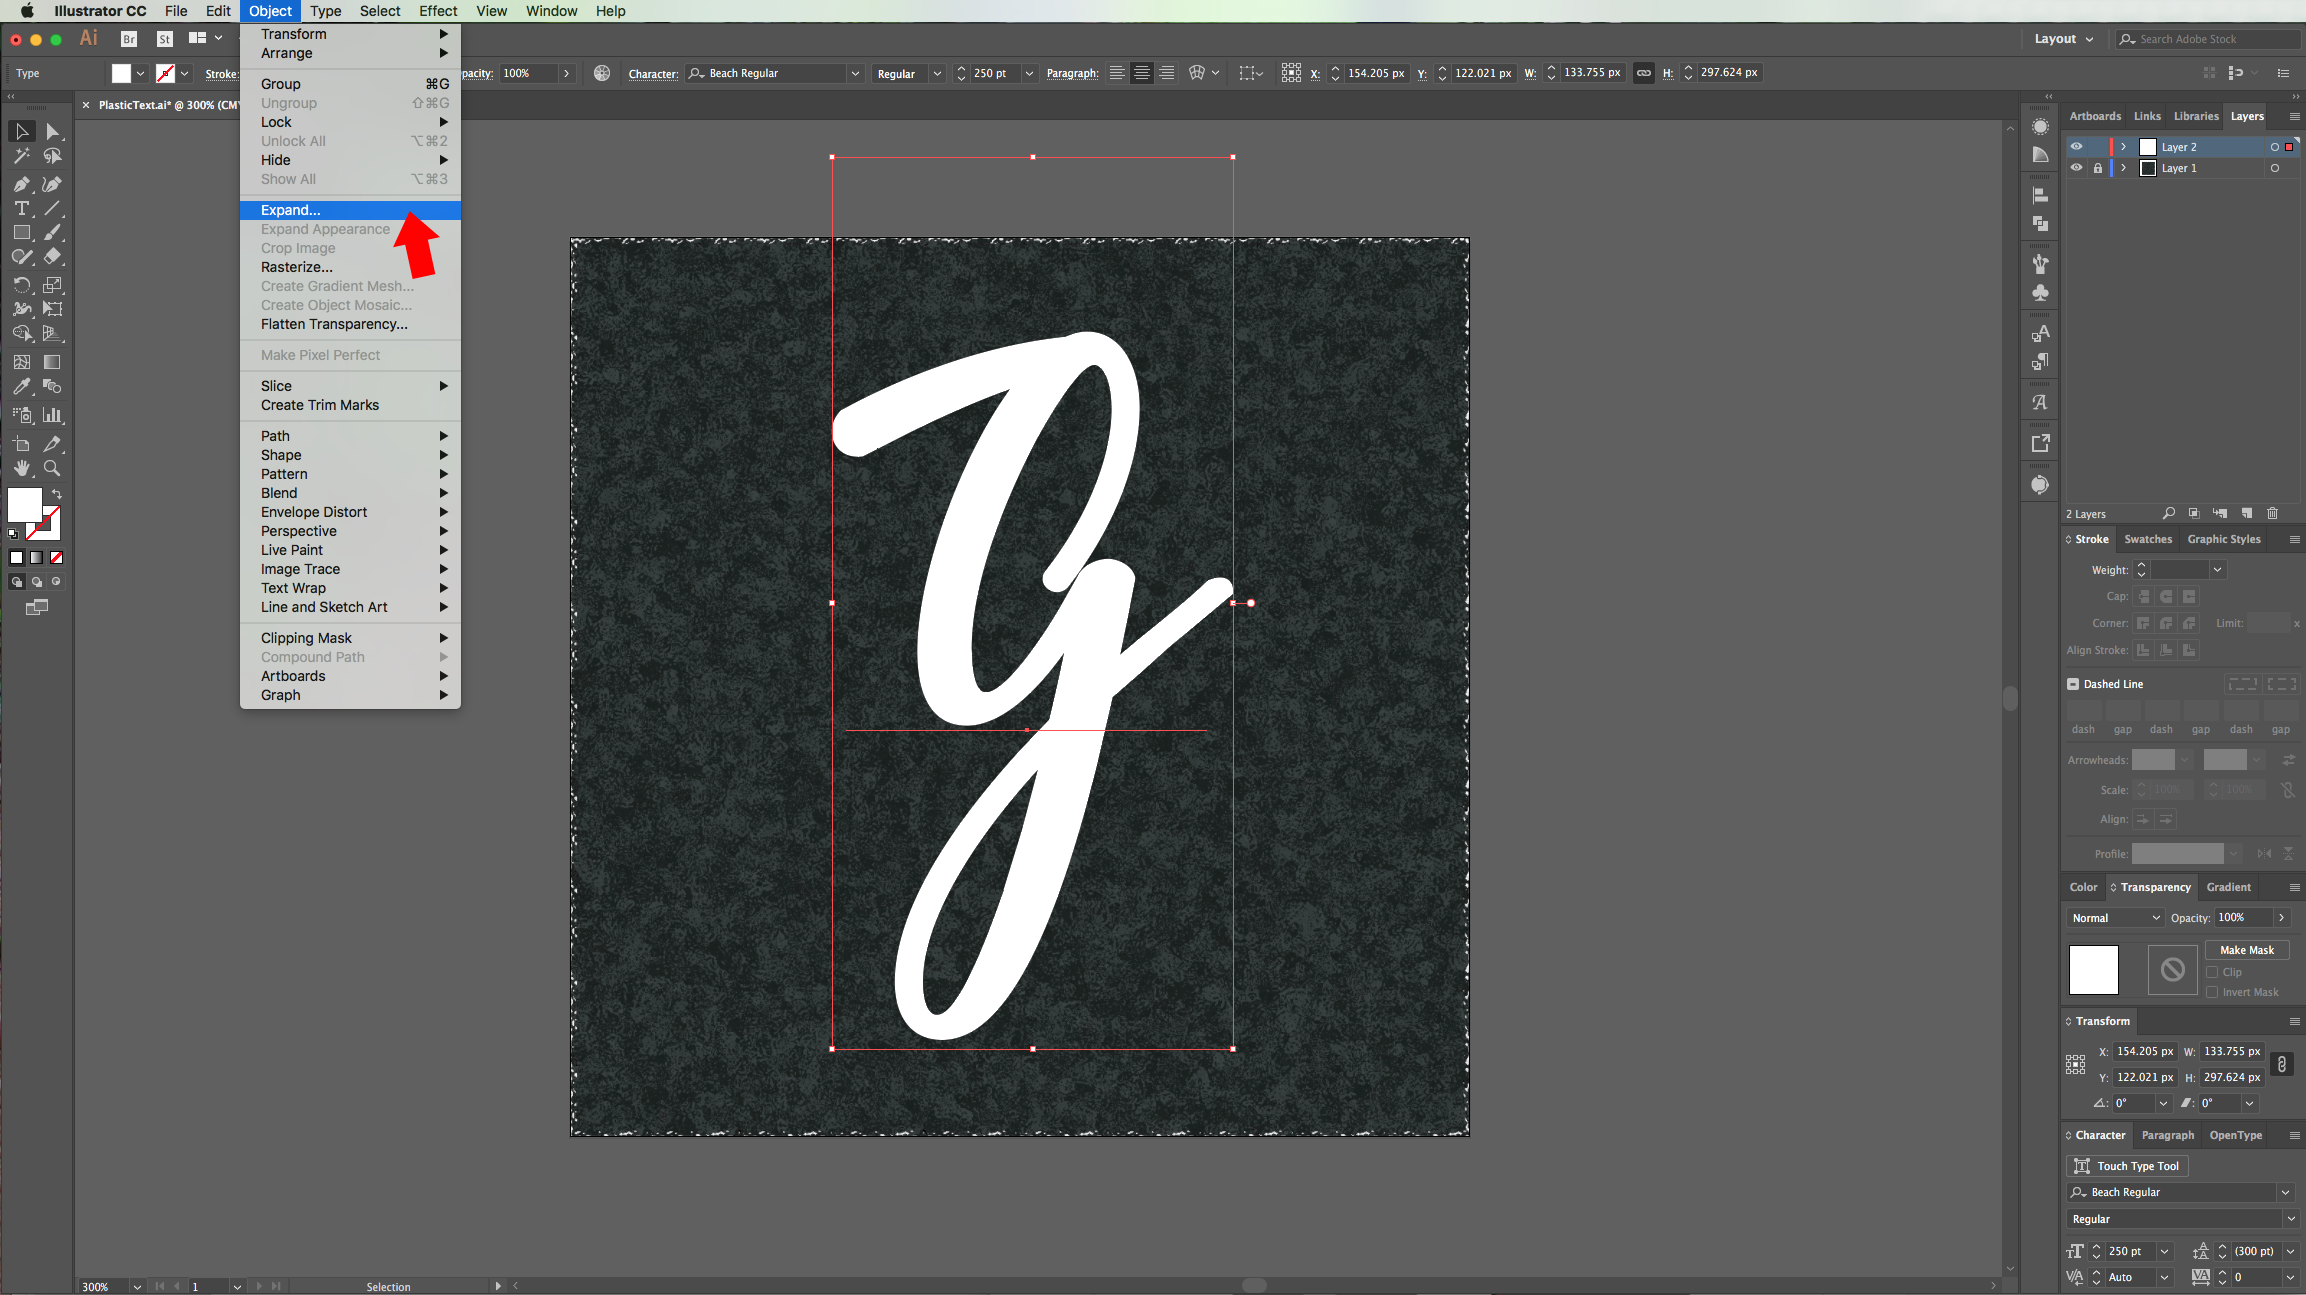
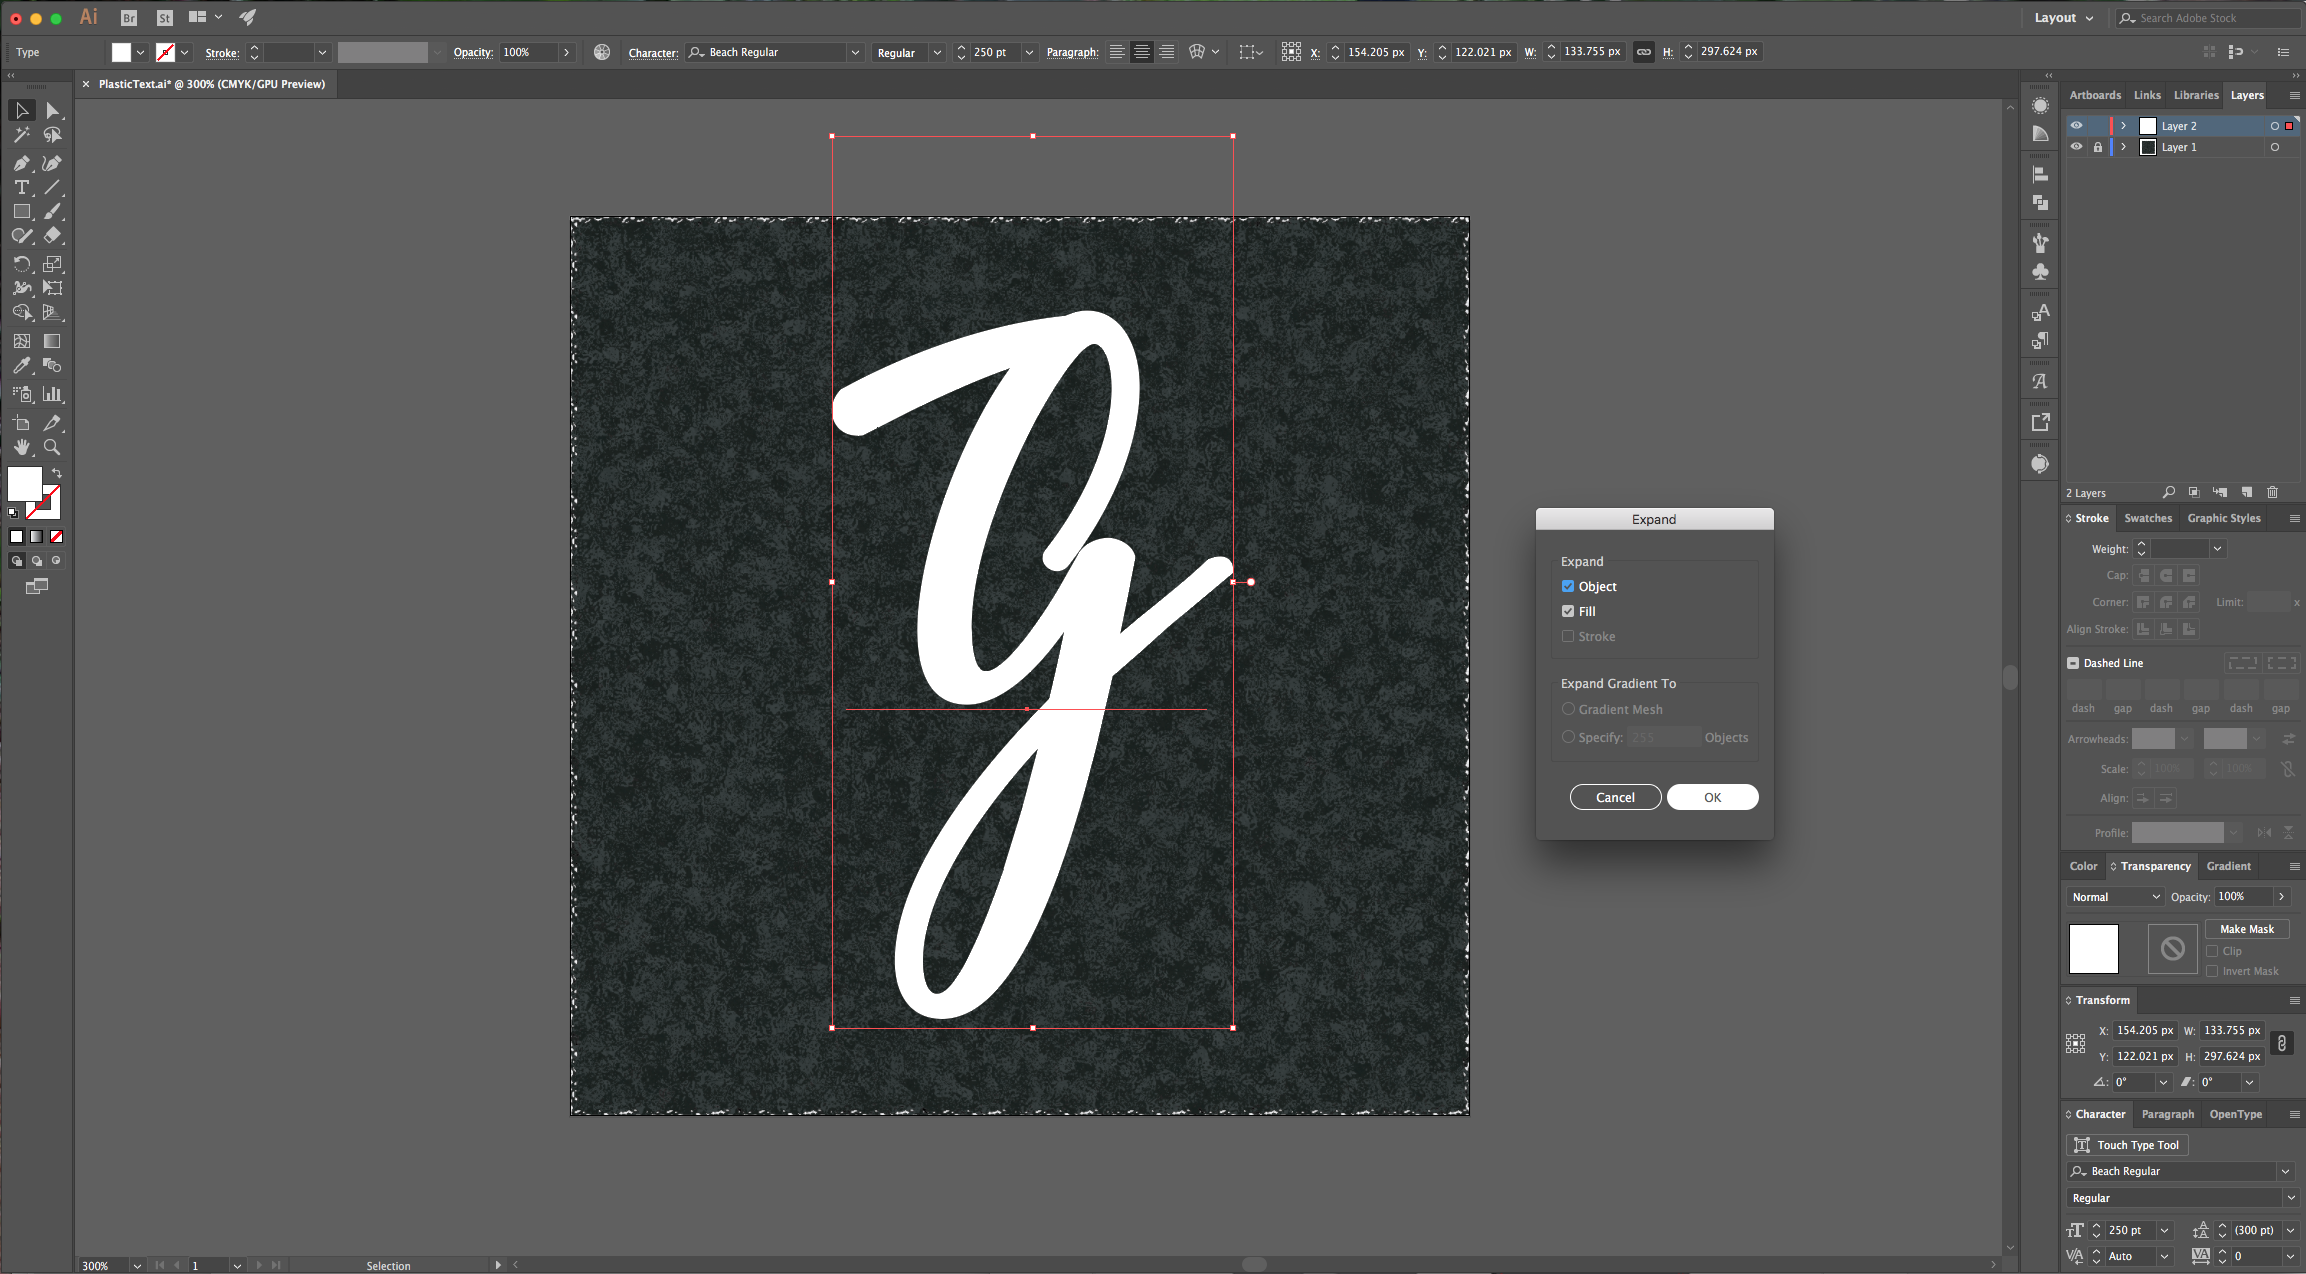
7 - With your text selected go to Object > Expand and make sure that the “Object” and “Fill” boxes are checked. Click “OK”.
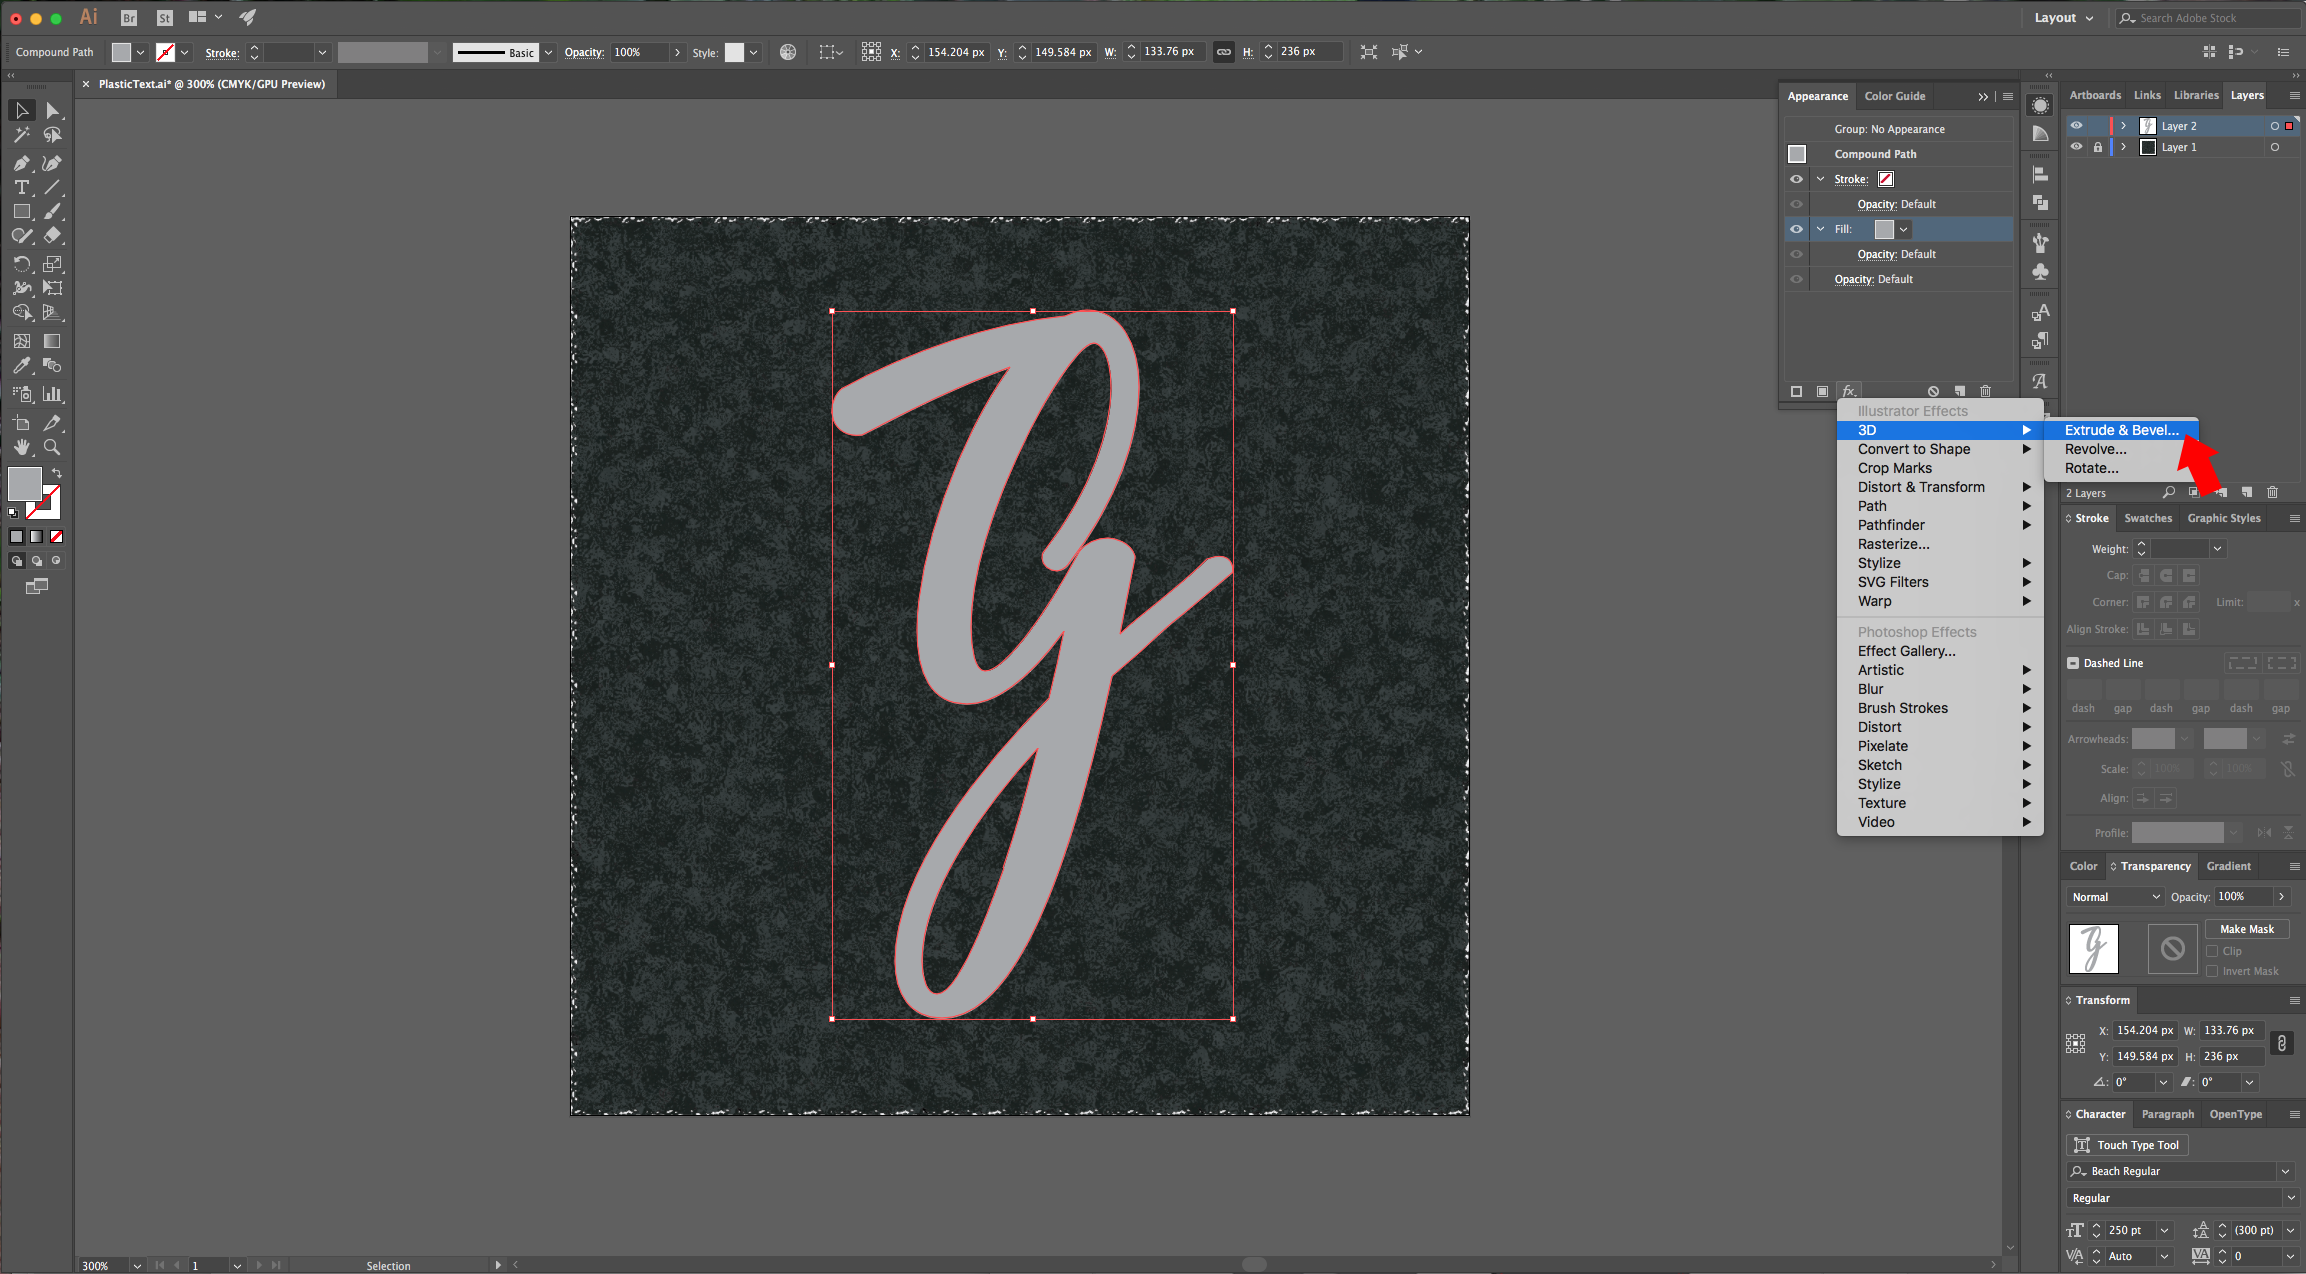
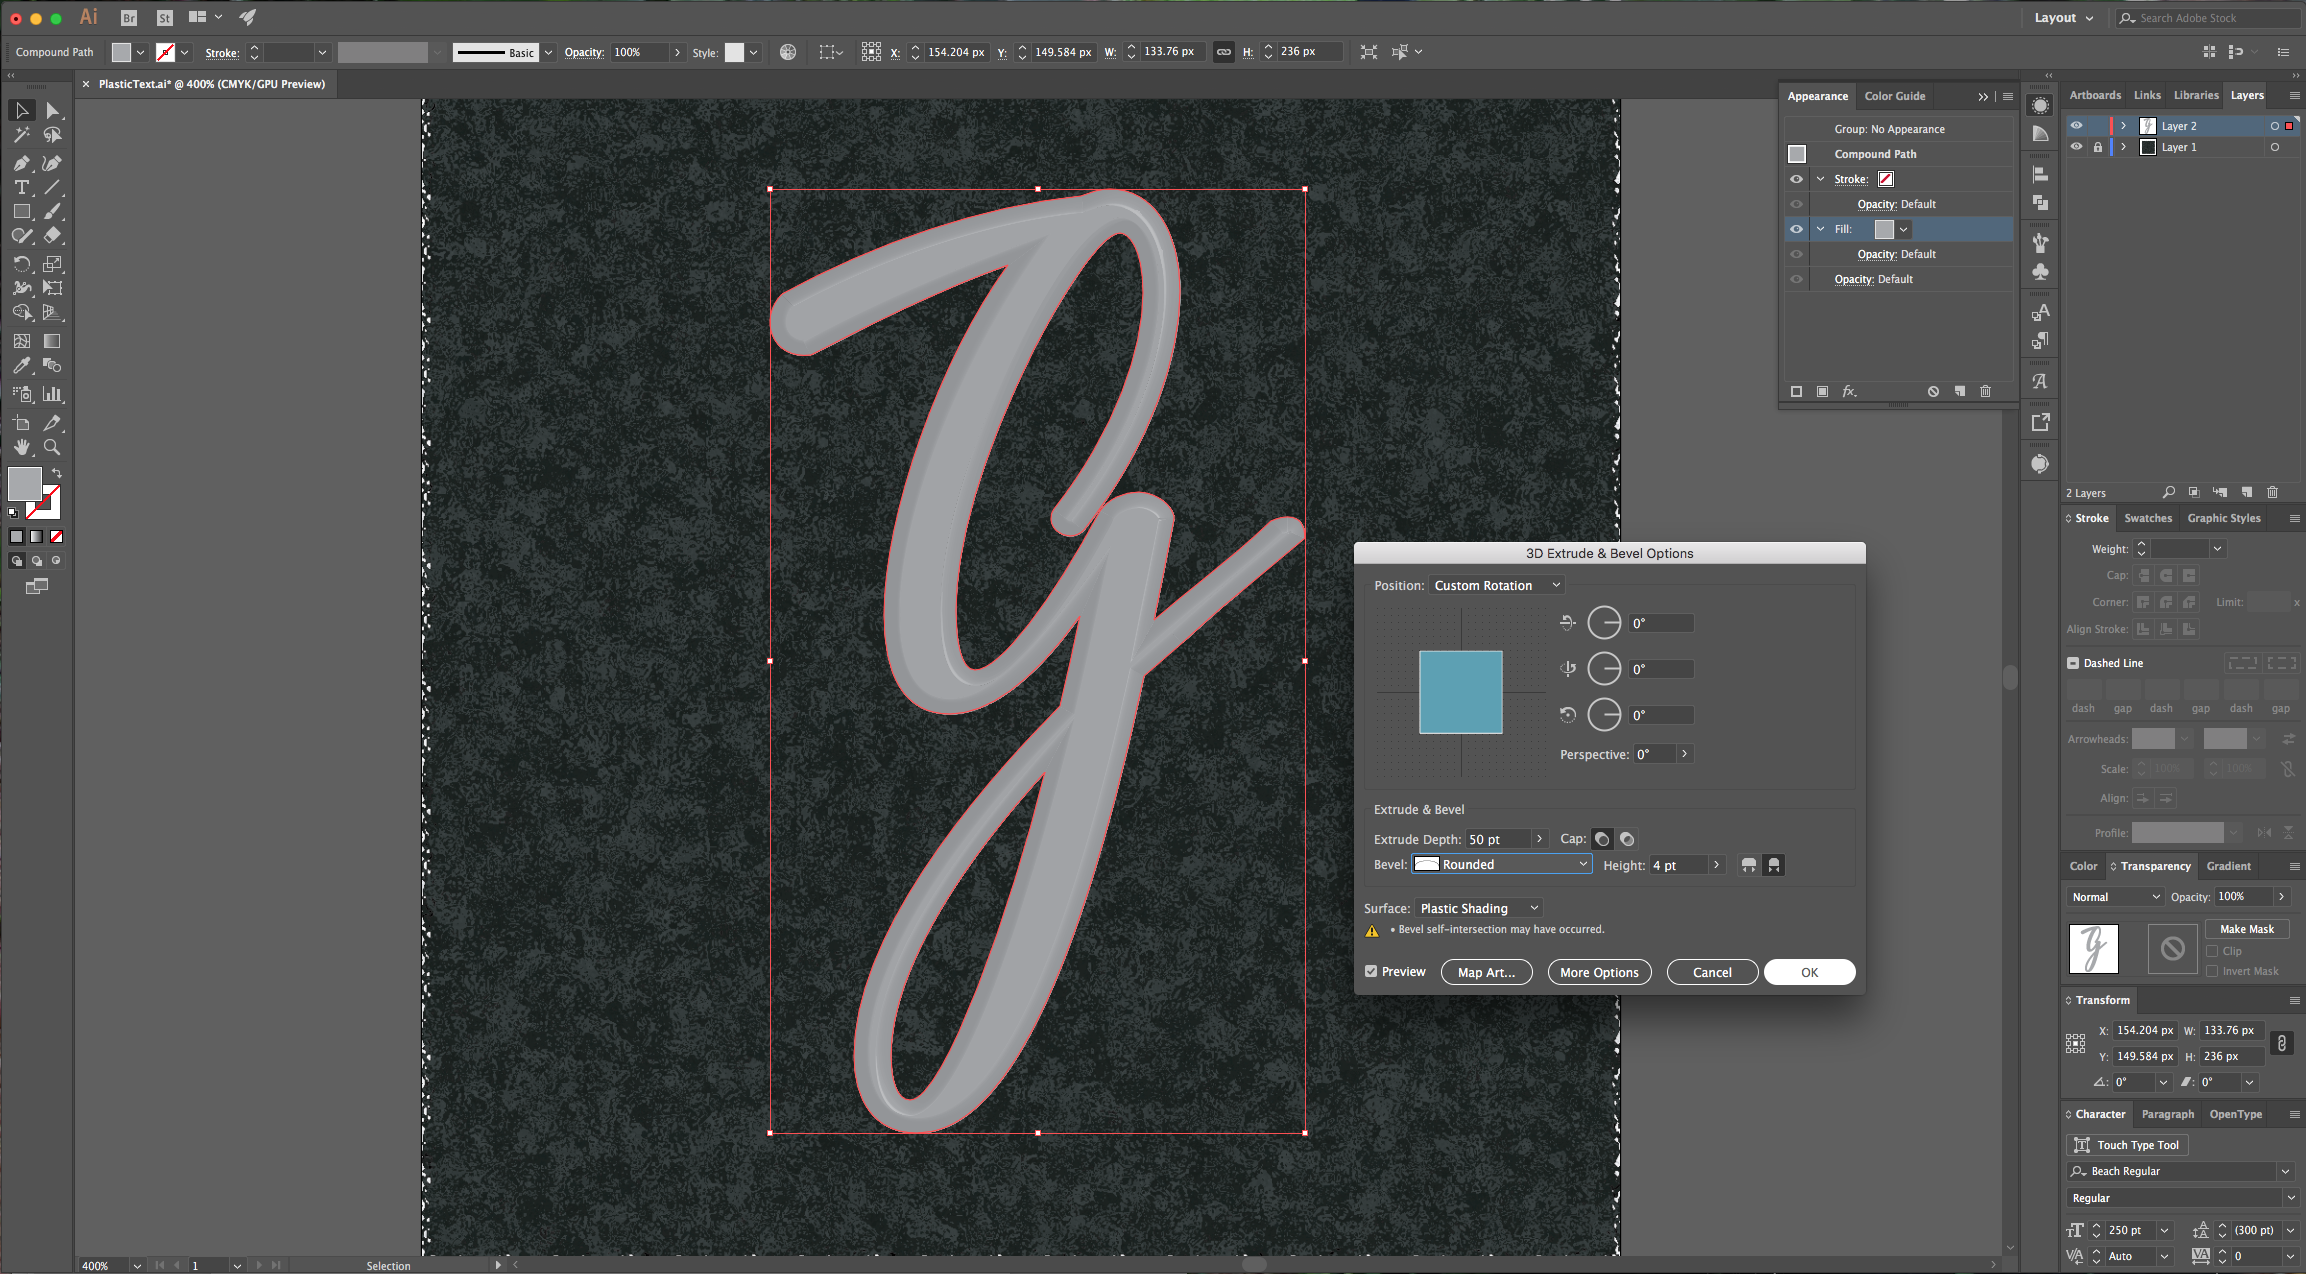
8 - In the “Appearance” Panel double-click on “Contents” and change your text “Fill” to a medium gray. Then go to the “Effect” menu and choose 3D > Extrude & Bevel, set each axis to 0° and use a “Rounded” 4 Point “Bevel”.
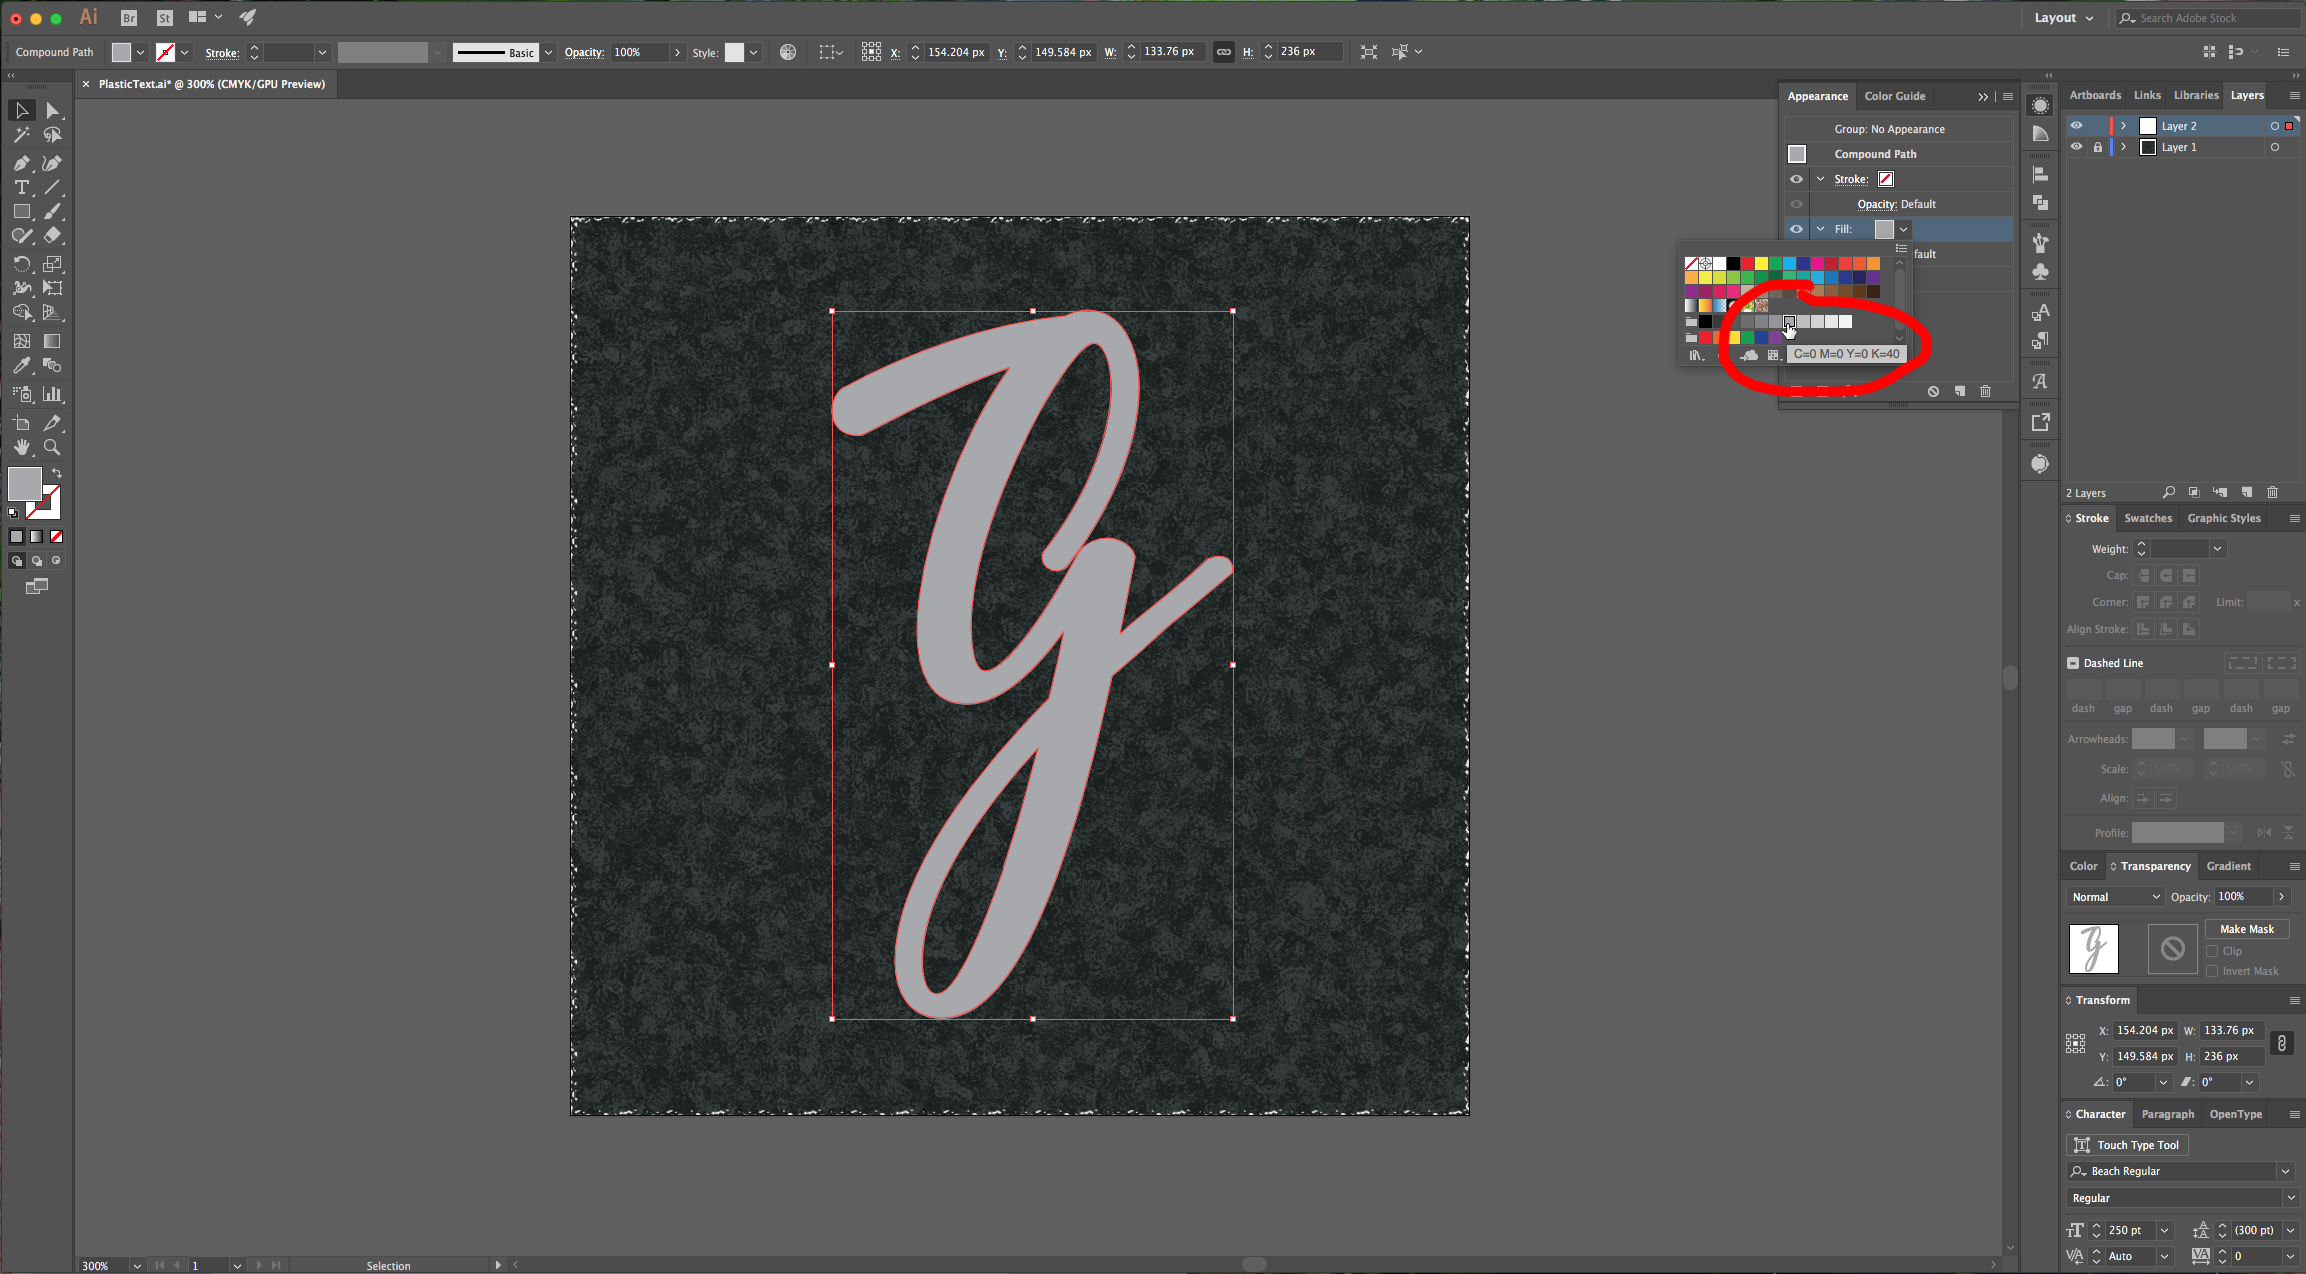
9 - Make sure you are still selecting the “Fill” layer in the “Appearance” Panel and go to Effect > Path > Offset Path and use the following values:
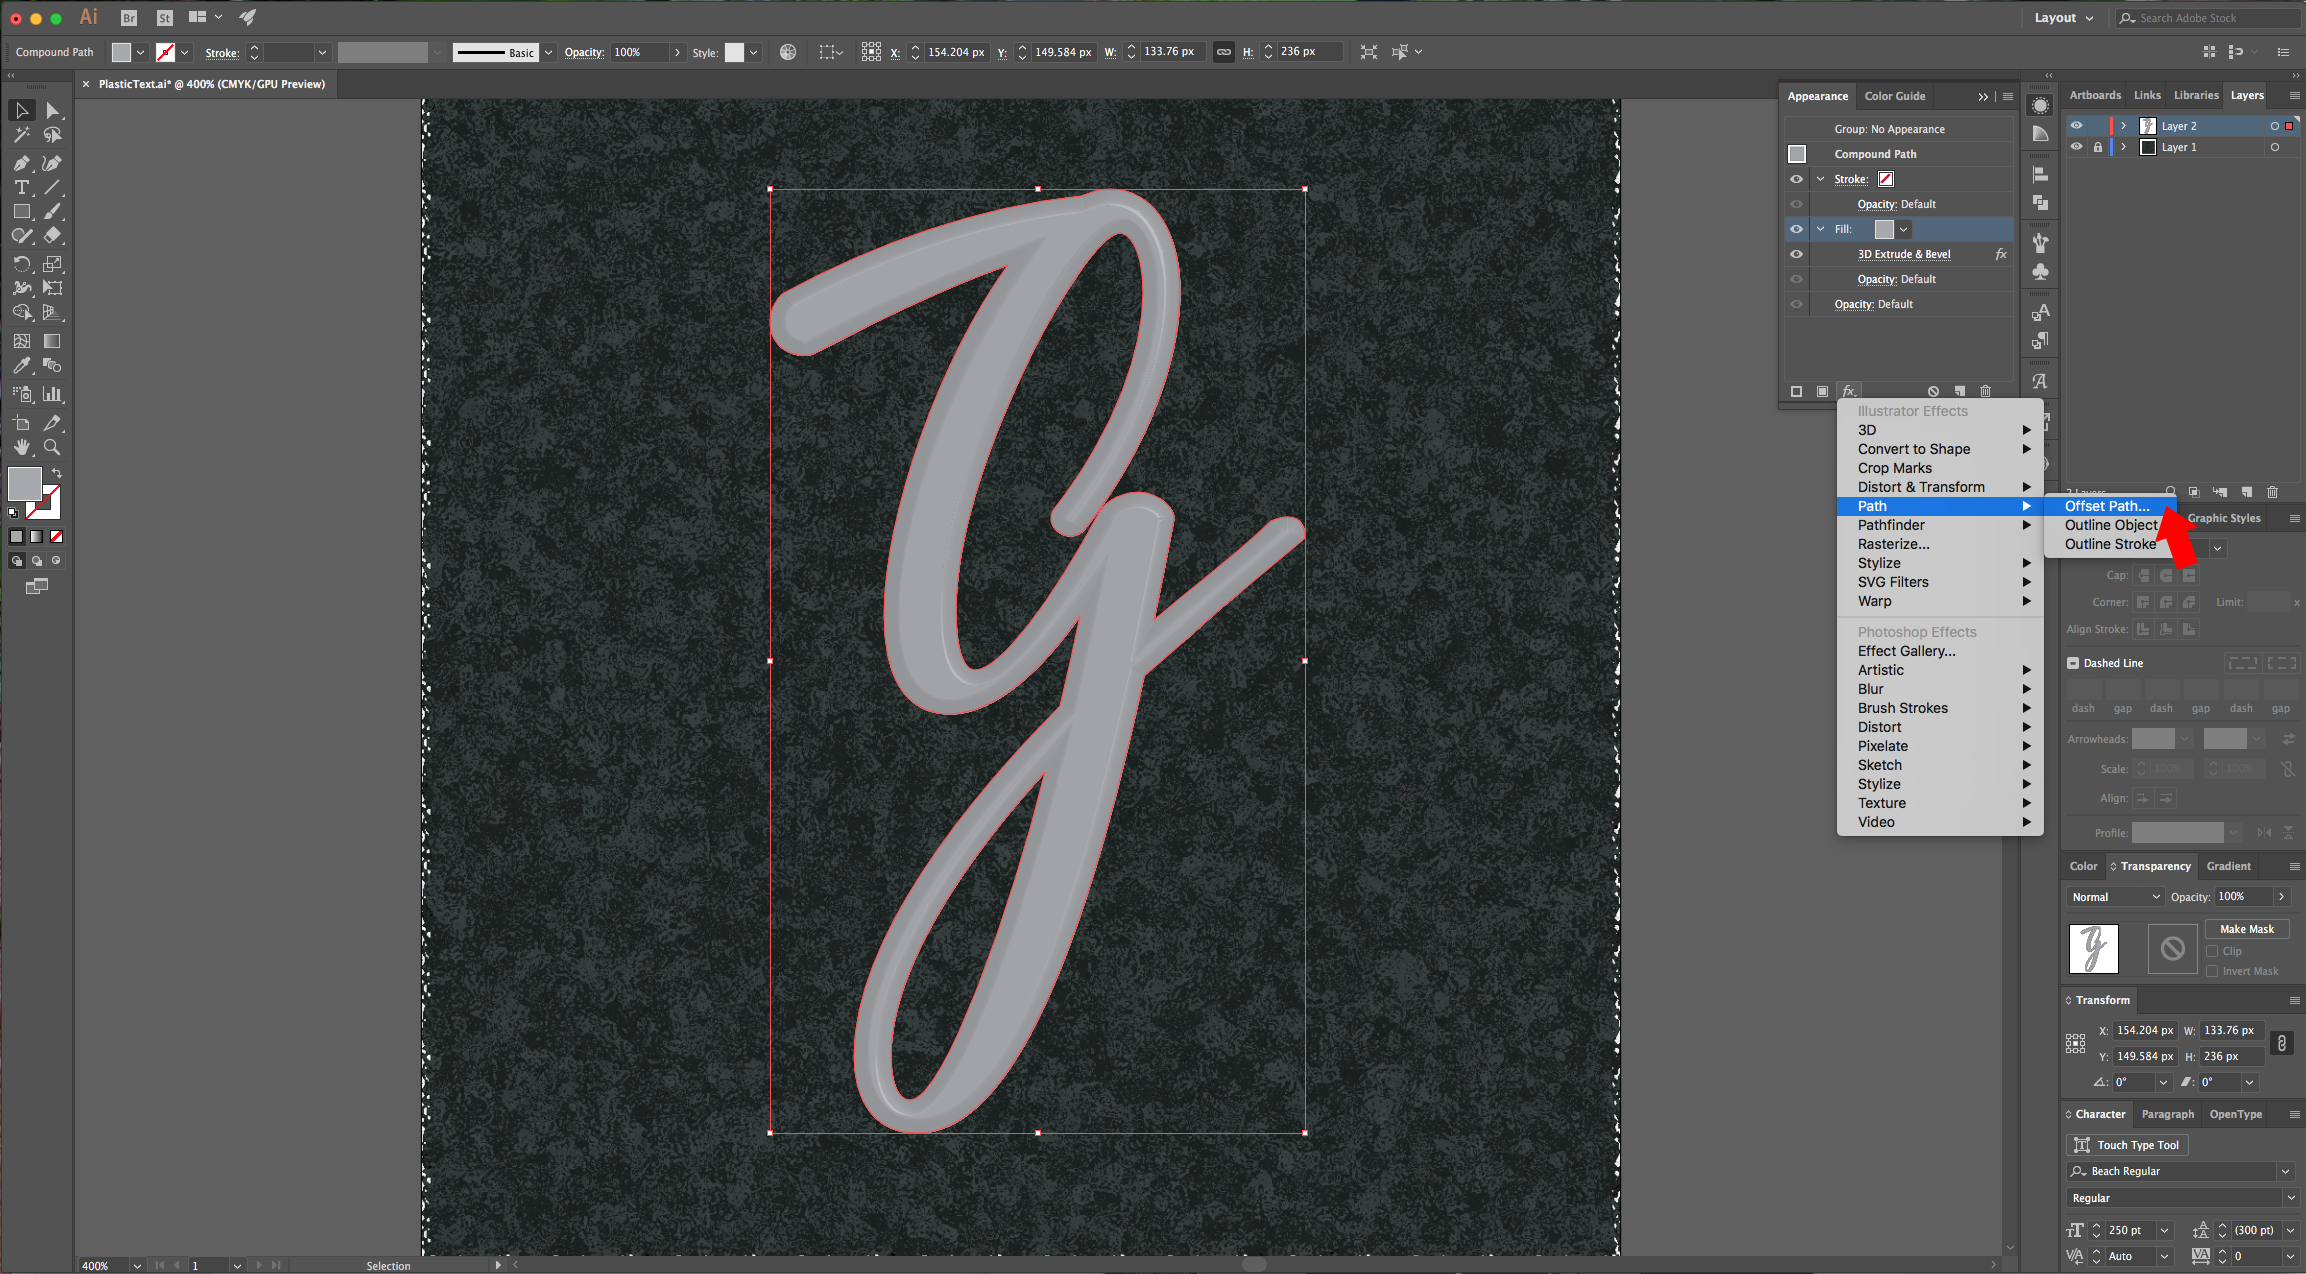
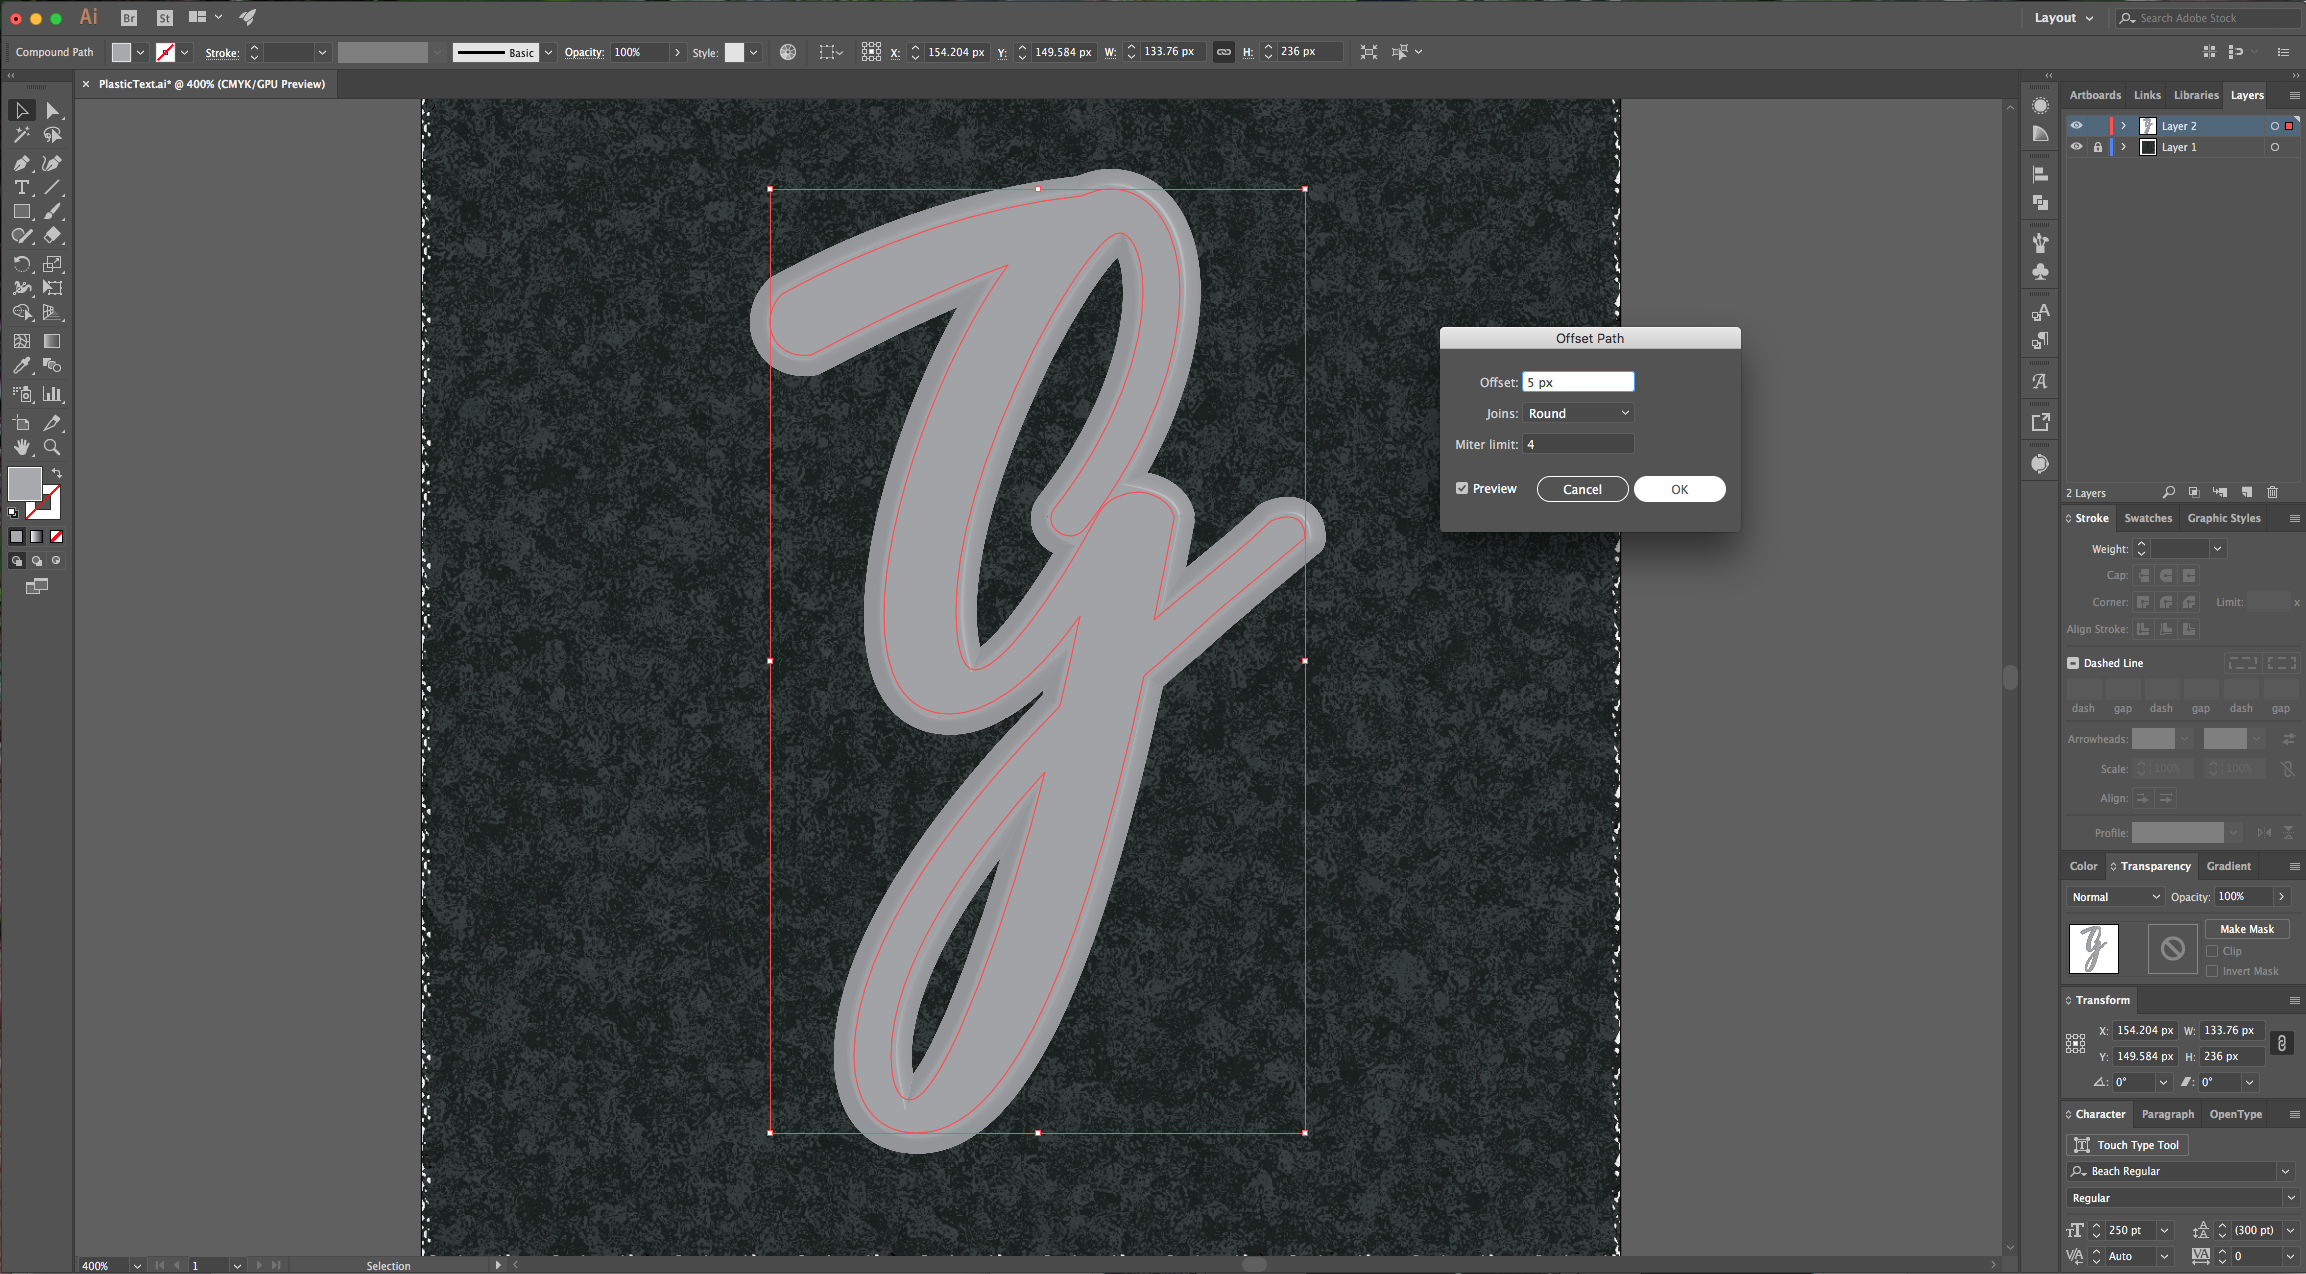
10 - Then go to Effect > Stylize > Drop Shadow and use these values:
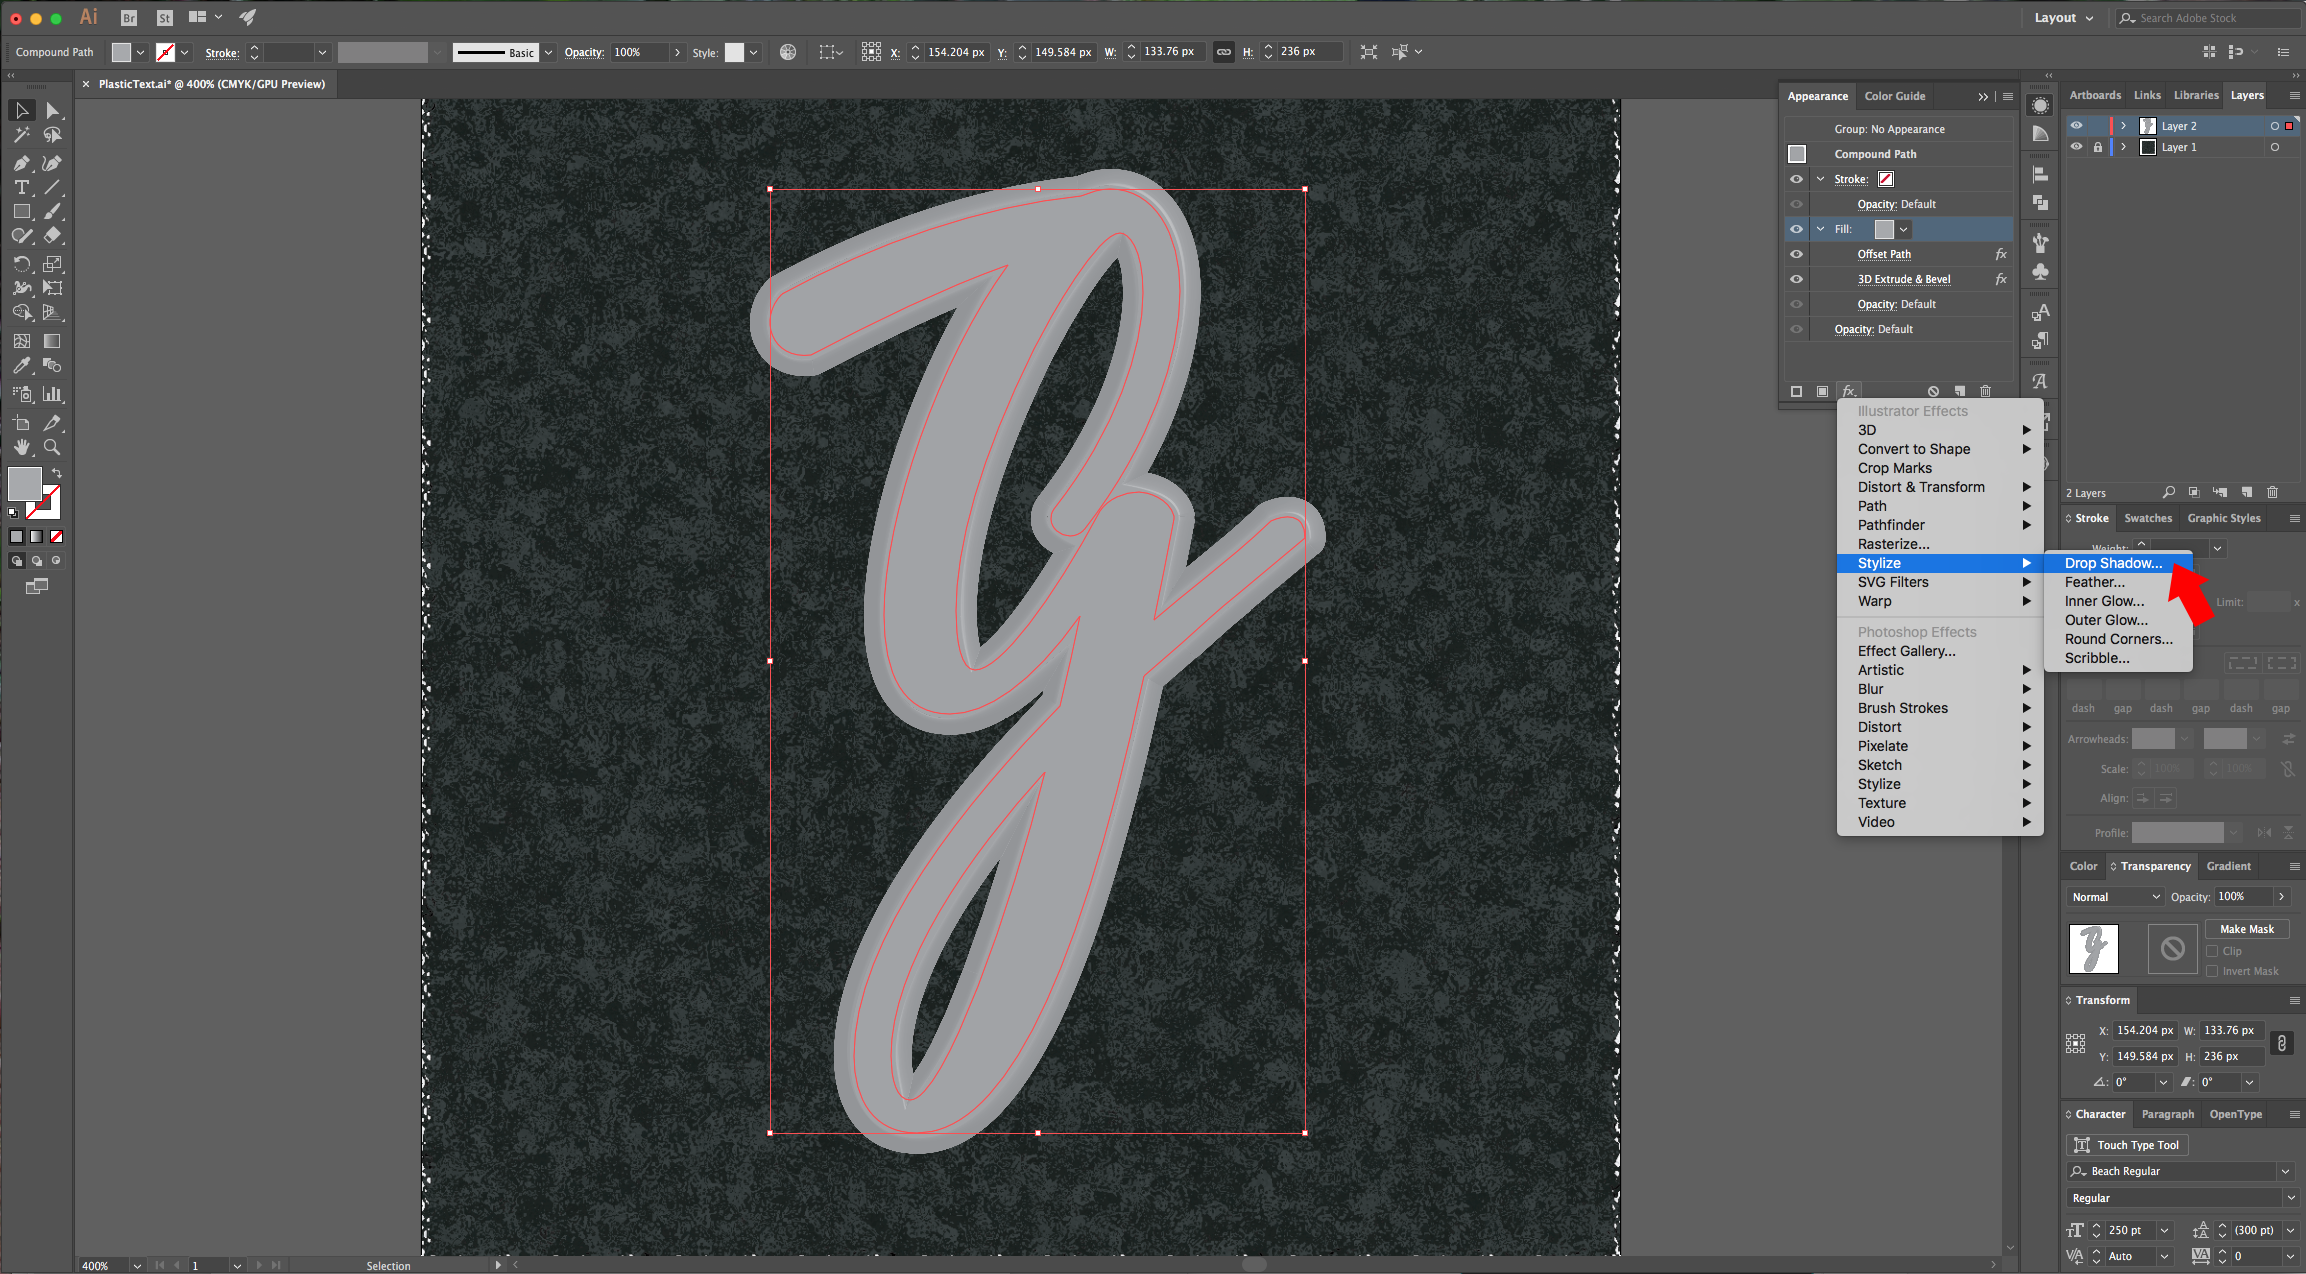
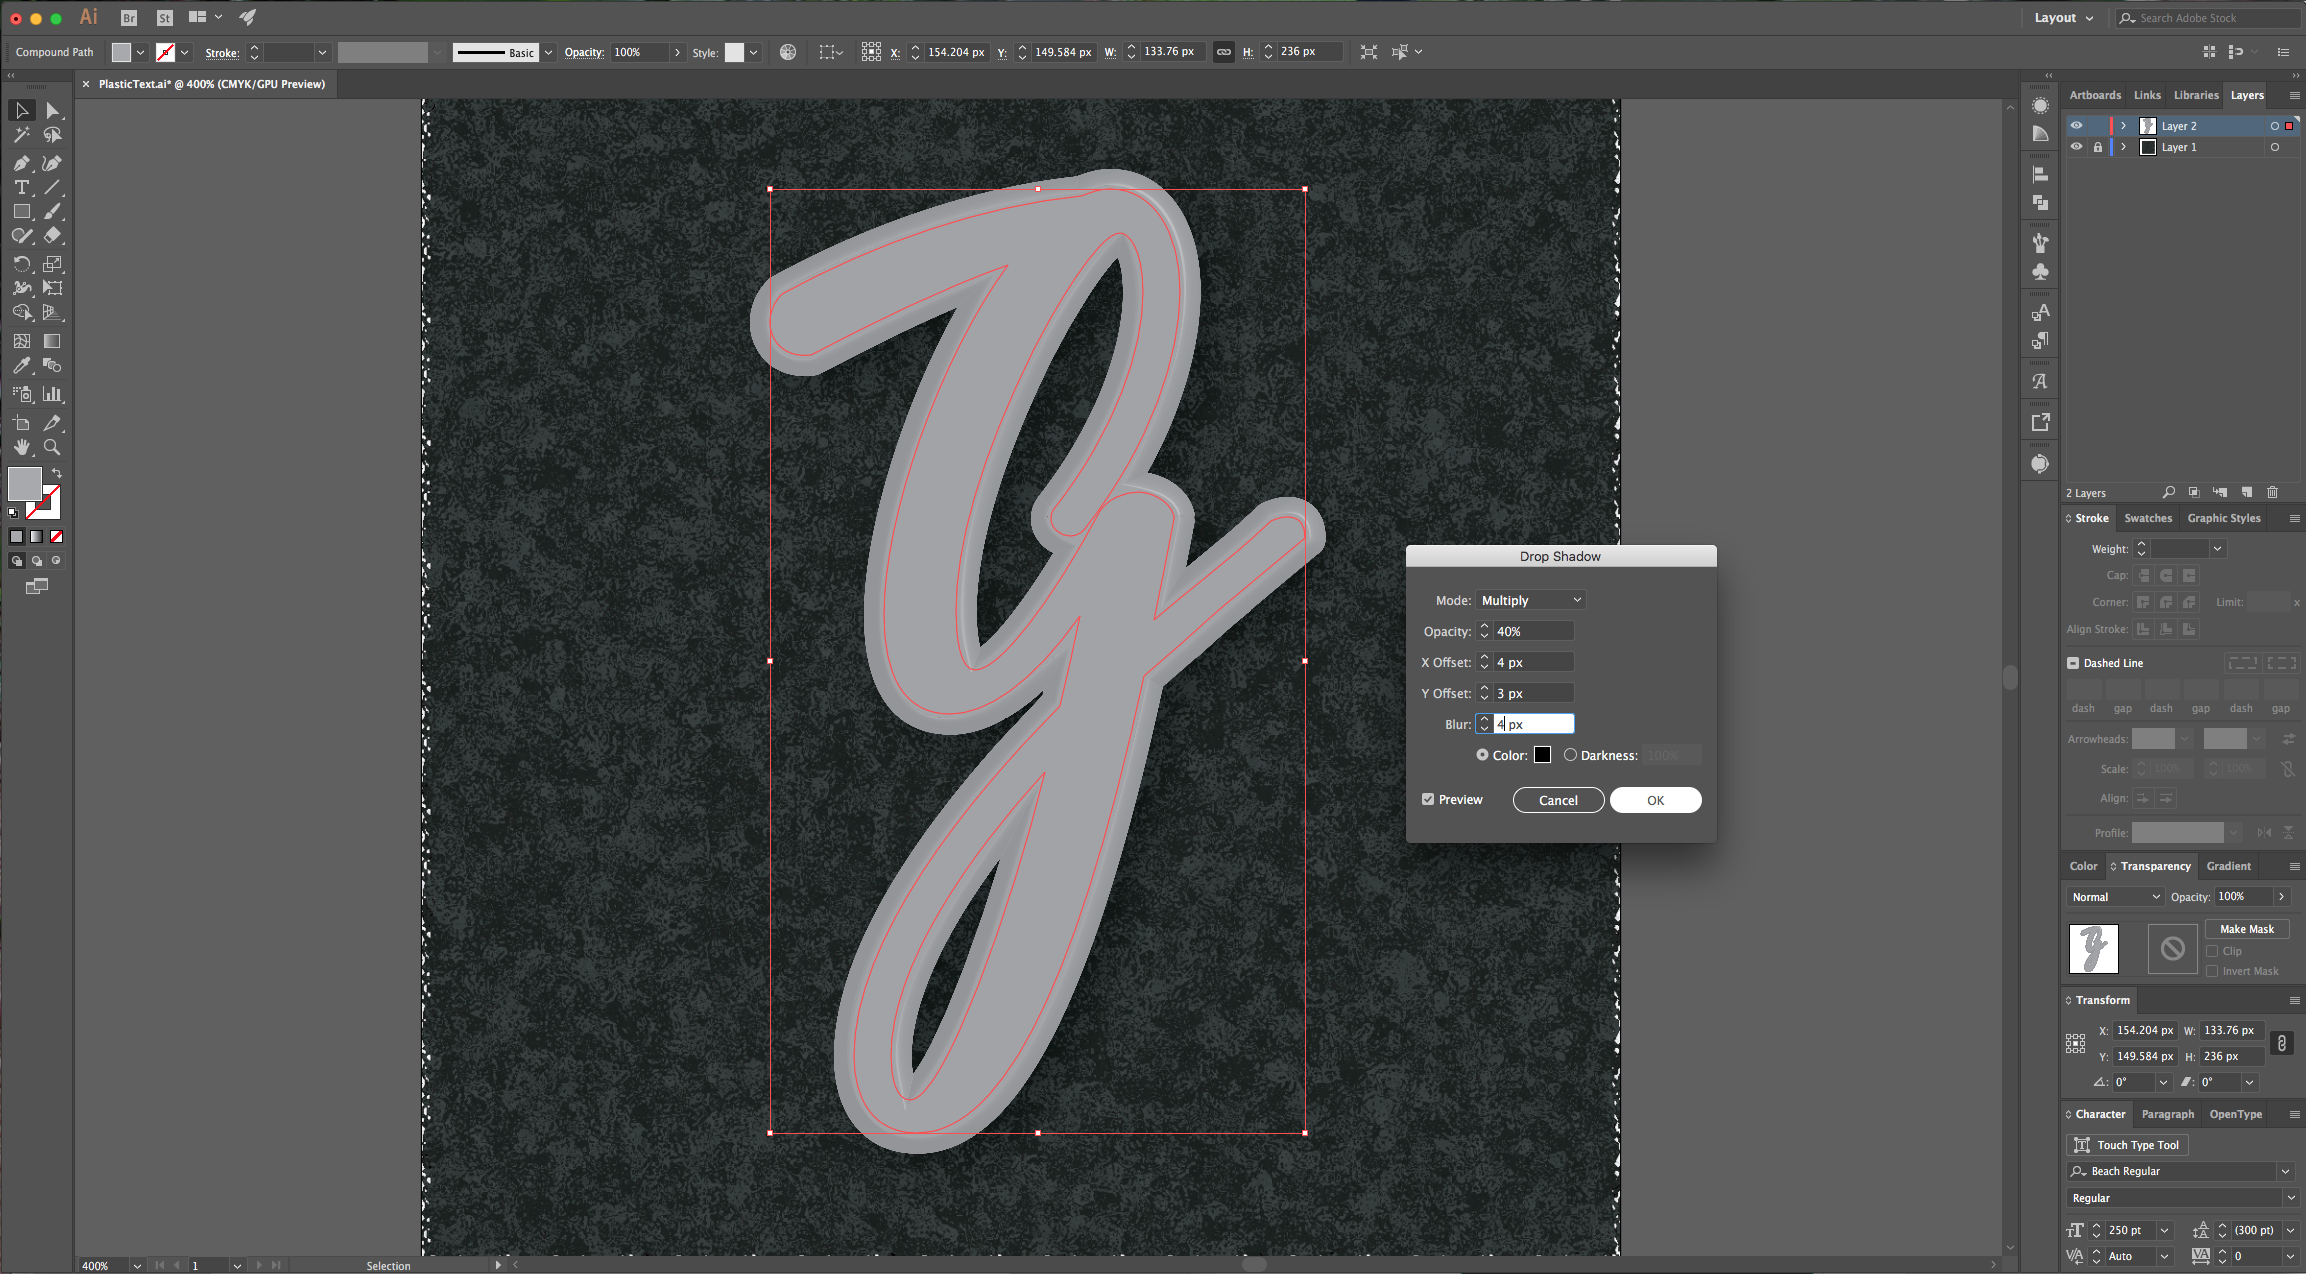
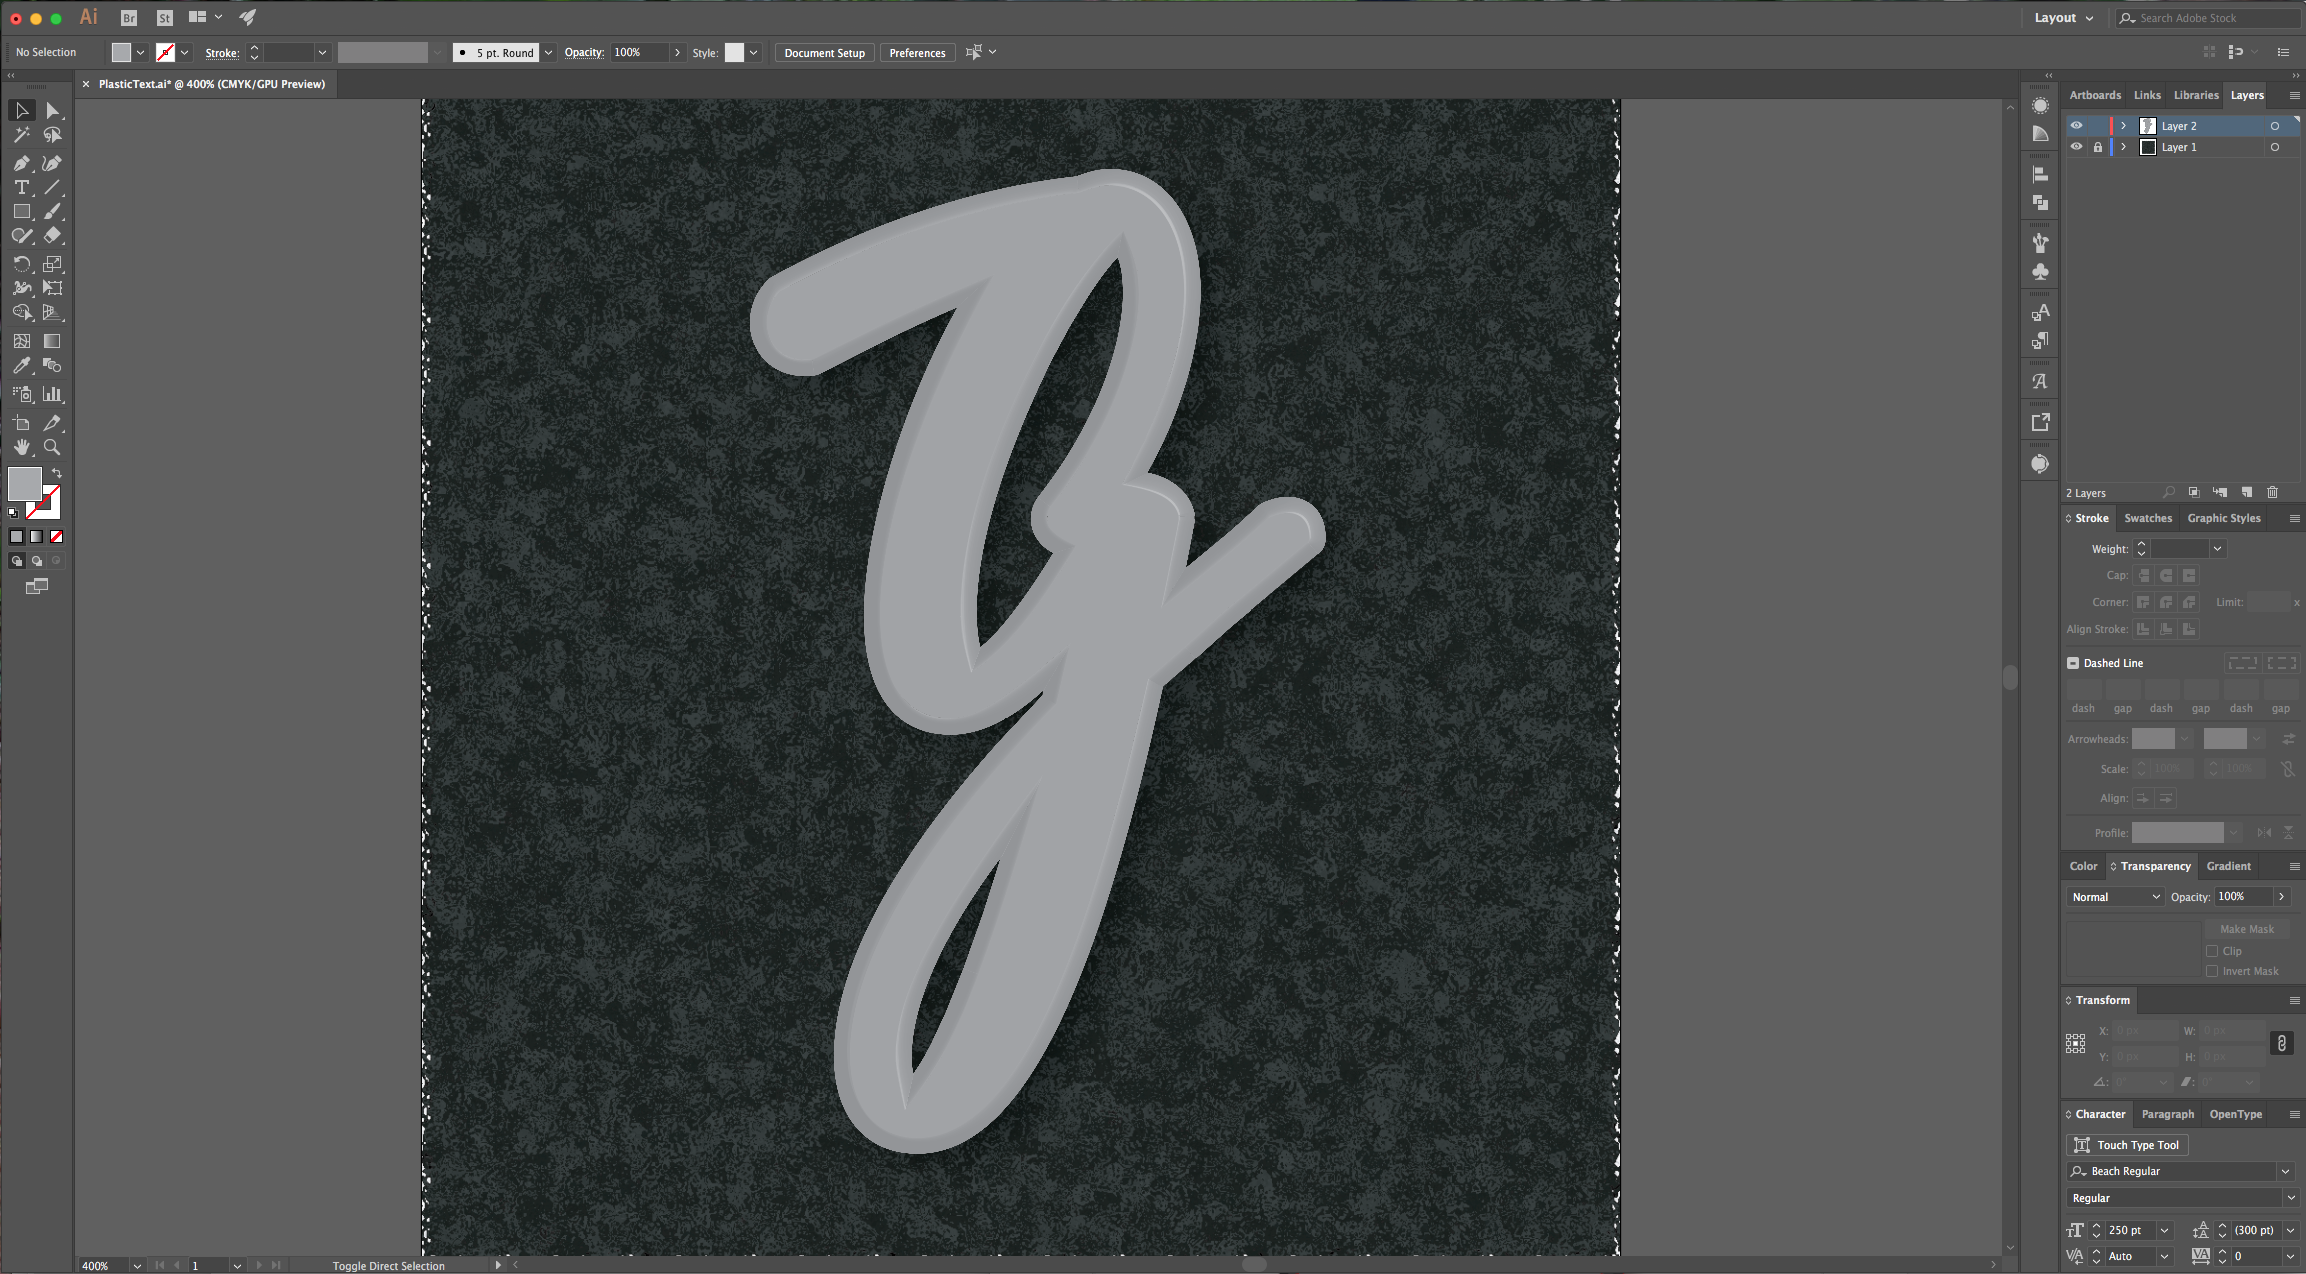
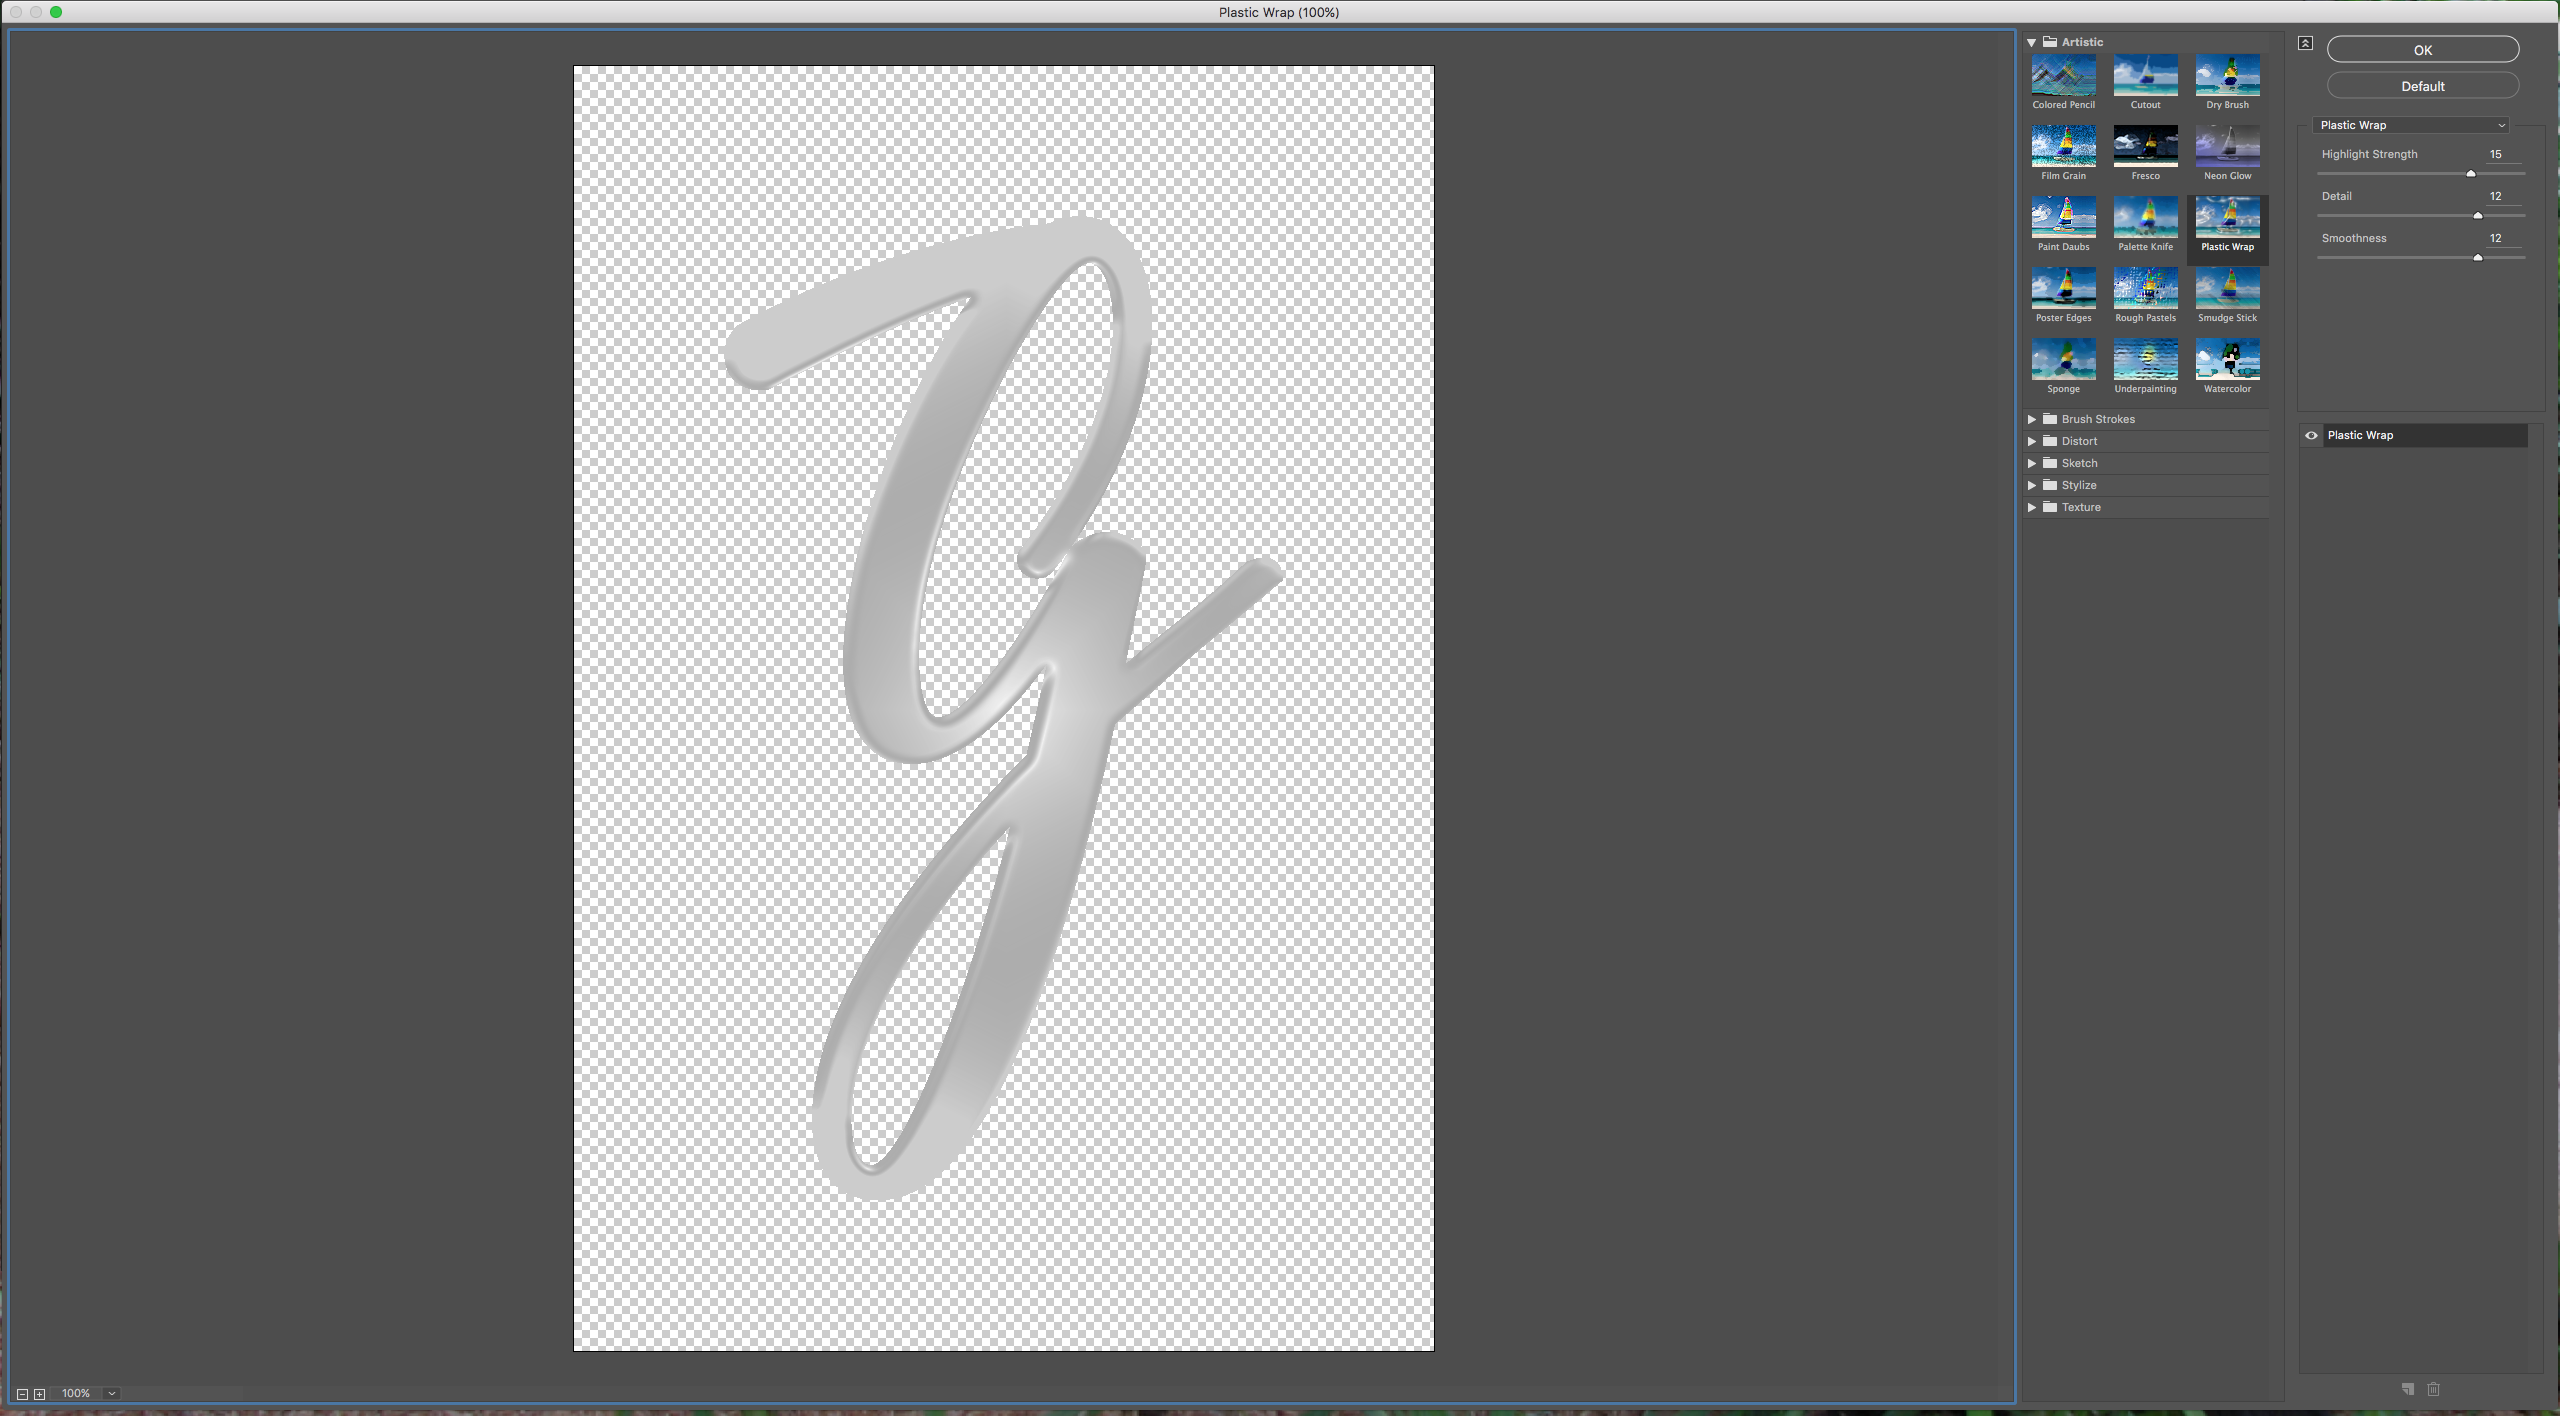
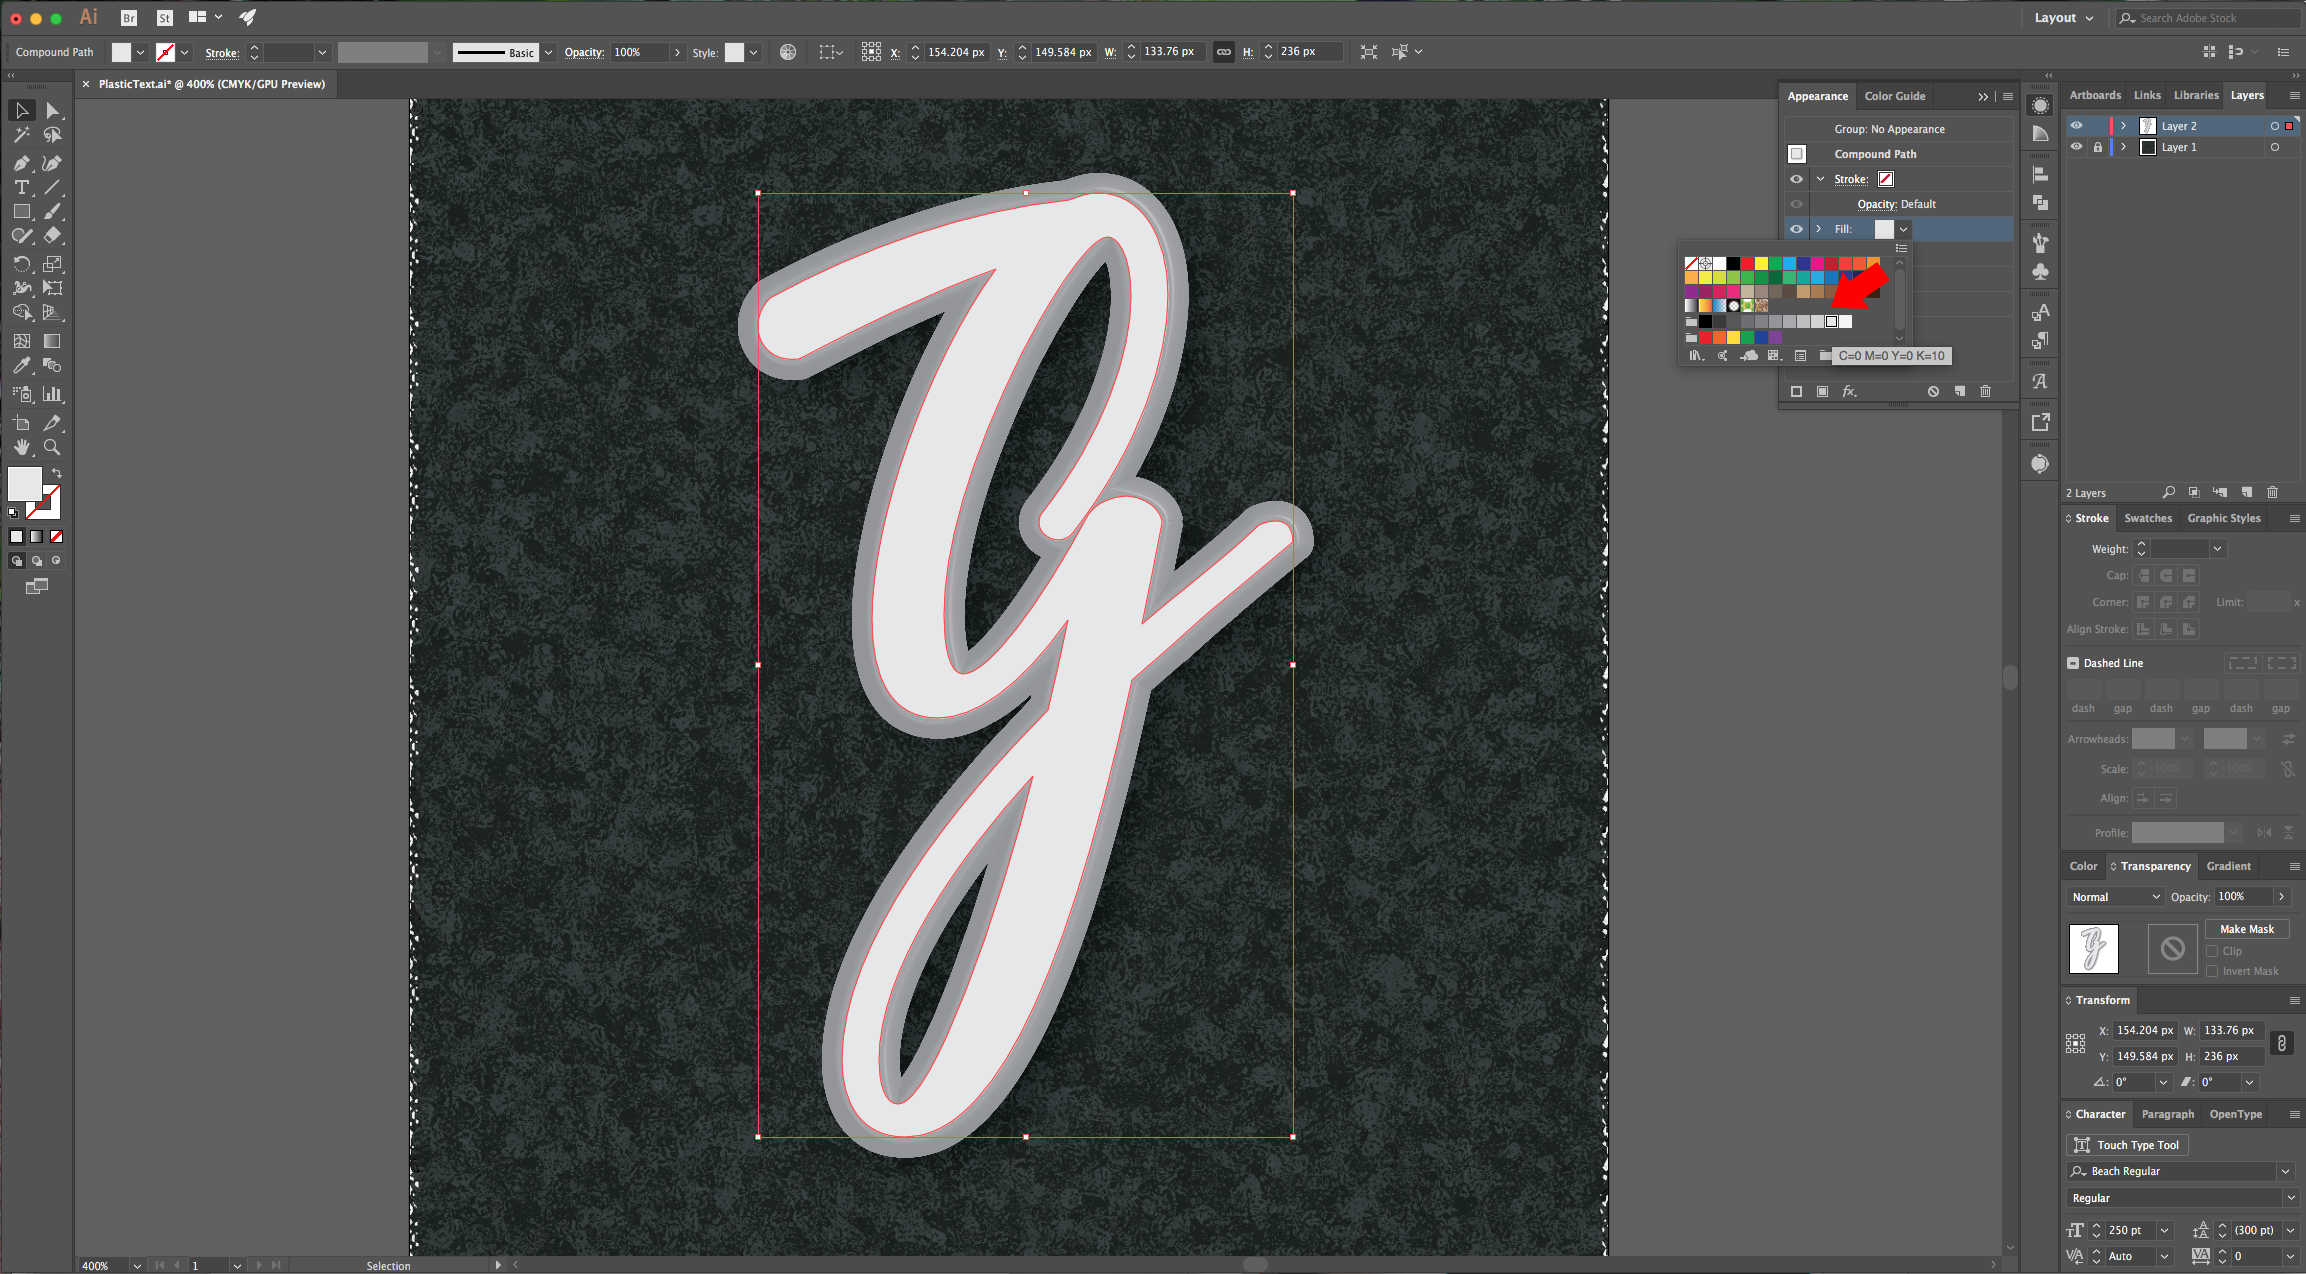
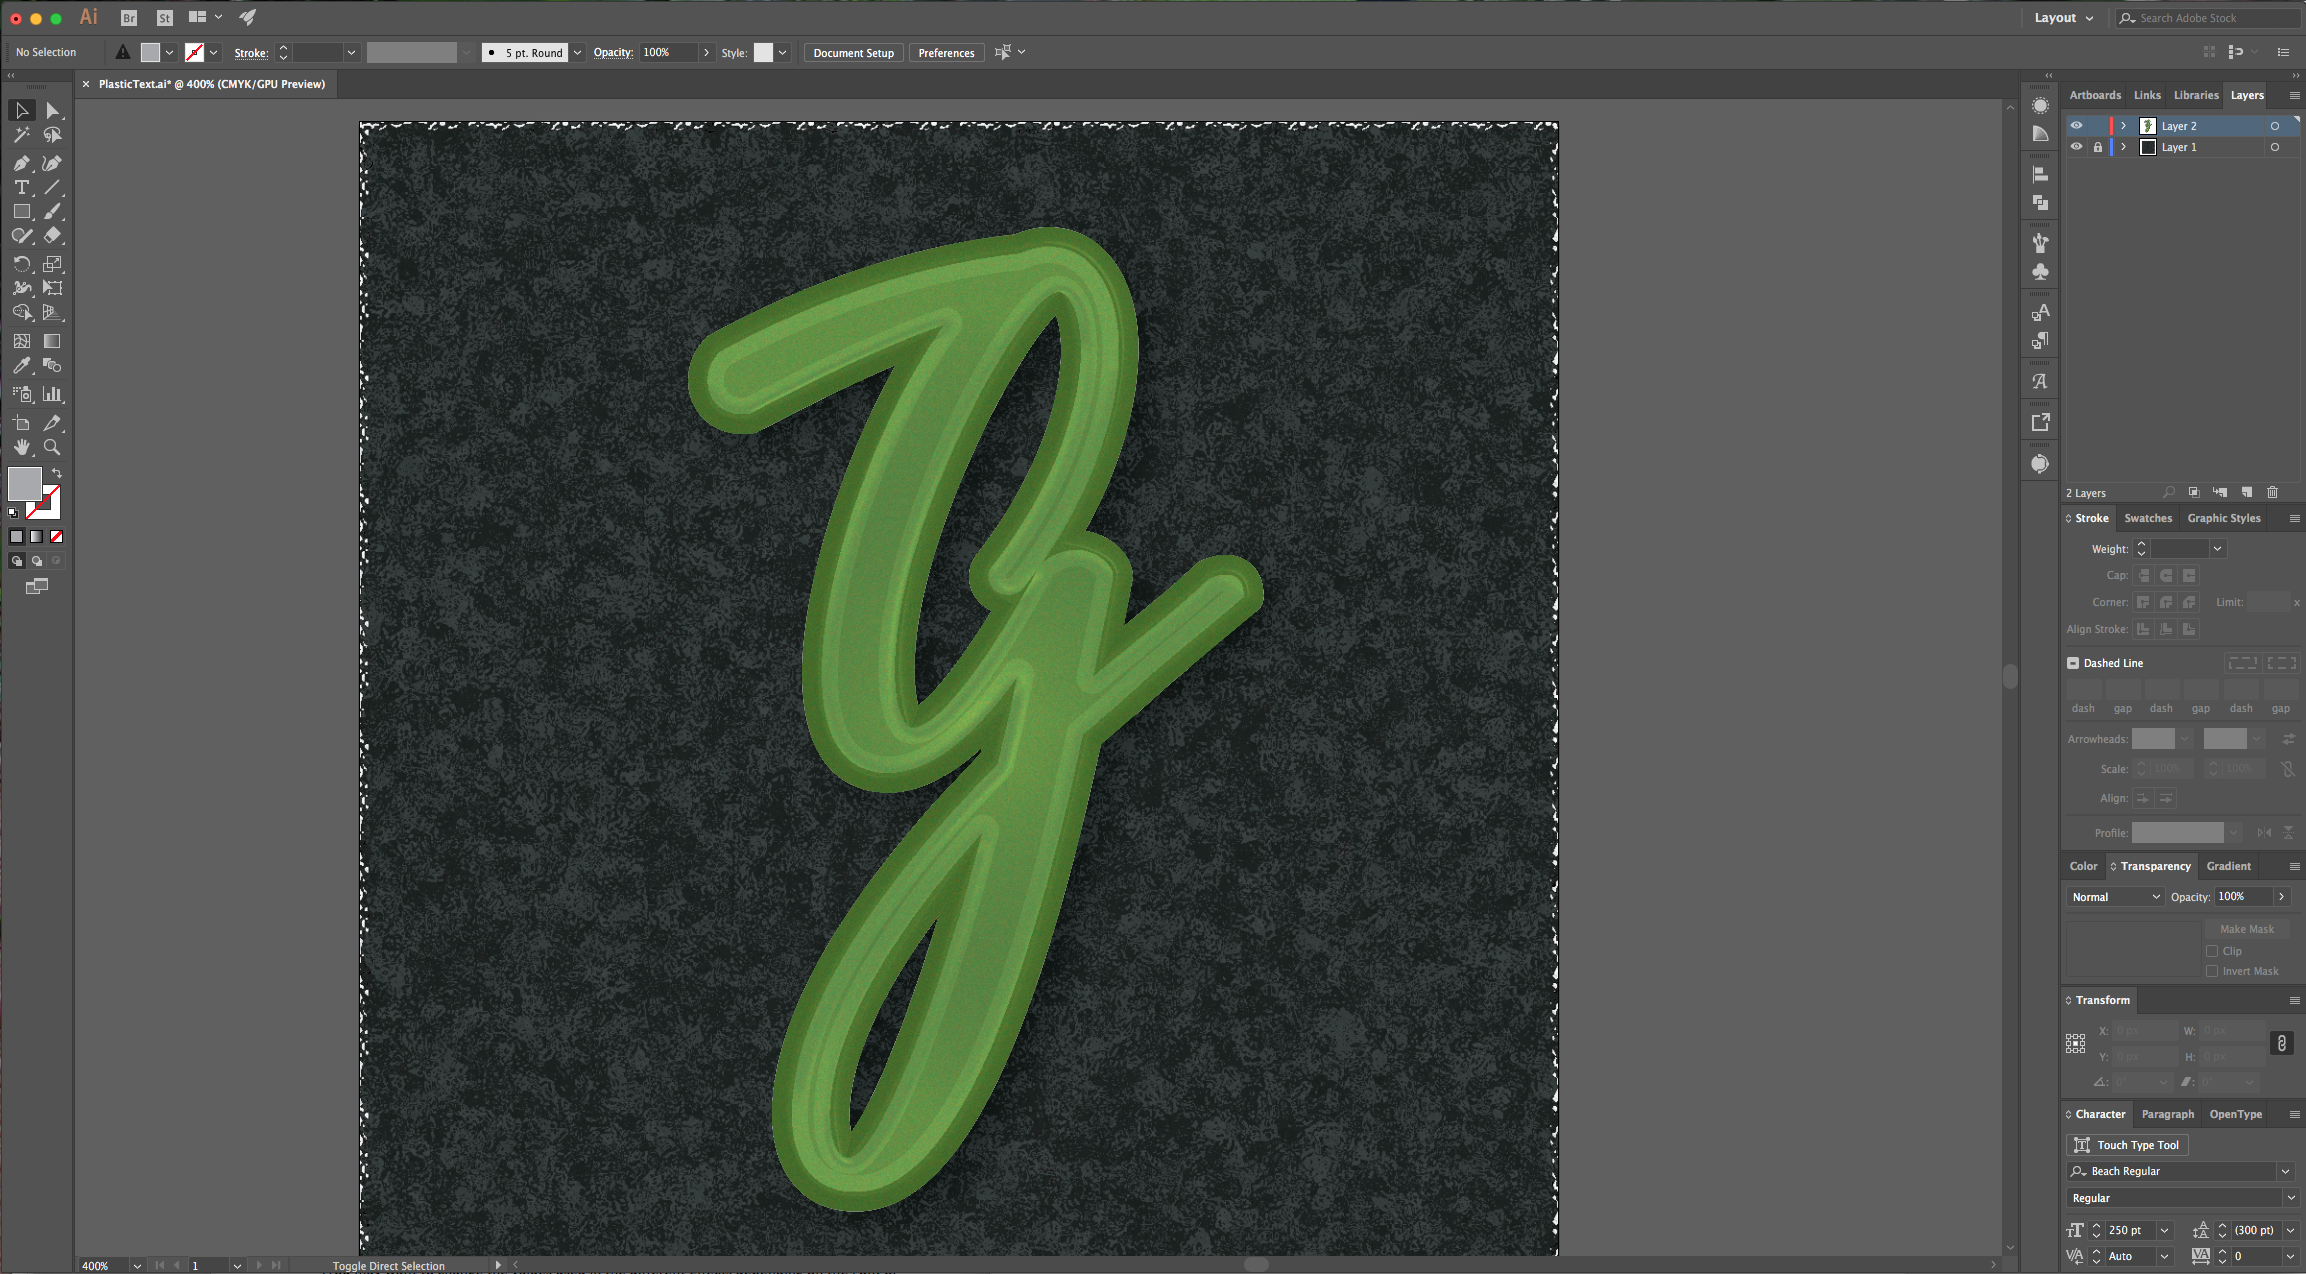
11 - Create a “New Fill” on top of the one you’ve been working and fill it with a lighter shade of gray. Go to Effects > Artistic > Plastic Wrap and use the following settings:
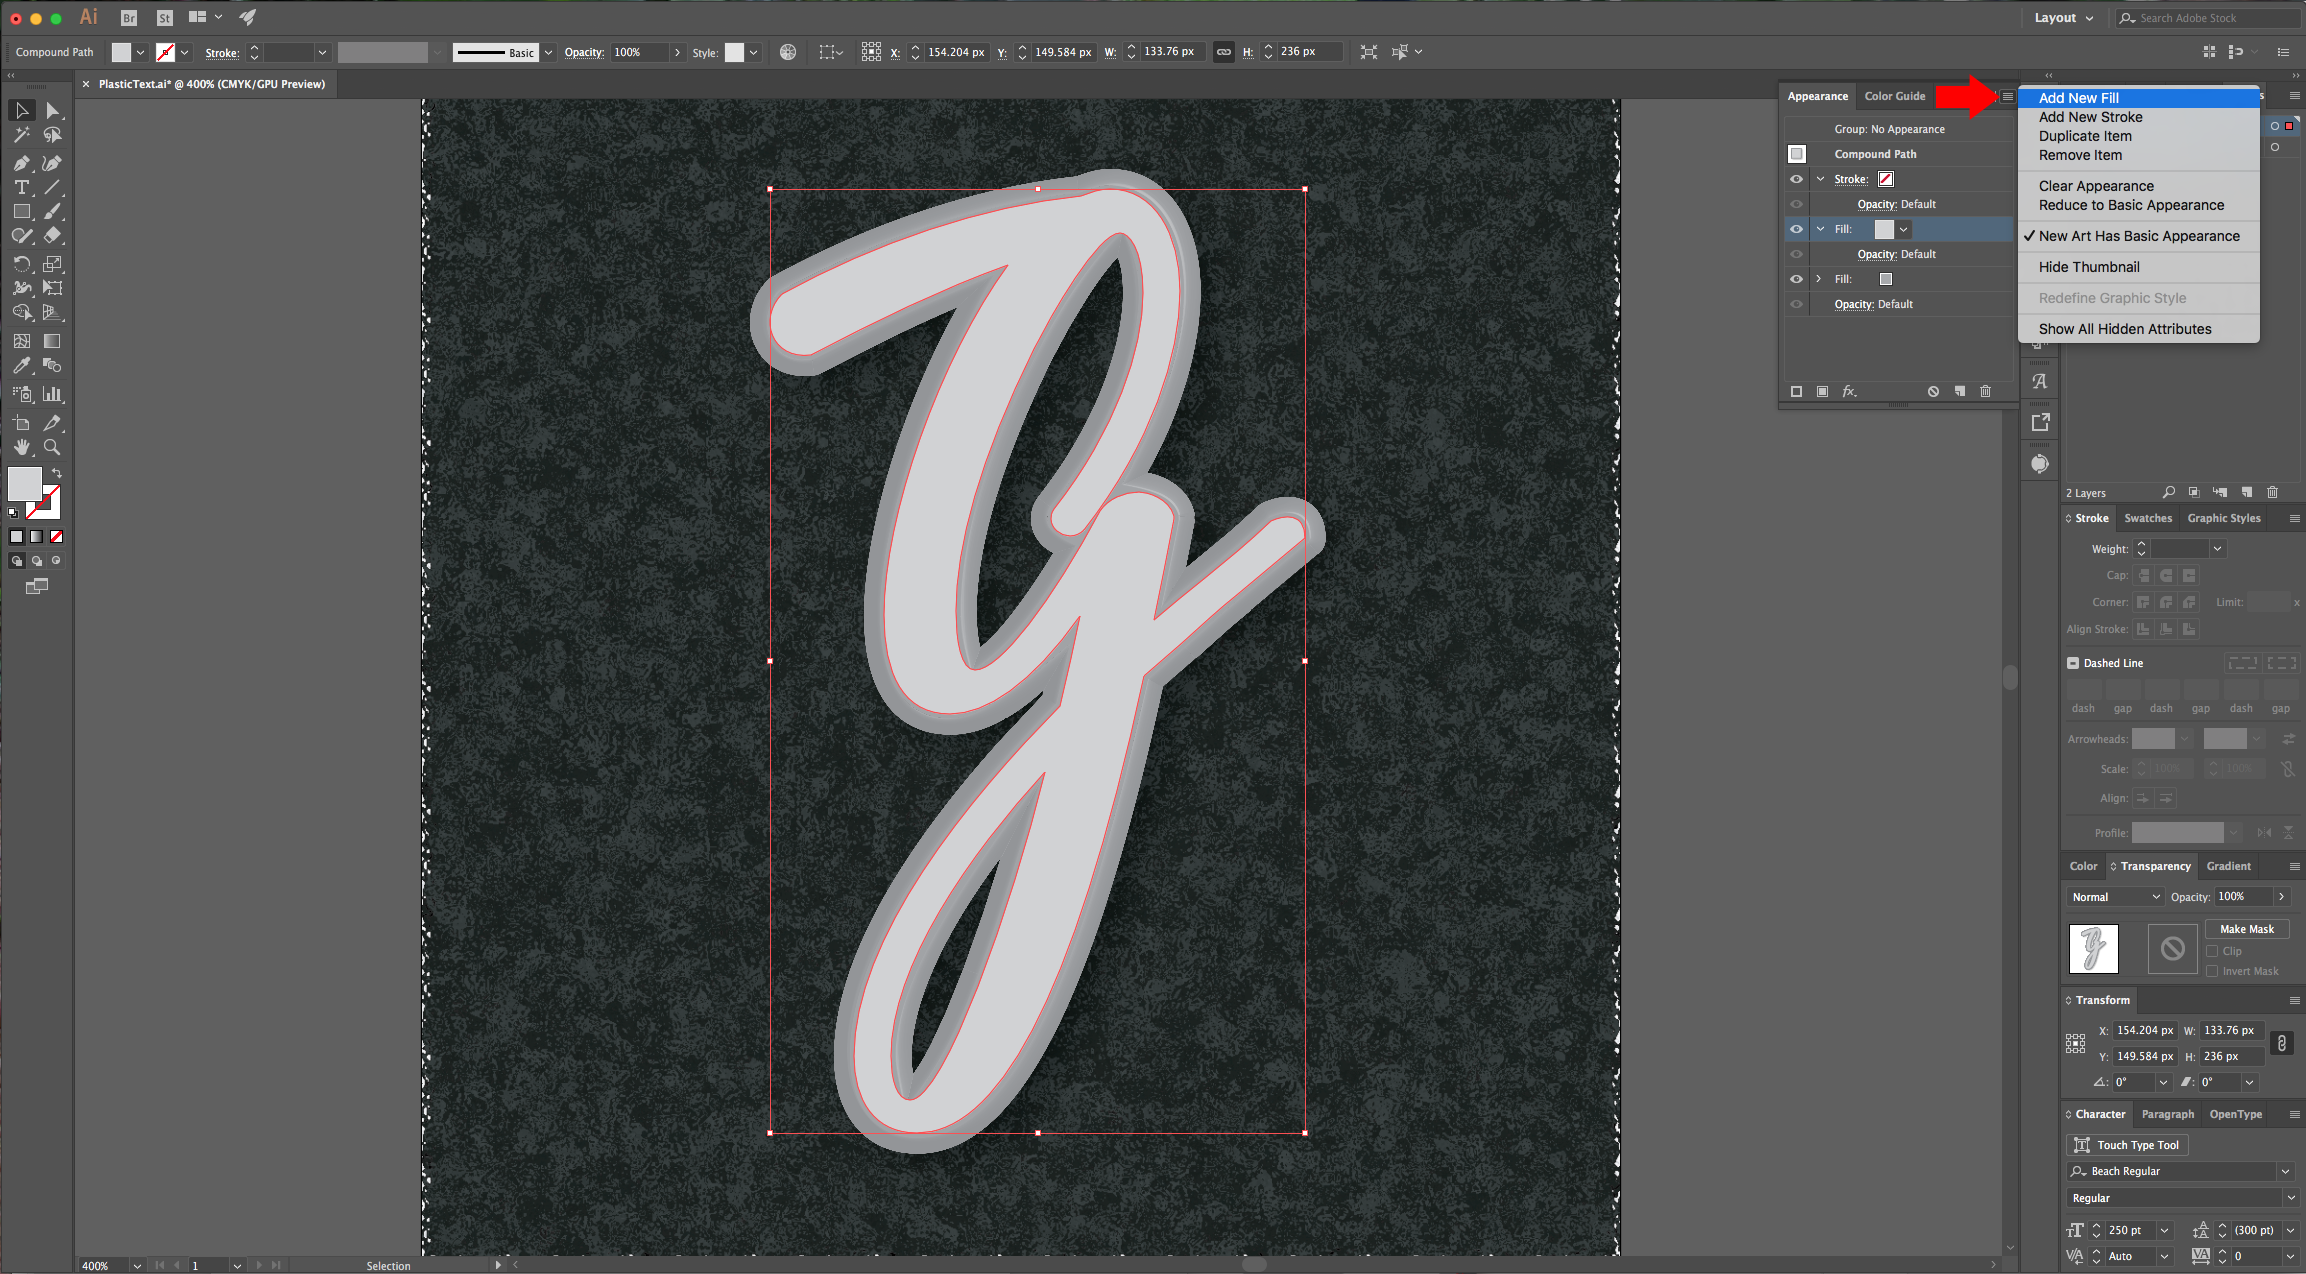
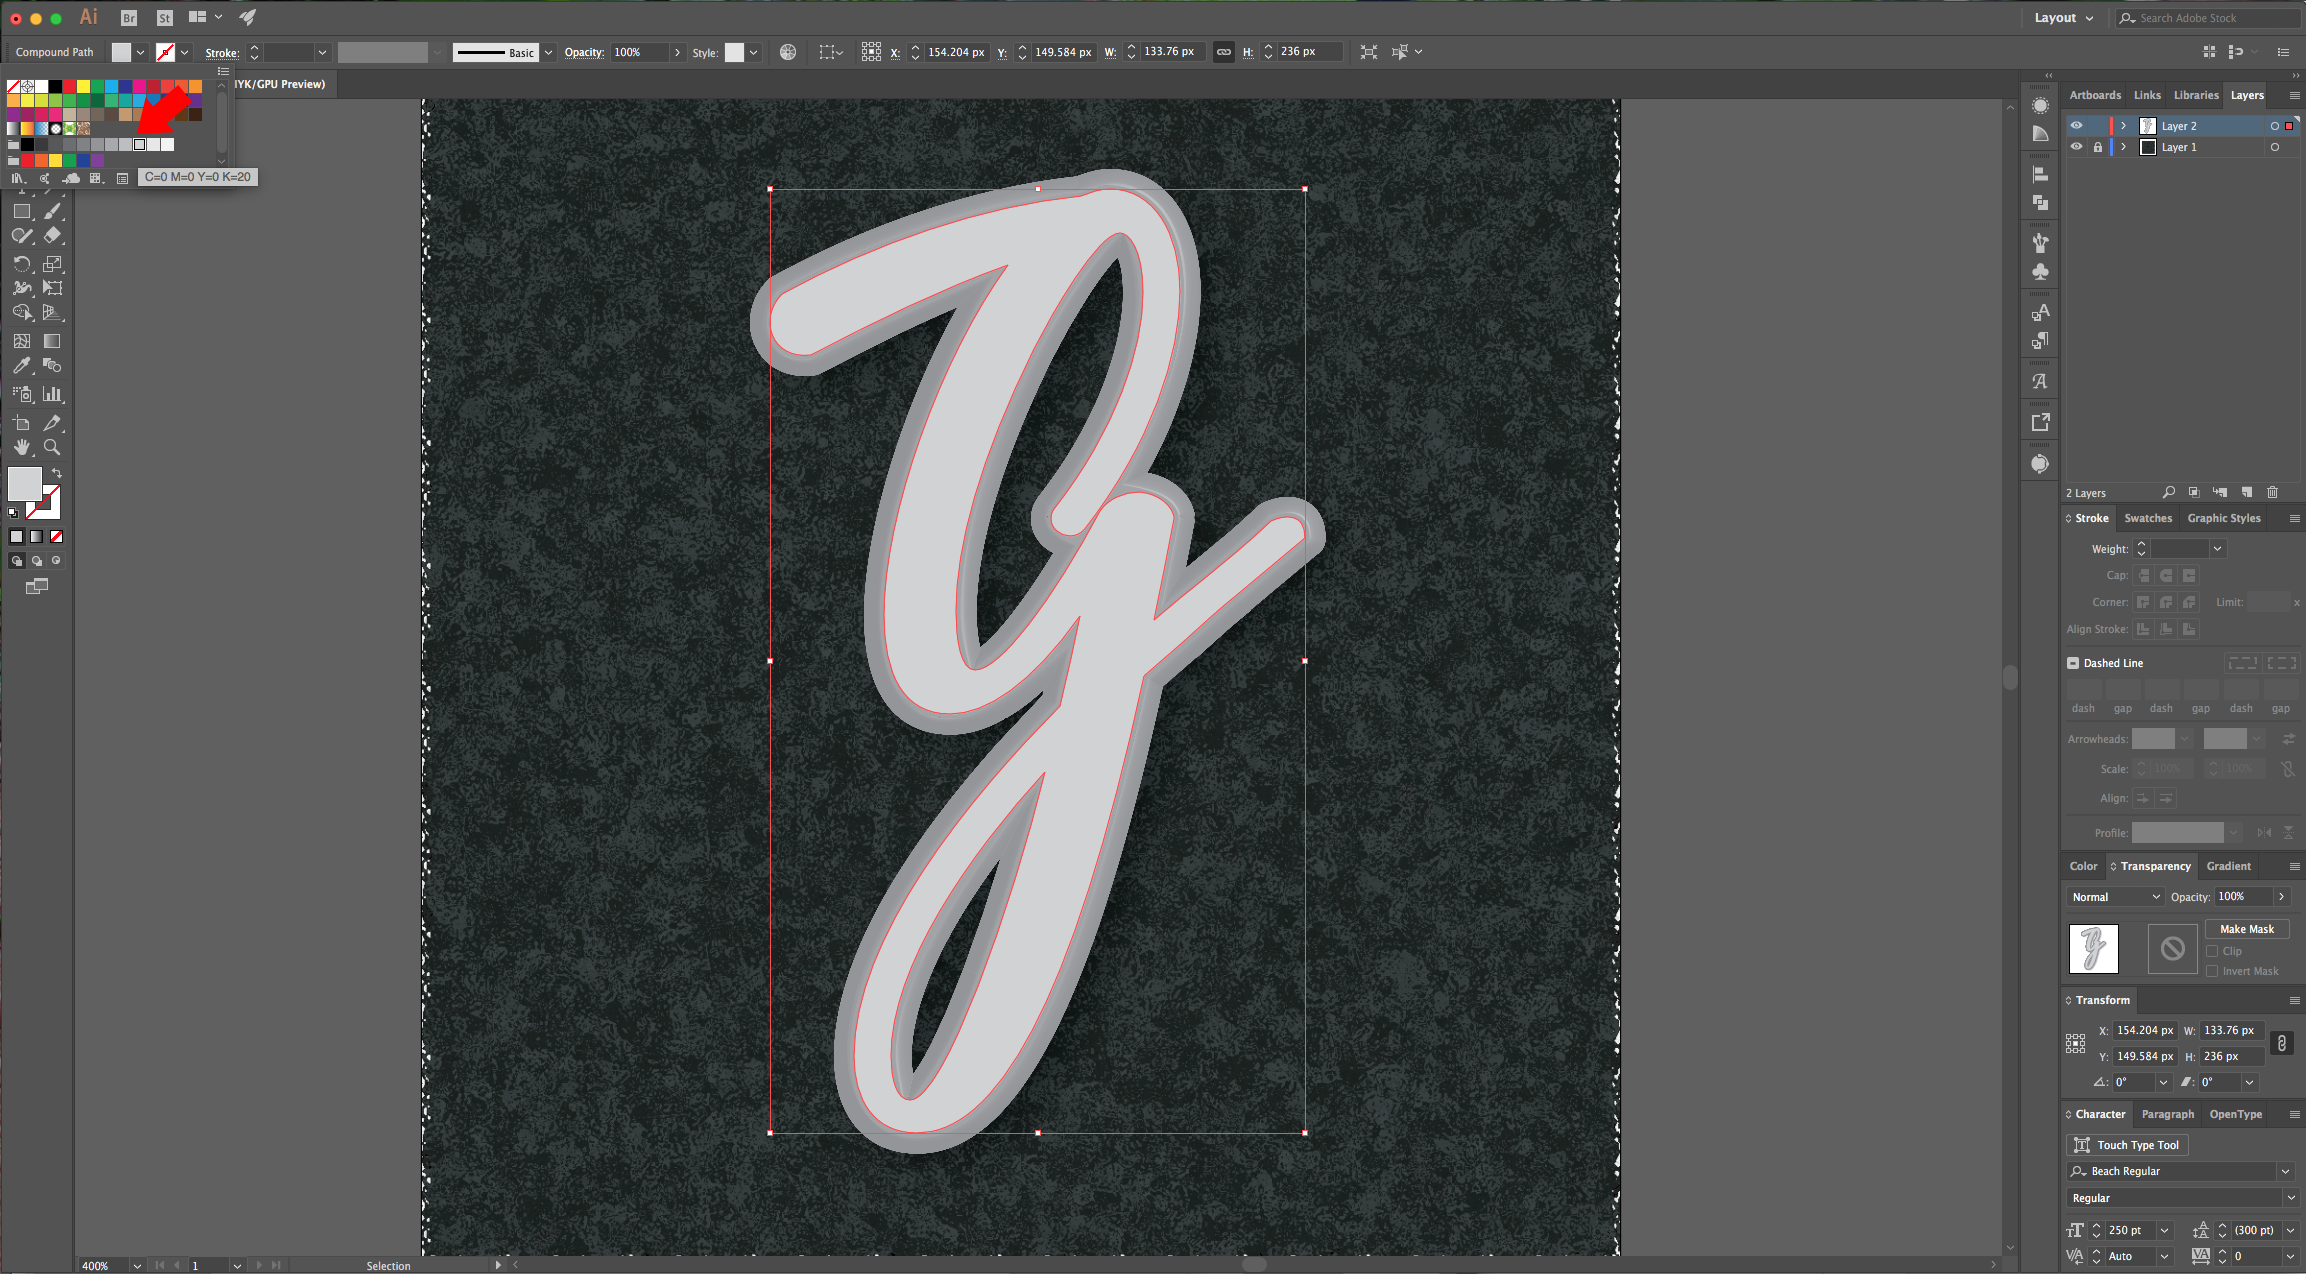
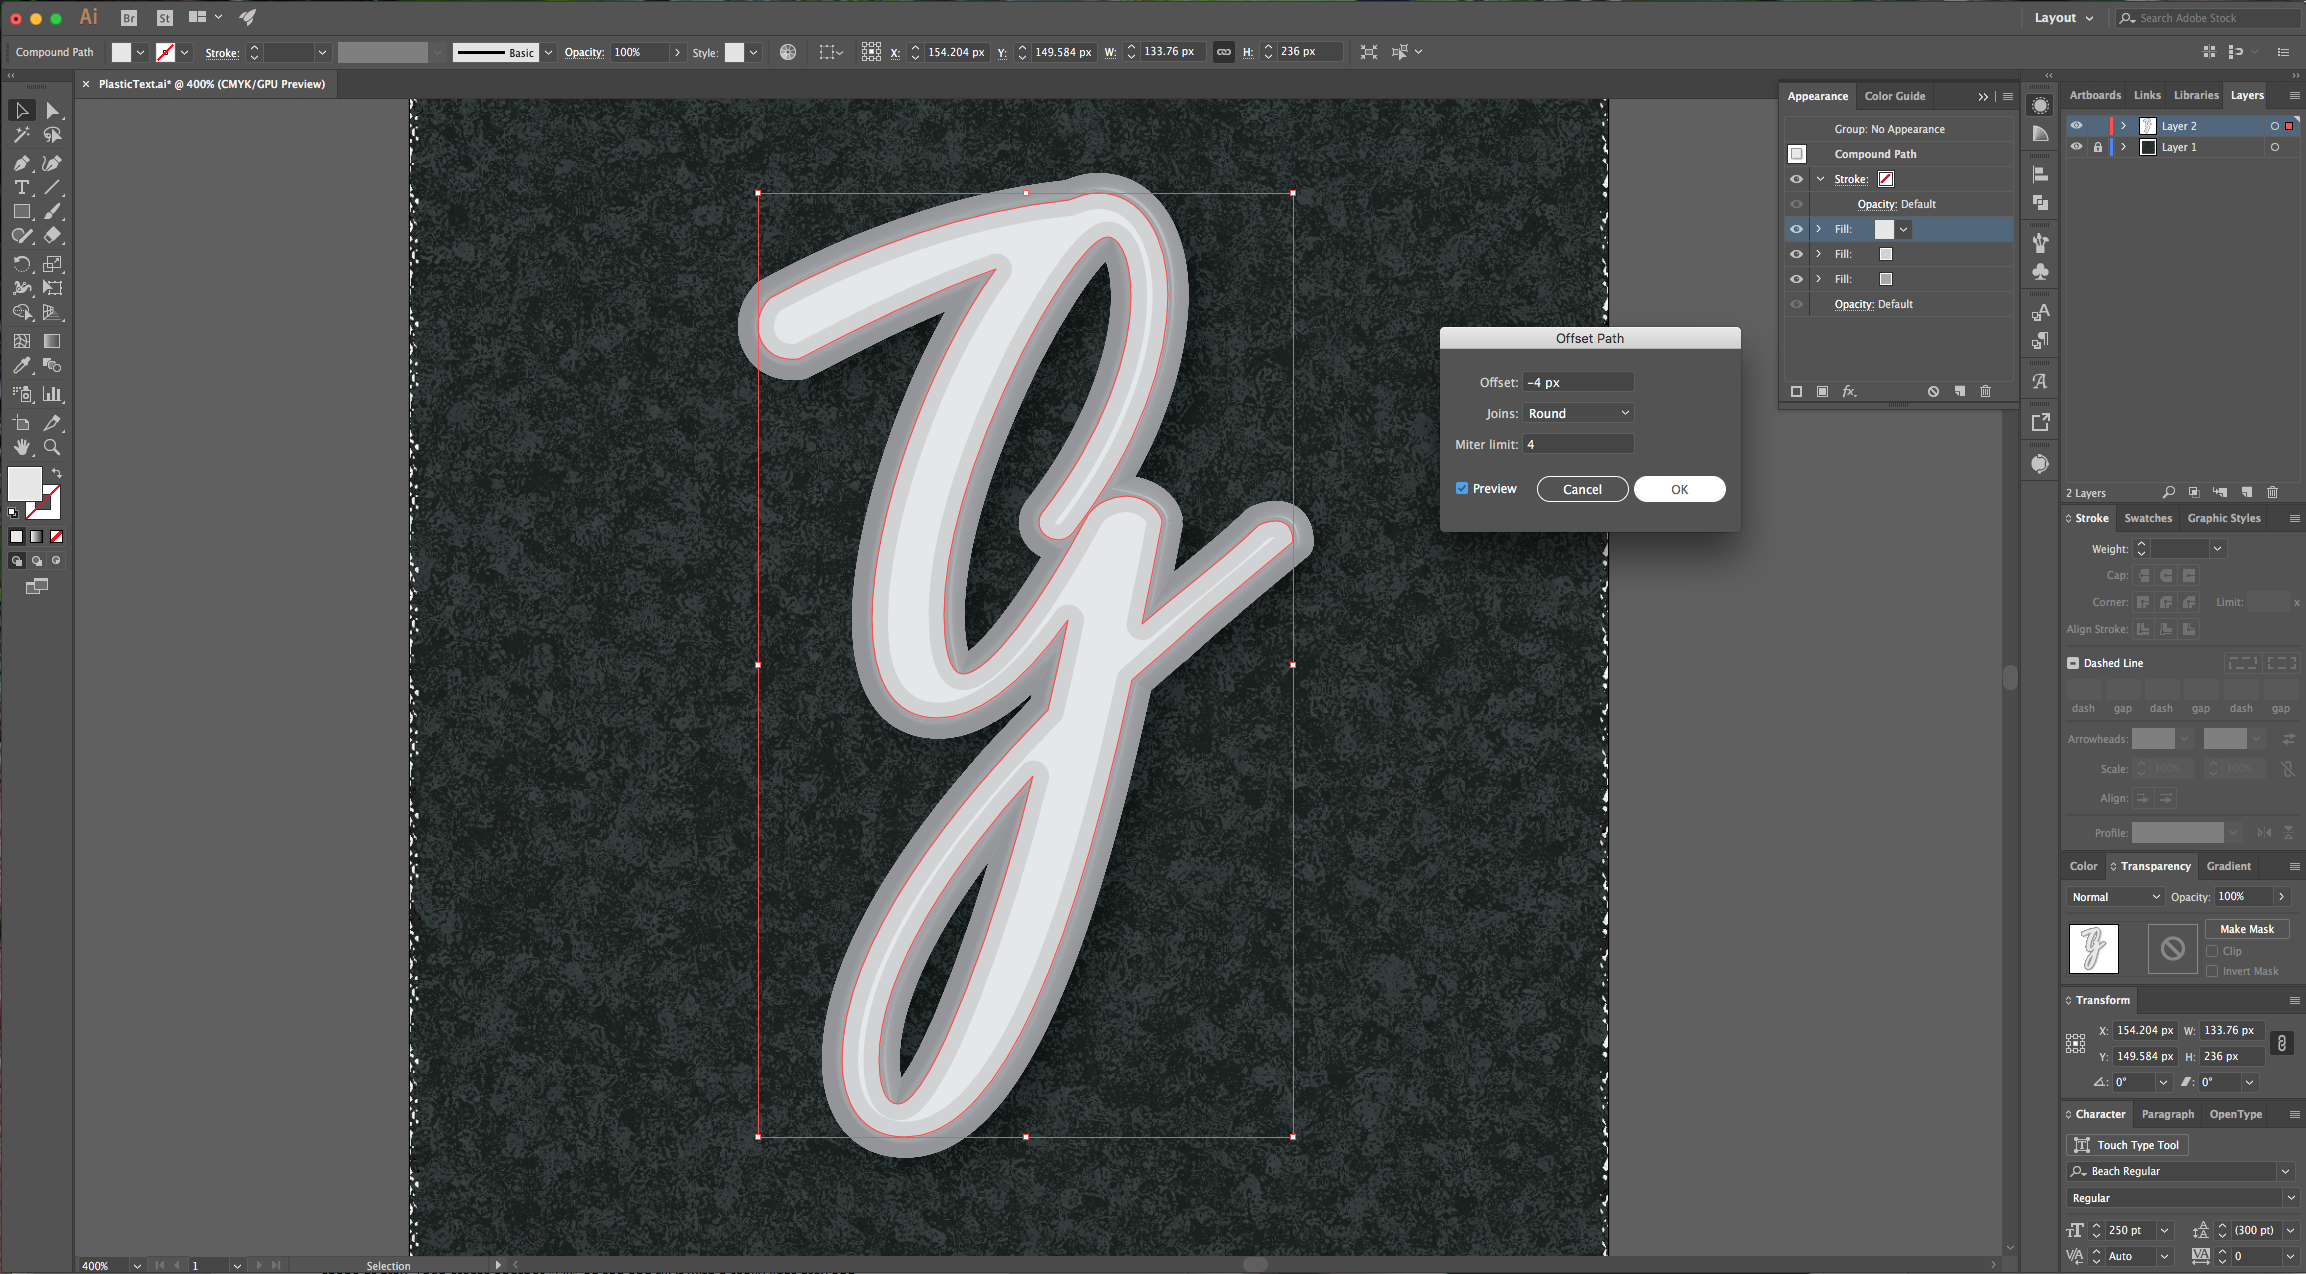
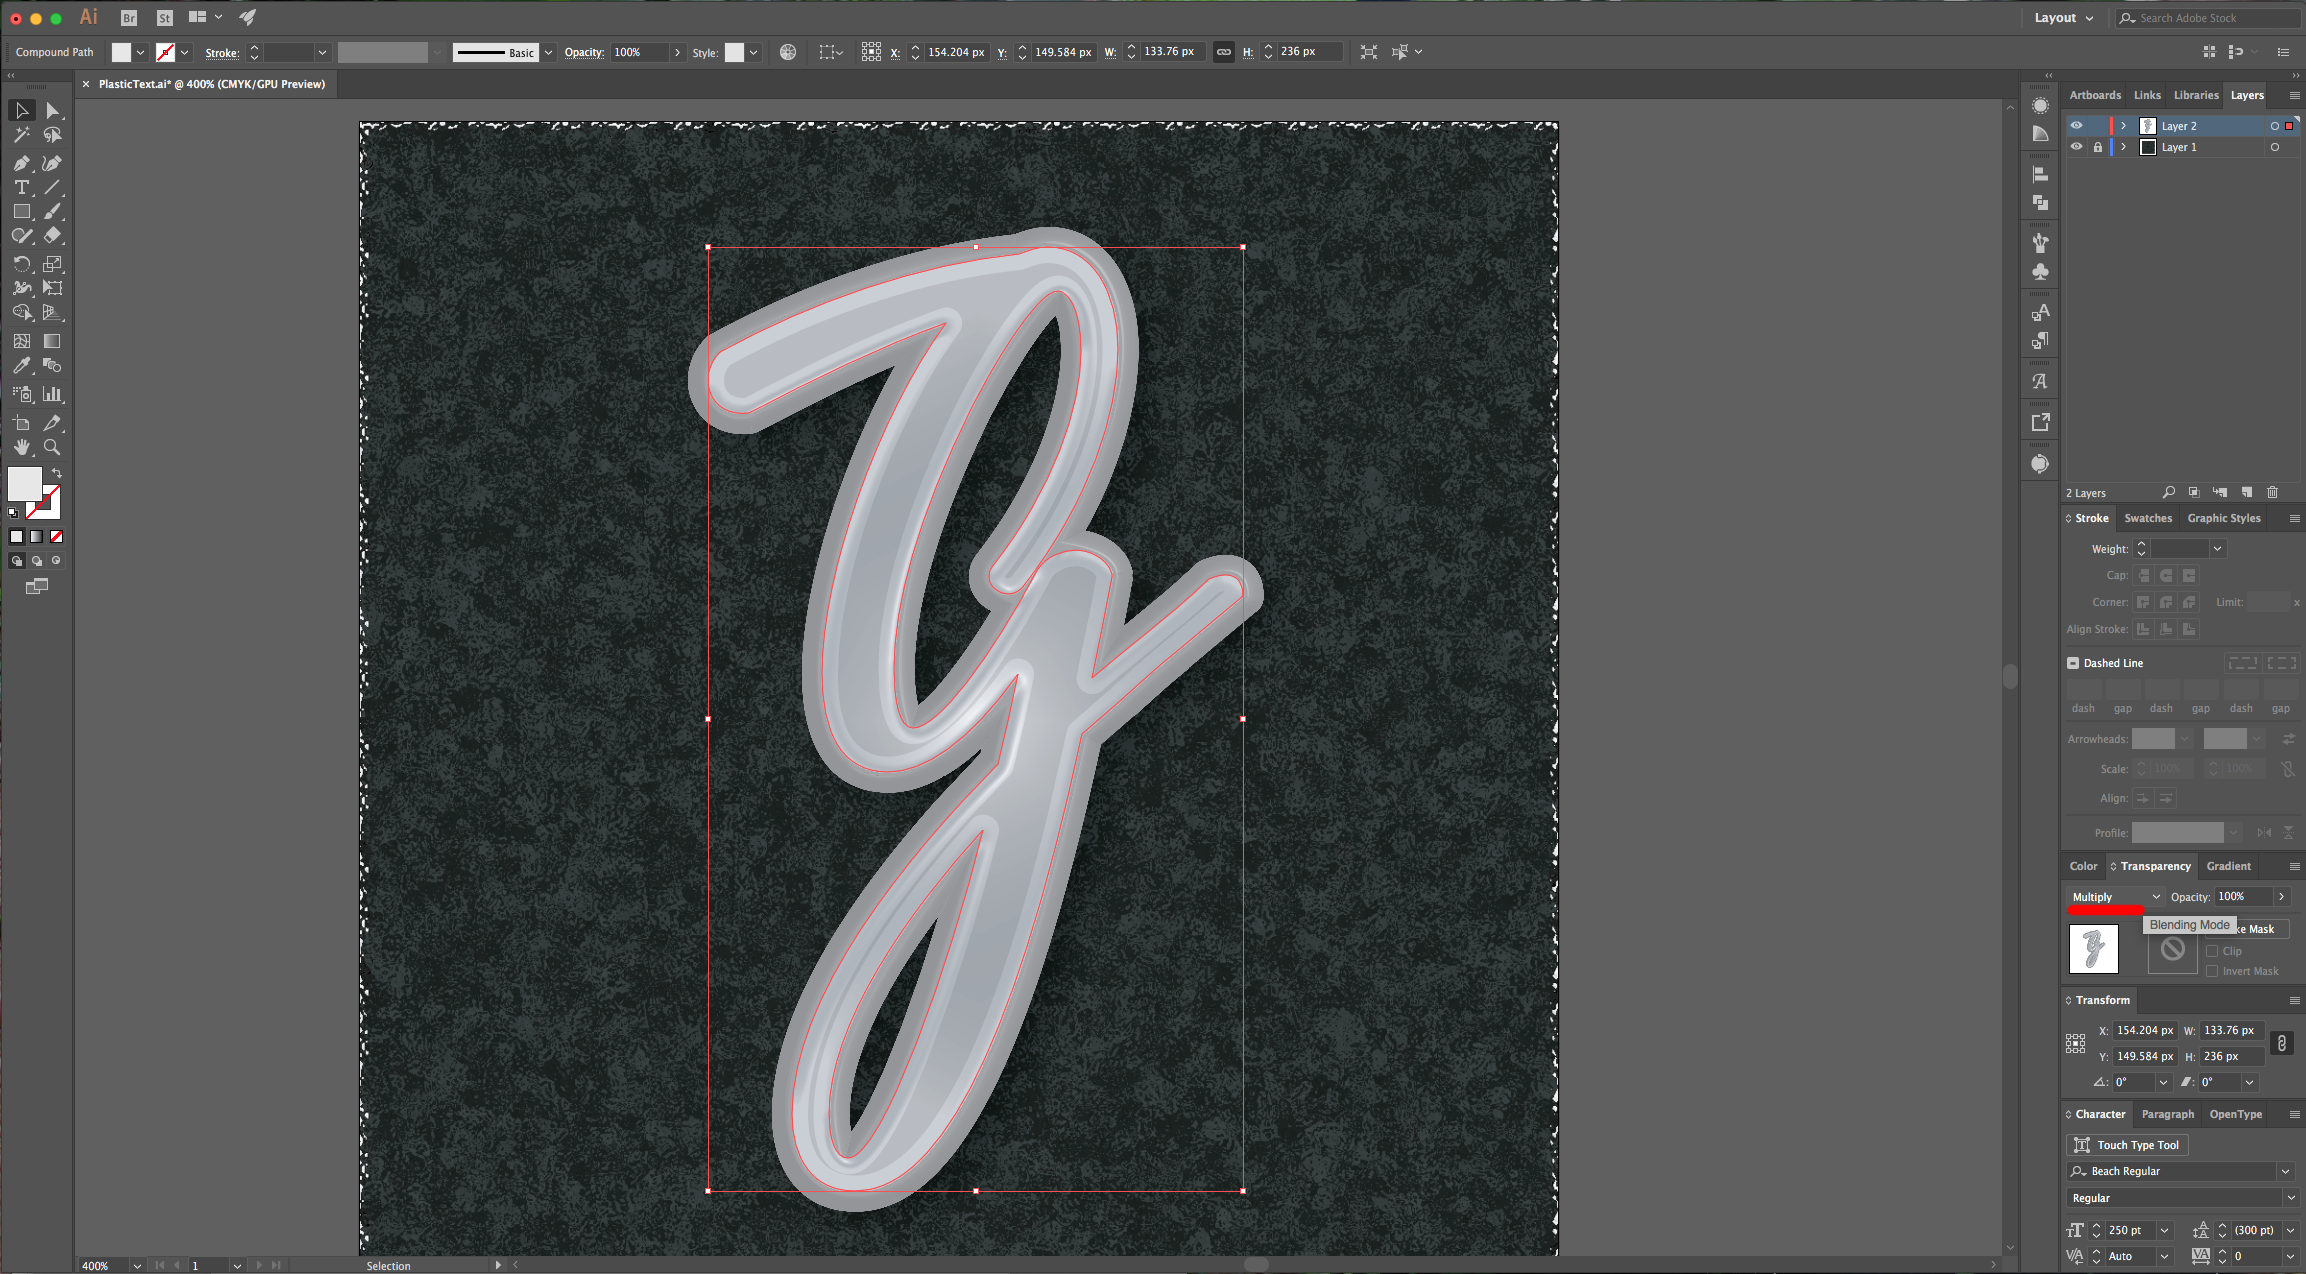
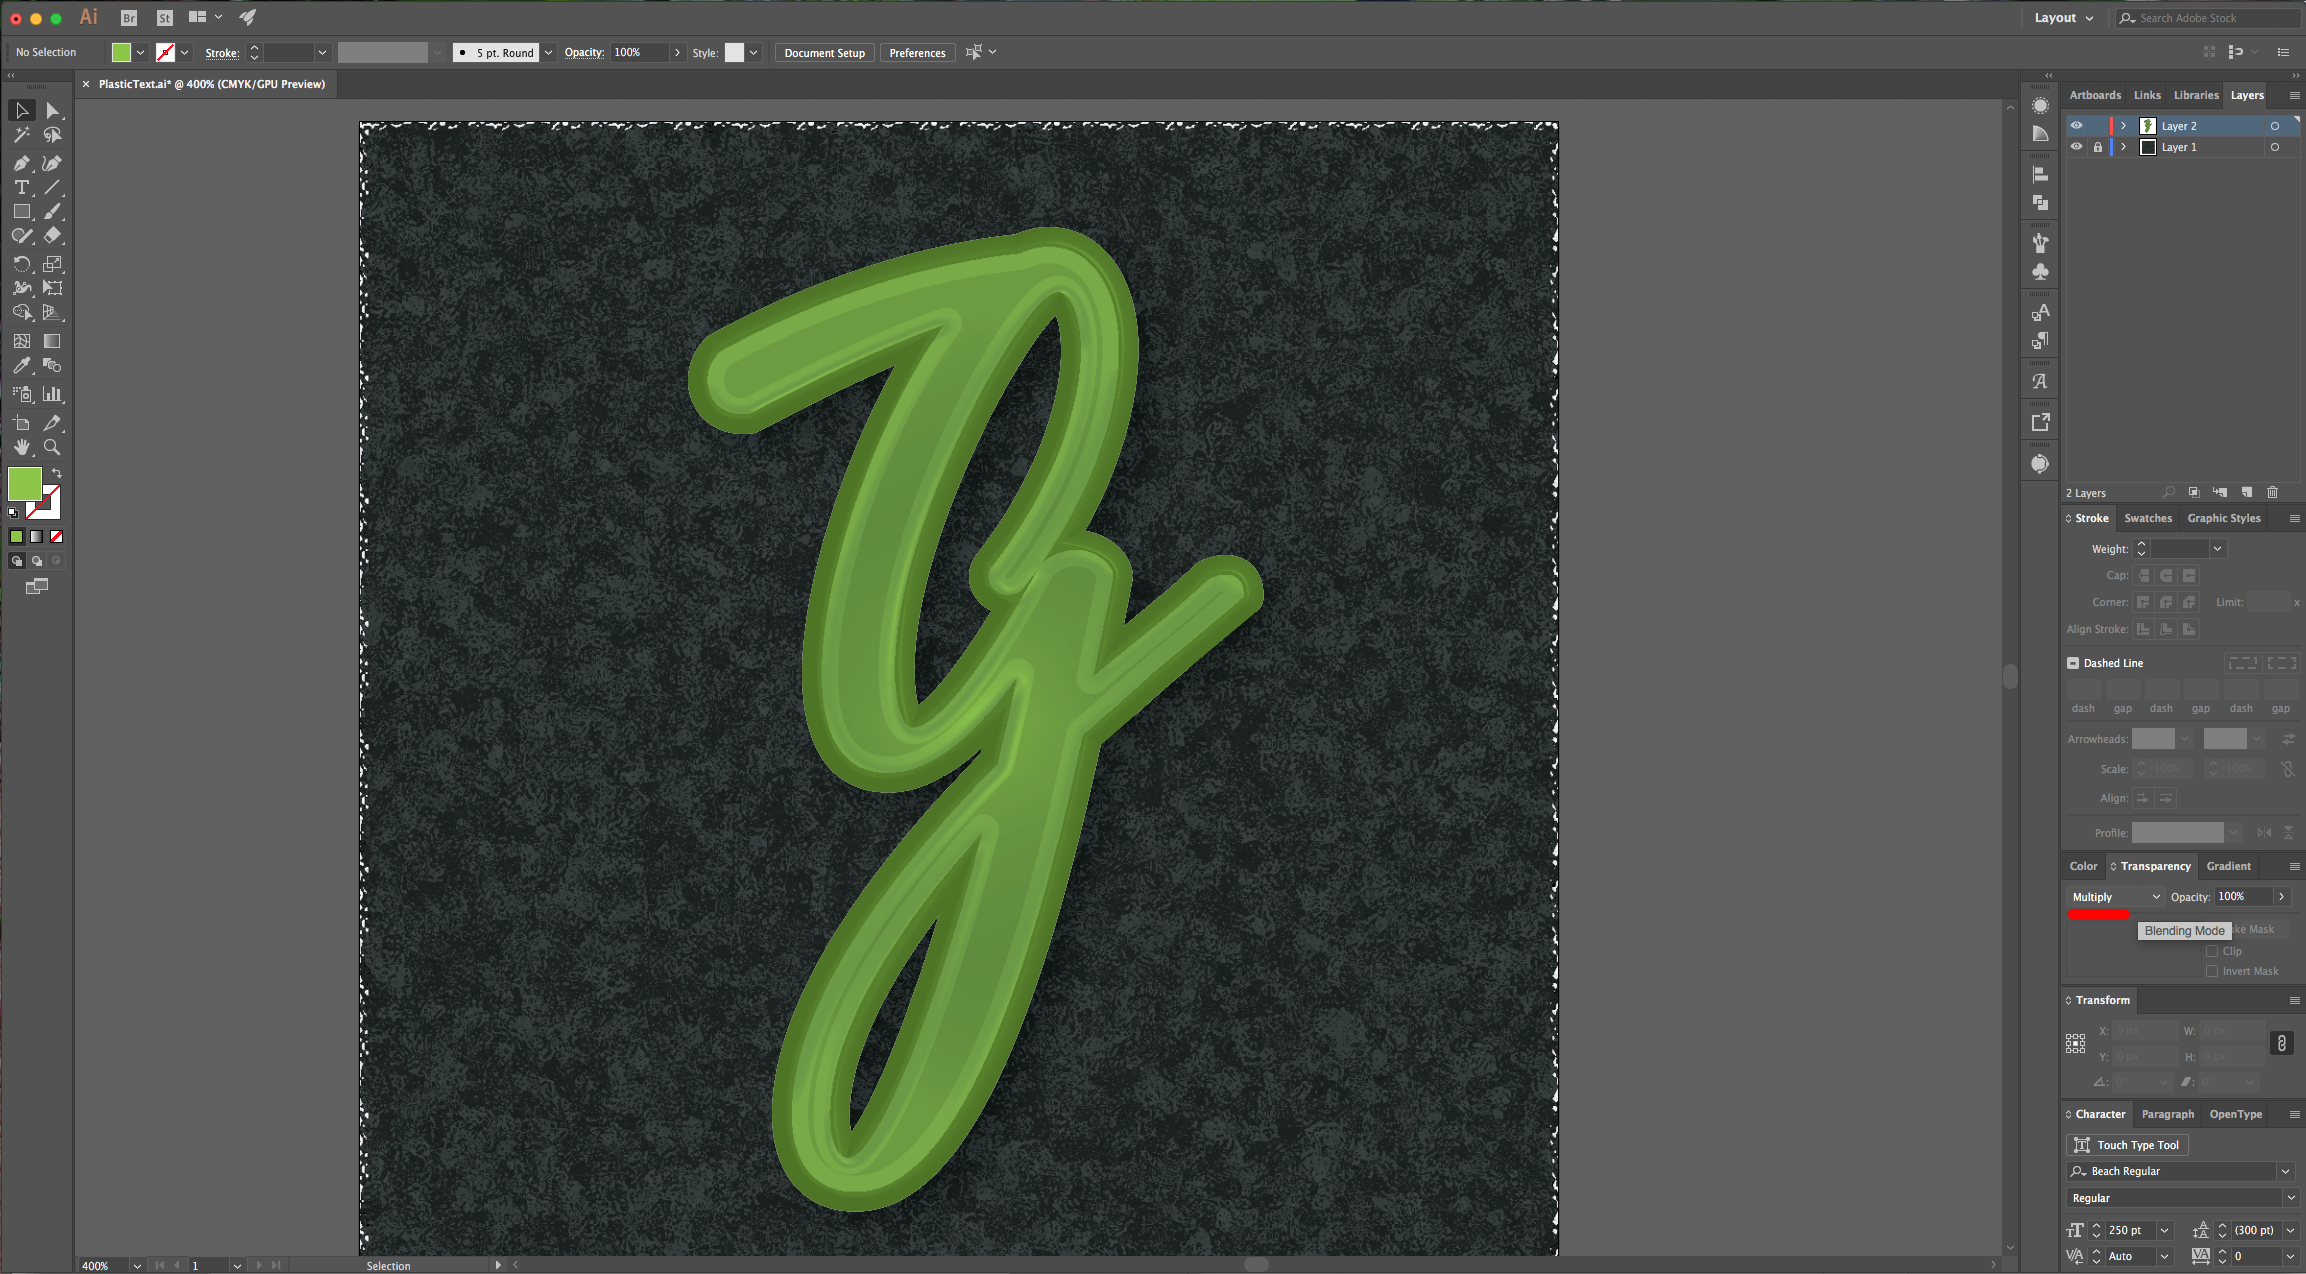
12 - Then create another “Fill” on top and fill it with a really light grey and “Offset” the Path by -4 px. Change this layer’s “Blending Mode” to “Multiply” in the “Transparency” Panel.
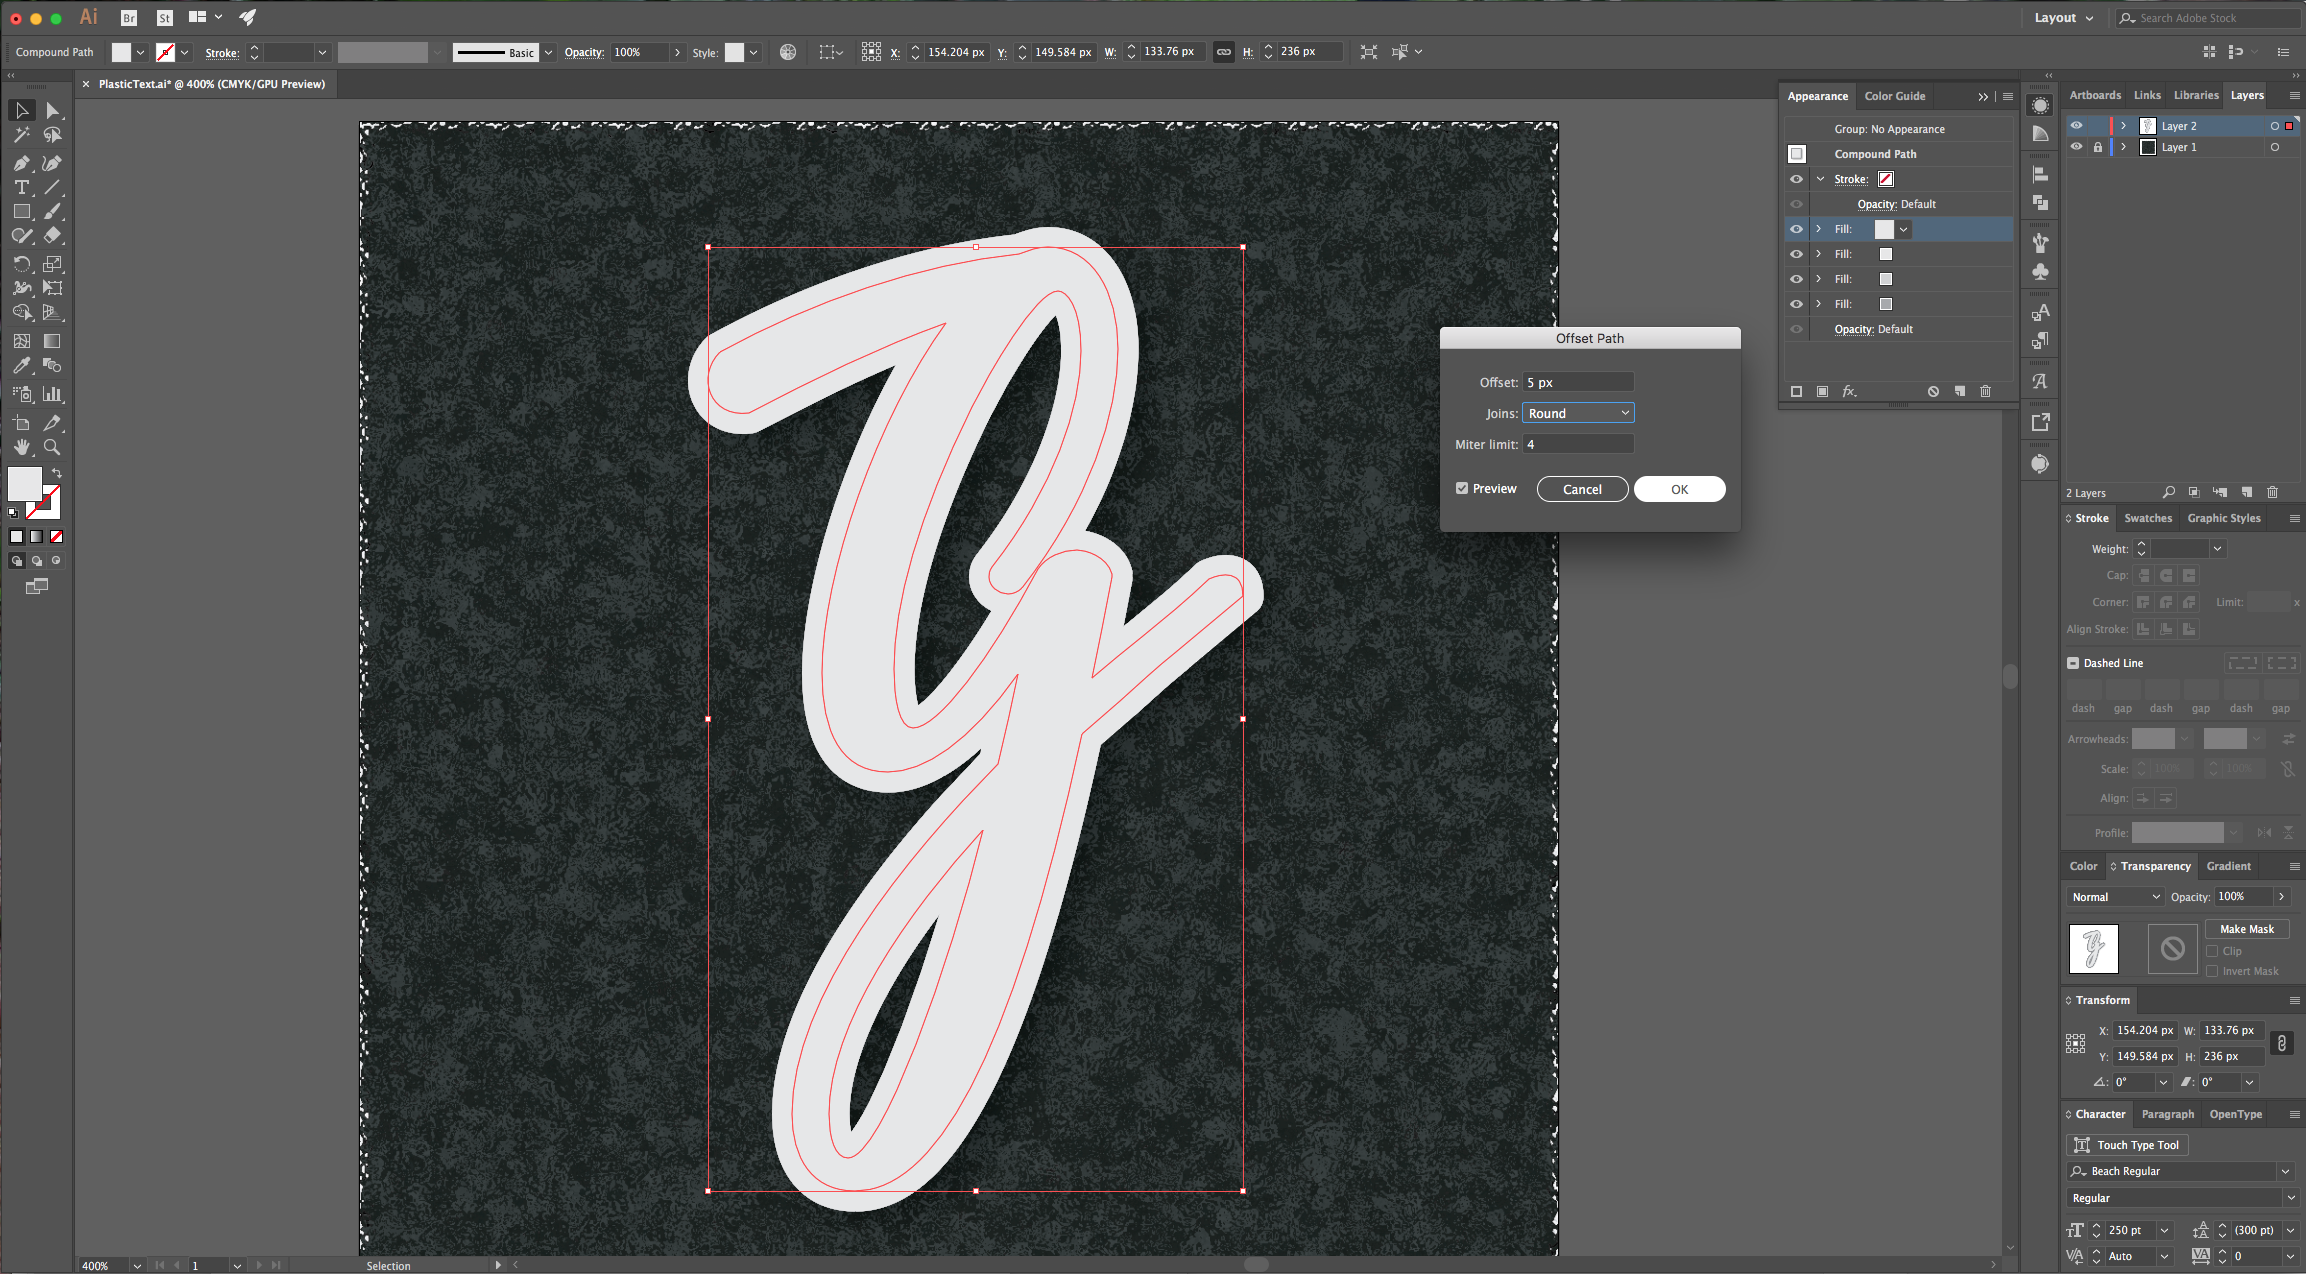
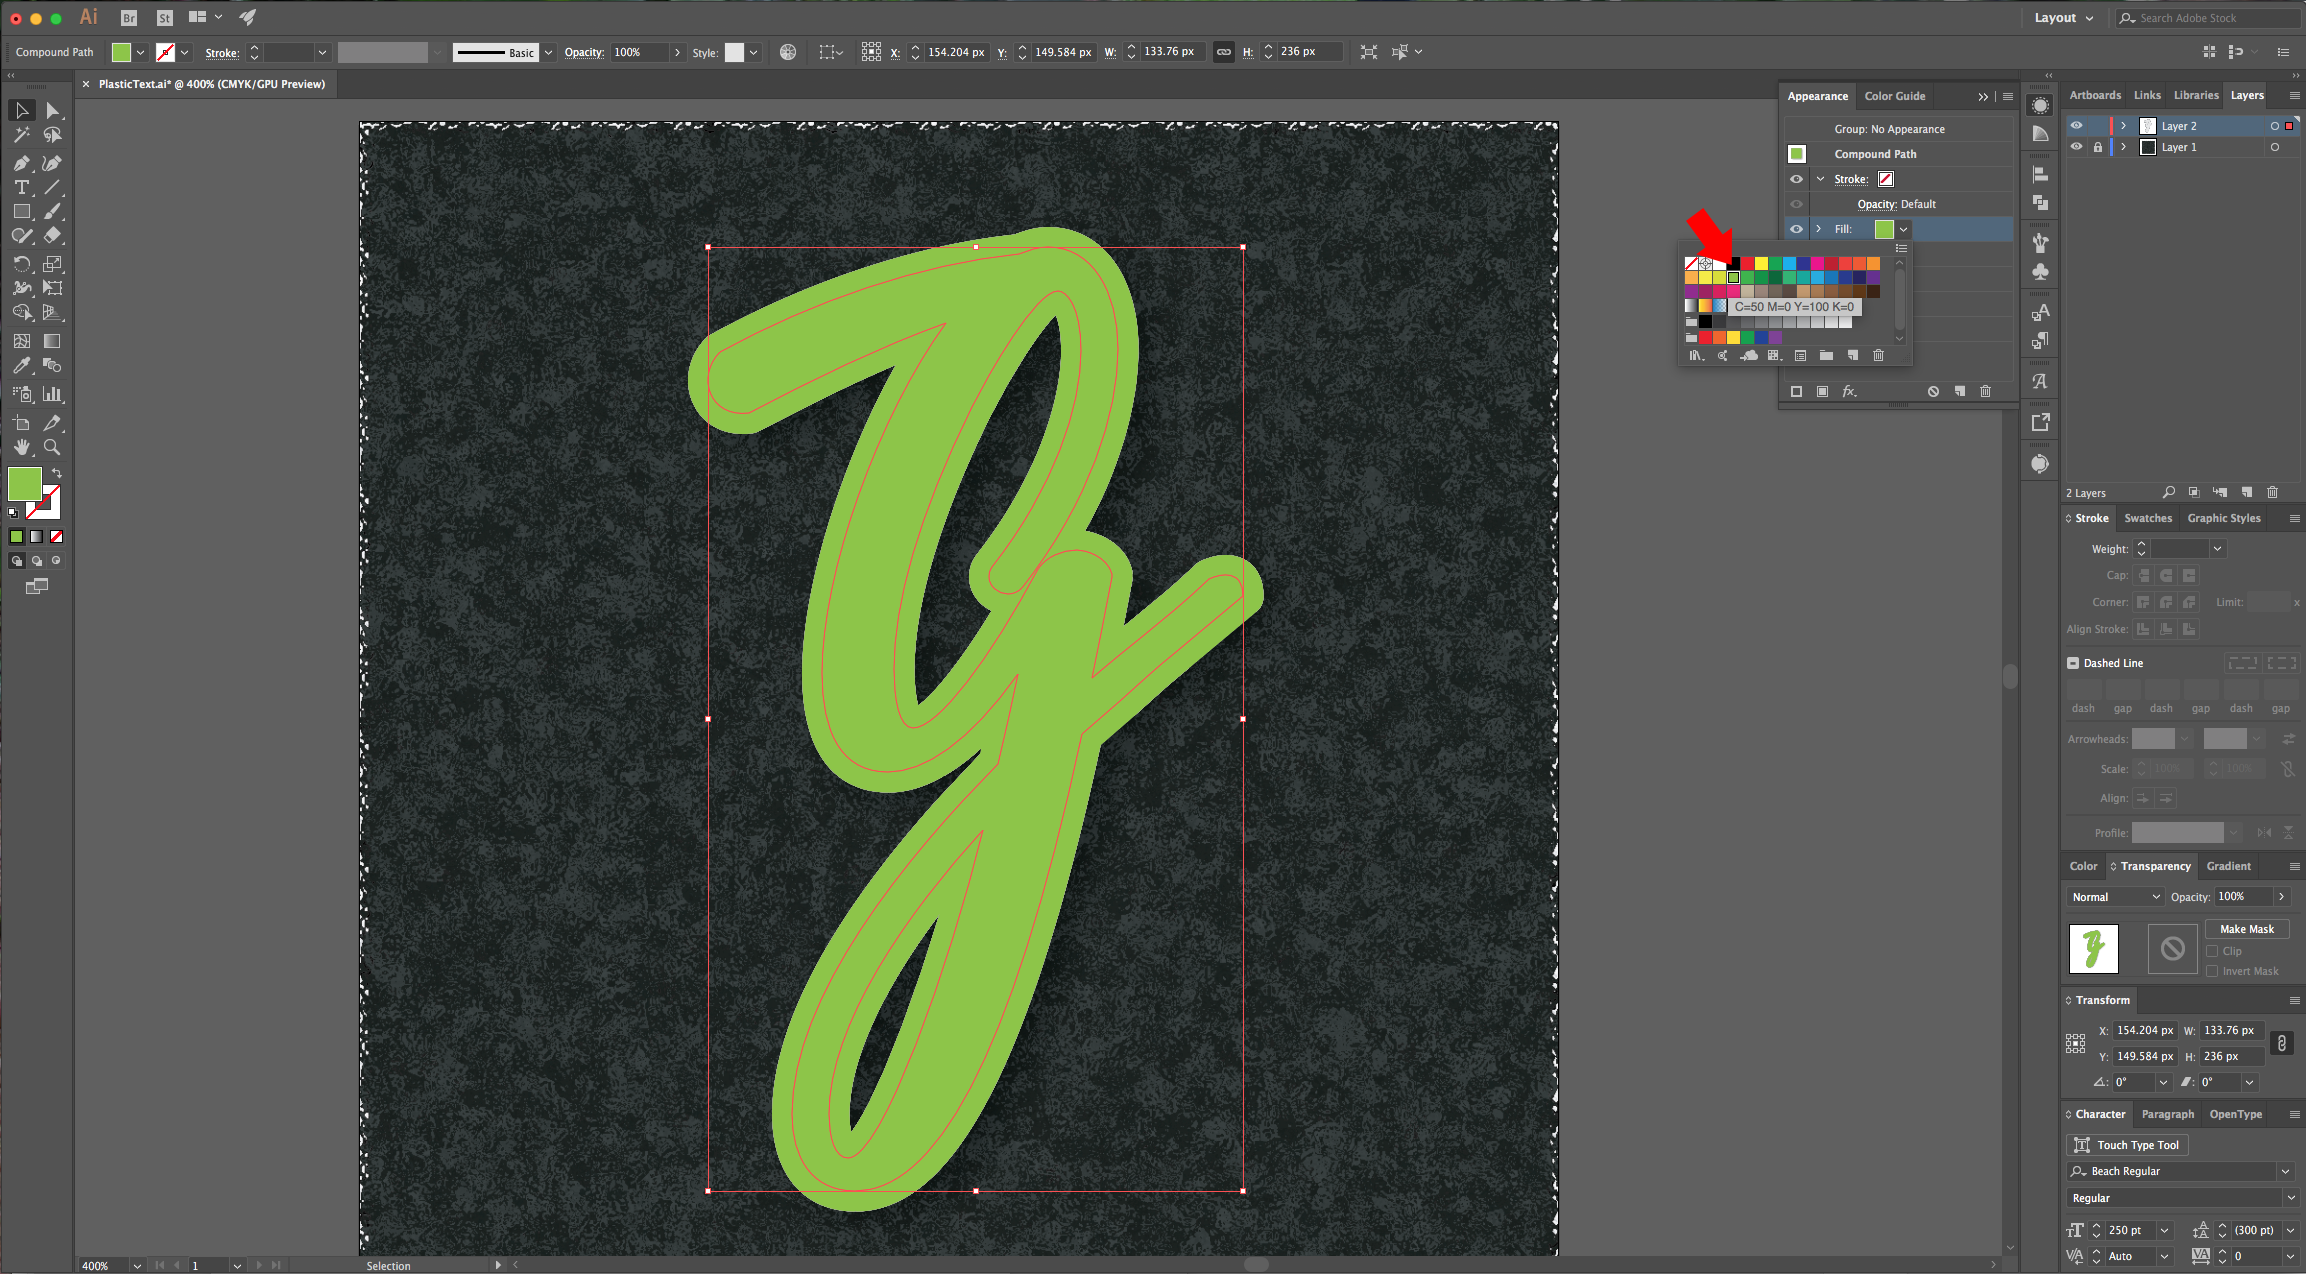
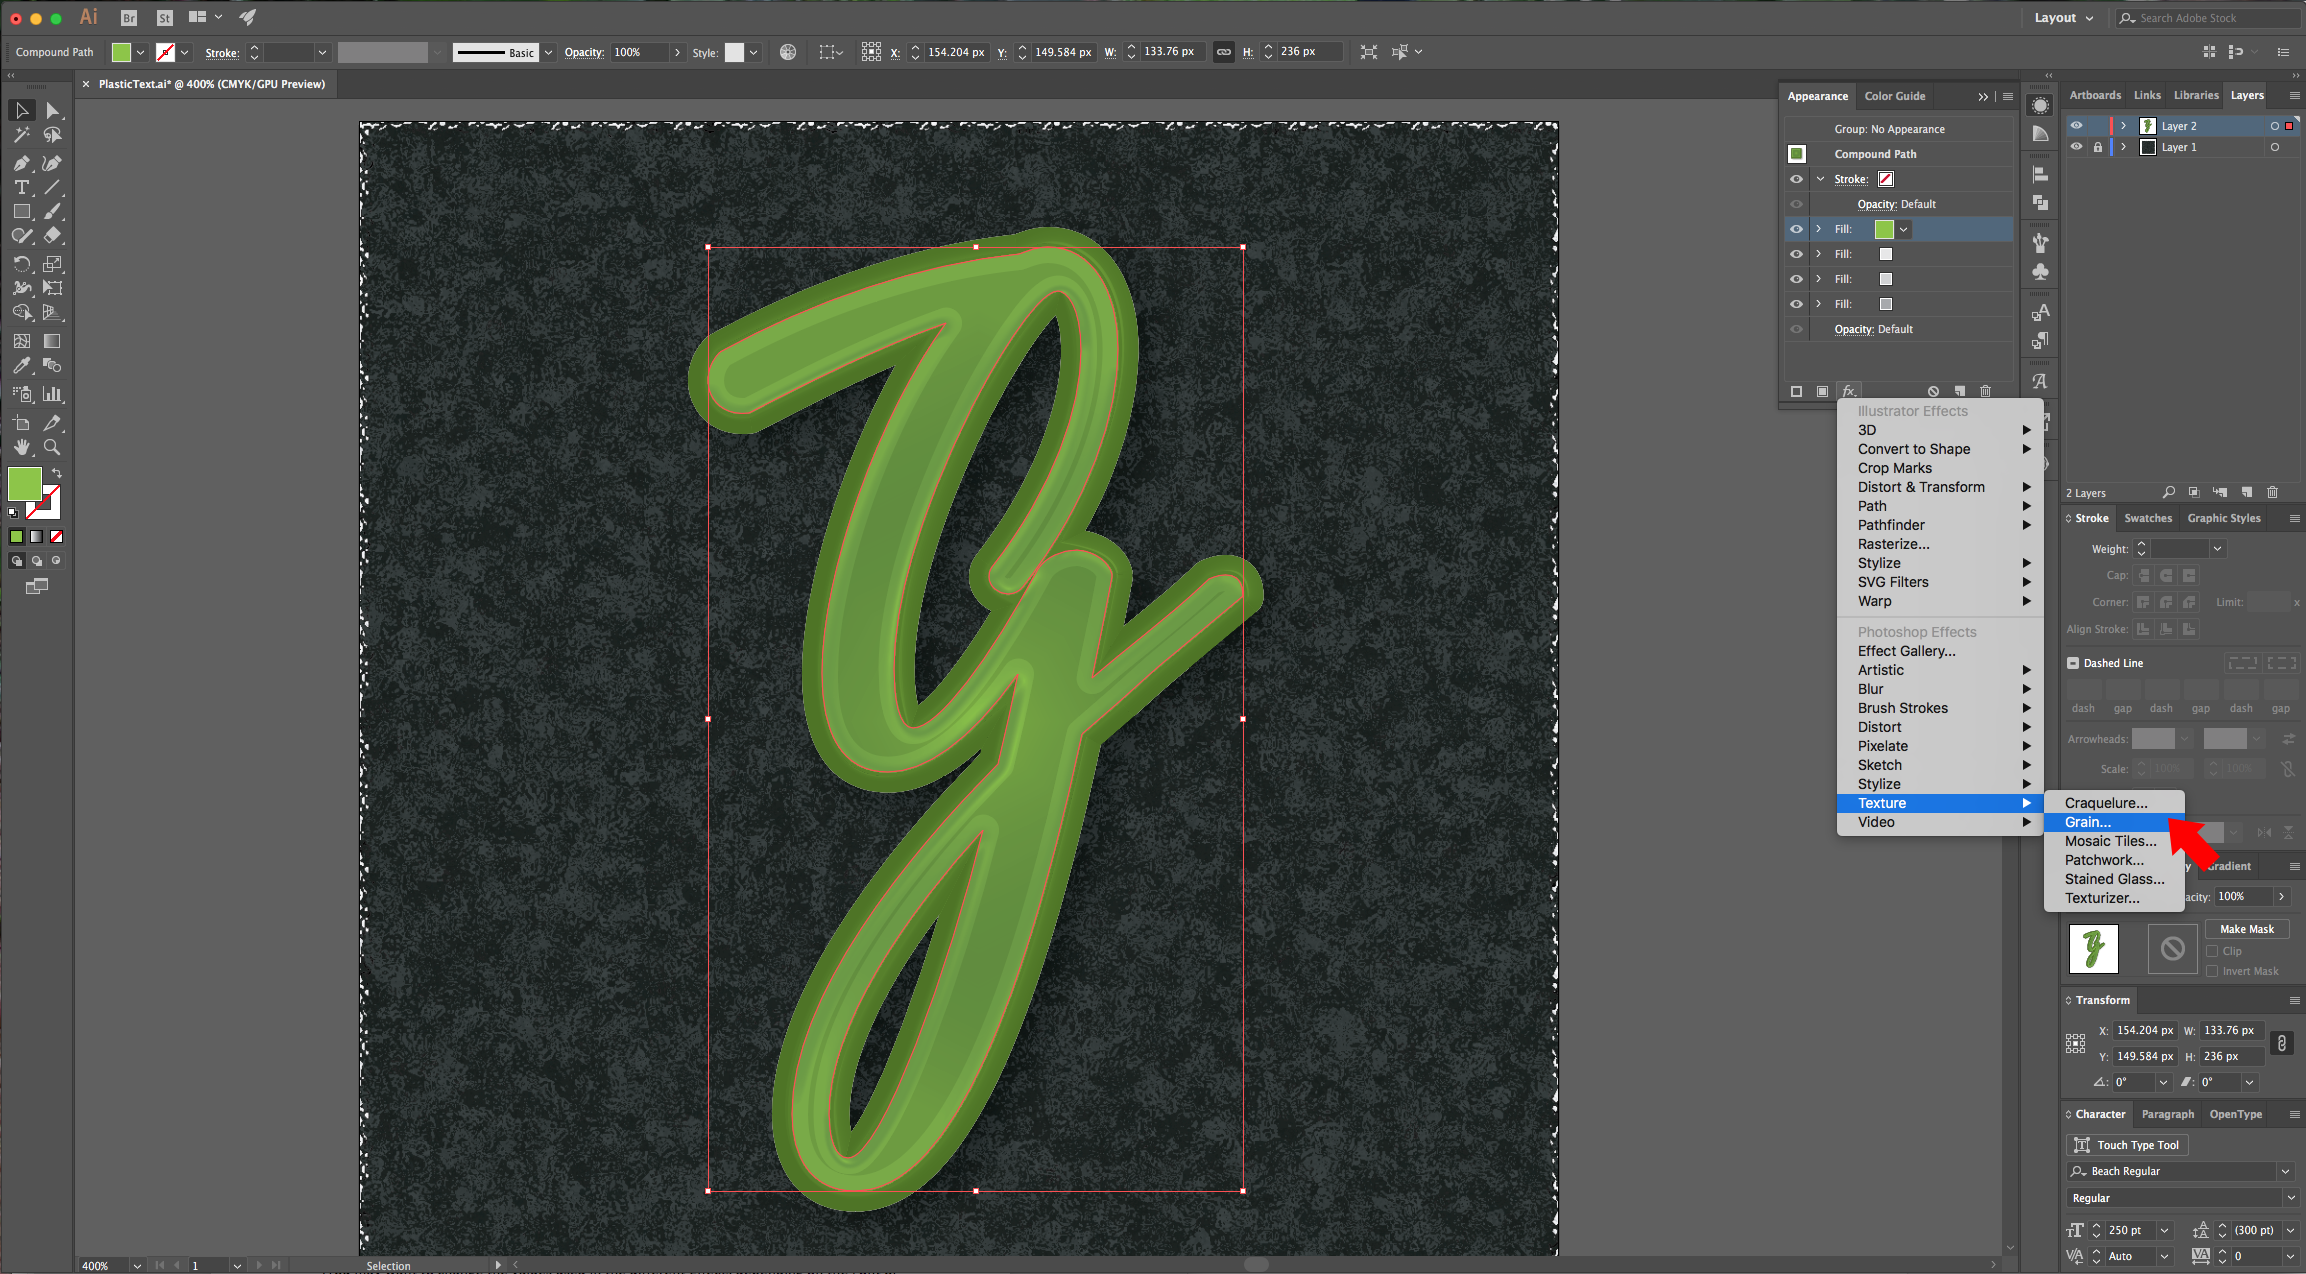
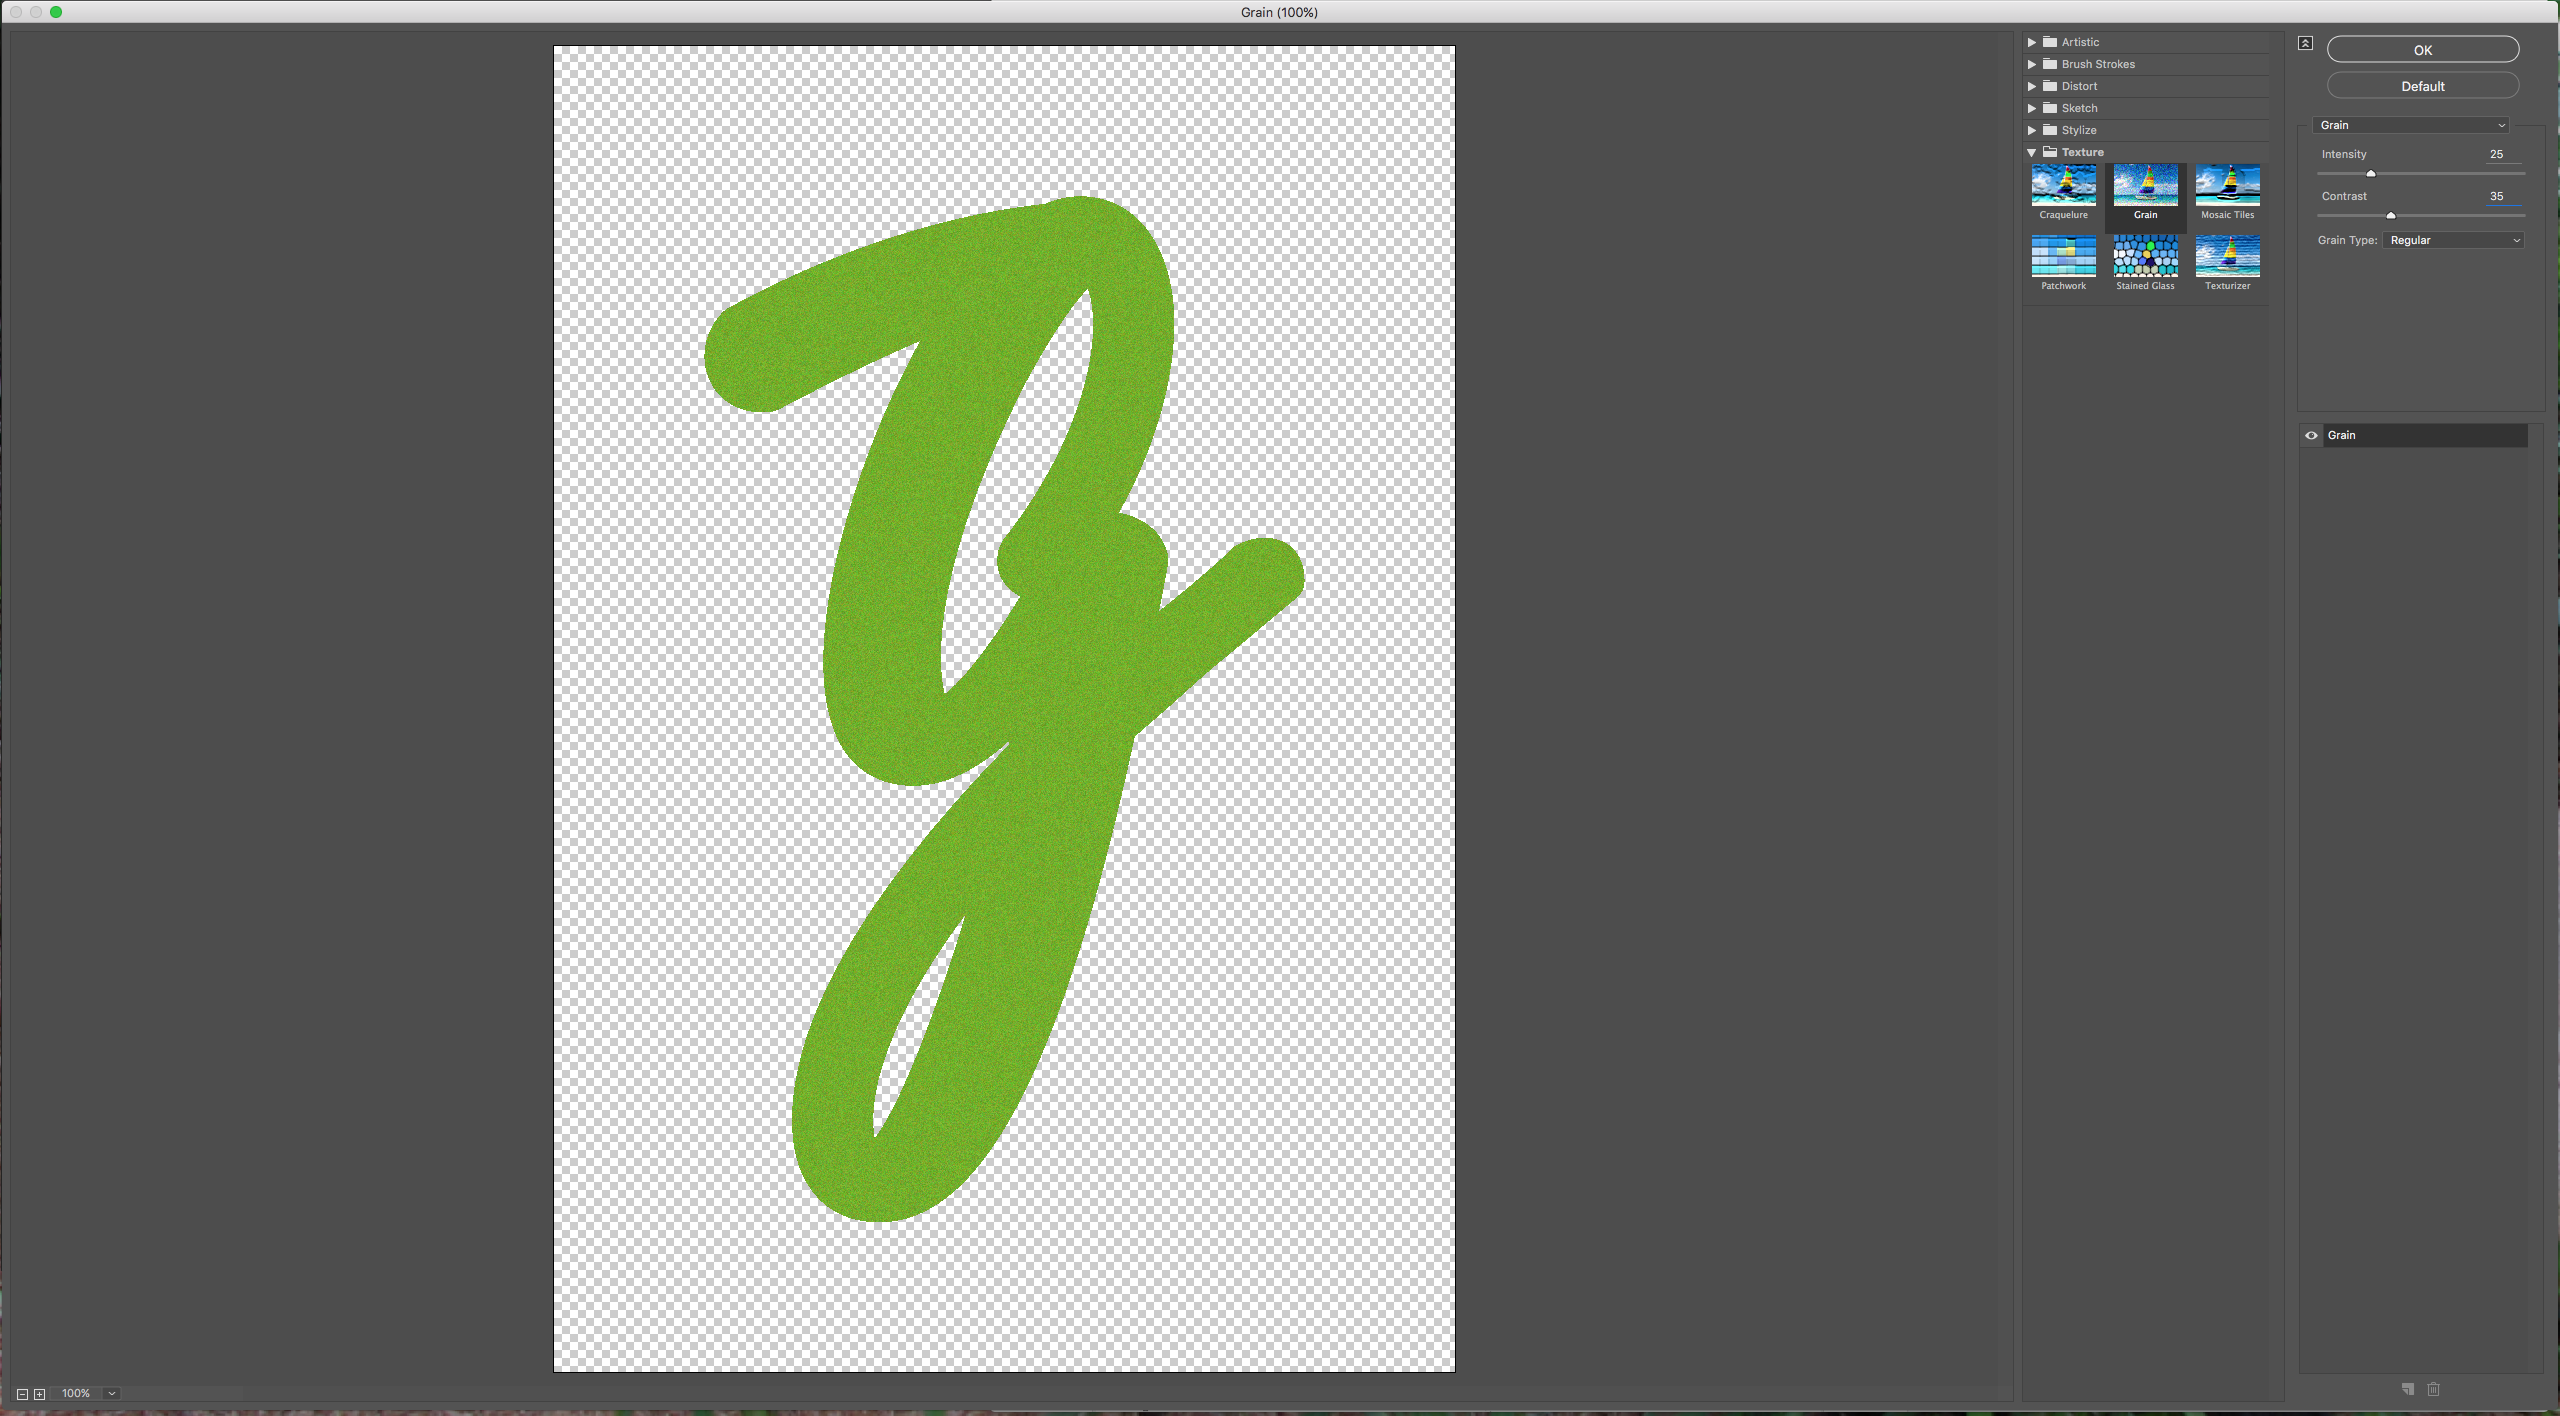
13 - Create another “Fill” layer on top of the others, “Offset” the Path by 5 pixels and use a bright “Fill” color. Set the “Blending Mode” to “Multiply”. On the same “Fill” go to Effect > Texture > Grain and use the following values:
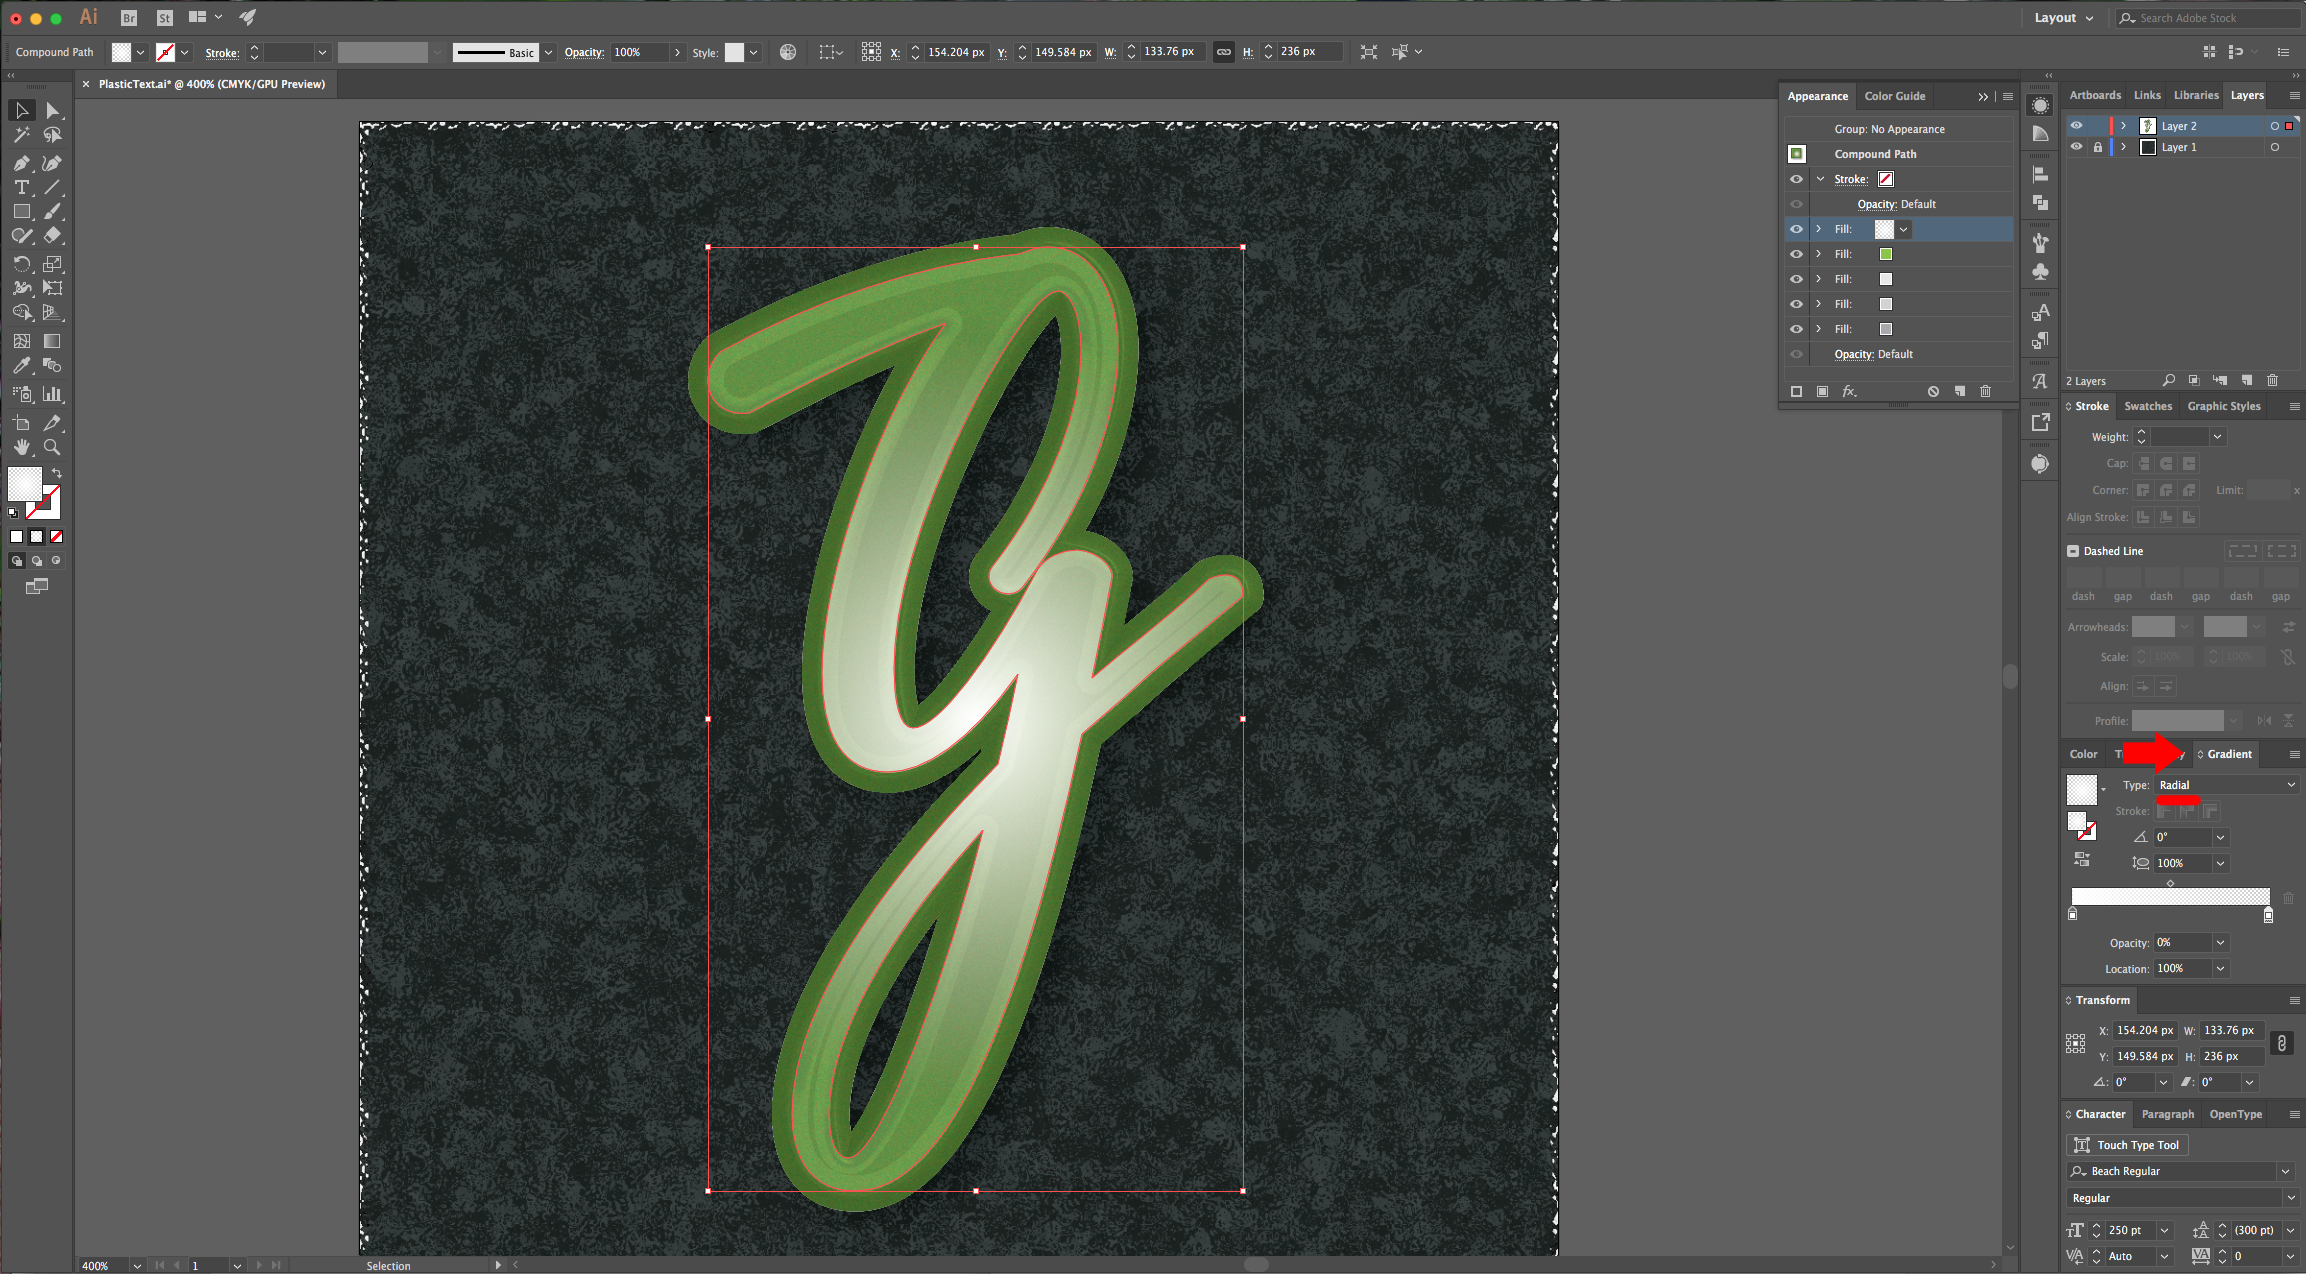
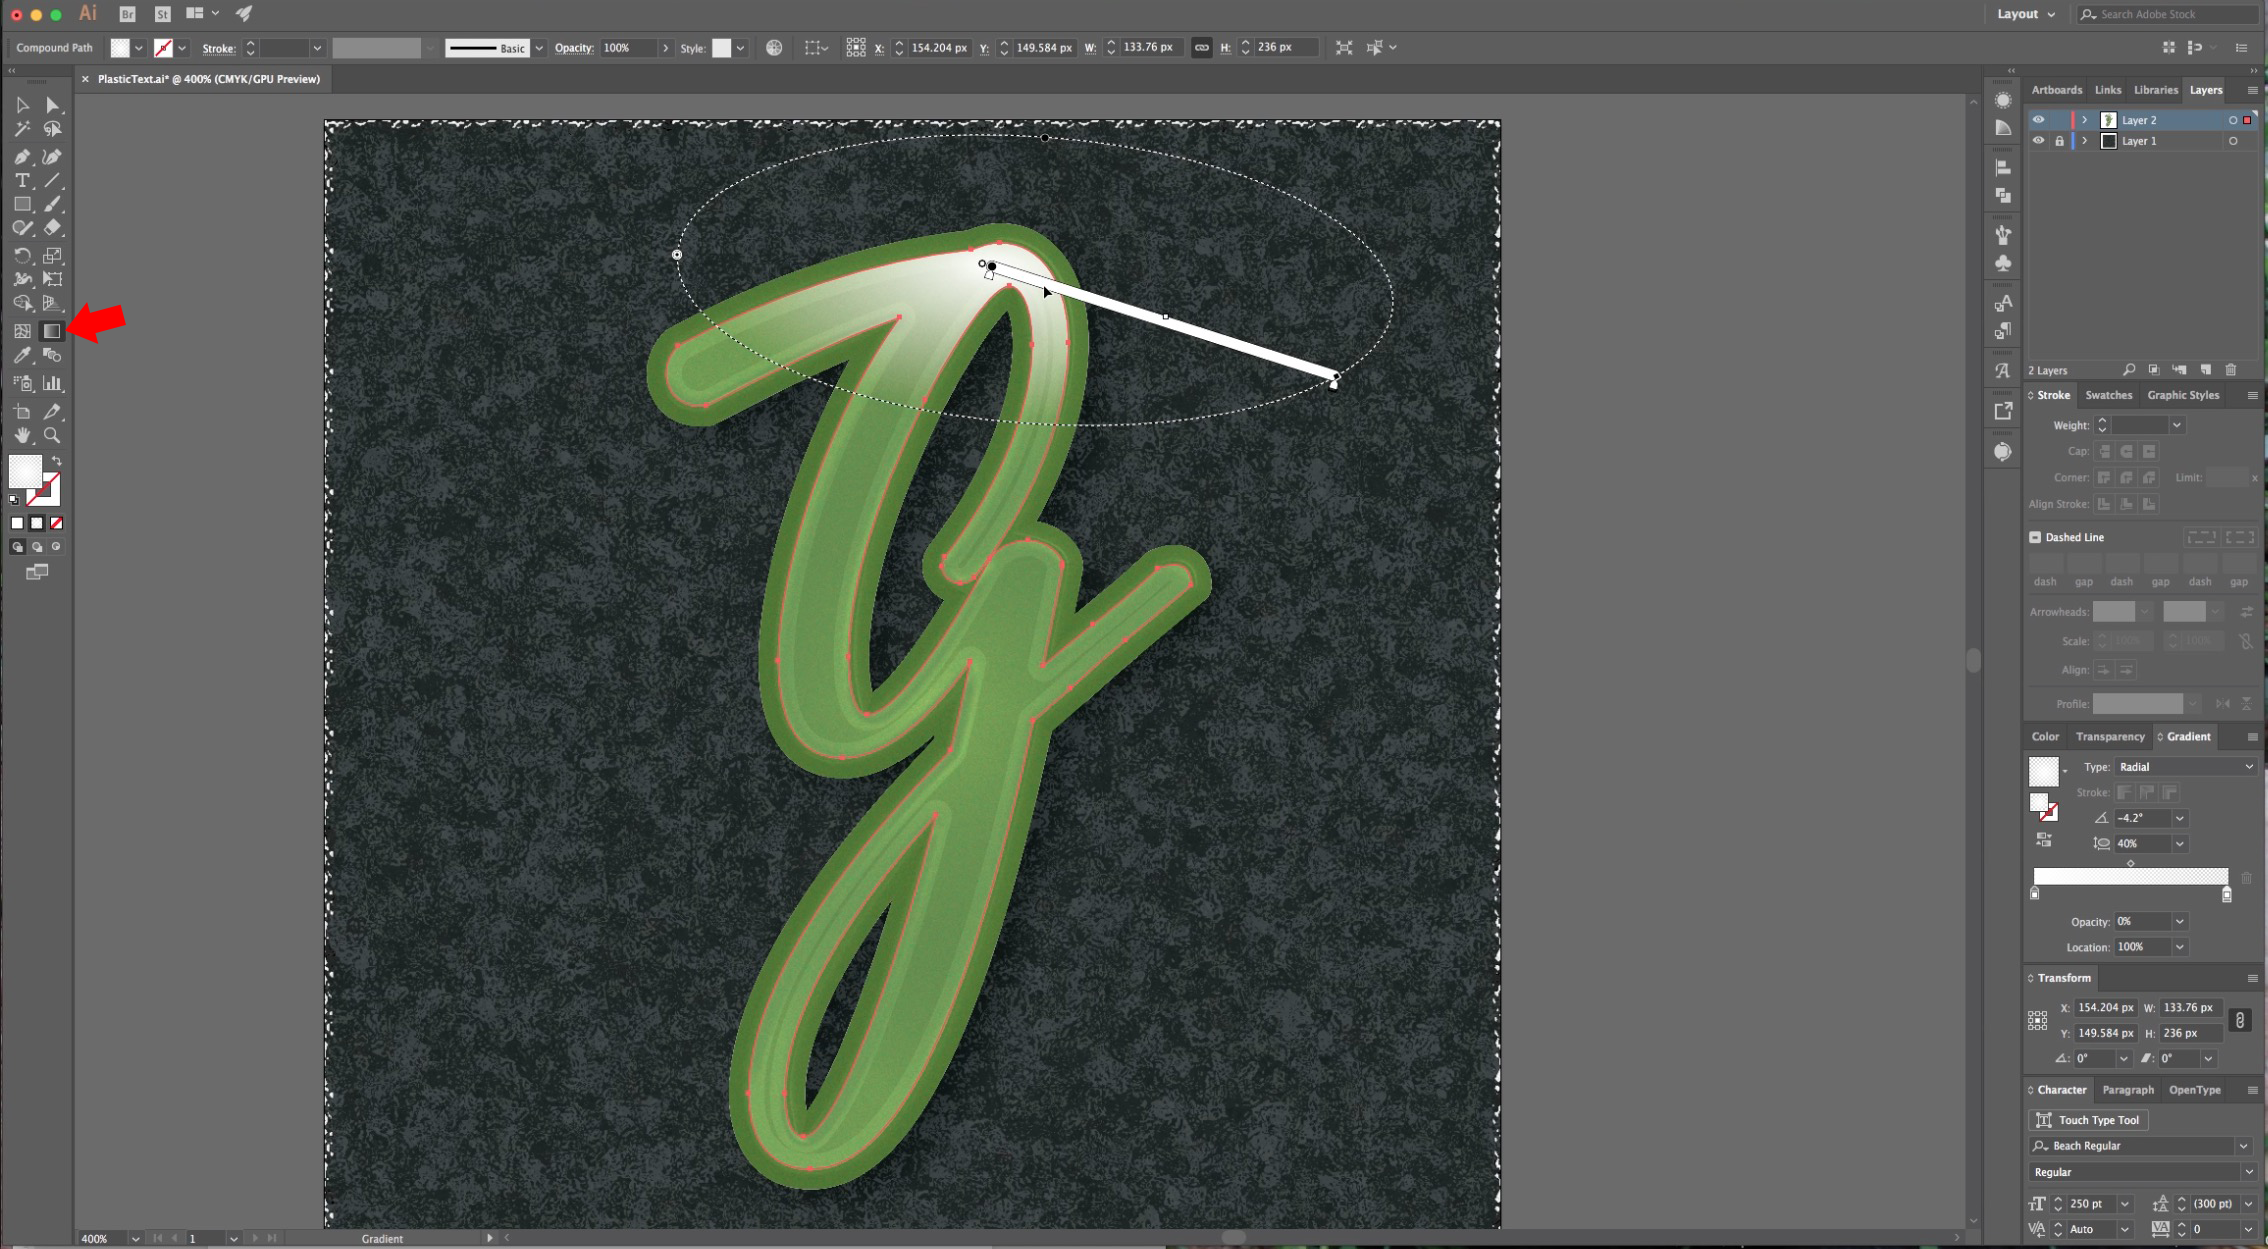
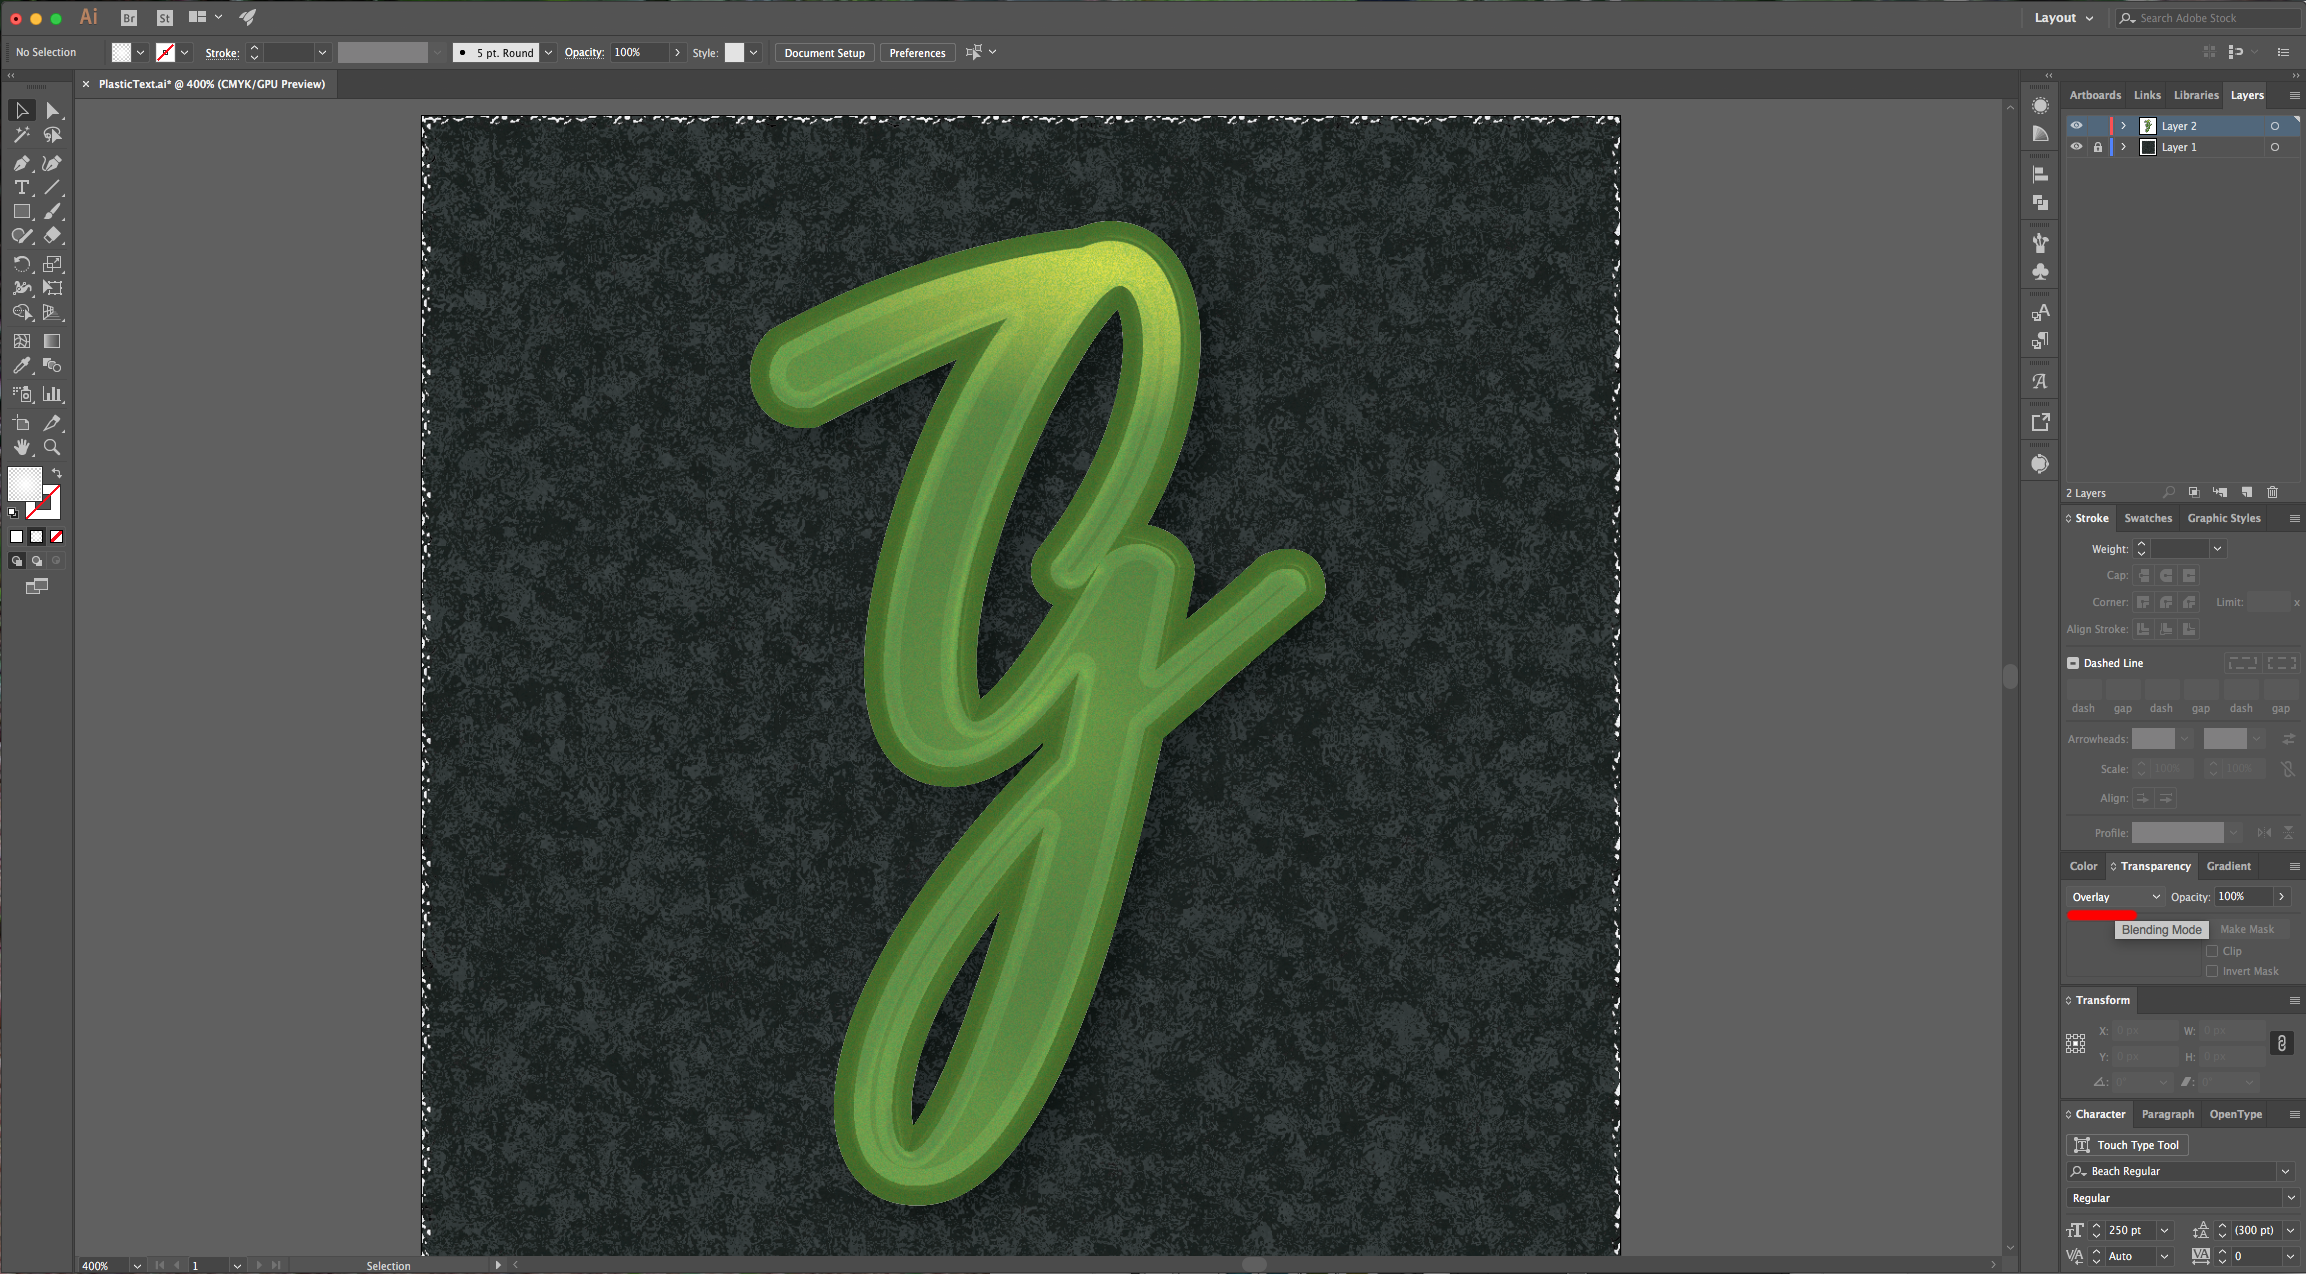
14 - Create one final “Fill” layer on top of the others. Apply a “Radial Gradient” filled with white, going from 100% Opacity to 0%. Set the “Blending Mode” to “Overlay” then use the “Gradient Tool” (G) to adjust the “Radius” and position it in the upper right side.
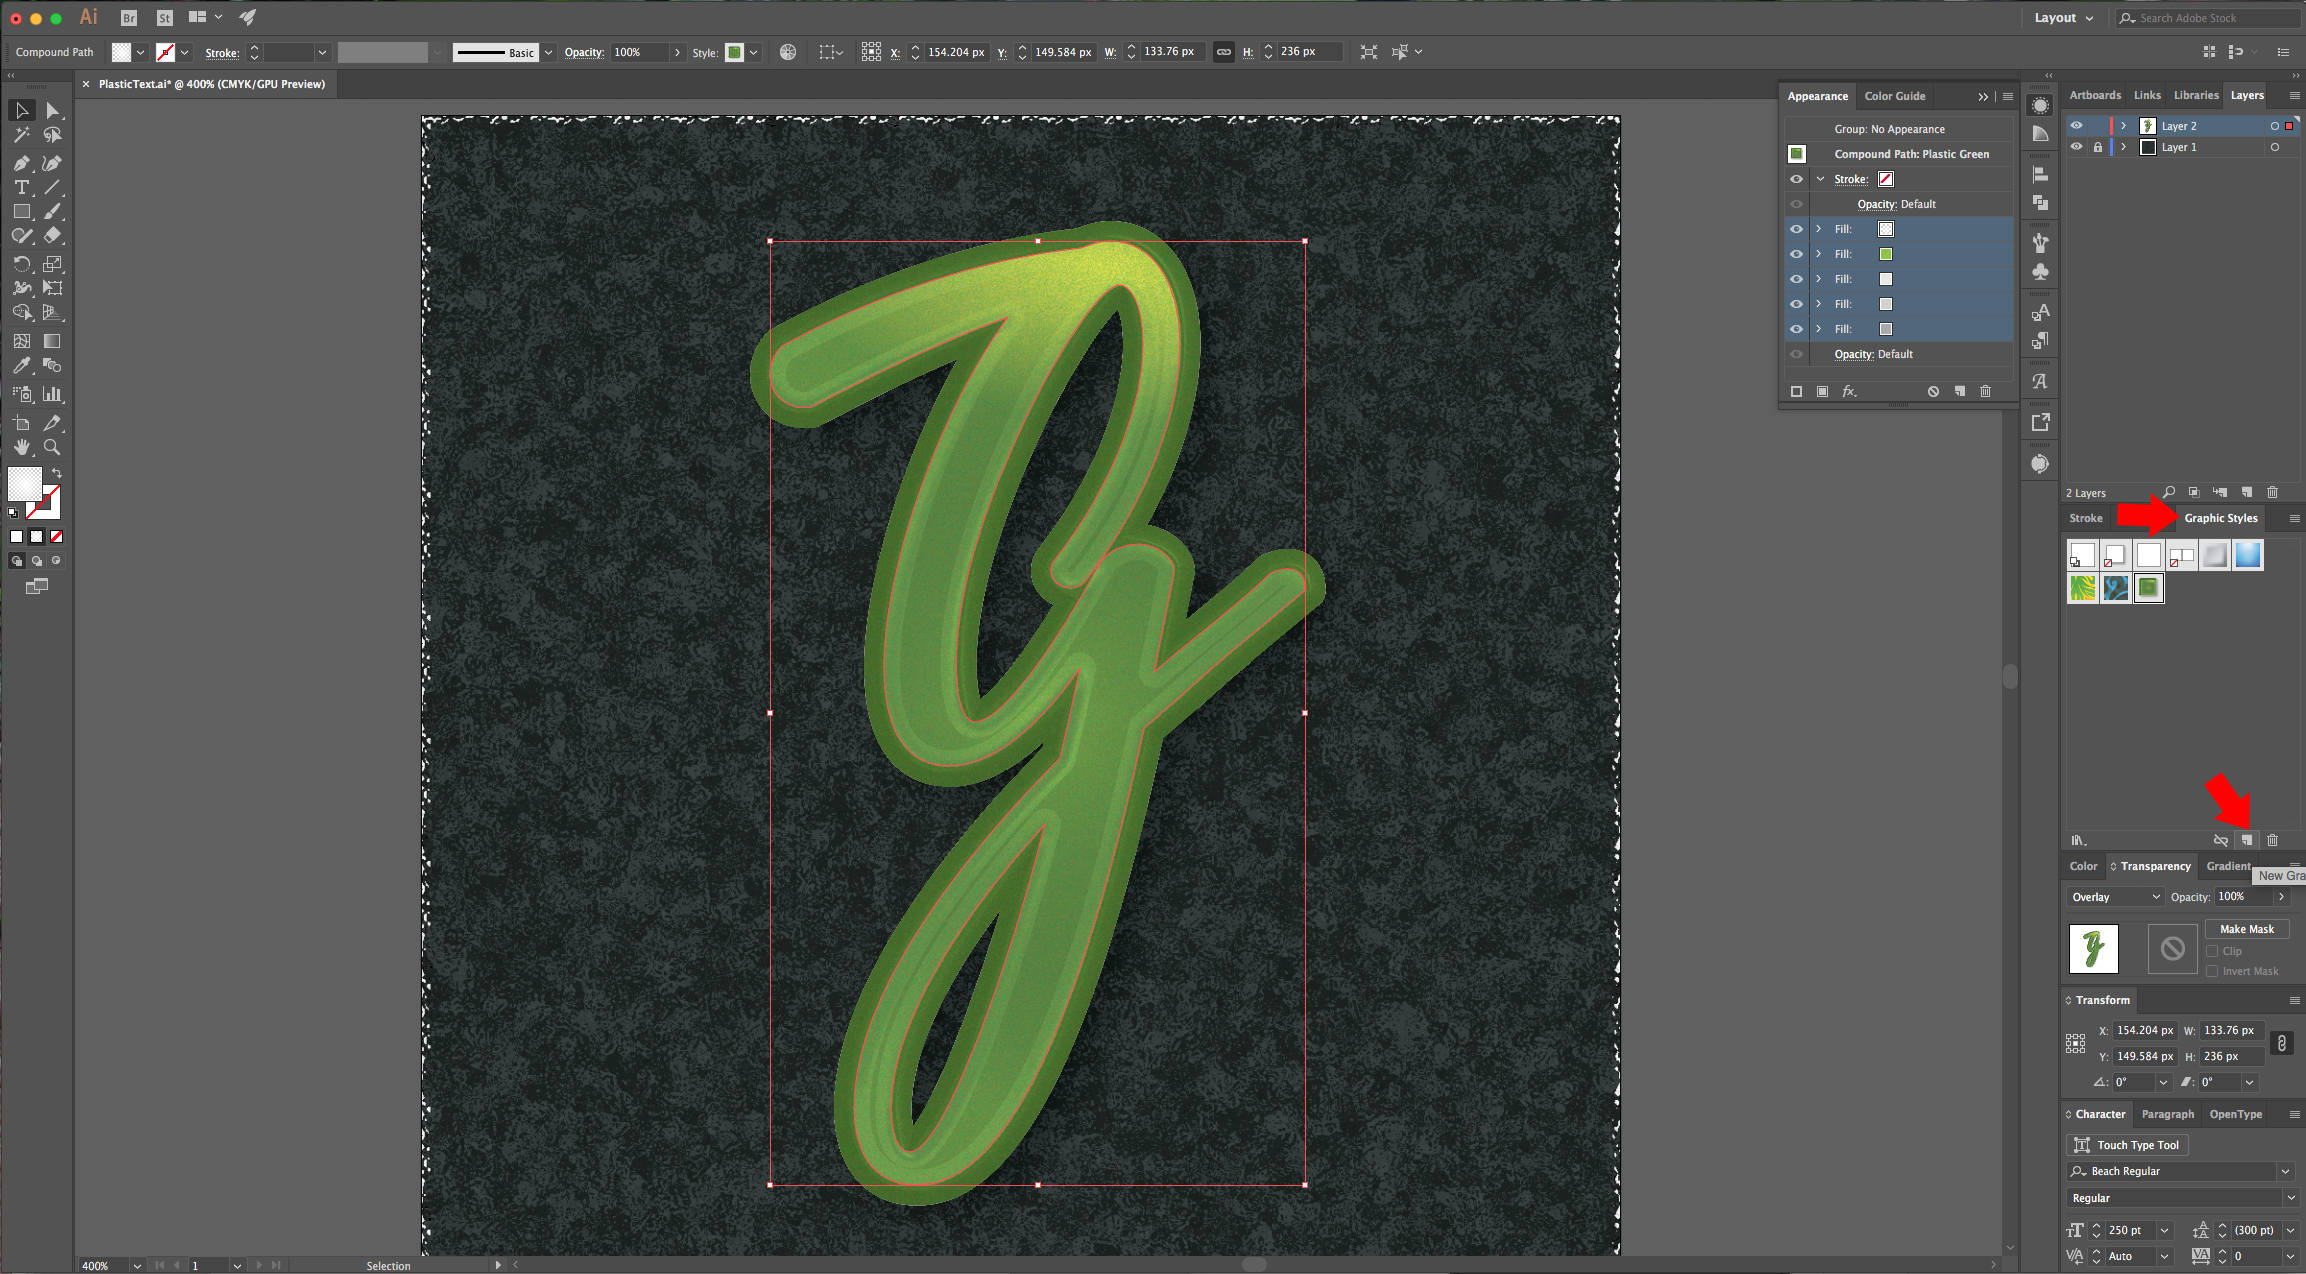
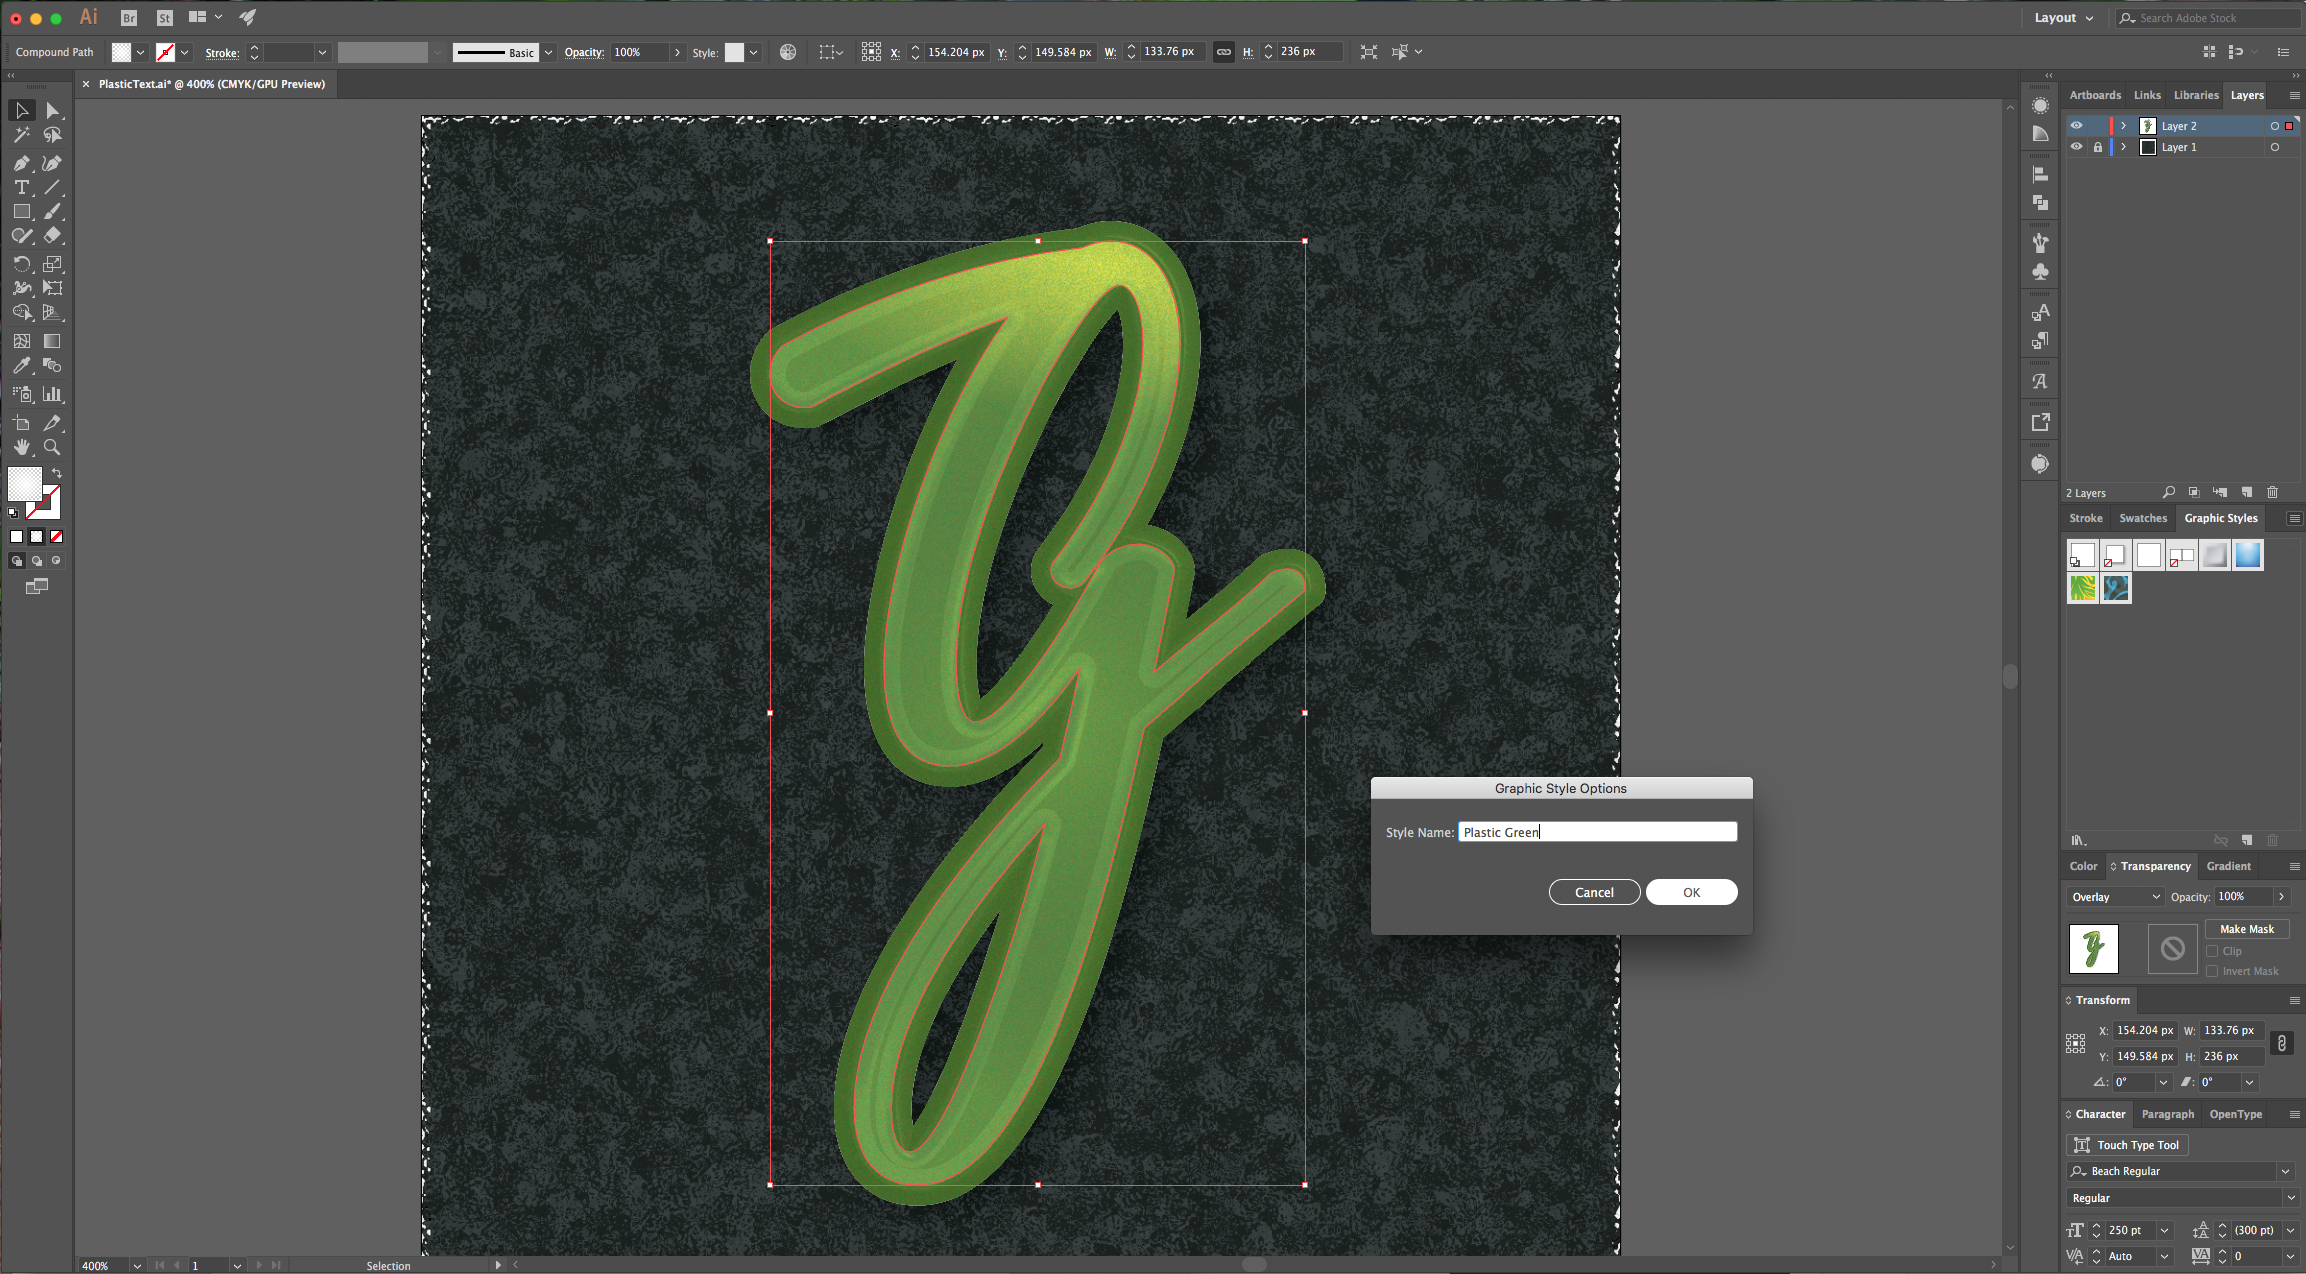
15 - Select your text (all the layers), go to “Graphic Styles” Panel and “Create a New Graphic Style” give it a name and save it. Now you can use the “Style” for other text or graphics.
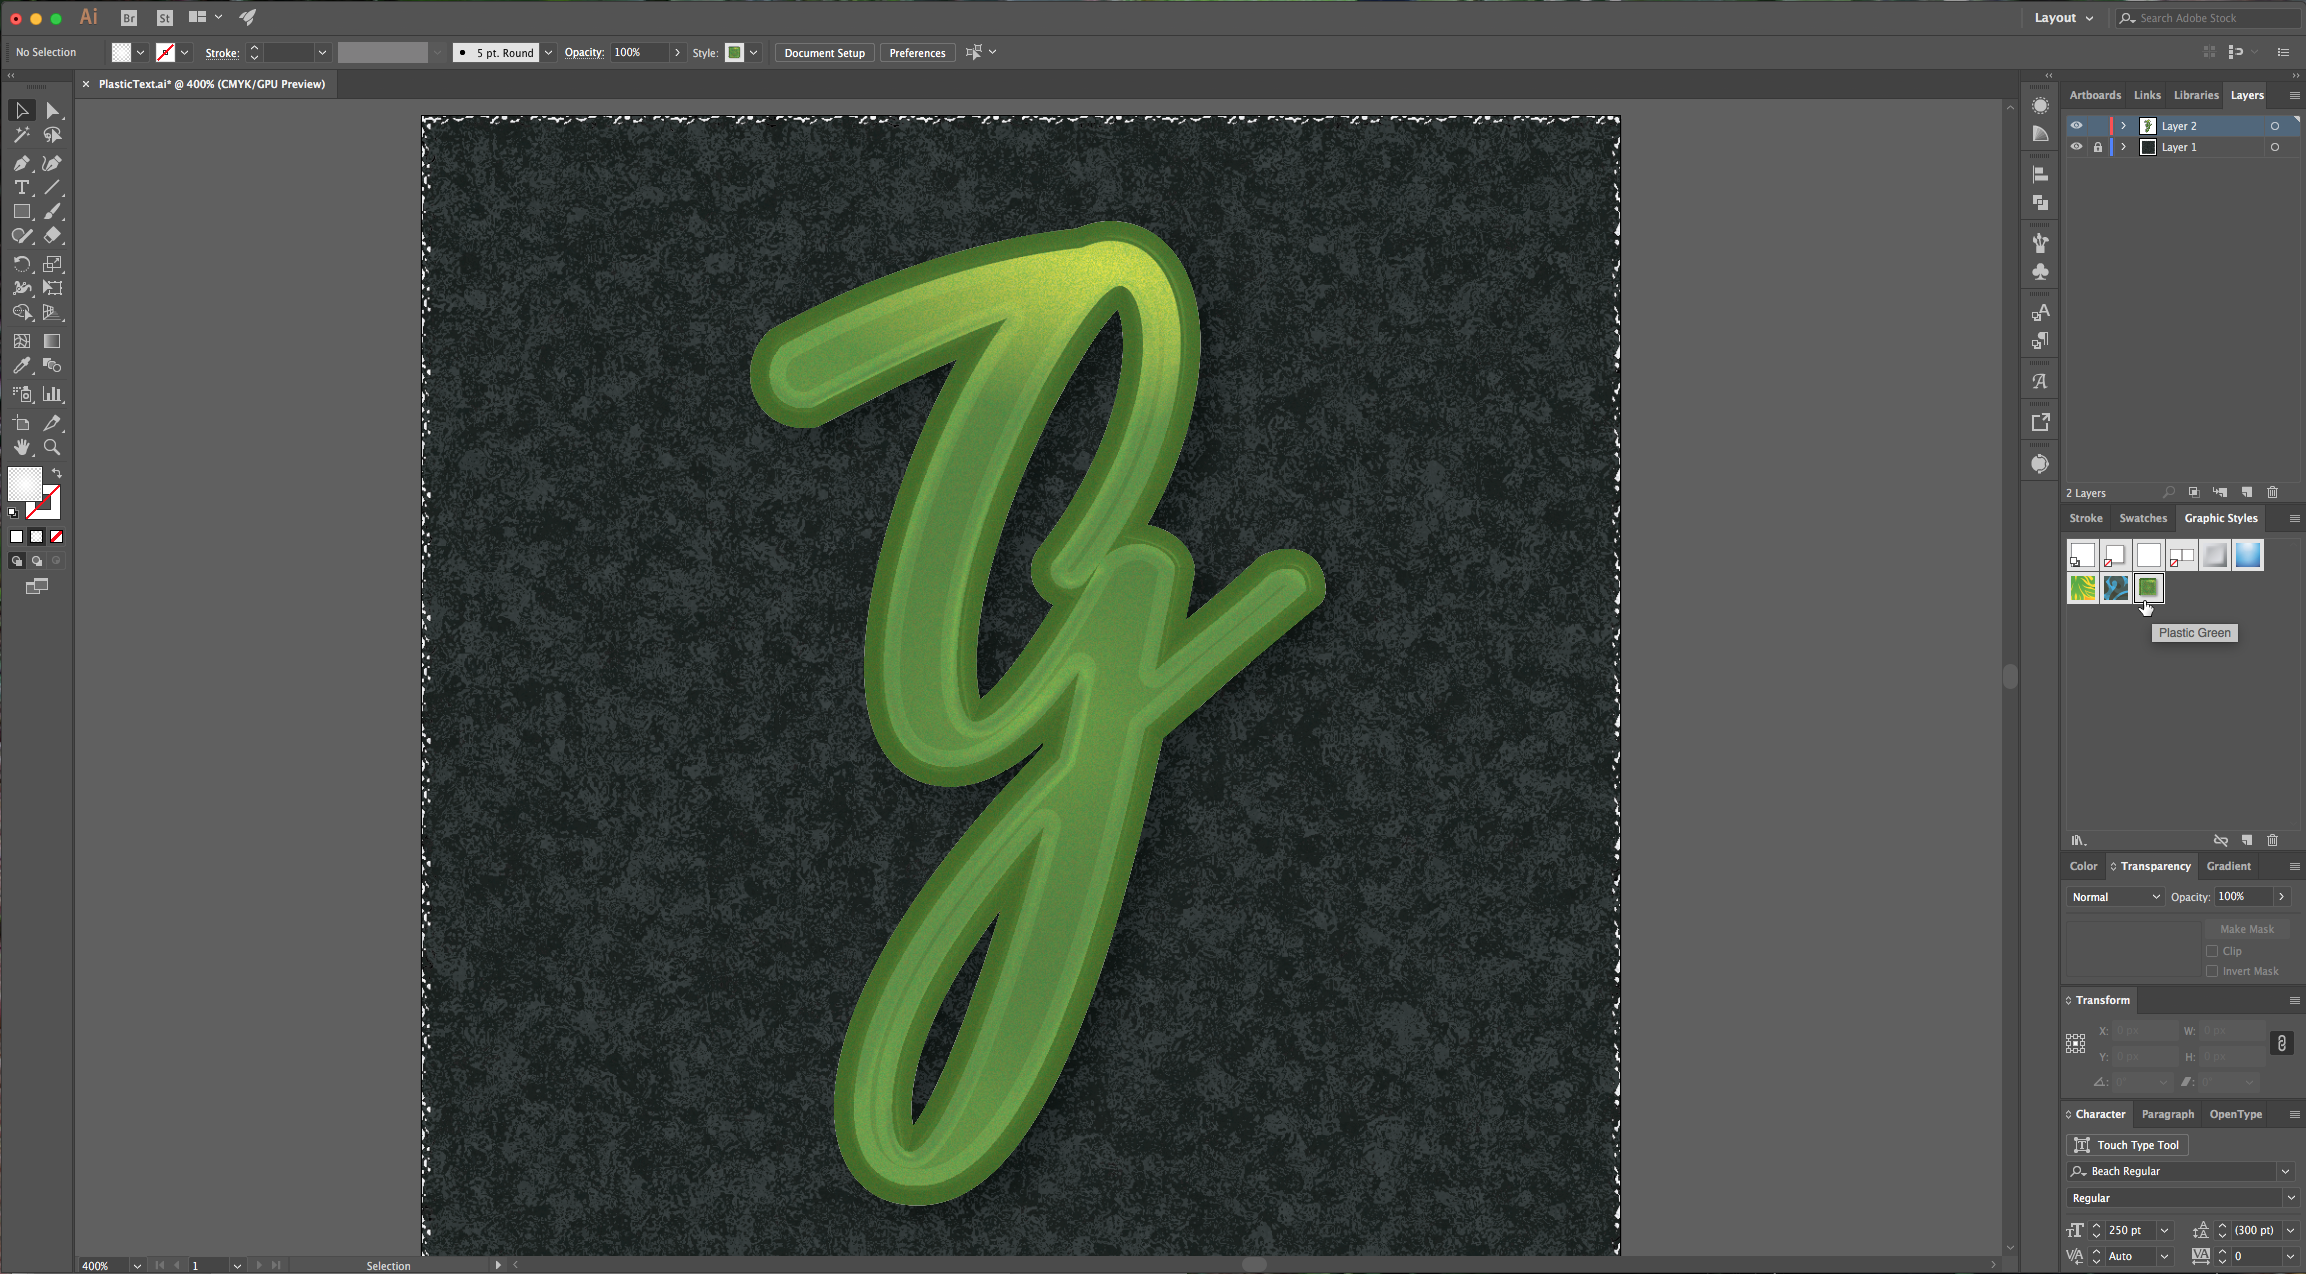
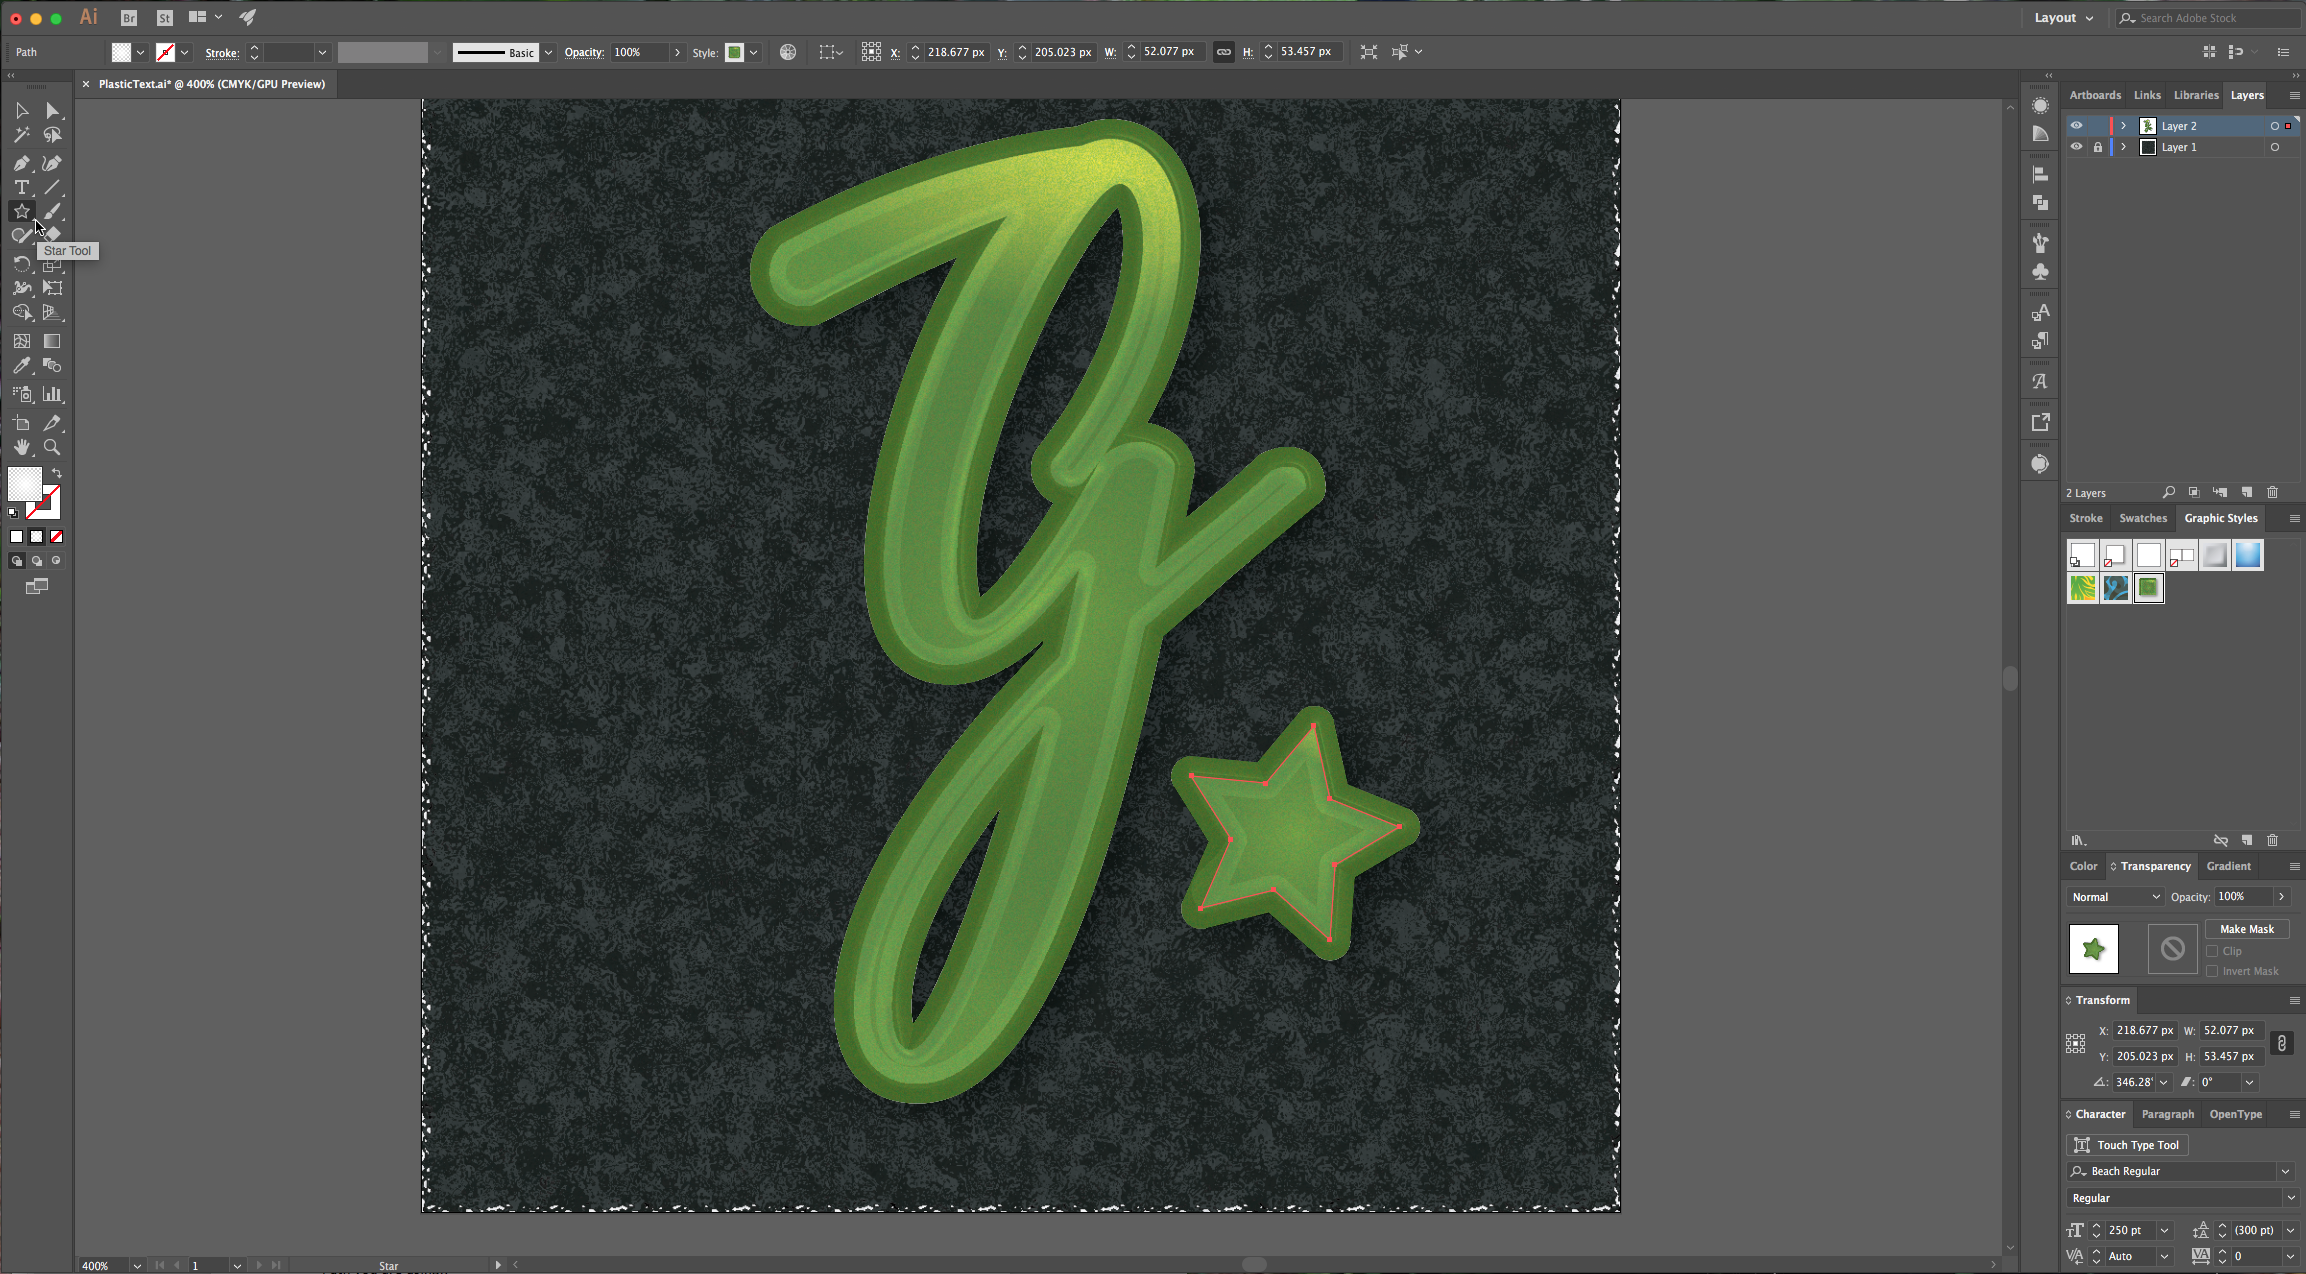
16 - You can also change the color of the color layer and save it as a different “Style”.
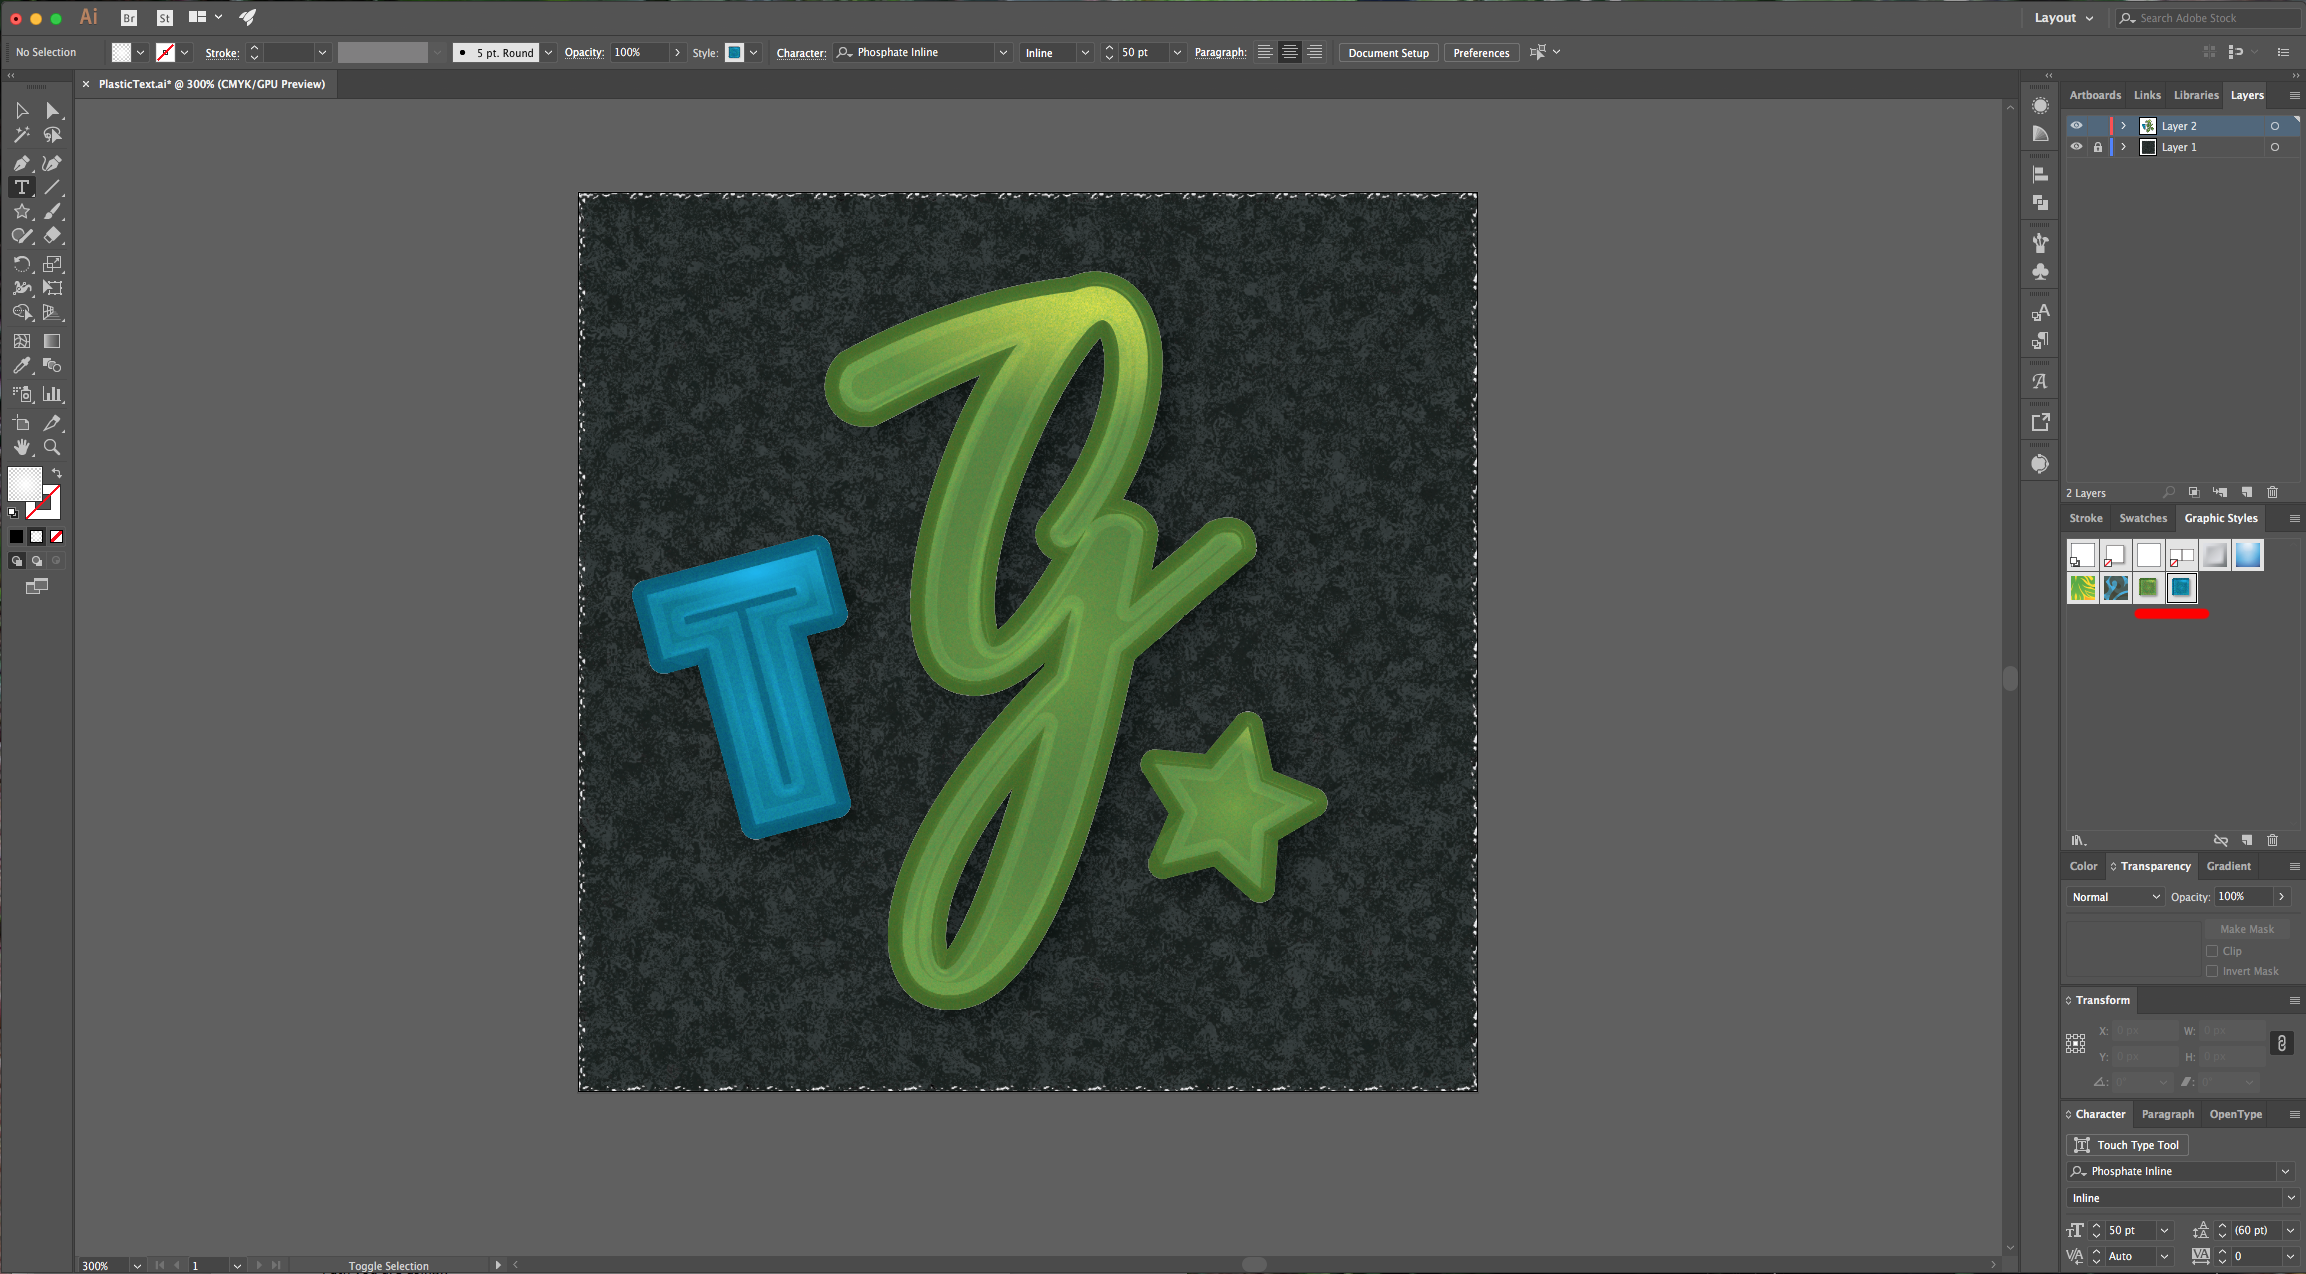
(You may want to change the values used in the different Effects depending on the Font or Path you are using).
1 - In Illustrator, create a “New Document”.
2 - Select the “Rectangle Tool” and draw a rectangle that overlaps your “Artboard”. Use black as “Fill” color and none as “Stroke” color.
3 - In the “Appearance” Panel select the “Fill”, click on the “Add New Effect” button at the bottom of the Panel and go to Artistic > Sponge, apply the default values:
4 - Then go to Distort > Glass and use the following values:
5 - Go to the “Layers” Panel and lock your current layer by clicking on the small space to the left of the thumbnail and invoke the small lock icon. Then create a “New Layer” (Command/Control + L) or click the small button at the bottom of the Panel.
6 - Select the “Type Tool” (T) and choose the font of your liking (we used Beach Regular). Type some text.
7 - With your text selected go to Object > Expand and make sure that the “Object” and “Fill” boxes are checked. Click “OK”.
8 - In the “Appearance” Panel double-click on “Contents” and change your text “Fill” to a medium gray. Then go to the “Effect” menu and choose 3D > Extrude & Bevel, set each axis to 0° and use a “Rounded” 4 Point “Bevel”.
9 - Make sure you are still selecting the “Fill” layer in the “Appearance” Panel and go to Effect > Path > Offset Path and use the following values:
10 - Then go to Effect > Stylize > Drop Shadow and use these values:
11 - Create a “New Fill” on top of the one you’ve been working and fill it with a lighter shade of gray. Go to Effects > Artistic > Plastic Wrap and use the following settings:
12 - Then create another “Fill” on top and fill it with a really light grey and “Offset” the Path by -4 px. Change this layer’s “Blending Mode” to “Multiply” in the “Transparency” Panel.
13 - Create another “Fill” layer on top of the others, “Offset” the Path by 5 pixels and use a bright “Fill” color. Set the “Blending Mode” to “Multiply”. On the same “Fill” go to Effect > Texture > Grain and use the following values:
14 - Create one final “Fill” layer on top of the others. Apply a “Radial Gradient” filled with white, going from 100% Opacity to 0%. Set the “Blending Mode” to “Overlay” then use the “Gradient Tool” (G) to adjust the “Radius” and position it in the upper right side.
15 - Select your text (all the layers), go to “Graphic Styles” Panel and “Create a New Graphic Style” give it a name and save it. Now you can use the “Style” for other text or graphics.
16 - You can also change the color of the color layer and save it as a different “Style”.
(You may want to change the values used in the different Effects depending on the Font or Path you are using).
Related Tutorials
Illustrator Tutorials
Repeating Outline Text Effect in Illustrator
Discover how to make a repeating outline text effect in Illustrator.
Illustrator Tutorials
How to Create a Marquee Sign Text Effect in Illustrator
Illustrator Tutorials
Glitch Text Effect in Illustrator
Learn how to create a glitch effect in Illustrator following these techniques.
Illustrator Tutorials
Blood Text Effect in Illustrator
Illustrator Tutorials
Gradient Stroke Text Effect in Illustrator
Illustrator Tutorials