By Daisy Boothman
How to Add Texture in Illustrator
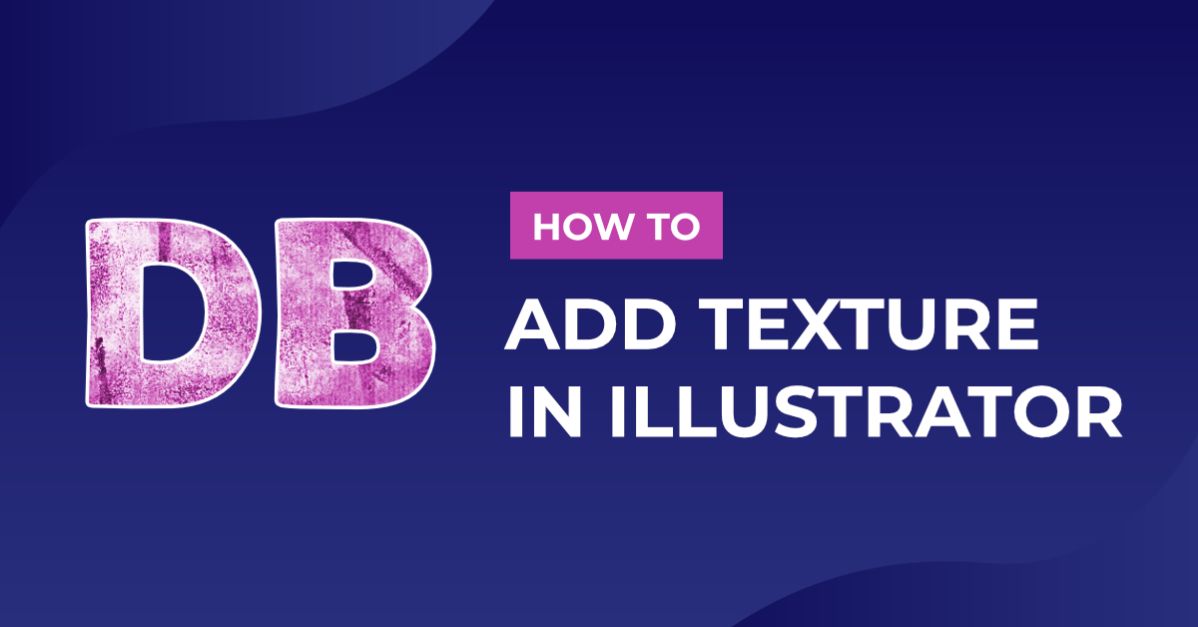
In this tutorial you will learn how to add texture in Illustrator. This is a great technique to create gritty, urban designs and illustrations. It creates interest as well as catches the attention of viewers. Textures can also be used in multiple ways to achieve different effects each time.

Step 1 - Create your Design
Start by creating your design that you want to apply the texture to. Then group all the elements together by selecting them all, then select Object > Group.
We are using a beautiful serif font called Amelaryas, and the background we made in our guide on how to make pastel gradients.
If you would like to use another background, you are welcome to have a look through our texture backgrounds.
Part of our design included a Sun glyph that came with our font.
If you would like to know more, have a look at using glyphs in Adobe Illustrator.

Step 2 - Add Black and White Texture
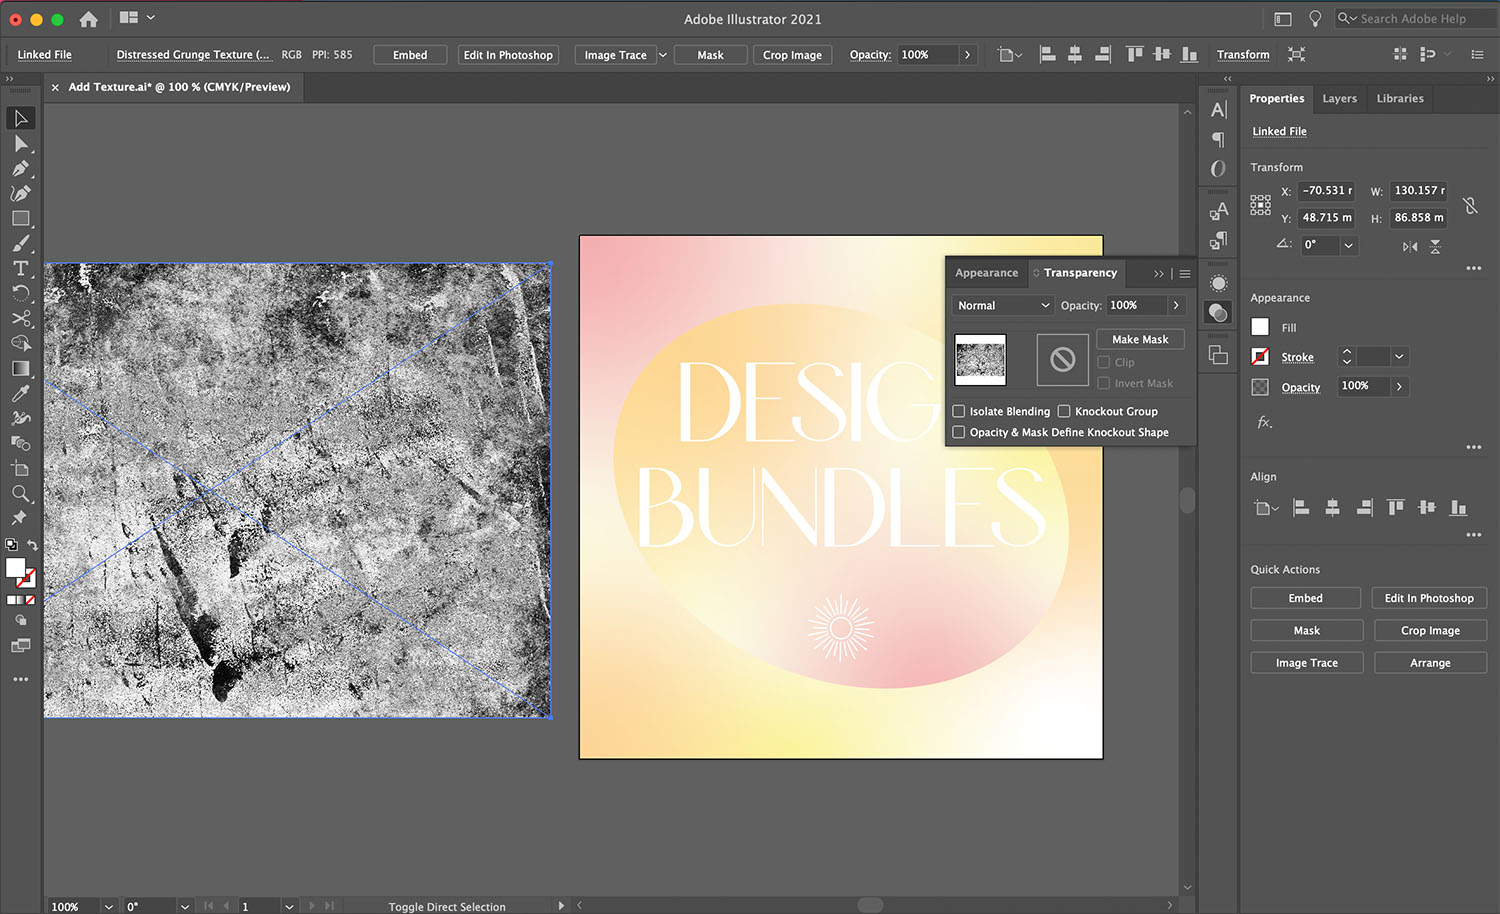
We will be using a black and white textured image. First, we need to open the Transparency panel by going to Window > Transparency. Then open the burger menu on the top right and enable Show Options to review the whole menu.

Drop your black and white textured image onto your artboard. We chose to use a distressed texture. Select your texture image and then select Edit > Copy (Ctrl + C).
Step 3 - Apply Texture to Design
Next, we will add a mask in the Transparency panel. Click on your design and select Make Mask in transparency menu.
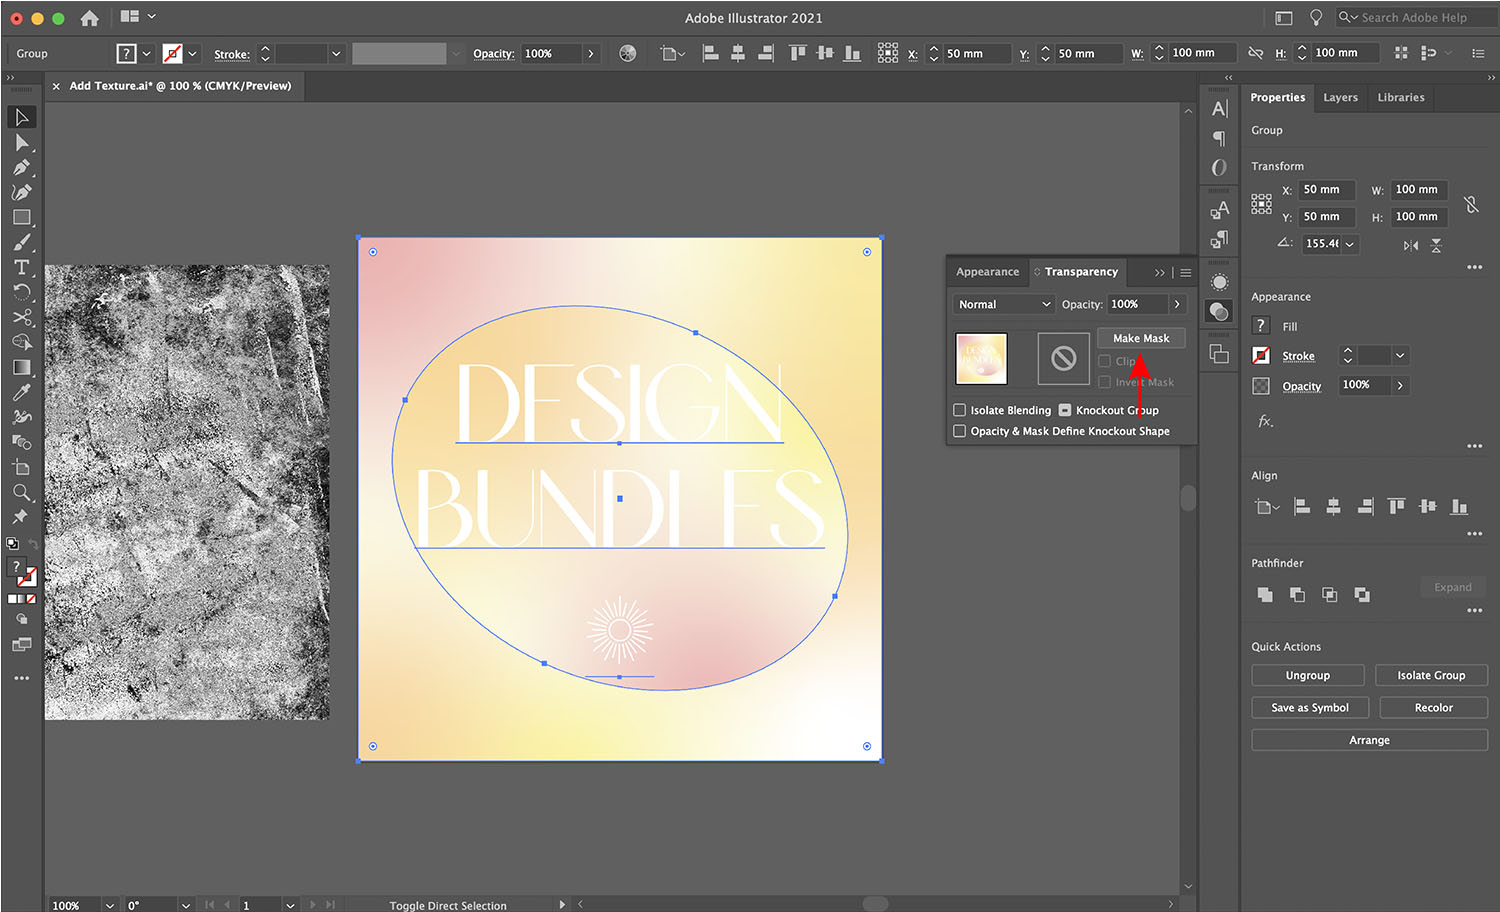
Your design may then show as an outline if it has a stroke. If no stroke is present it may appear to disappear. But don’t worry, it is still there.

Select the black square in the Transparency menu.

Next, select Edit > Paste (Ctrl + V). Your texture will appear on your design. The black areas of the image will appear white over your design.
While selected on the texture layer in the Transparency menu, you can resize and change the position if needed.
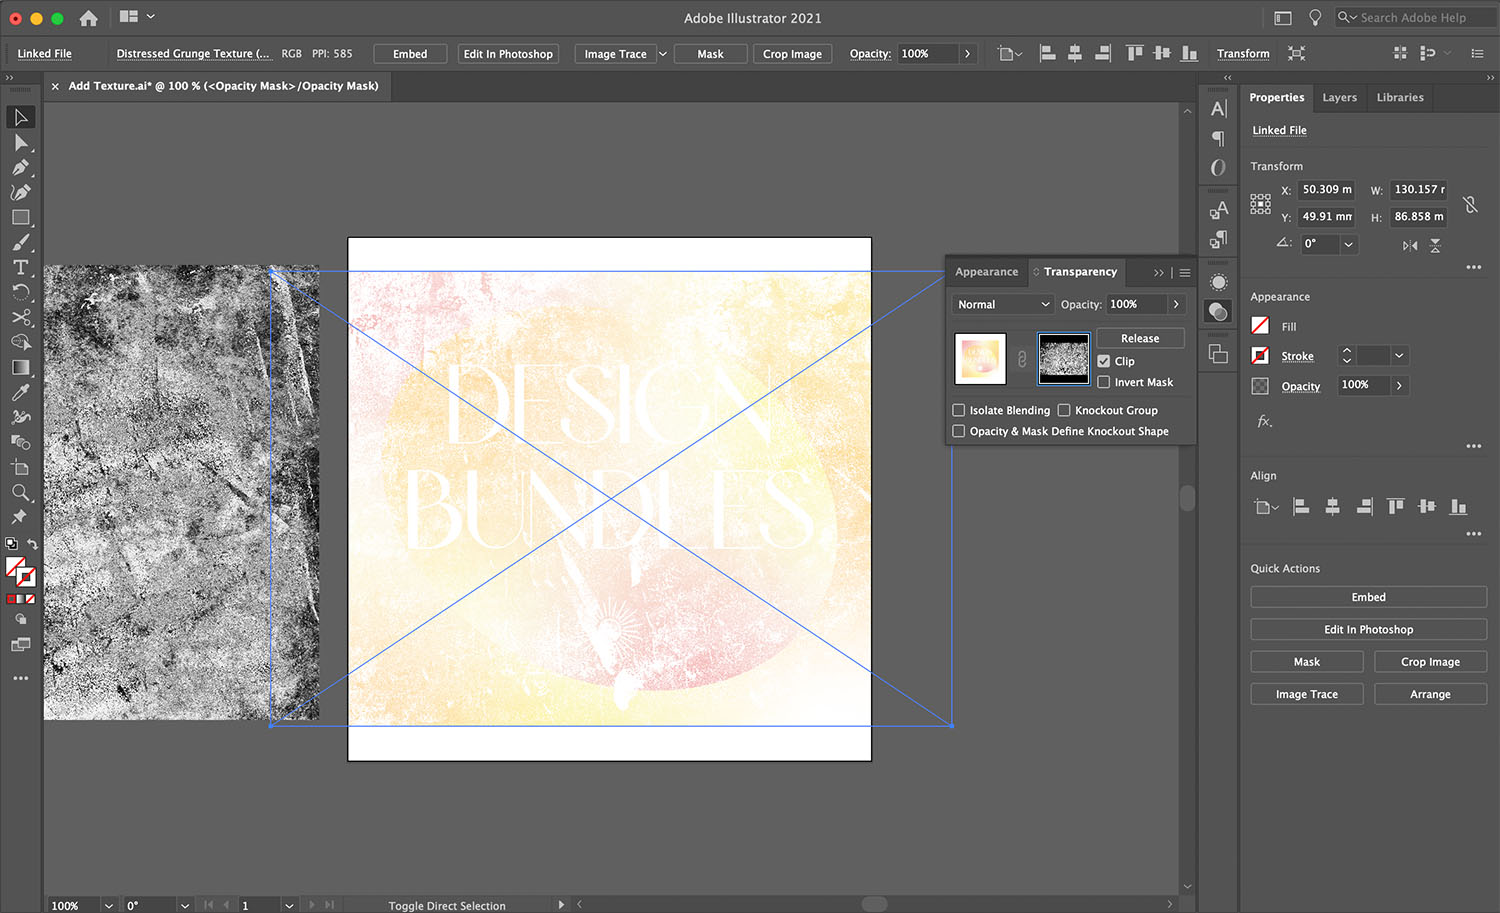
In the image below we adjusted the size and position of the texture to our liking.
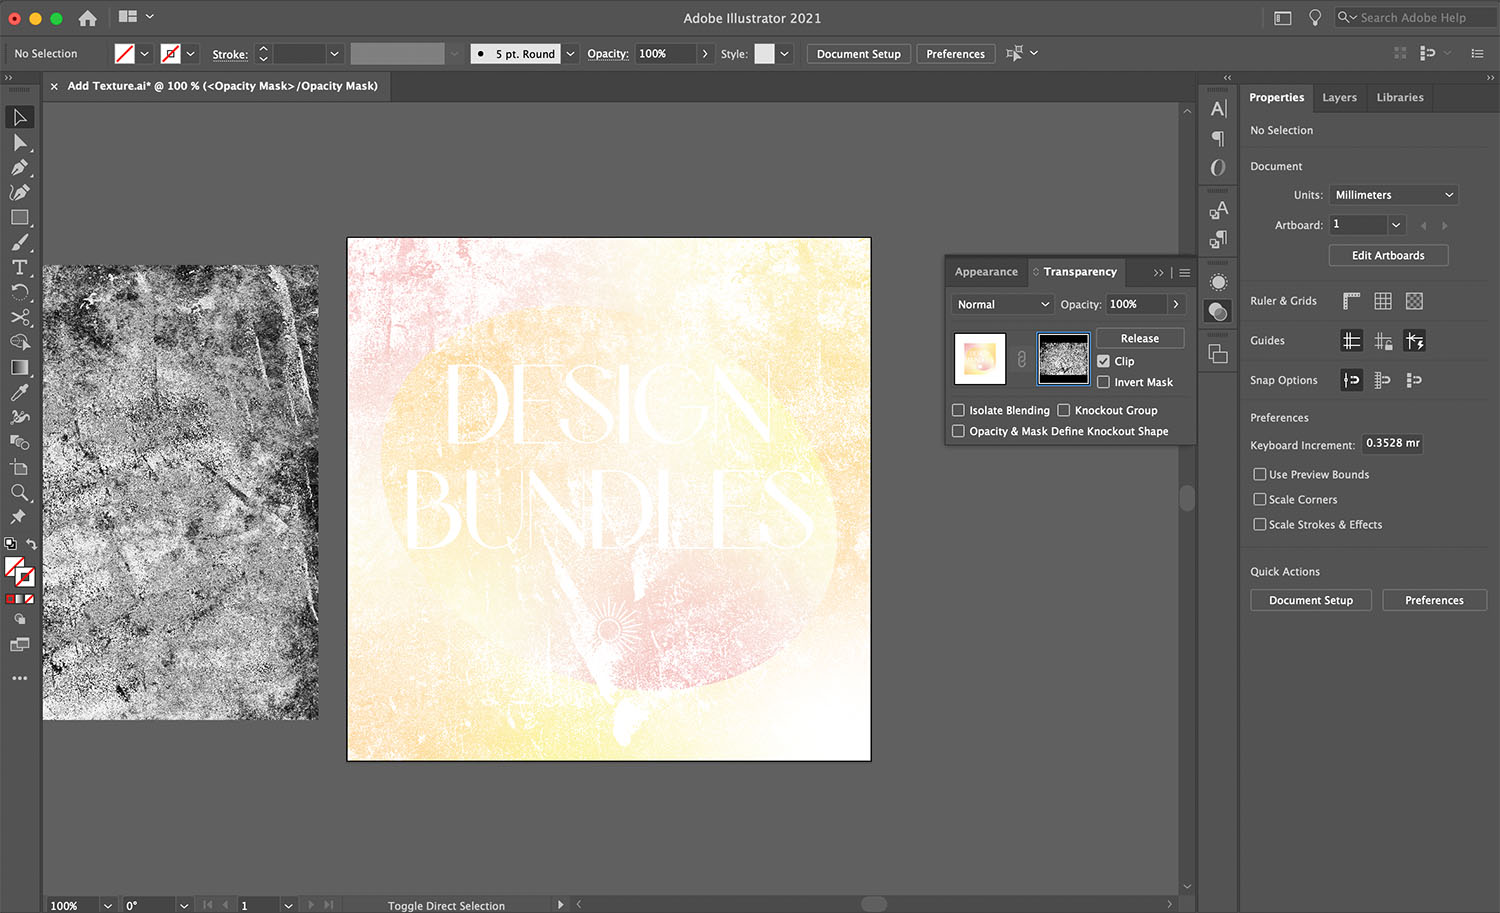
Step 4 - Add Final Edits to Textured Image
To make any further changes to your design, simply select your design layer in the Transparency menu. Then double click the individual elements that you want to change. This is due to the design still being grouped. If you were to ungroup at this stage, you will reverse the texture mask you have applied.

We want to make sure our text is still visible. So we are going to double click the text. Then Copy (Ctrl + V) and Paste in Place (Shift + Cmd + V) the layer on top of the design. We will change the color by going to the Appearance panel, then clicking on Fill.

Our texture design is now complete and ready to be used in future projects.
Now that you know how to add texture in Illustrator, you can create so many beautiful designs. Why not get creative with an urban and artistic finish? You could also learn how to save your artboards to PDFs or apply this effect to a vintage T-shirt design.