By Design Bundles
Marble Texture in Illustrator
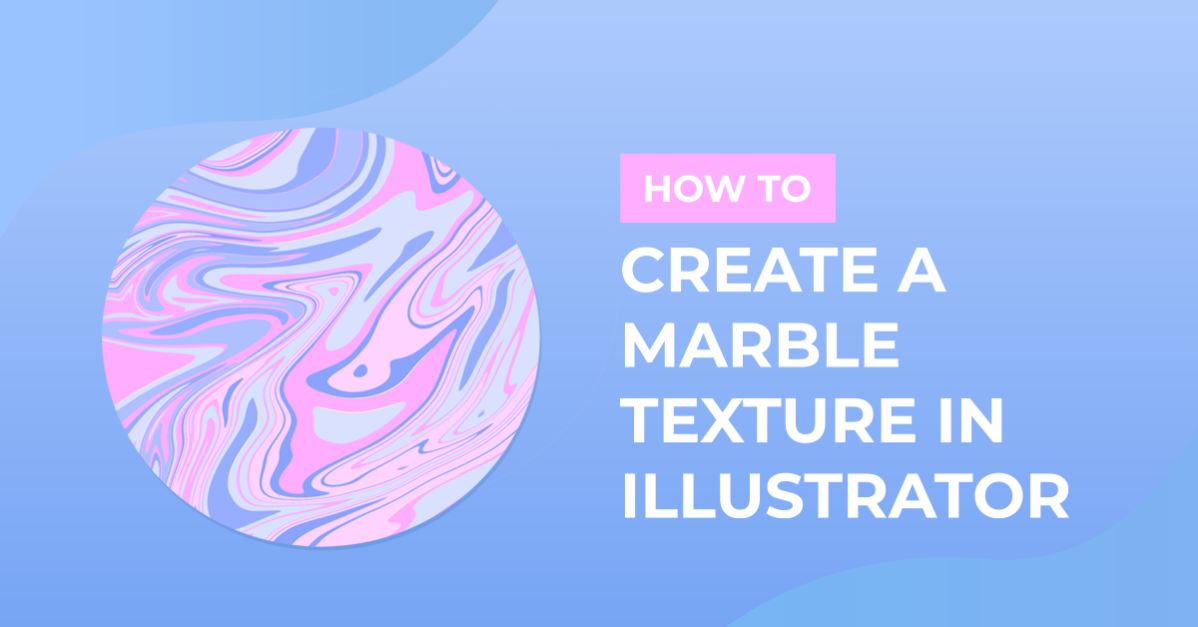
Creating a marble texture in Illustrator is simple and very fun. Every marble texture you make will look different. You can use these textures as design elements on décor items, custom product packaging, cards, social media posts, etc.
In this tutorial, we will be using the Color Guide panel to pick colors from, but another great option is to use one of these amazing color palettes available from Design Bundles.
Step 1 - Create a Tall Thin Rectangle Using the Rectangle Tool
Select the Rectangle Tool (M) in the left toolbar and click anywhere on the canvas.

Enter 0.3 cm for the Width and 20 cm for the Height in the Rectangle dialog and click OK.

Step 2 - Make Multiple Copies of the Rectangle Using Transform
With the rectangle still selected, open the Appearance panel, and click on the Effects Menu button at the bottom left. Go to Distort & Transform > Transform.
Note: open the Appearance panel by going to Window > Appearance, if needed.

In the Transform Effect dialog, enter 0.3 cm for Horizontal in the Move section, 0° for the Rotate Angle, and 19 for Copies, then click OK.

Now you should see a wider rectangle. It consists of 20 rectangles, all lined up next to each other.

Step 3 - Use Expand Appearance on the Rectangles and Ungroup
Make sure the rectangles are still selected, and go to Object > Expand Appearance.

Then, right-click and choose Ungroup.

Step 4 - Change the Color of Each Rectangle
In the Color Guide panel, click on the small menu in the bottom-left and choose Web. You can choose a different option if you want.

Select the first rectangle and fill it with a dark shade from the Color Guide panel.

Then continue selecting the other rectangles and filling them with different shades. Try to make the color progression go from dark to light.

You can mix a few different colors in between.

Step 5 - Duplicate the Set of Rectangles to Fill the Whole Artboard Horizontally
Enable the Smart Guides by clicking on View > Smart Guides. Select all the rectangles. Then with the Alt/Option key held down, drag the rectangles to the right to create a duplicate. Click and hold Shift as well while dragging to keep the movement in a straight line. Place your duplicate exactly where the first set of rectangles ends.

Then select all the rectangles and repeat until you fill the artboard from left to right.

Step 6 - Stretch the Rectangles to Fill the Entire Artboard
Once the artboard has been filled from left to right, select all the rectangles. With the Smart Guides on, click and drag the corners and snap them to the corners of the artboard to fill the entire artboard.

Right-click and choose Group.

Step 7 - Create Twirls Using the Twirl Tool
Select the Twirl Tool in the left toolbar.

Double-click on the Twirl Tool to open the Twirl Tool Options dialog. Change the Width and Height to 8 cm, then click OK.

Click and drag your cursor around on the rectangles to create twirls. You can undo if you want using Cmd/Ctrl + Z.

Step 8 - Use the Warp Tool to Warp the Twirls
Once you are happy with the twirls, select the Warp Tool (Shift + R). Double-click on the Warp Tool to open the Warp Tool Options dialog. Change the Width and Height to 5 cm, then click OK.

Play around with warping the marble texture until you achieve the look you want. The following image shows our results.

Step 9 - Create a Light Colored Rectangle the Size of the Artboard and Send It to the Back
Select the Rectangle Tool (M) and create a rectangle covering the entire artboard.

Fill the rectangle with a light color from the Color Guide panel. Then right-click and choose Arrange > Send to Back.

Step 10 - Change Blending Mode of the Marble Layer in the Transparency Panel
Check if you want to change the color of the rectangle at the bottom to better match the marble texture.

Then, select the marble layer on top, head to the Transparency panel, and change the Blending Mode. You can try out the different options to see which one you like better. We chose to use Soft Light.

Step 11 - Create Another Rectangle and Make a Clipping Mask
Create another rectangle.

Select everything, right-click, and choose Make Clipping Mask.

You will be left with a marble texture that has nice, even edges.

Now you know how to create beautiful marble textures in Illustrator. If you would like to change the color of your marble texture easily and quickly, take a look at this guide on using the Recolor Artwork tool in Illustrator.