By Kia Lor
How to Create a Kawaii Cloud in Illustrator
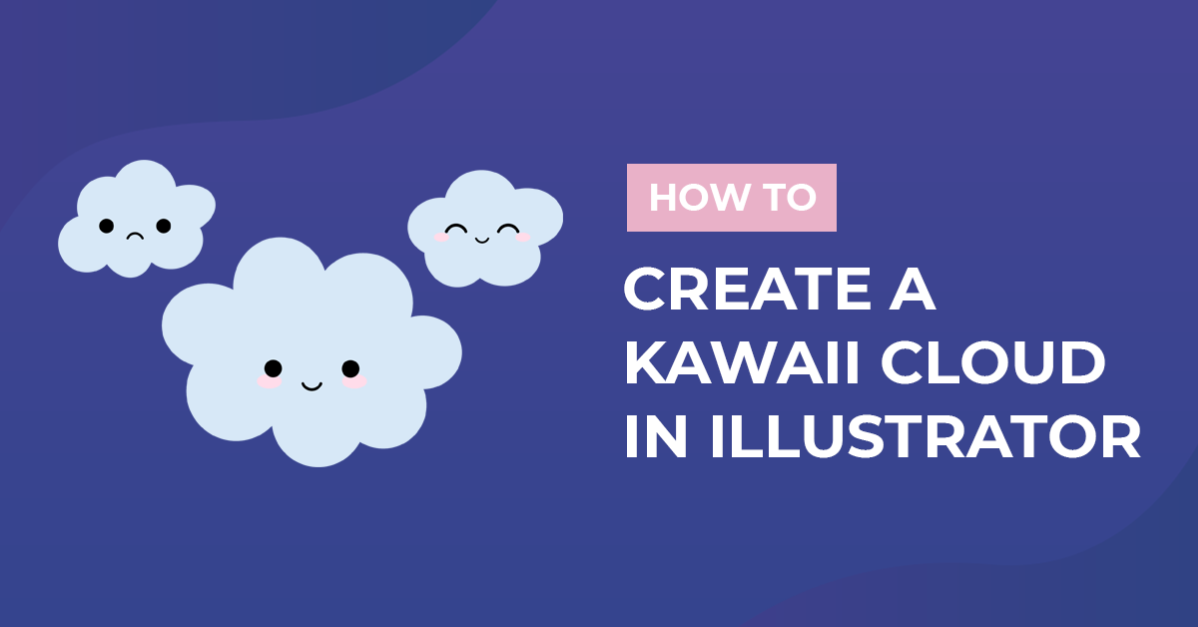
Creating a kawaii cloud in Illustrator is probably easier than you think, and we’re excited to show you how to do it! After you complete one kawaii cloud, you’ll want to make more!

We have some available on Design Bundles if you would like ready-made kawaii clouds.
Step 1 - Select the Ellipse Tool
Select the Ellipse Tool from the left toolbar. You may have to right-click on a different shape tool and then select the Ellipse Tool.

Step 2 - Create Overlapping Ellipses
Click + drag to create ellipses that are overlapping. This is how we will make the cloud shape. The outside edges of the ellipses will become the cloud.

Step 3 - Adjust Ellipses
With the Selection Tool (V), click + drag the ellipses around to where you want them.

Step 4 - Unite Ellipses
Once you’re happy with your cloud's shape, select all the ellipses, open the Pathfinder panel (Window > Pathfinder), and click Unite.

Step 5 - Enter Isolation Mode to Delete Middle Shape if Needed
If you have a shape in the middle similar to ours, double-click on the cloud shape to enter Isolation Mode. Then select the shape in the middle and press Delete. Press Escape to exit Isolation Mode.

Step 6 - Edit the Cloud Fill and Stroke
Fill With a Solid Color
To fill the cloud shape with a solid color, select the cloud and double-click on the Foreground color icon near the bottom of the left toolbar. Then pick the color you want to use and click OK.

We picked the color #C5D0DD in the example below.

Fill With a Gradient
Add a Gradient for the Foreground
This step is optional. Select the cloud and open the Gradient panel (Window > Gradient). Then click the Foreground color icon in the Gradient panel and click the gradient icon.

Edit the Gradient
Select -90 for the Angle. Then double-click on the right color stop circle and select a very light blue (#BFE1FF). We left the left color stop circle as white, but you can choose a different color. You can adjust more of the Gradient Slider settings if you’d like.

Change the Stroke Settings
Open the Stroke panel with the cloud still selected (Window > Stroke). In the Stroke panel, make changes to the cloud’s outline/edge/stroke. We used the following settings:
- Weight: 5 pt
- Cap: Butt Cap
- Corner: Round Join
- Align Stroke: Align Stroke to Inside

Step 7 - Add a Kawaii Face
We created a simple smiling kawaii face using the Ellipse Tool and Curvature Tool. We have a great tutorial on creating kawaii faces in Illustrator that shows you how to create all sorts of kawaii faces.

Wasn’t that quick and fun?! Now you can create kawaii clouds in all sorts of shapes, sizes, and colors in Illustrator!