By Lorna Cana
How to Crop an Image to a Shape in Illustrator
Today we will learn how to crop an image to a shape in Illustrator. We will do this using Clipping Masks, a non-destructive method that can be easily undone if needed. This is a useful feature that can be used across various crafts such as t-shirts or creating custom shaped logos.
We will use a stack of pebbles photos, but there are tons of great stock photos available on Design Bundles.
Step 1 - Create the shape for your image
We need to create our shape before we can use it to crop out the image. Start by importing your image into Illustrator.

Next, create the shape you want to use to crop your image. Make sure to place it on top of the image. In our case, we will be cropping an image into a triangle in Adobe Illustrator, but you can use any shape you like.
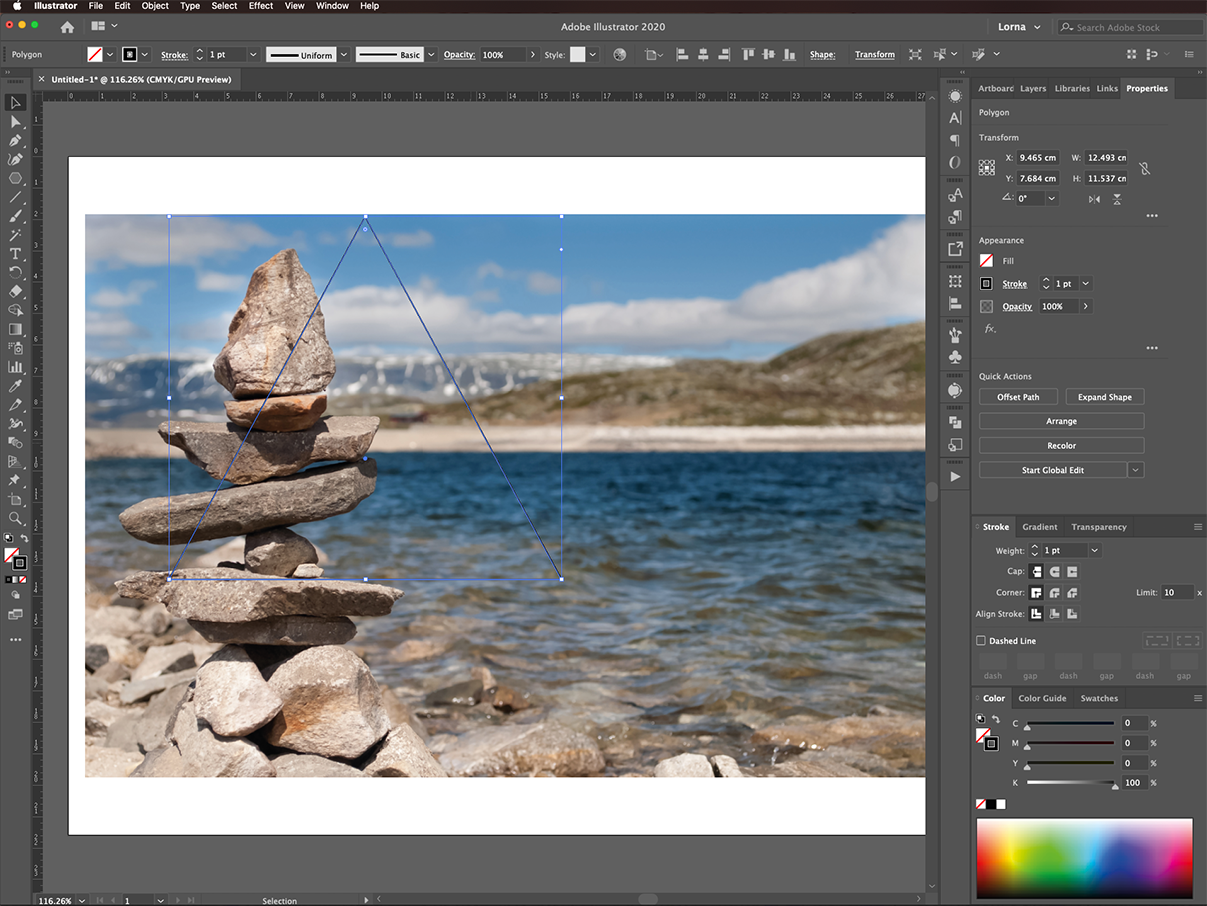
Resize the shape and position it so that it covers the area of the image you want to show.
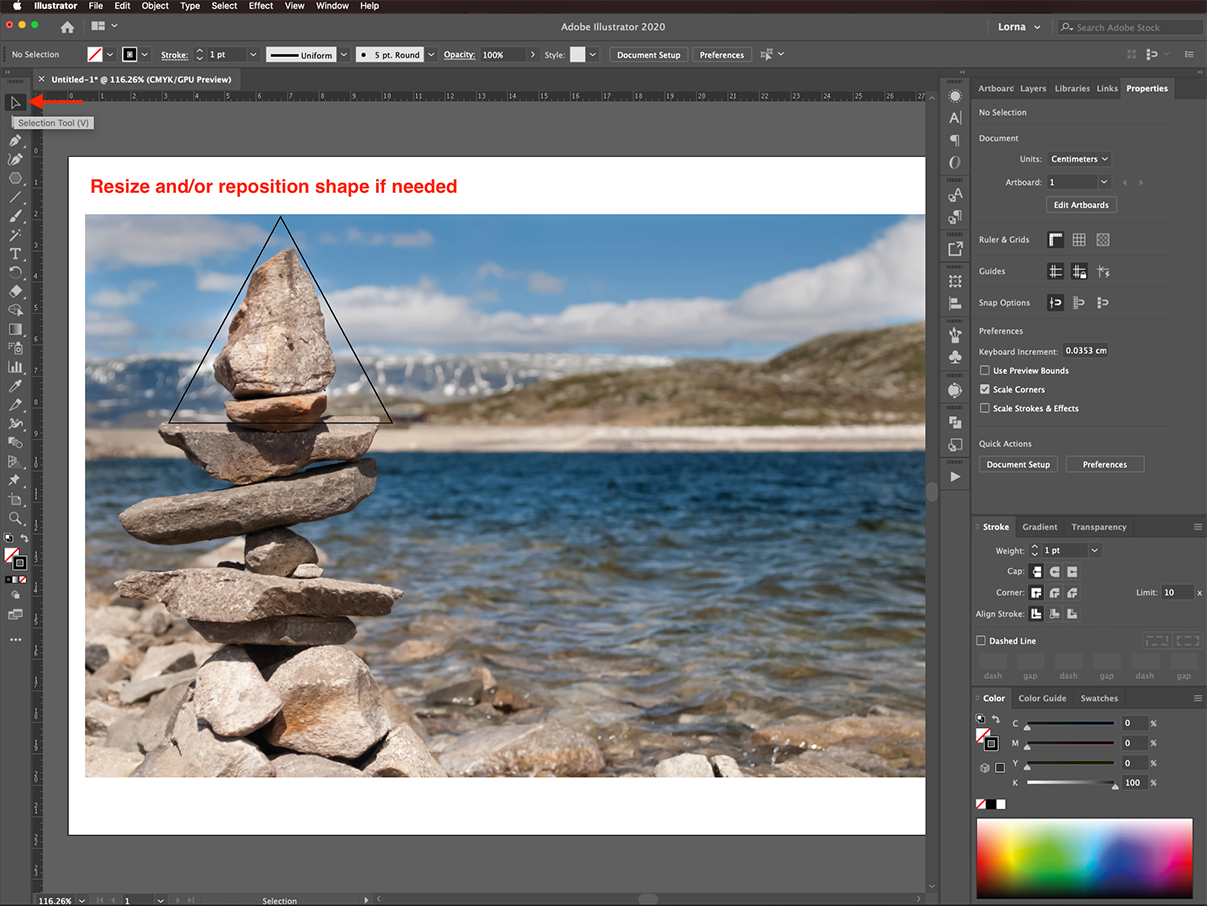
Step 2 - Crop to the Shape Using a Clipping Mask
Next, we will be using a clipping mask. Select both the image and shape by clicking on them while holding the Shift key. You can also select by clicking and dragging over them to make the selection.

Then, go to Object > Clipping Mask (Command/Control + 7).

Only the area of the image that was inside of the triangle will now be visible.
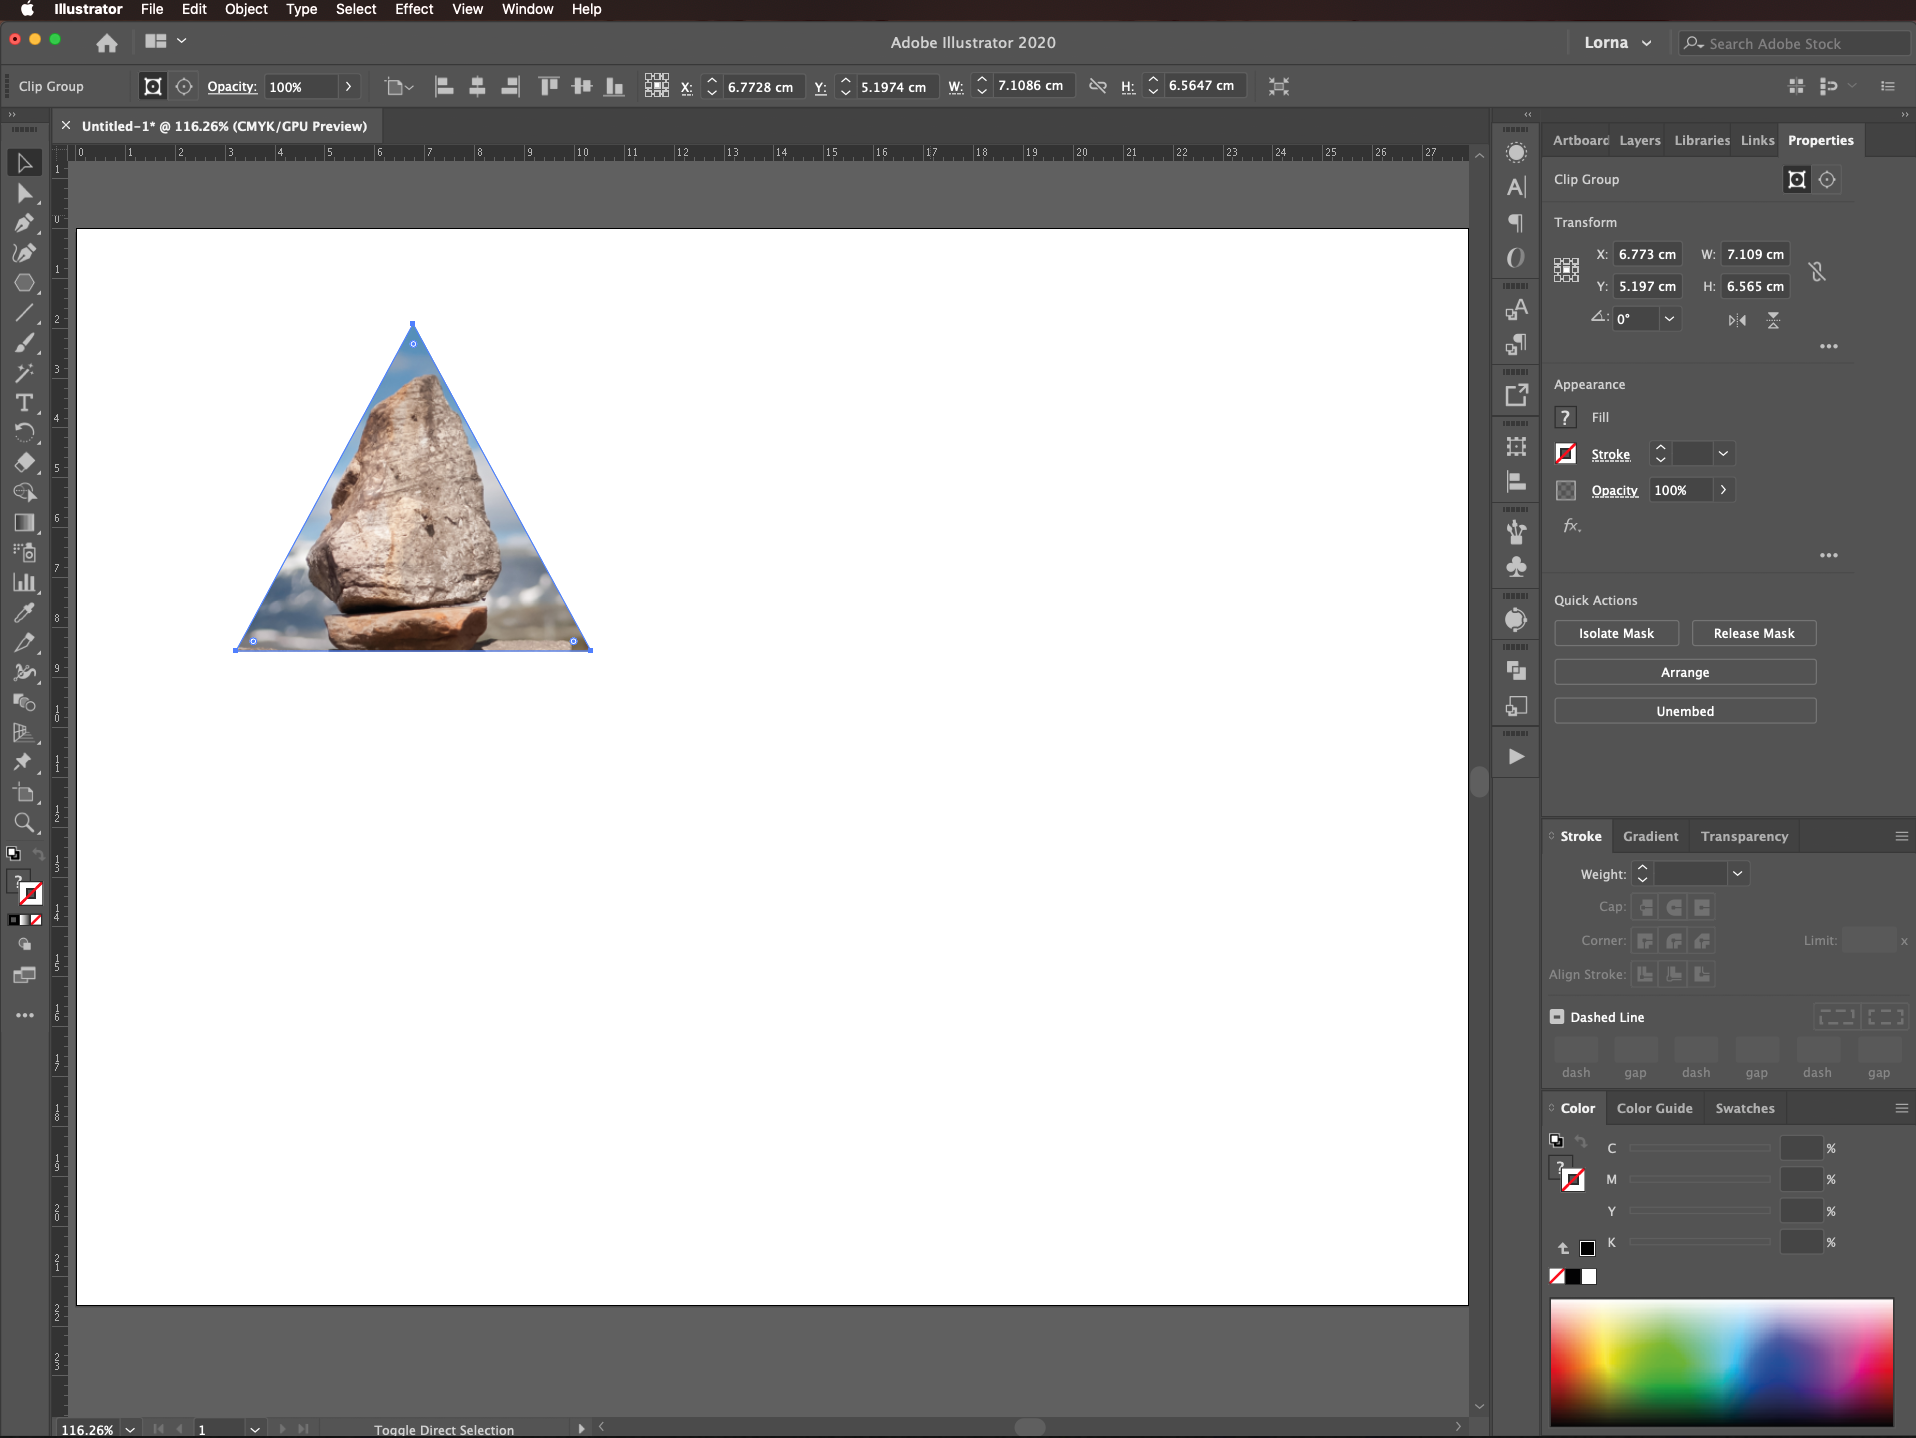
Step 3 - Edit the Clipping Mask if Needed
To edit the clipped image first select the Clipping mask. Then, go to Object > Clipping Mask > Edit Contents.

Now, you can adjust the image without affecting the shape.

If you need to modify or adjust the shape, just select it using the Selection tool (V) or Direct Selection tool (A). Then edit as needed.

Well done on successfully cropping an image to a shape in Illustrator! We hope that this tutorial has been helpful and if you enjoyed it, be sure to have a look at our other tutorials.