By Design Bundles
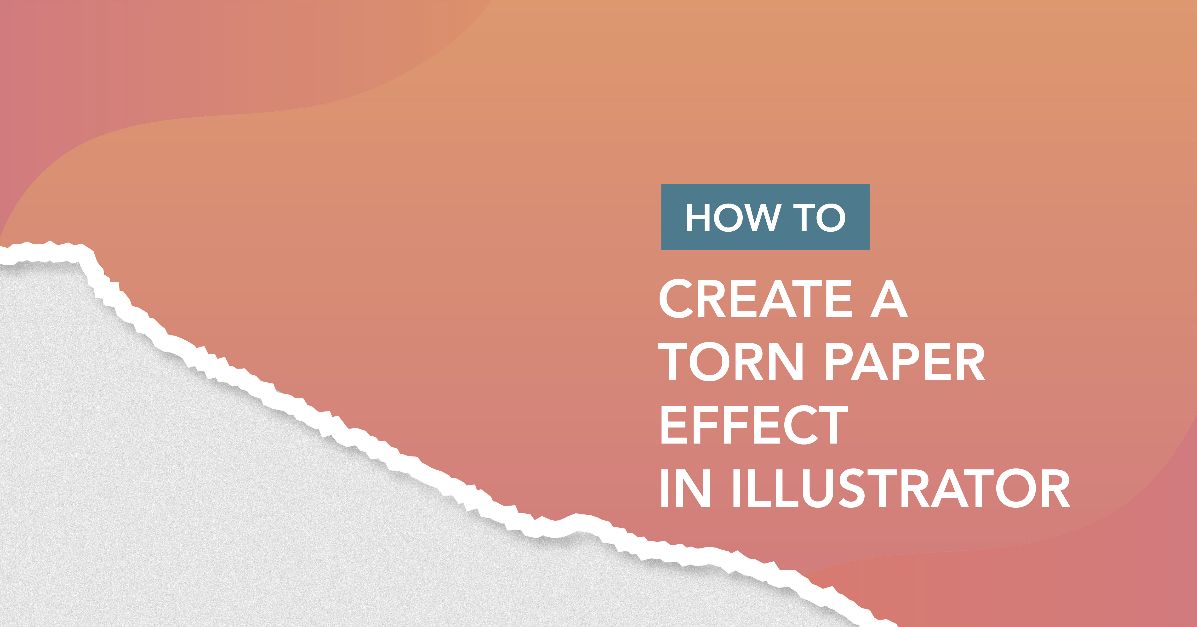
Torn Paper Effect in Illustrator
1 - In Illustrator, create a “New Document”. Select the “Rectangle Tool” (M) and draw a shape that covers all your “Document”. Use white as “Fill” color


2 - In the “Appearance Panel” create a “New Fill” by clicking on the button at the bottom of the panel. Change the “Fill” color to black.


3 - With your new “Fill” still selected, click on the “Effects” button at the bottom of the panel and choose Artistic > Film Grain. (Use 20, 0 and 10 as values). Go to the “Transparency Panel” and change the “Blending Mode” to “Multiply” and lower the “Opacity” to 20%.


4 - Lock your rectangle by clicking left of its thumbnail to bring out the small padlock icon. Then, create a new rectangle shape covering your whole document and fill it with the color of your choice.


5 - Select the “Pencil Tool” (N) and draw a jagged line from left to right going through your document. Make it look like the rectangle was torn in half. Choose white as “Stroke” color and a 4 point “Size”.


6 - With your “Stroke” selected go to the “Appearance Panel”, click on the “Effects” button at the bottom of the panel and choose Distort & Transform > Roughen and use the following values:


7 - Go to Object > Expand Appearance and then again to Object > Expand. Make sure that the “Fill” and “Stroke” boxes are checked and click “OK”.


8 - Make sure both your “Stroke” and “Rectangle” layers are selected then pick the “Shape Builder Tool” (Shift + M). You will see a grid showing the shapes as you move your cursor. Click on the portion of the shape you want to keep, or click and drag if you want you merge two shapes. To delete something hold the “Alt/Option” key and click on it.


9 - If you merged paths you will need to apply a “Fill” color again. Then, move the top path a few clicks up and the bottom one a few clicks down.


10 - Copy (Command/Control + C) your two paths and “Paste” them under them (Command/Control + B). Change the “Fill” color to white and move them a few clicks down or up to show them a bit. With the “Direct Selection Tool” (A) pick the upper points of your shapes and reposition them at the corners of your document.


11 - Select the top shapes (the ones filled with green or the color you chose), then go to the “Appearance Panel”, navigate to Stylize > Inner Glow and apply the following values:


12 - Select the top white-filled shape. Go to the “Appearance Panel”, navigate to Stylize > Drop Shadow and apply the following values:


Do the same with the bottom shape but change the values to:

13 - Select both your top layers, go to the “Appearance Panel”, create a “New Fill” by clicking on the button at the bottom of the panel. Click on the “Effects” button, choose Artistic > Sponge and use the following values:


In the “Transparency Panel” change the “Blending Mode” to “Overlay”.

14 - Your “Artwork” should look like this:

You can use your torn paper effect with projects like logos, business cards, websites, branding or crafting ideas like cards.