By Design Bundles
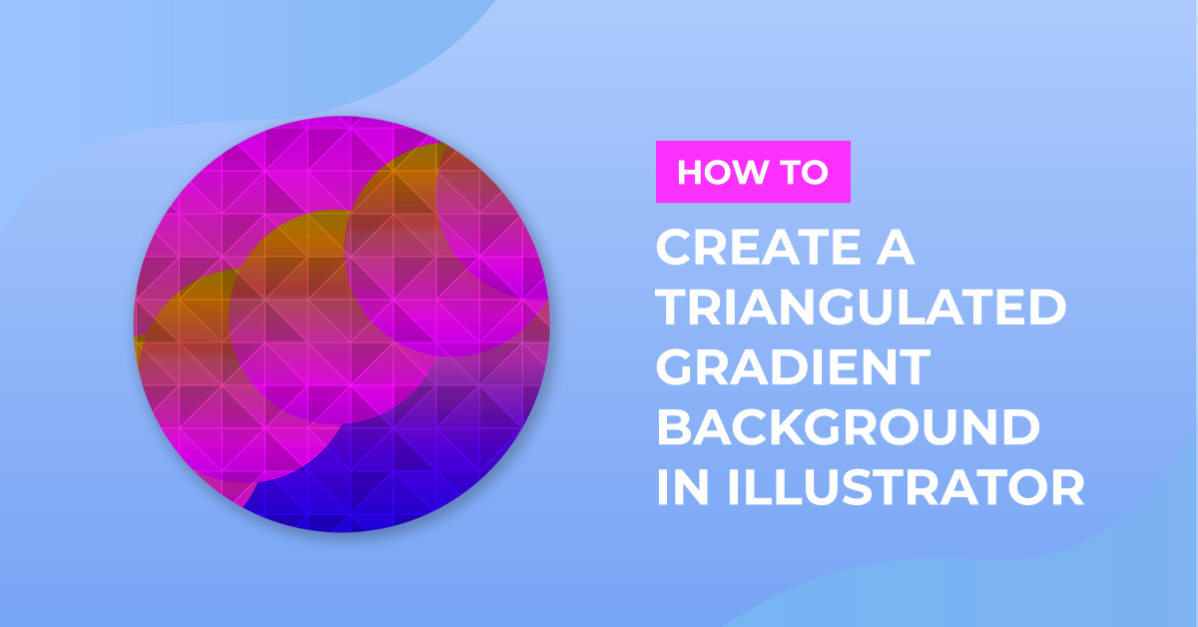
Triangulated Gradient Background in Illustrator
1 - In Illustrator, create a “New Document”.
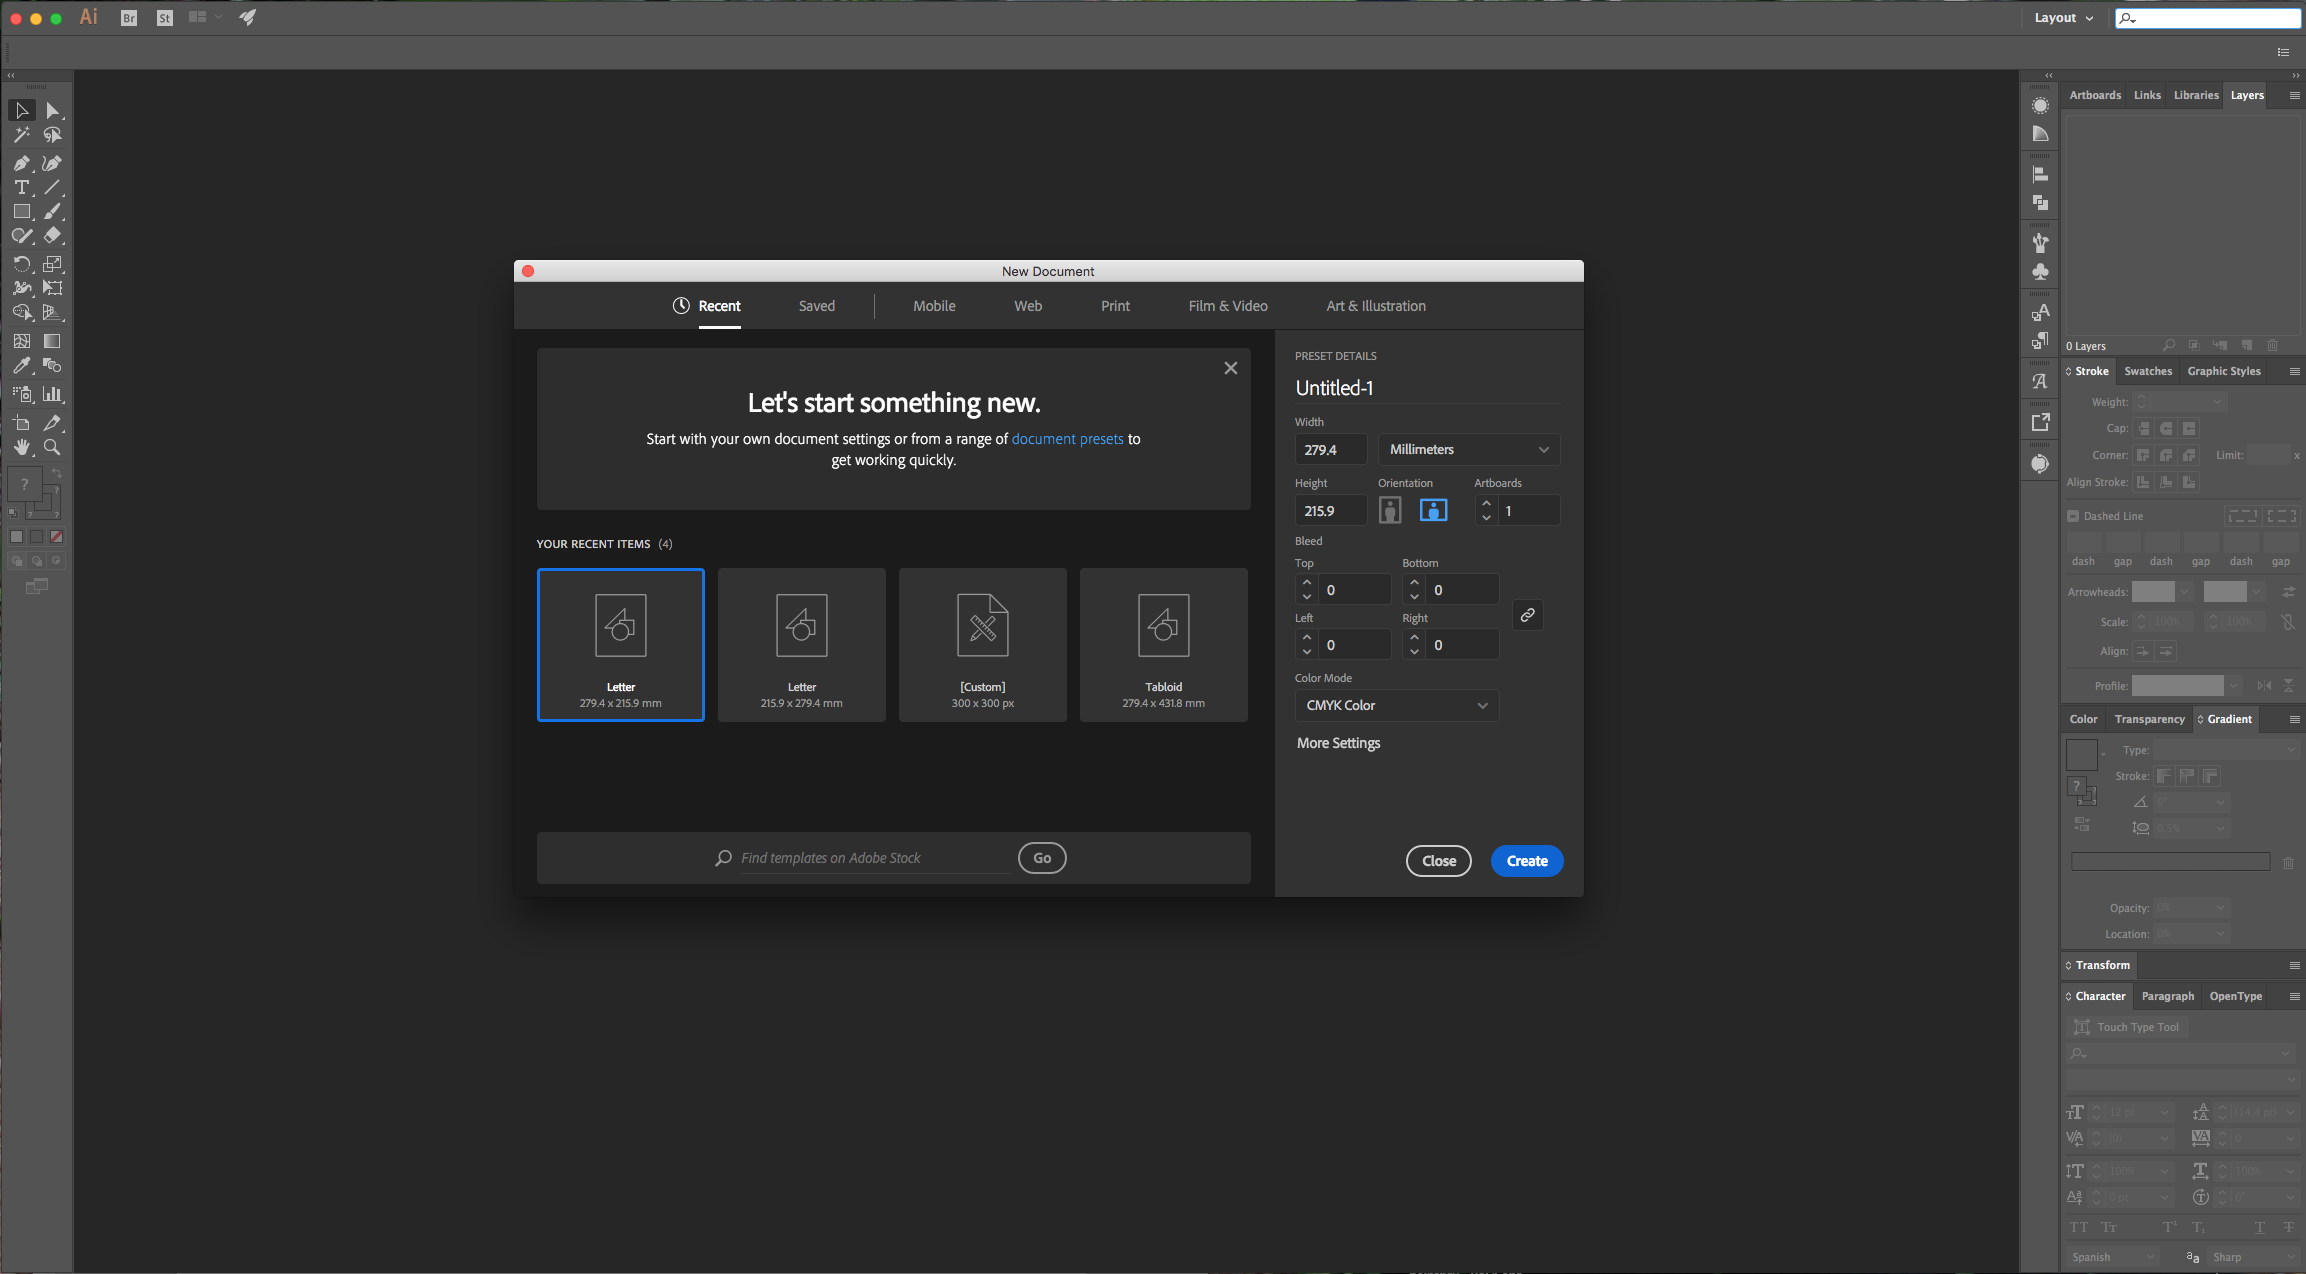
2 - Select the “Rectangle Tool” (M) and draw a rectangle covering the entire document. Choose a “Gradient” as “Fill” and no “Stroke”.
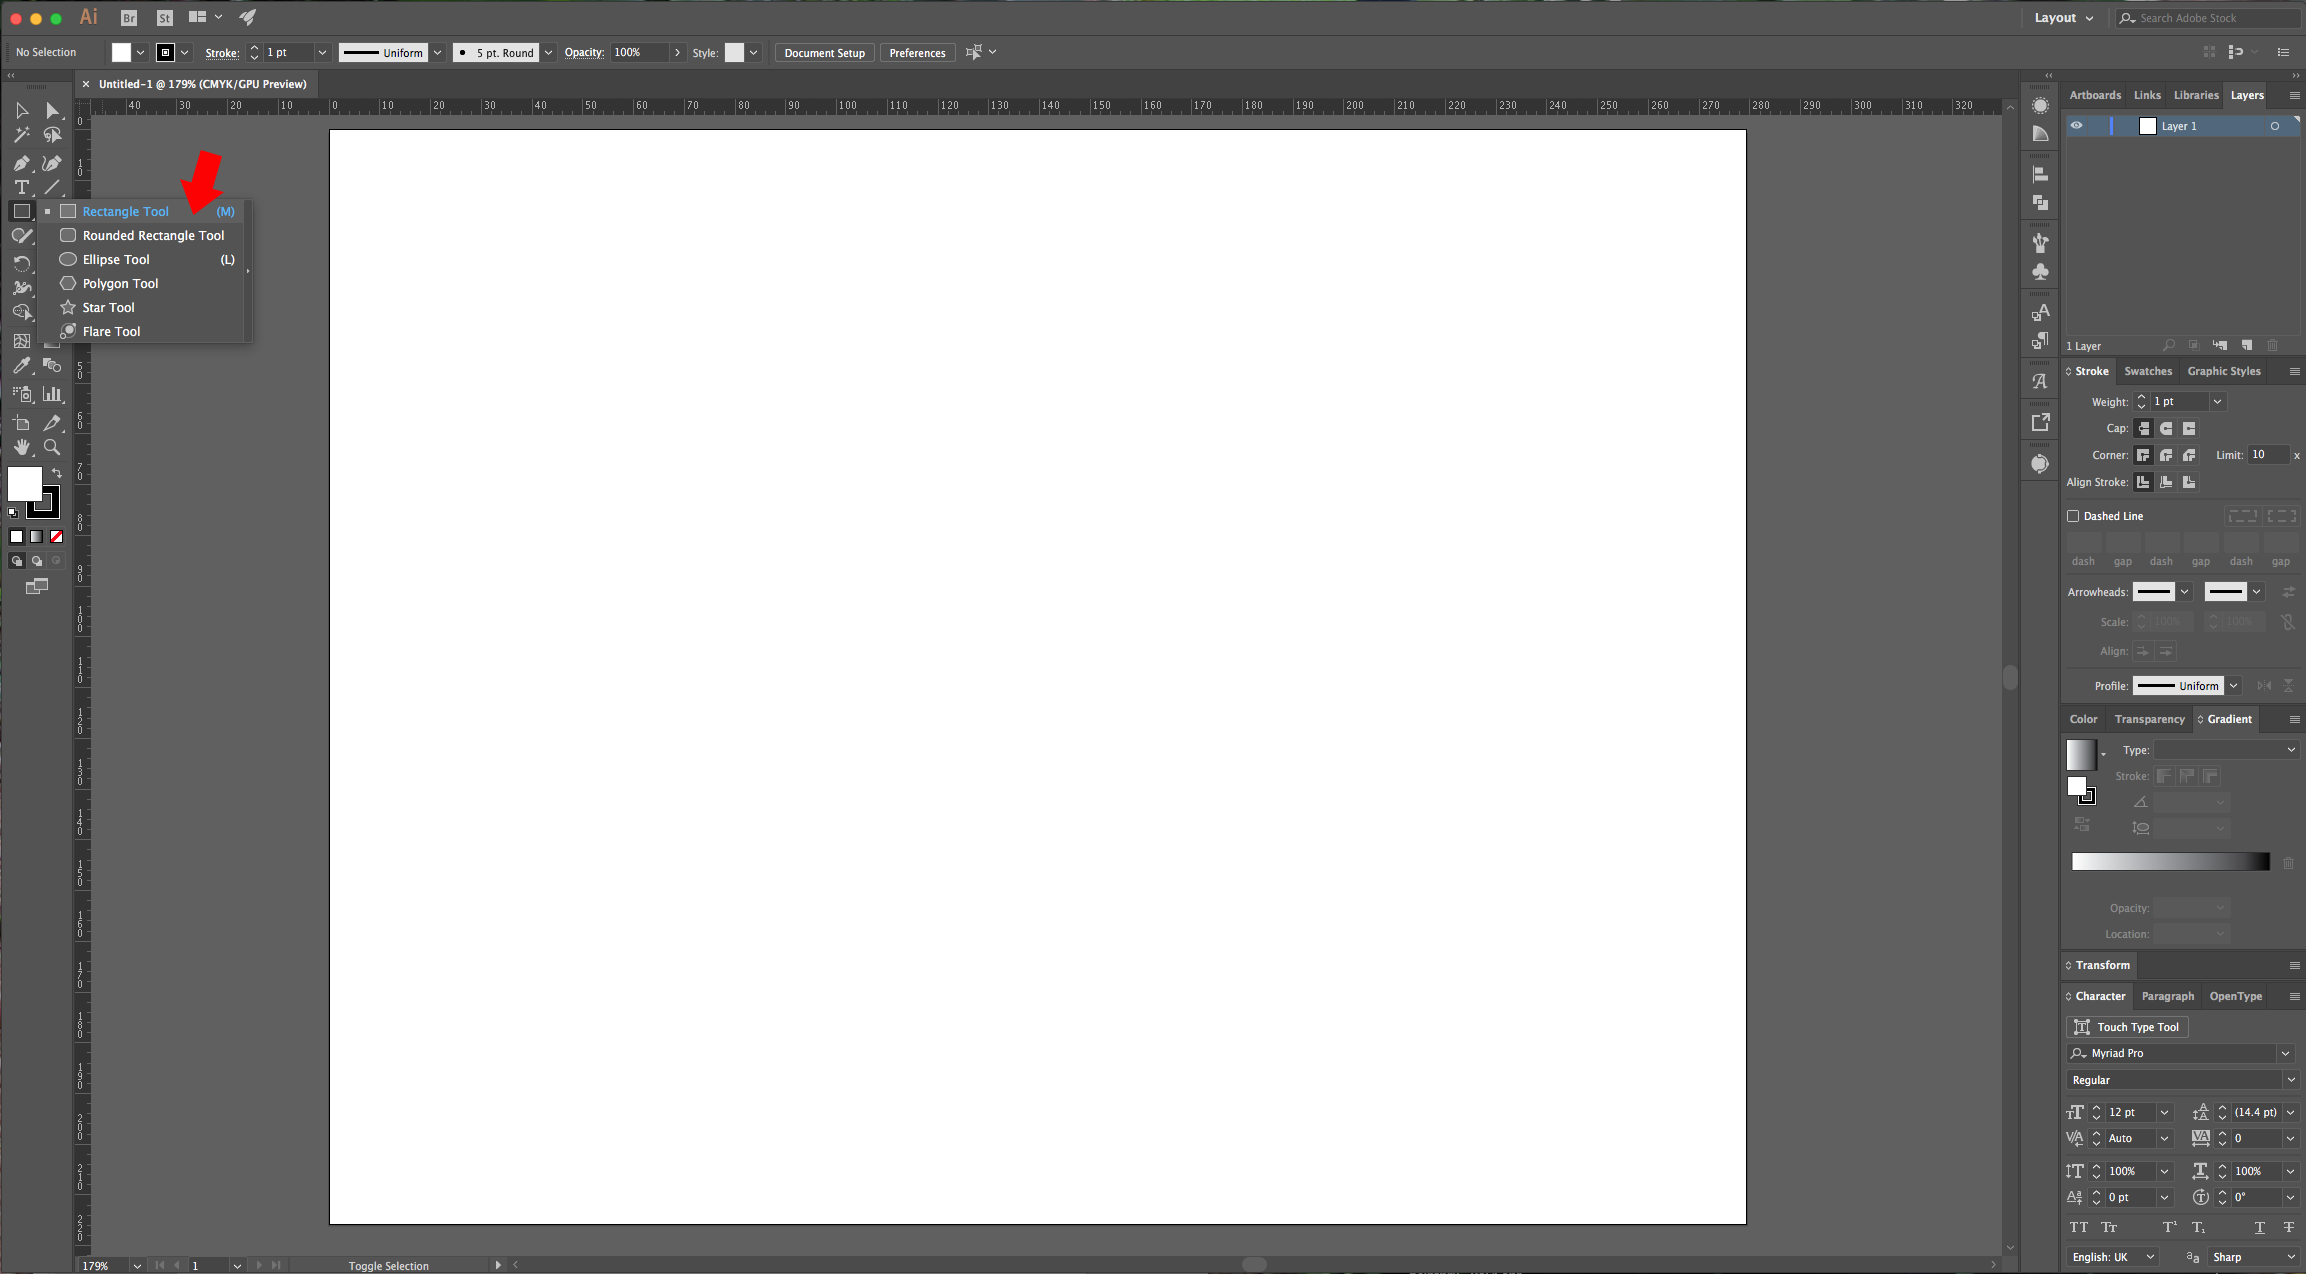
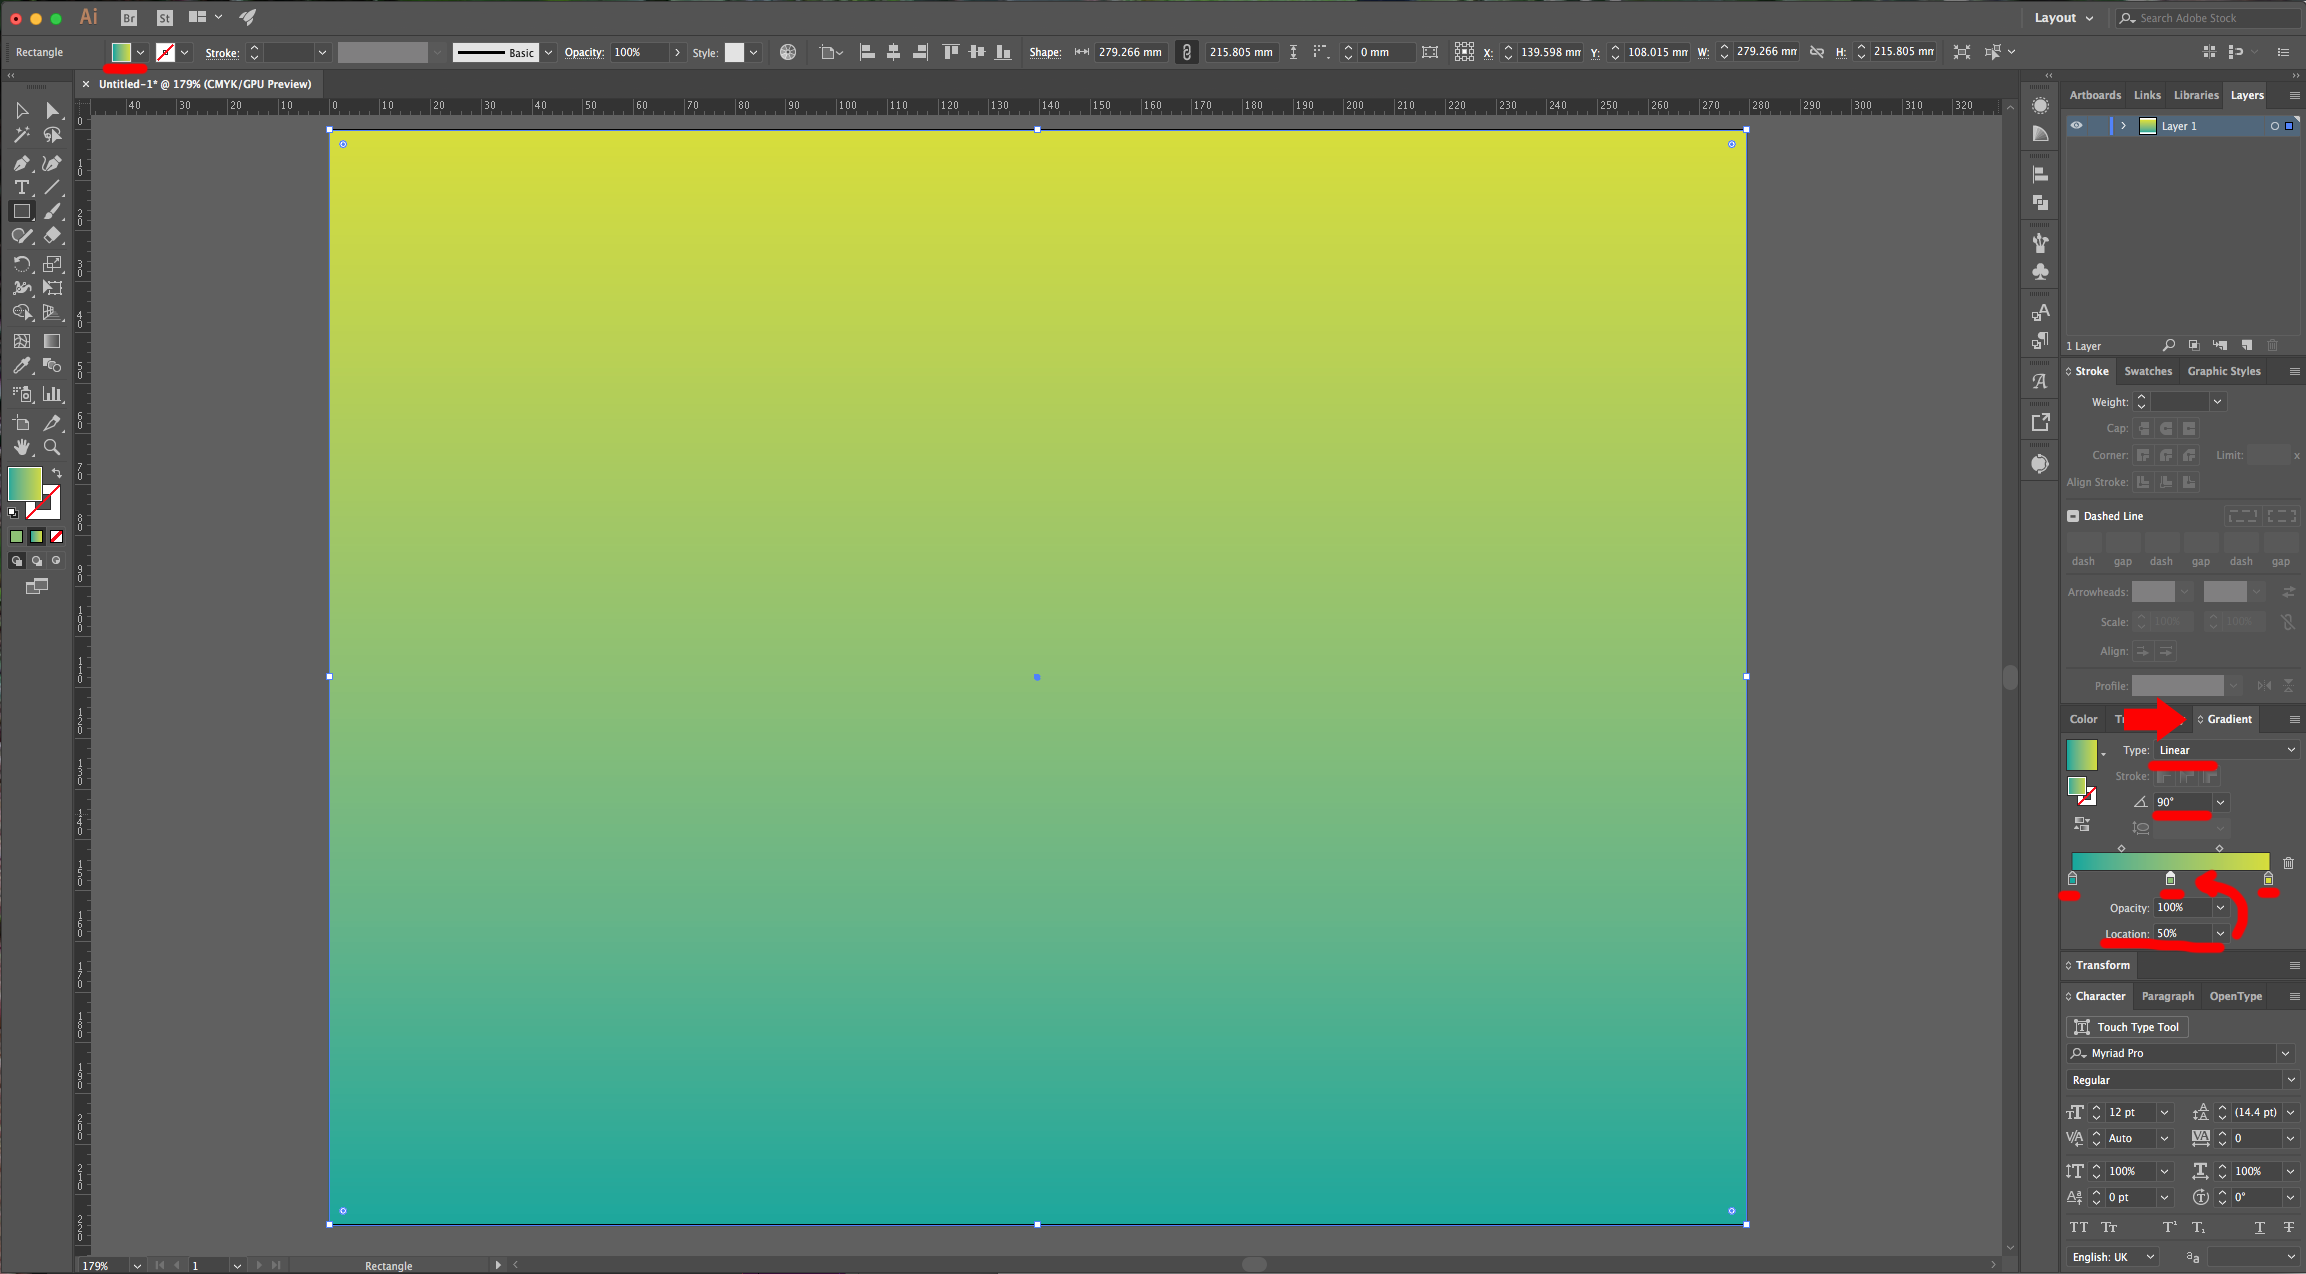
3 - In the “Gradient” Panel make your gradient “Linear” at a 90° Angle and fill it with the colors of your choice (we used two colors from the “Swatch” Panel). To add another shade to your gradient, just click under the point you want to place it (About 50% in “Location”).
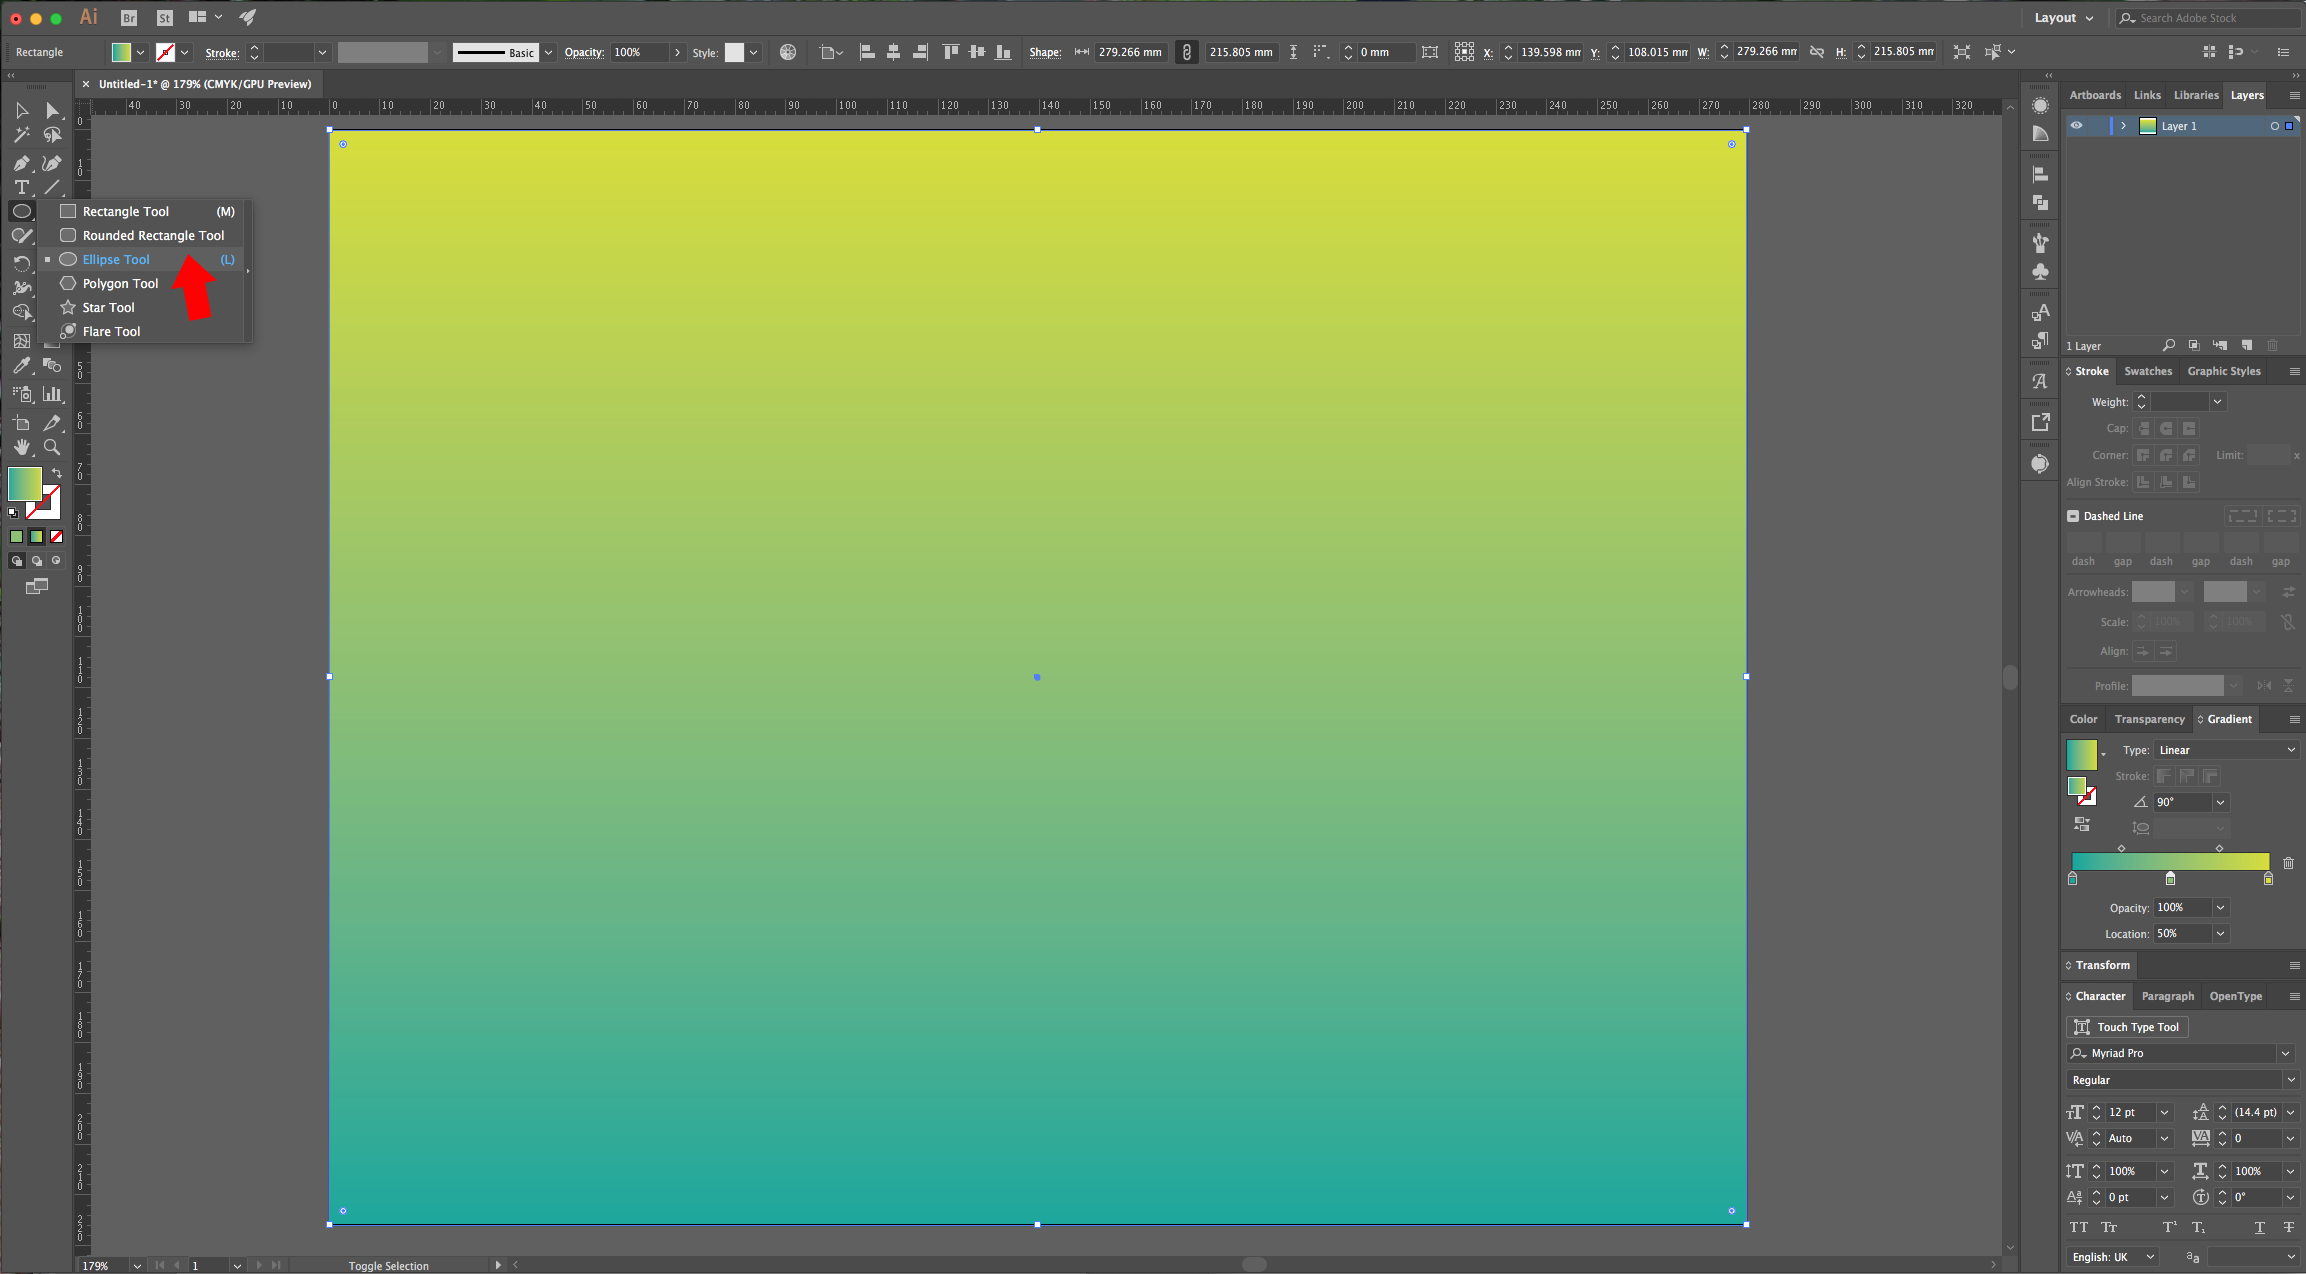
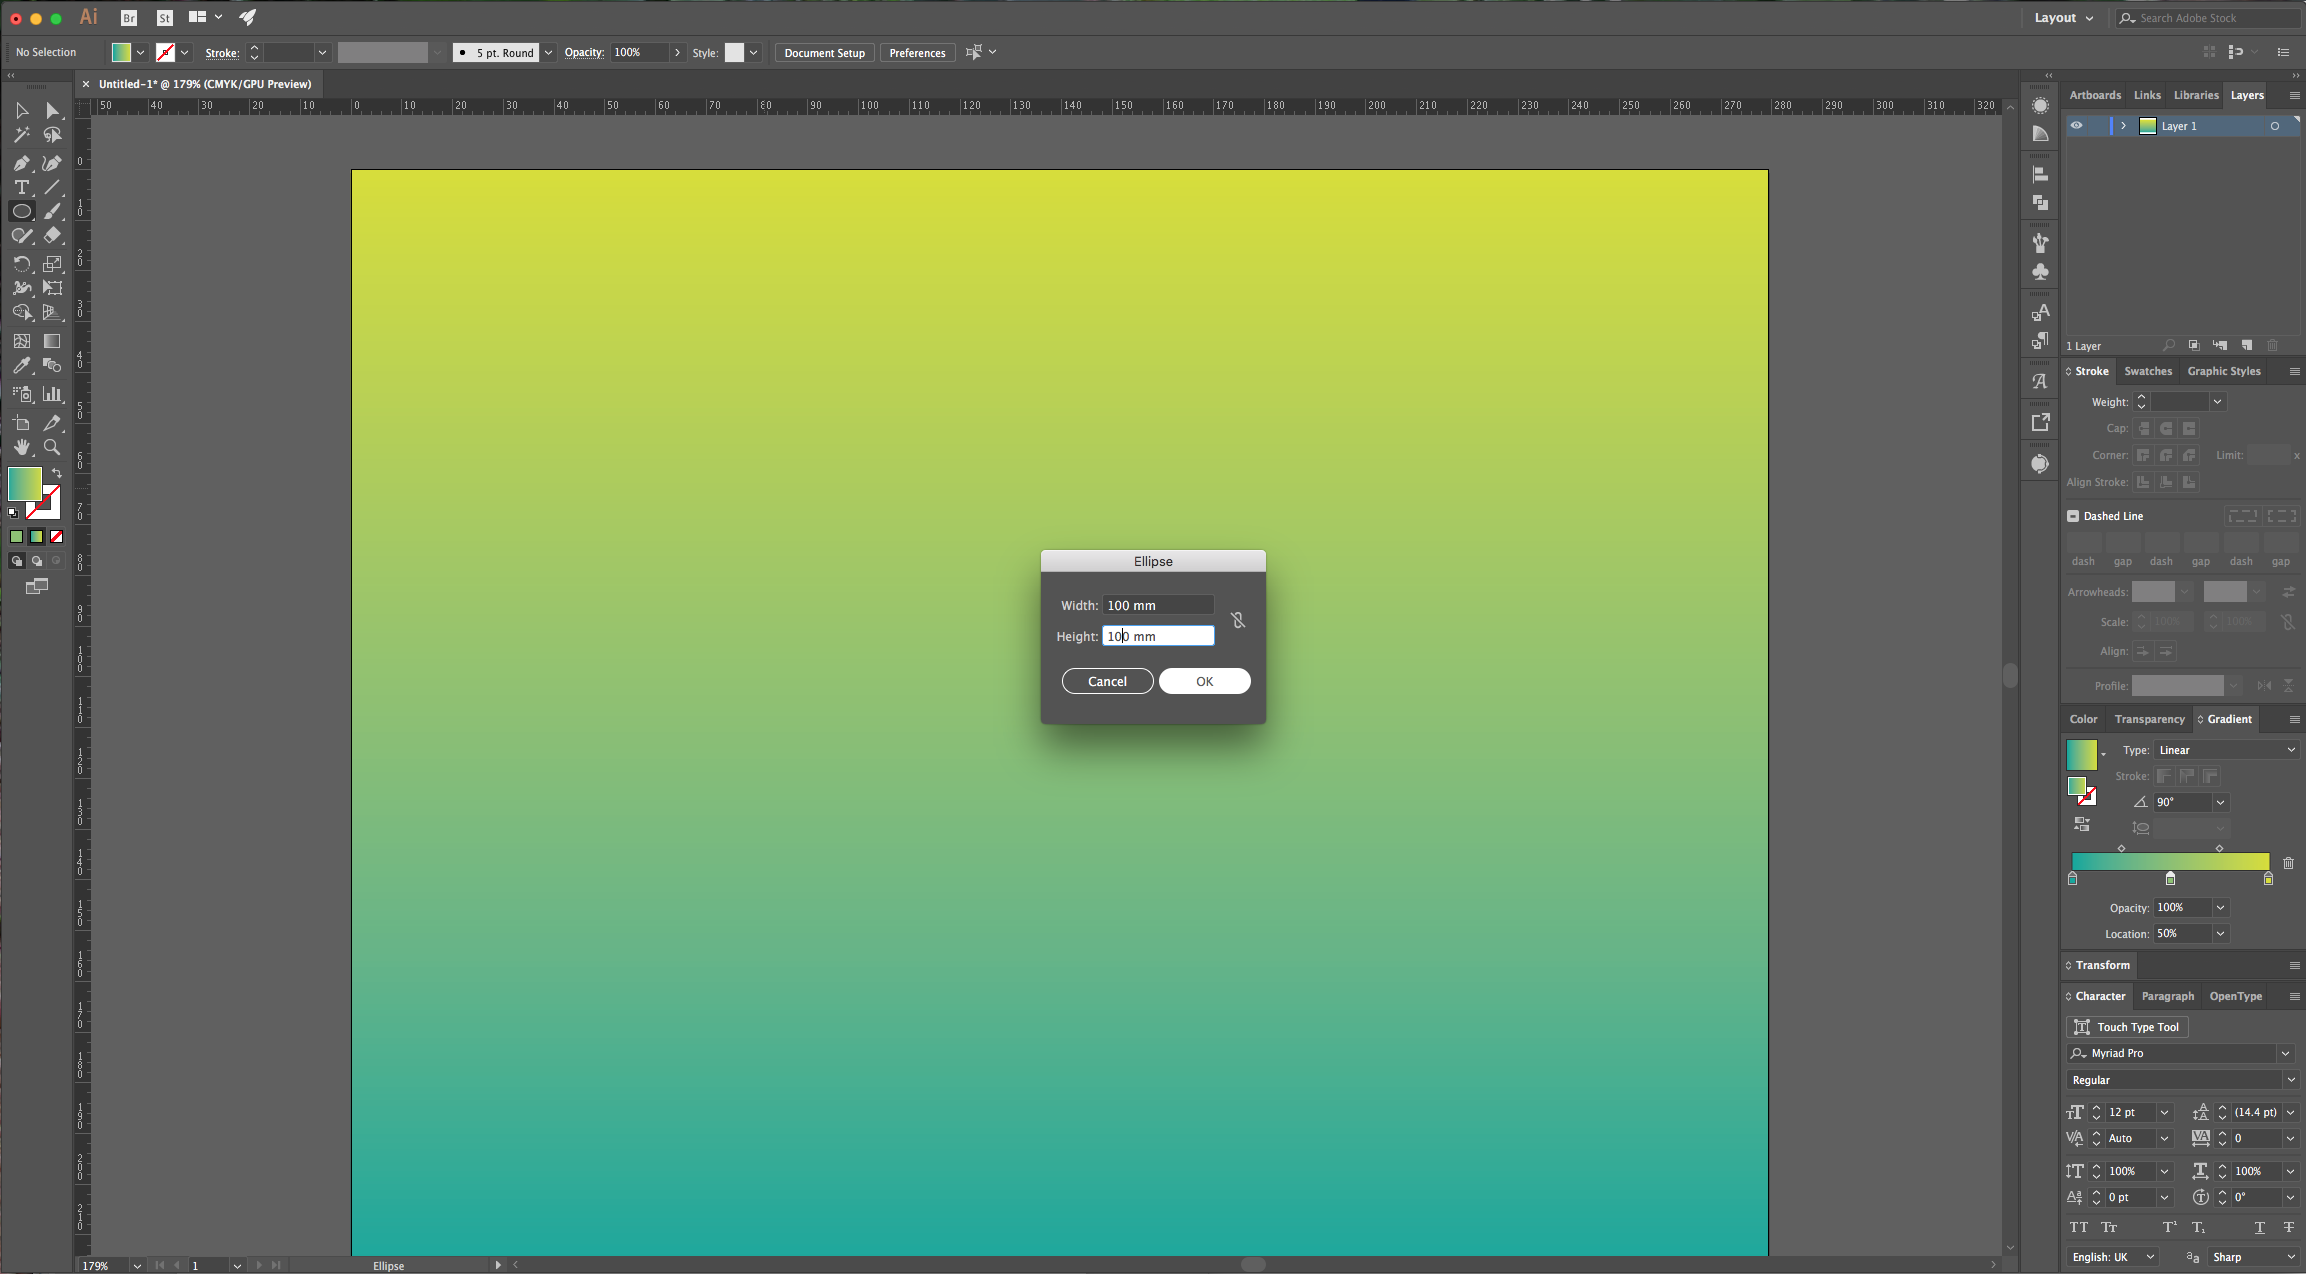
4 - Select the “Ellipse Tool” (L), click on top of your document and make a circle with a “With” and “Height” of 100 mm.
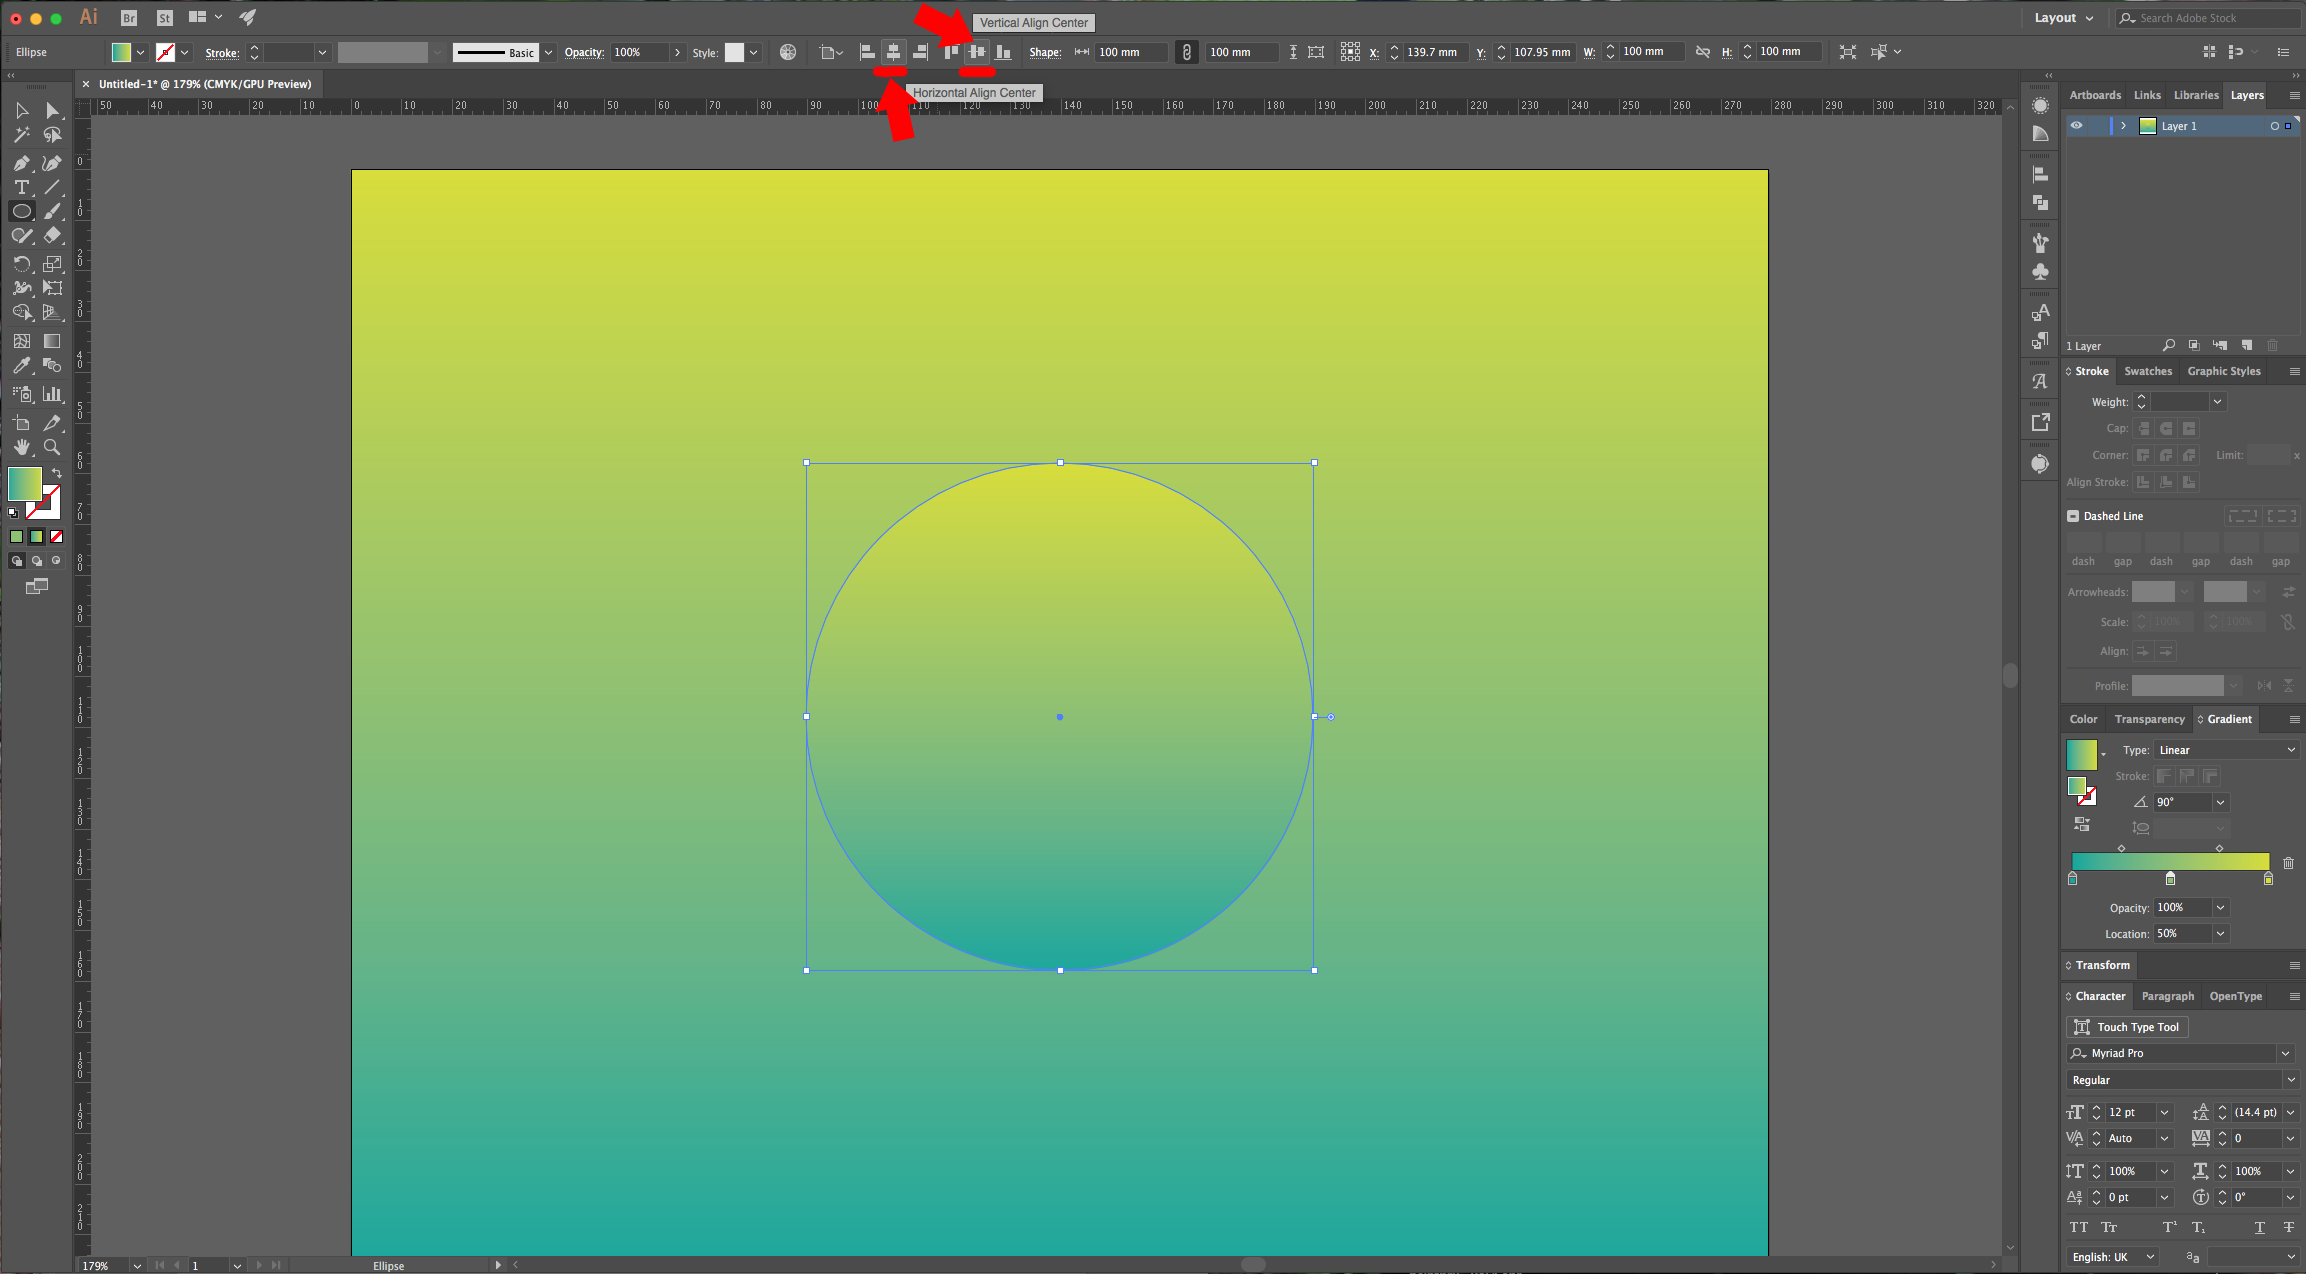
5 - Center your circle by clicking un the “Horizontal and Vertical Align Center” buttons in the upper menu.
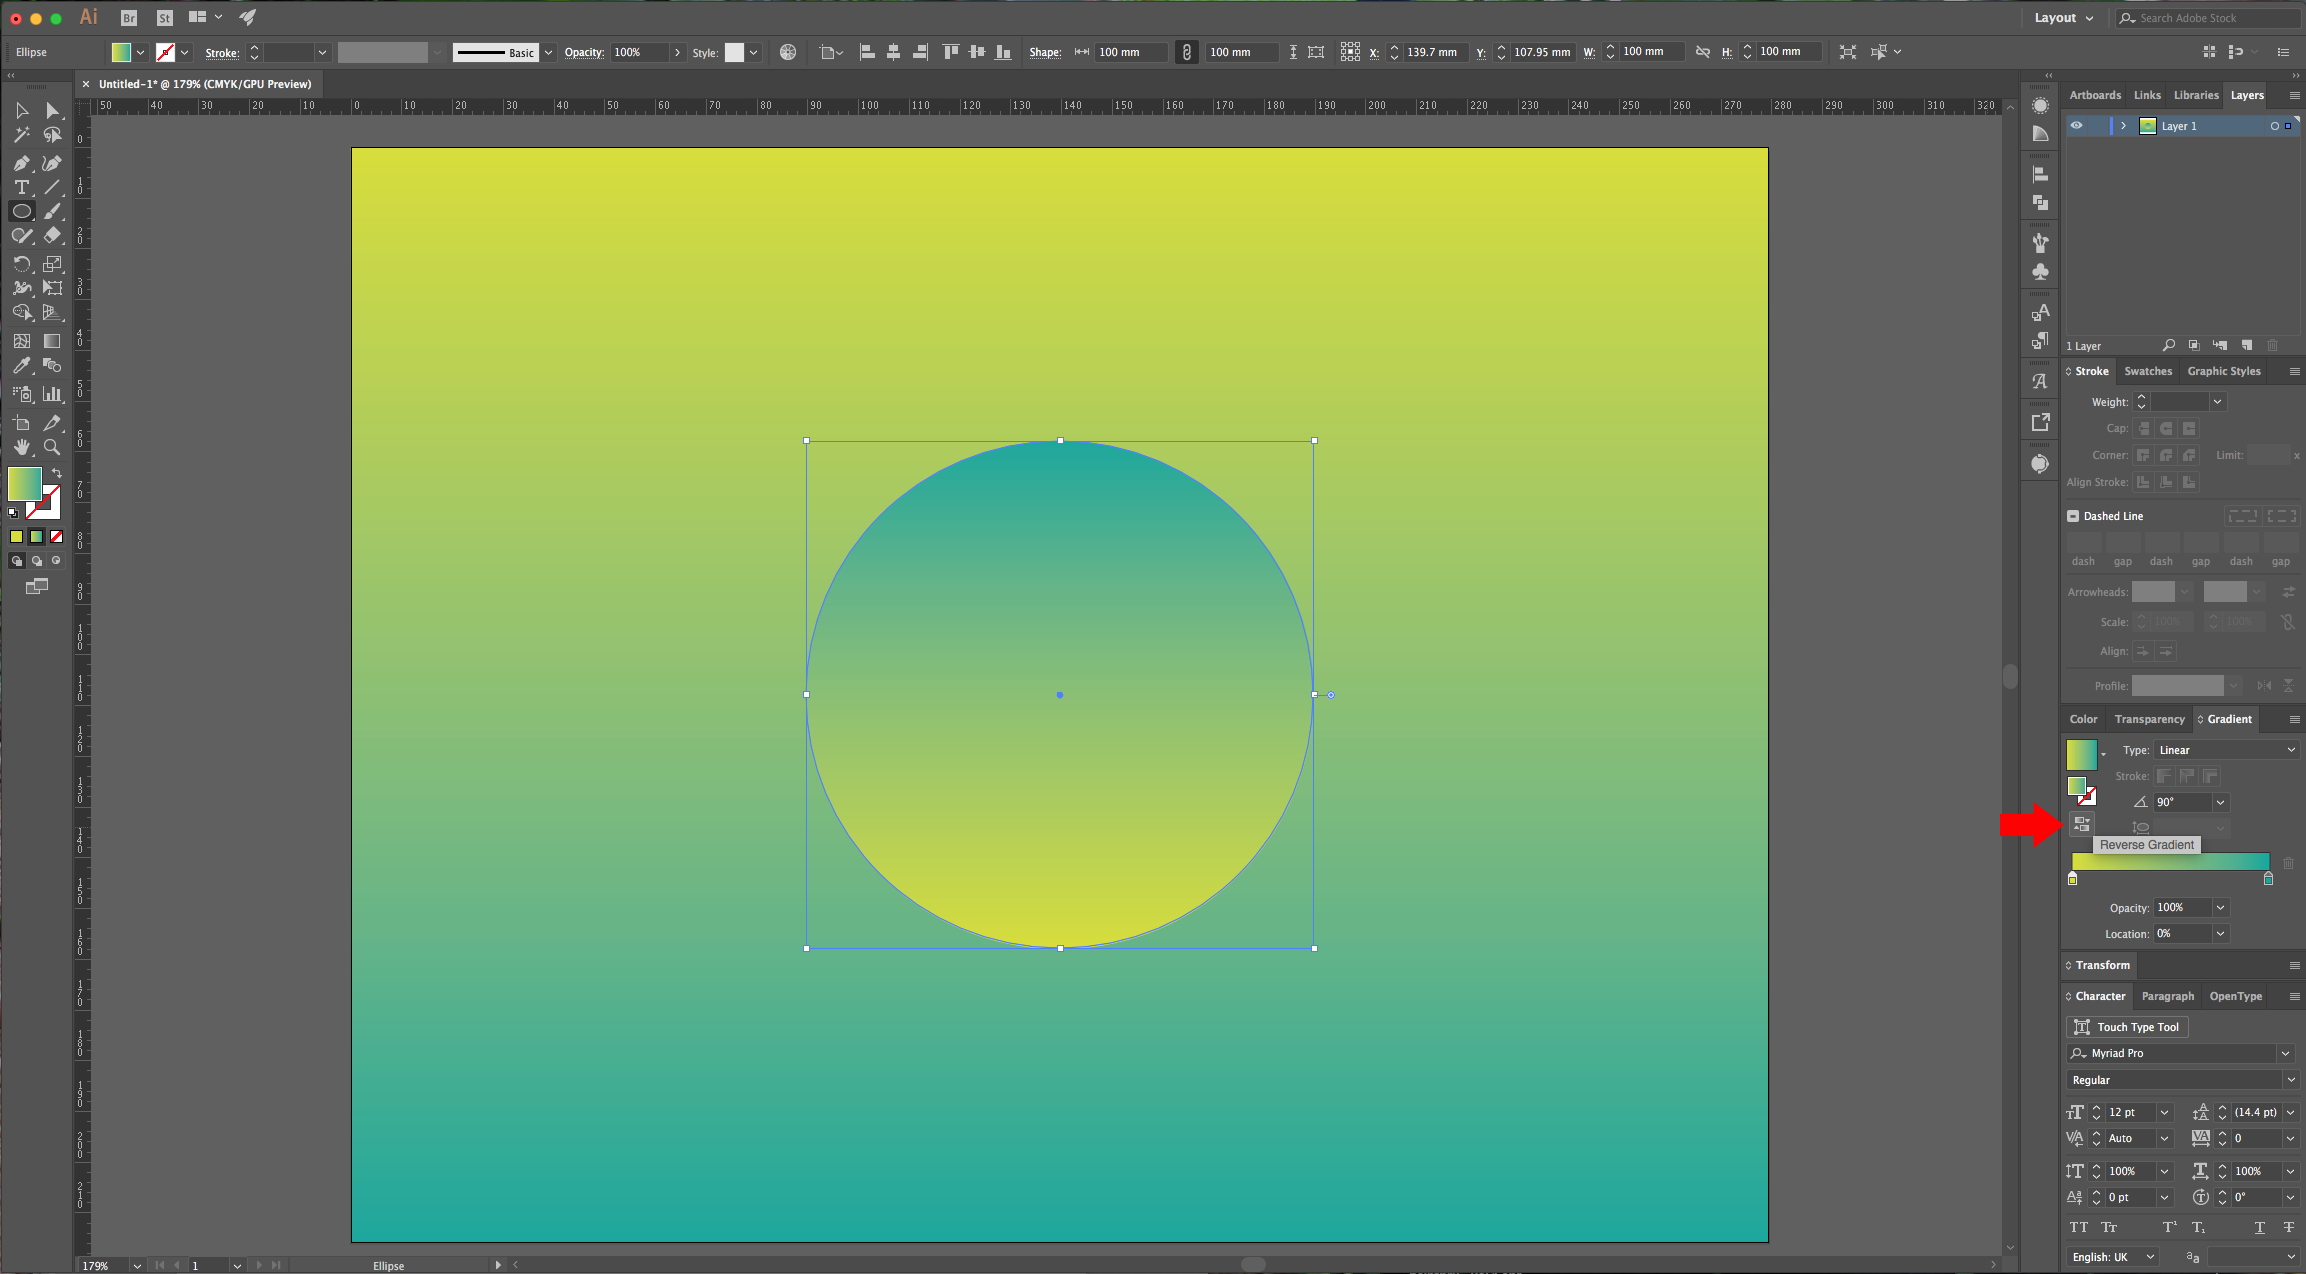
6 - Reverse your circle’s gradient by clicking on the small button placed to the left on your “Gradient” Panel and remove the center swatch by dragging the little square down. Change the color of the last swatch to #.
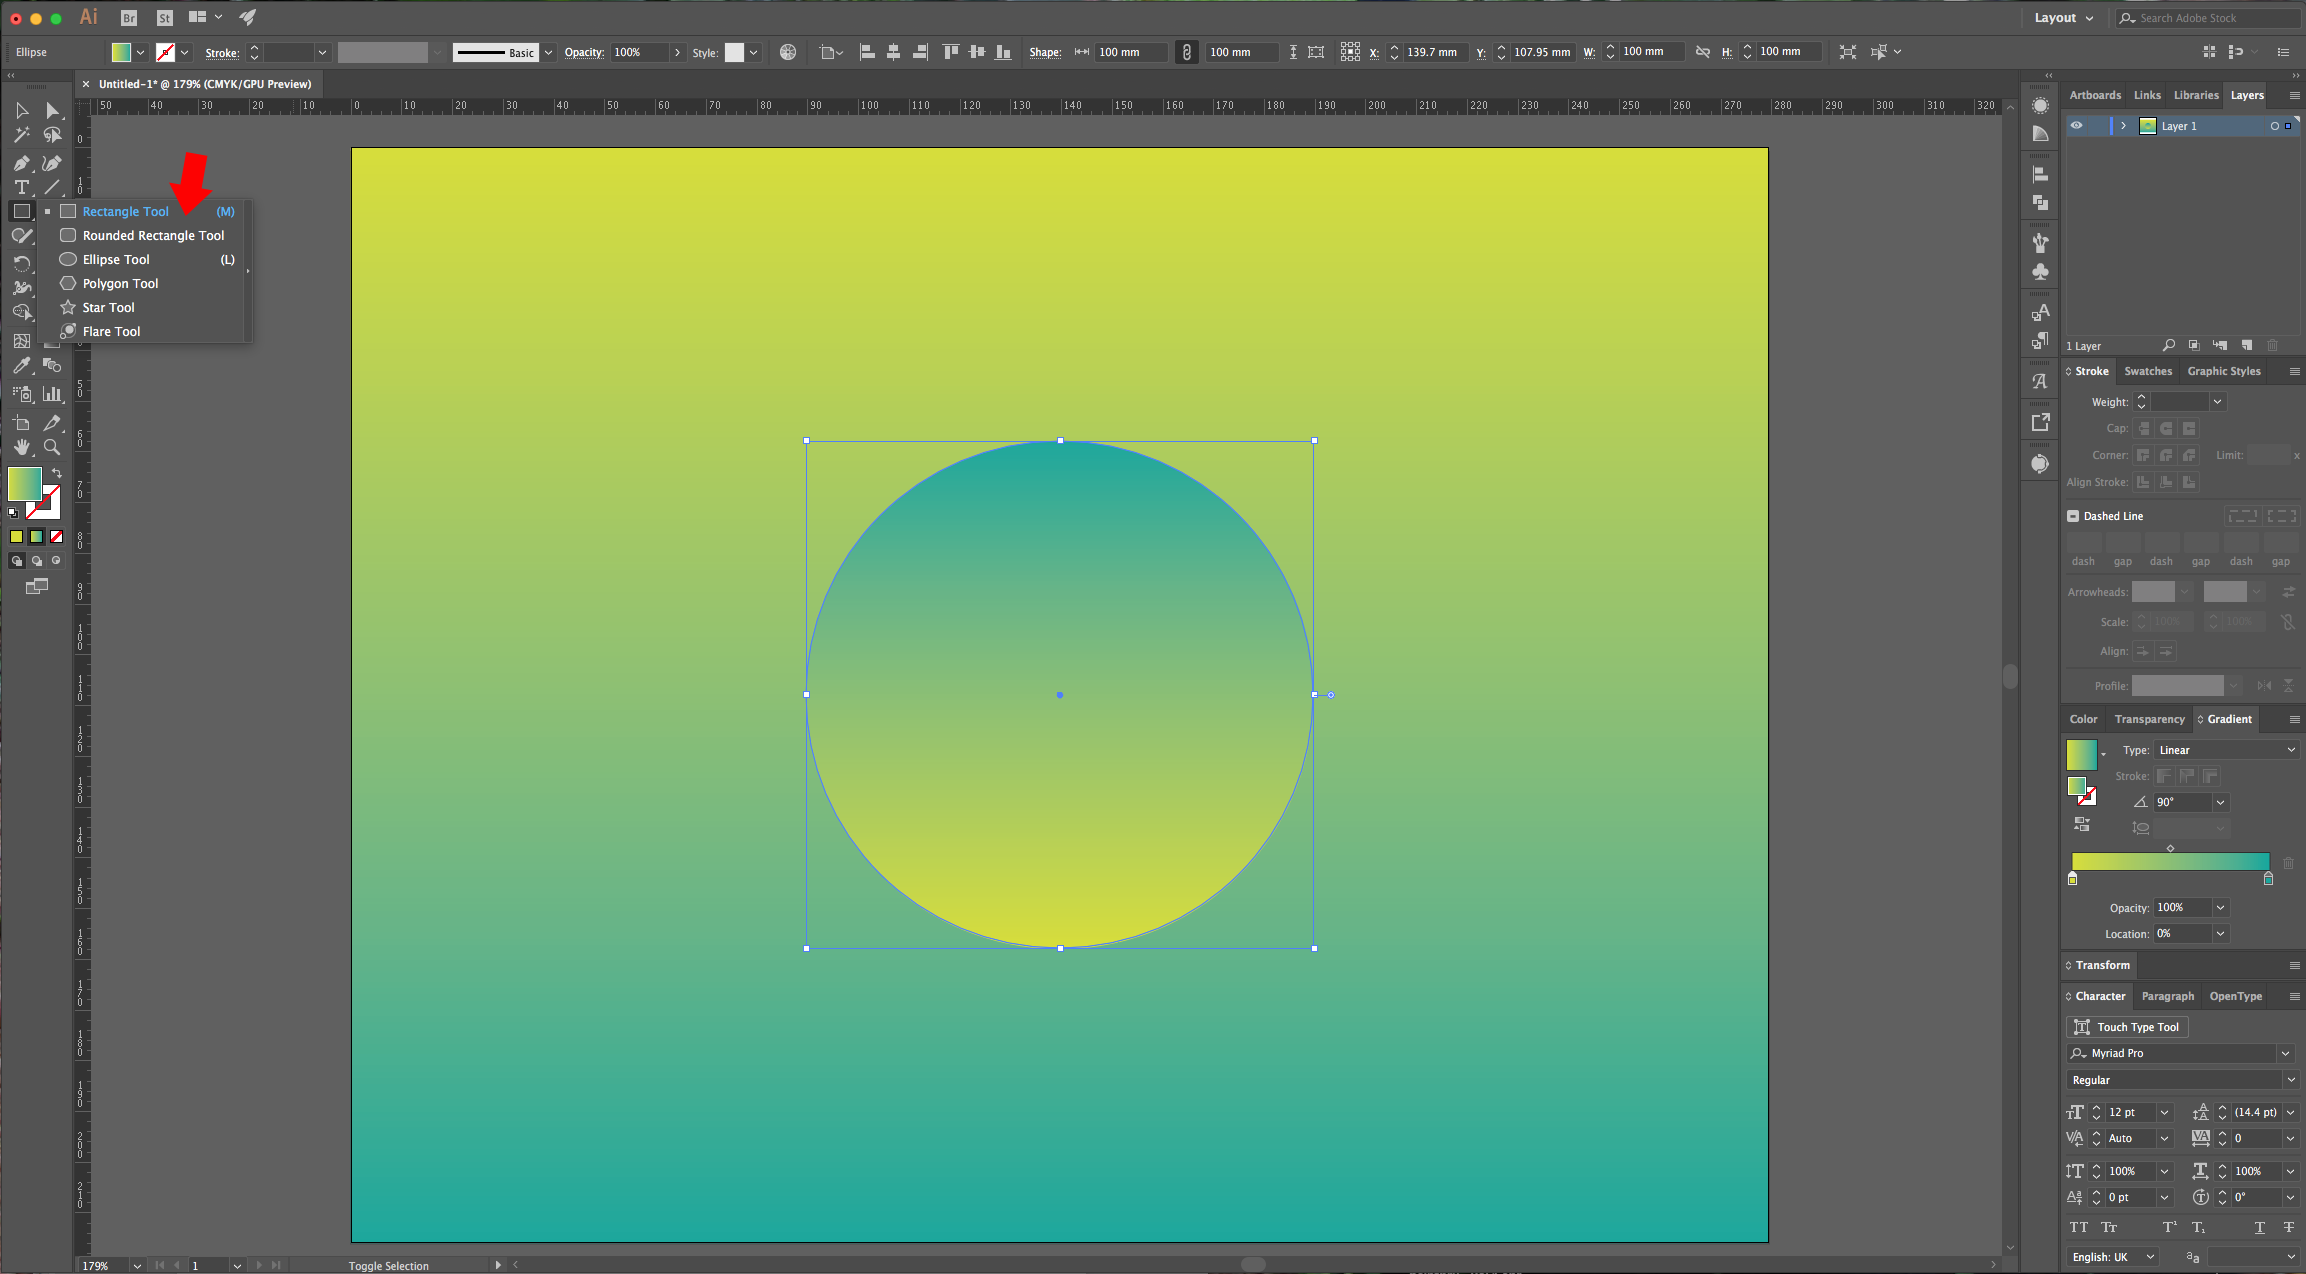
7 - Select the “Rectangle Tool” (M), click on your “Artboard” and input a “With” and “Height” of 20 mm. Fill it with black and a 1pt white “Stroke”.
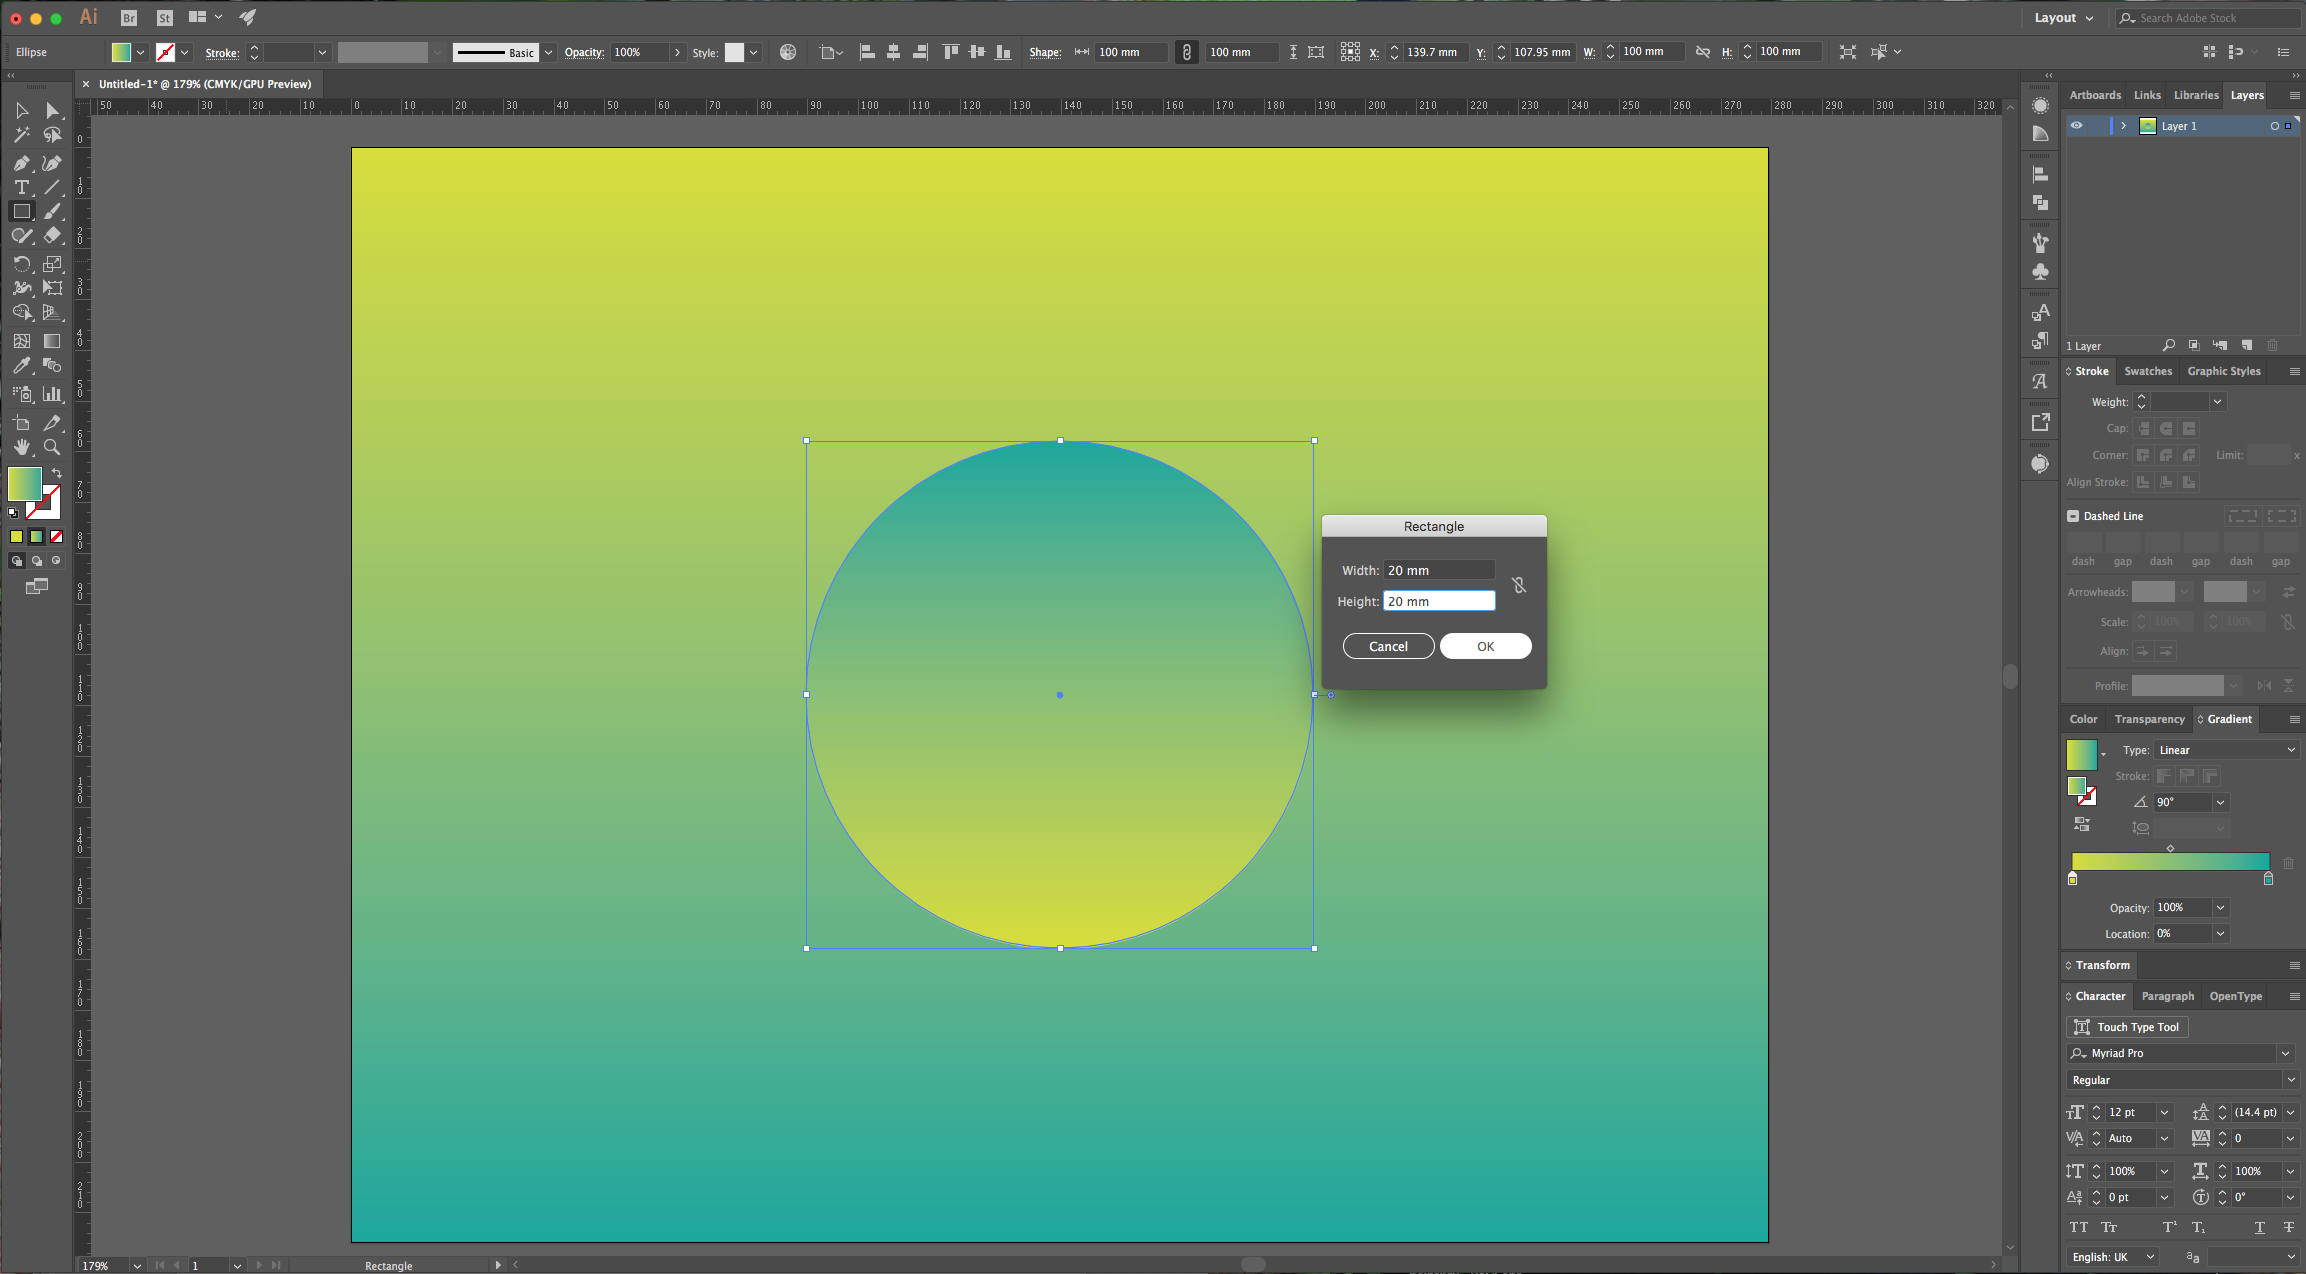
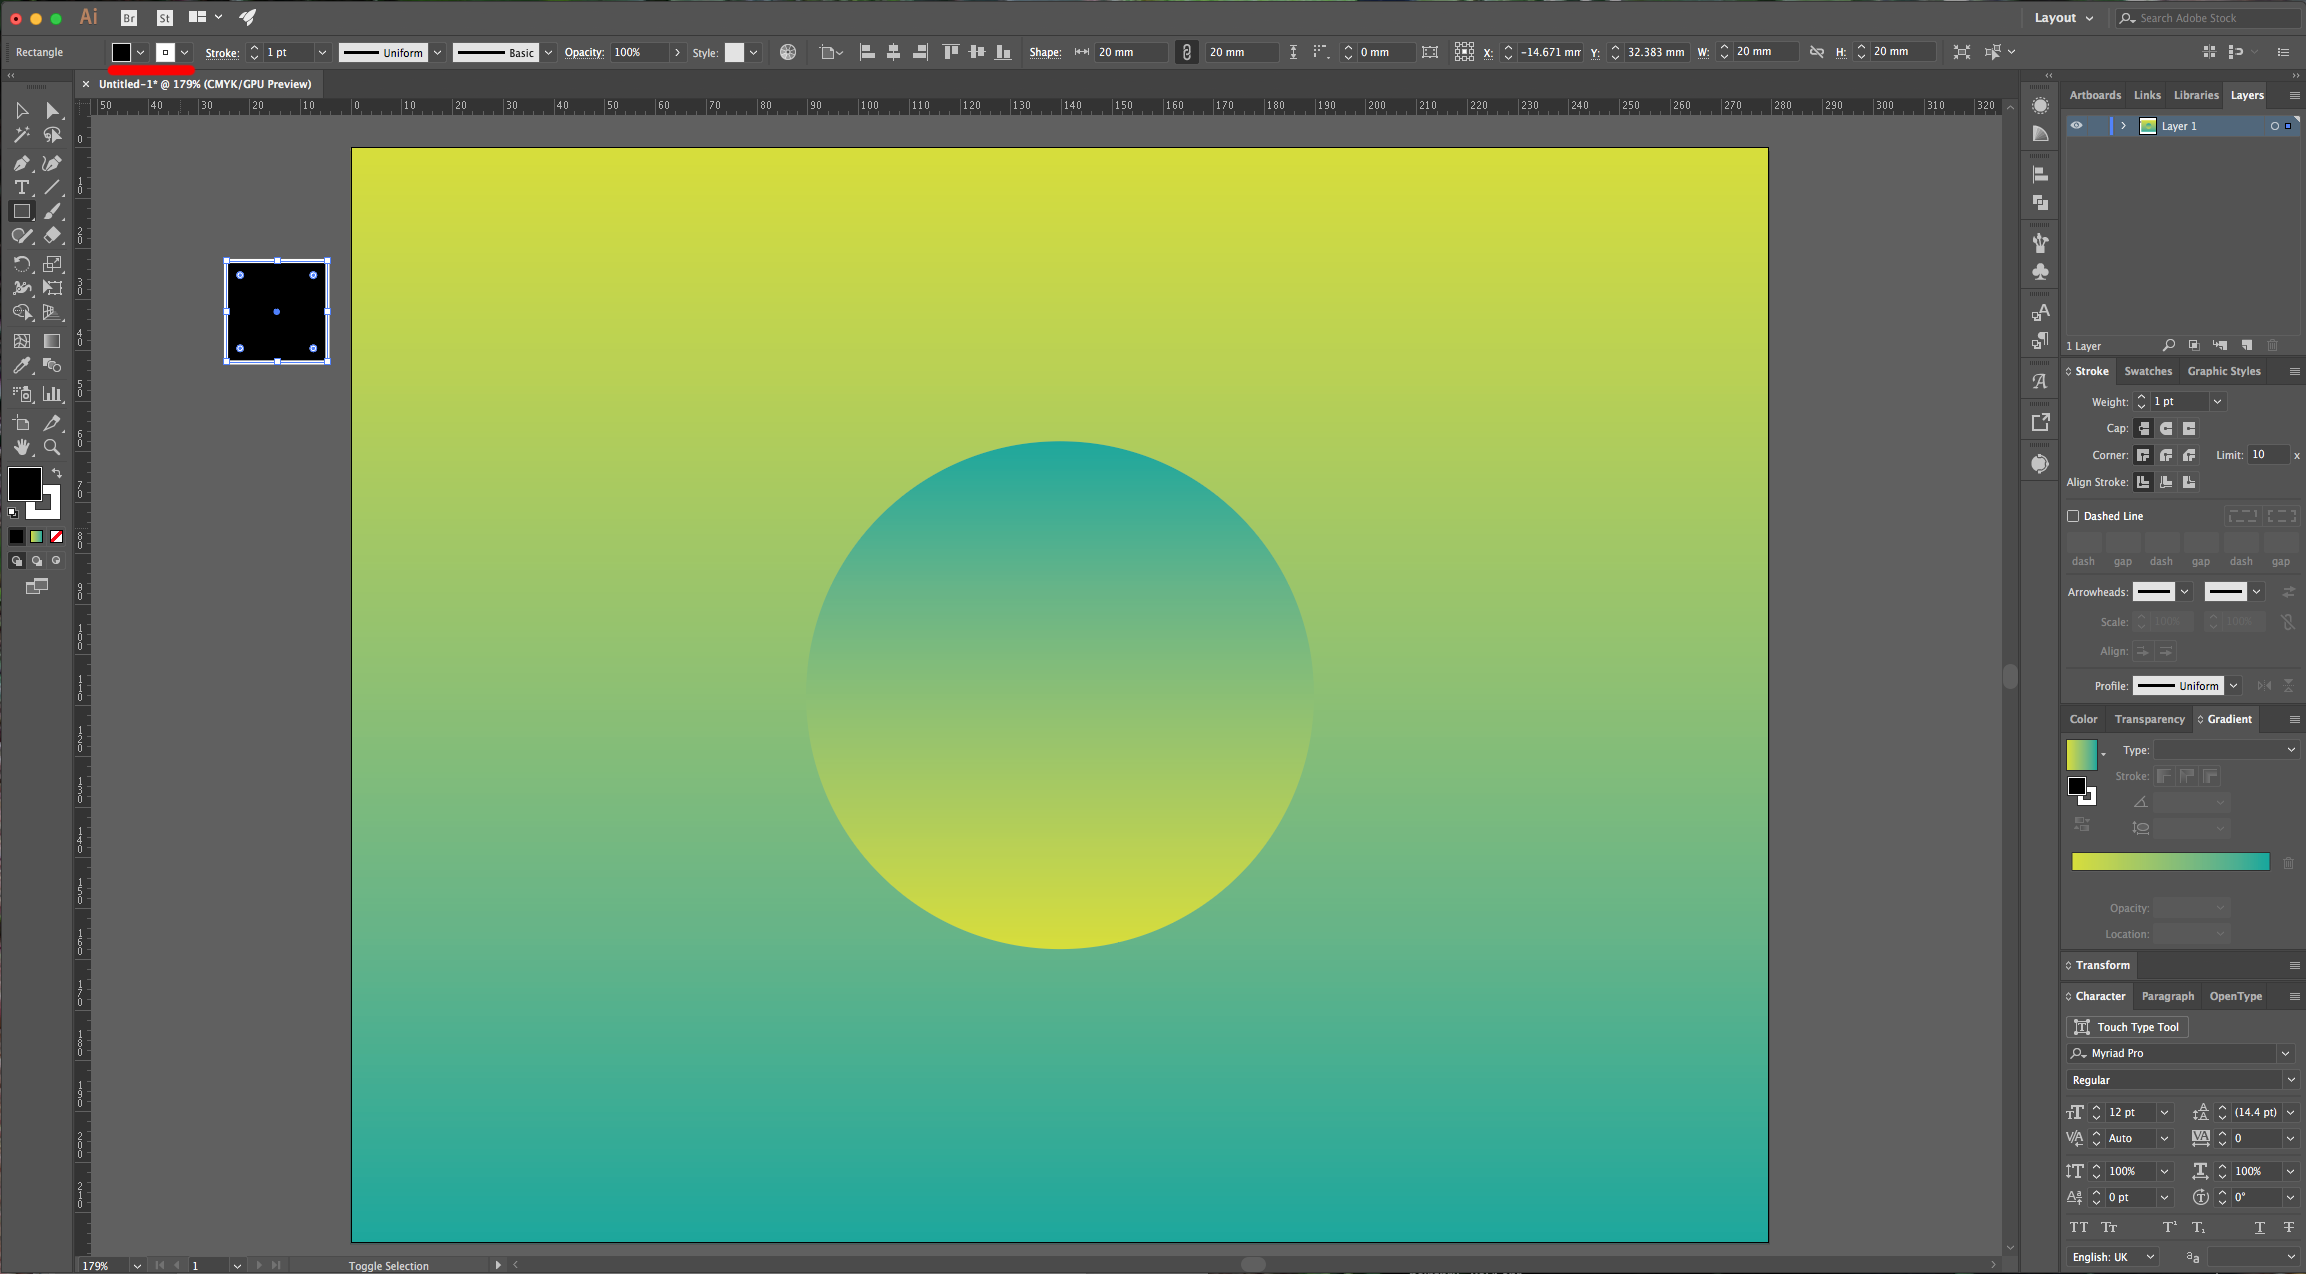
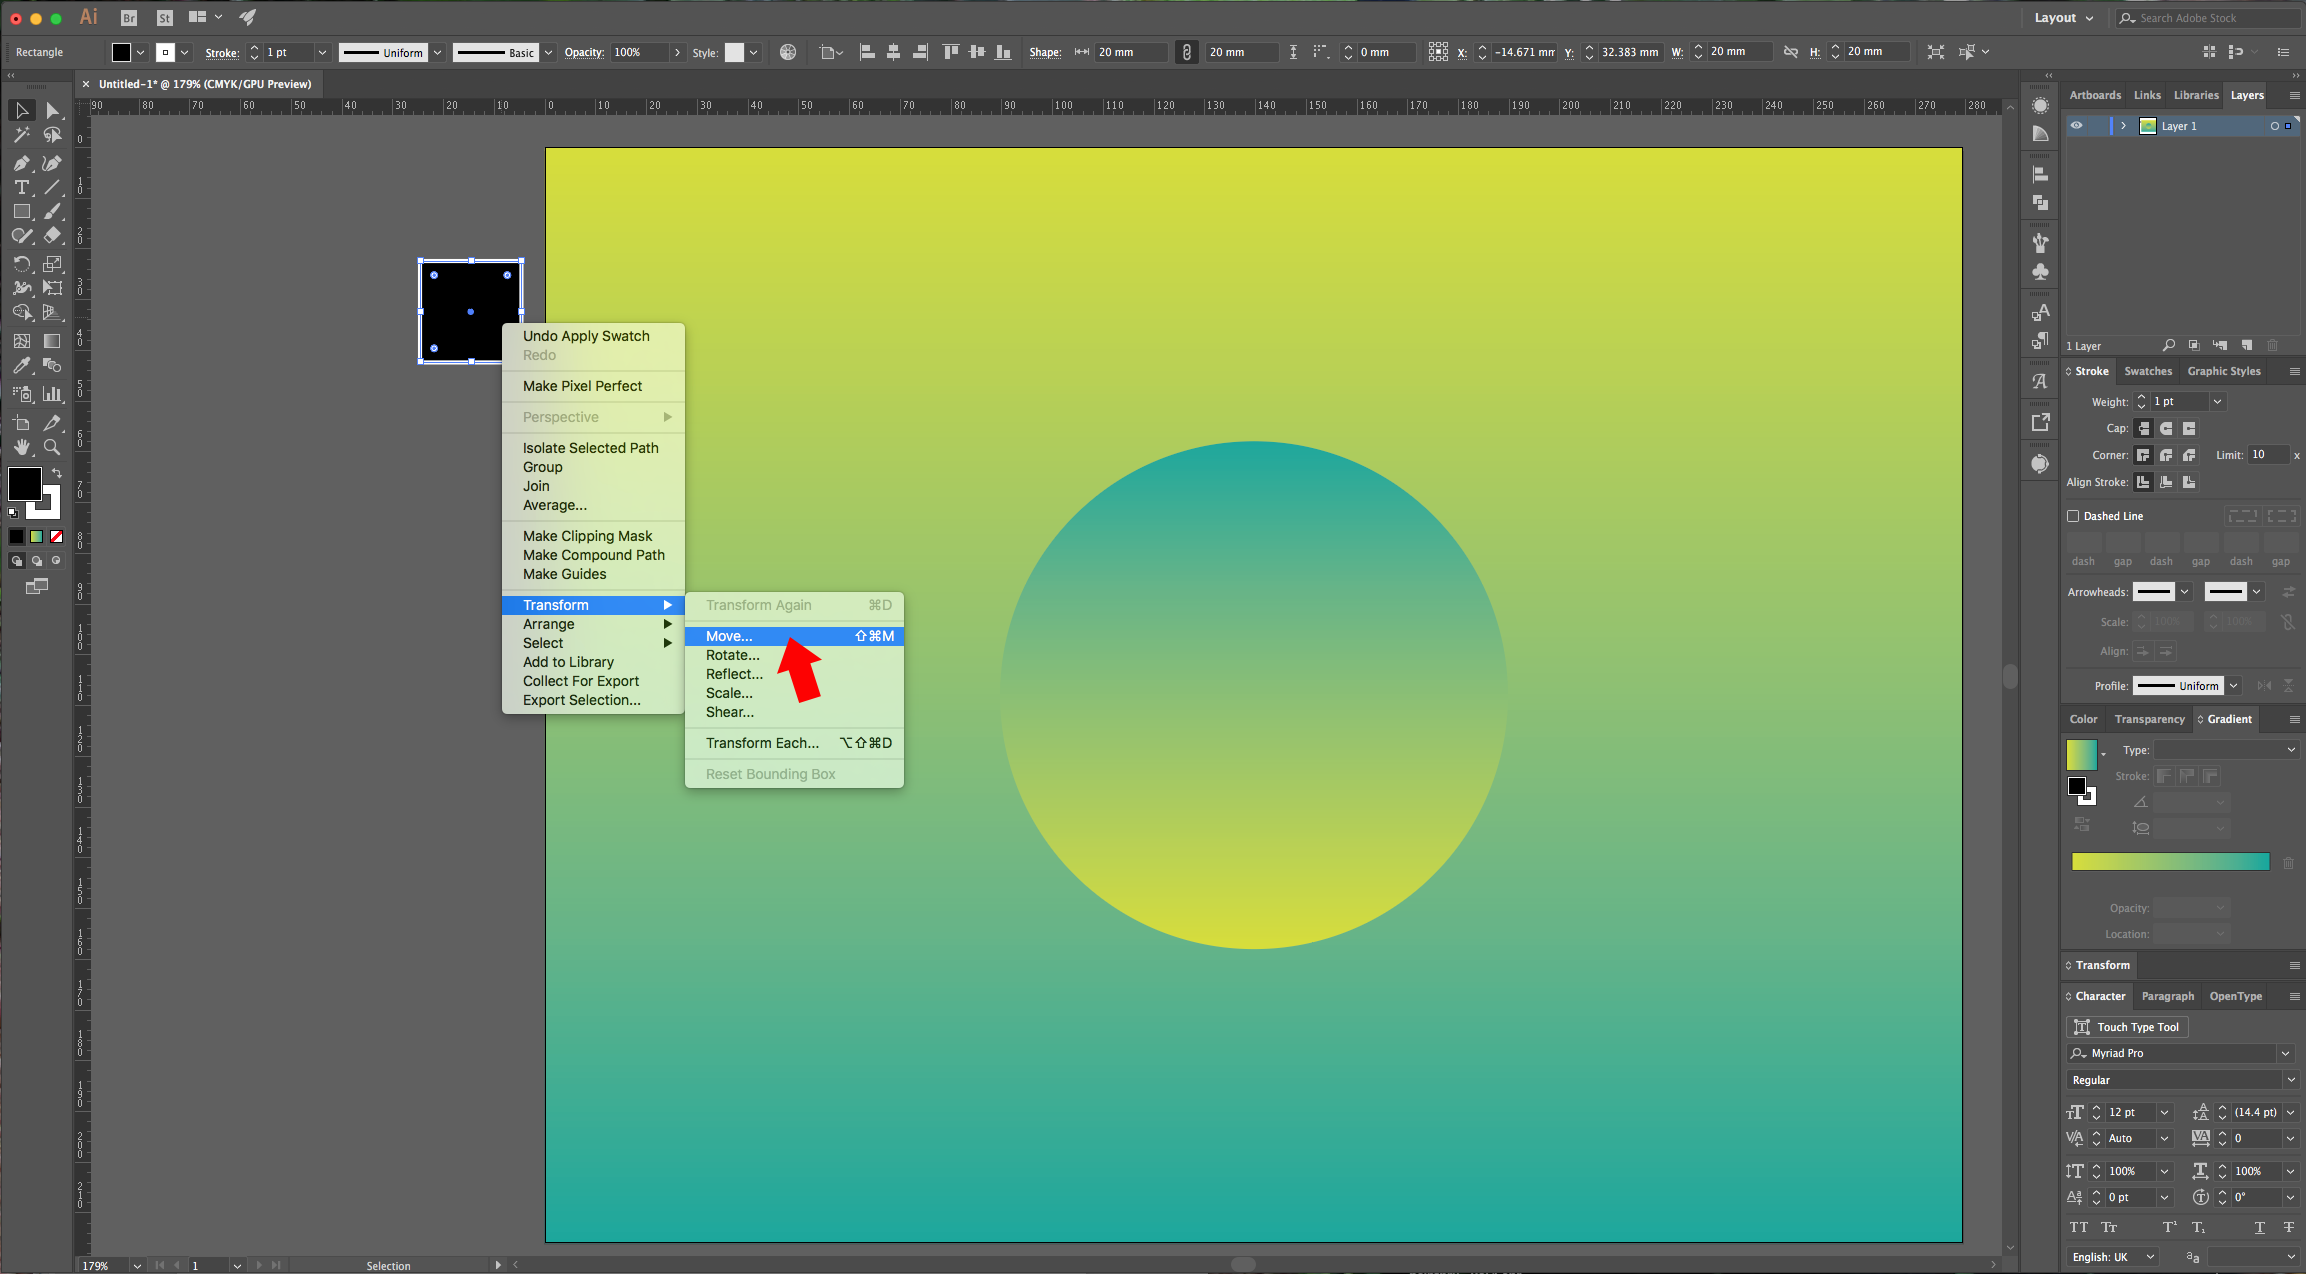
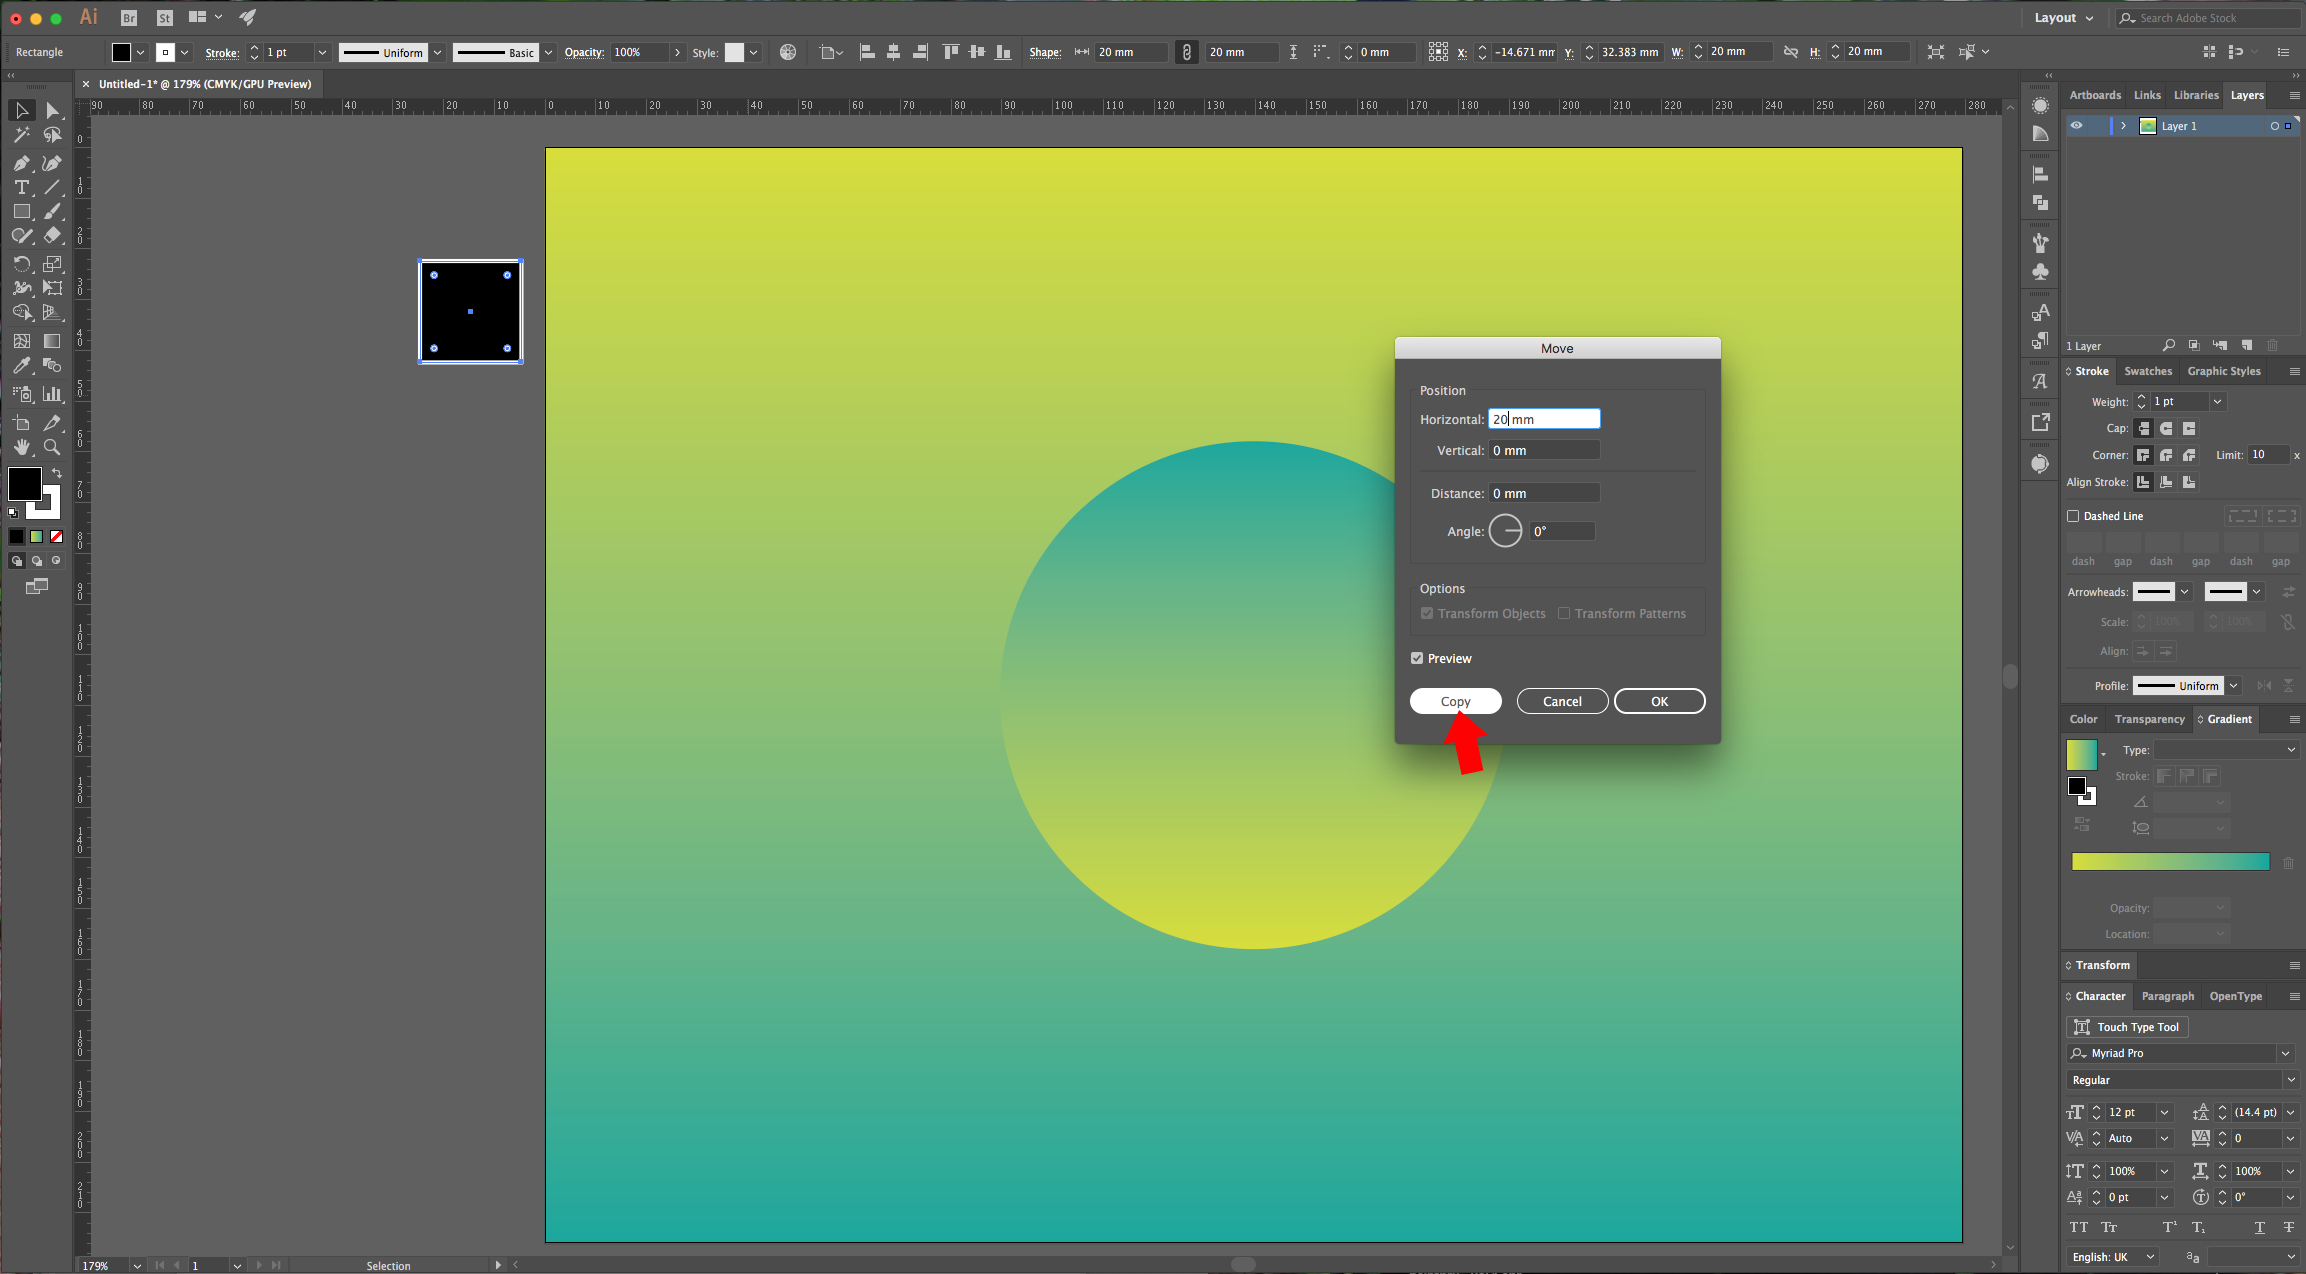
8 - Right-click on your square and go to Transform > Move (Shift + Command/Control + M) and use a value of 20 mm “Horizontal” and click “Copy”. Now, click Command/Control + D to repeat the transformation. You should have three squares.
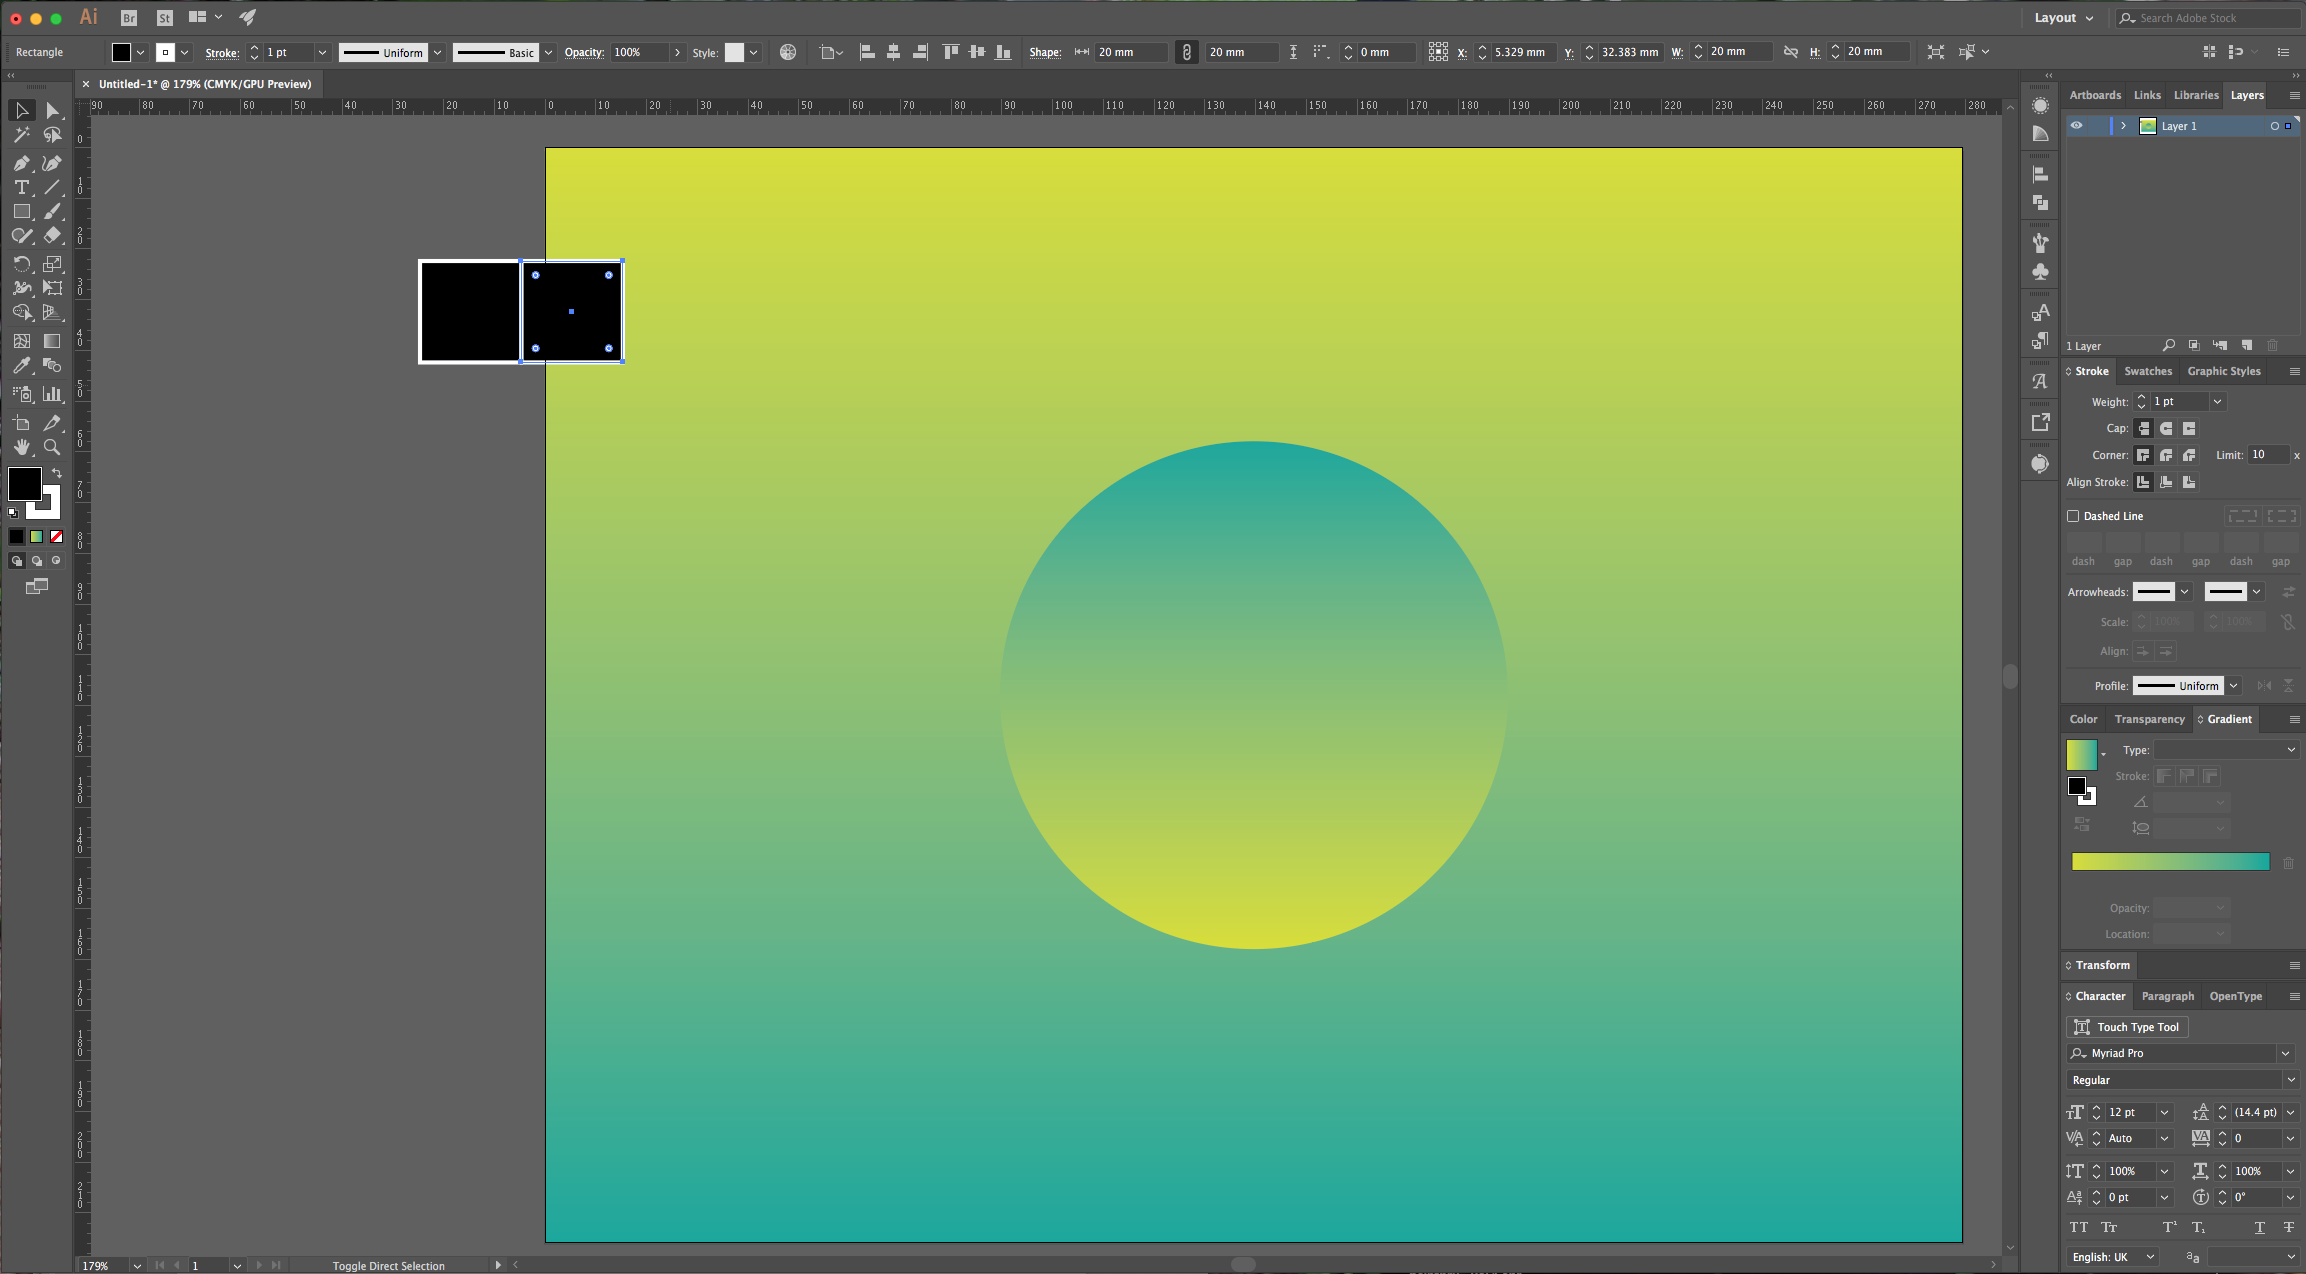
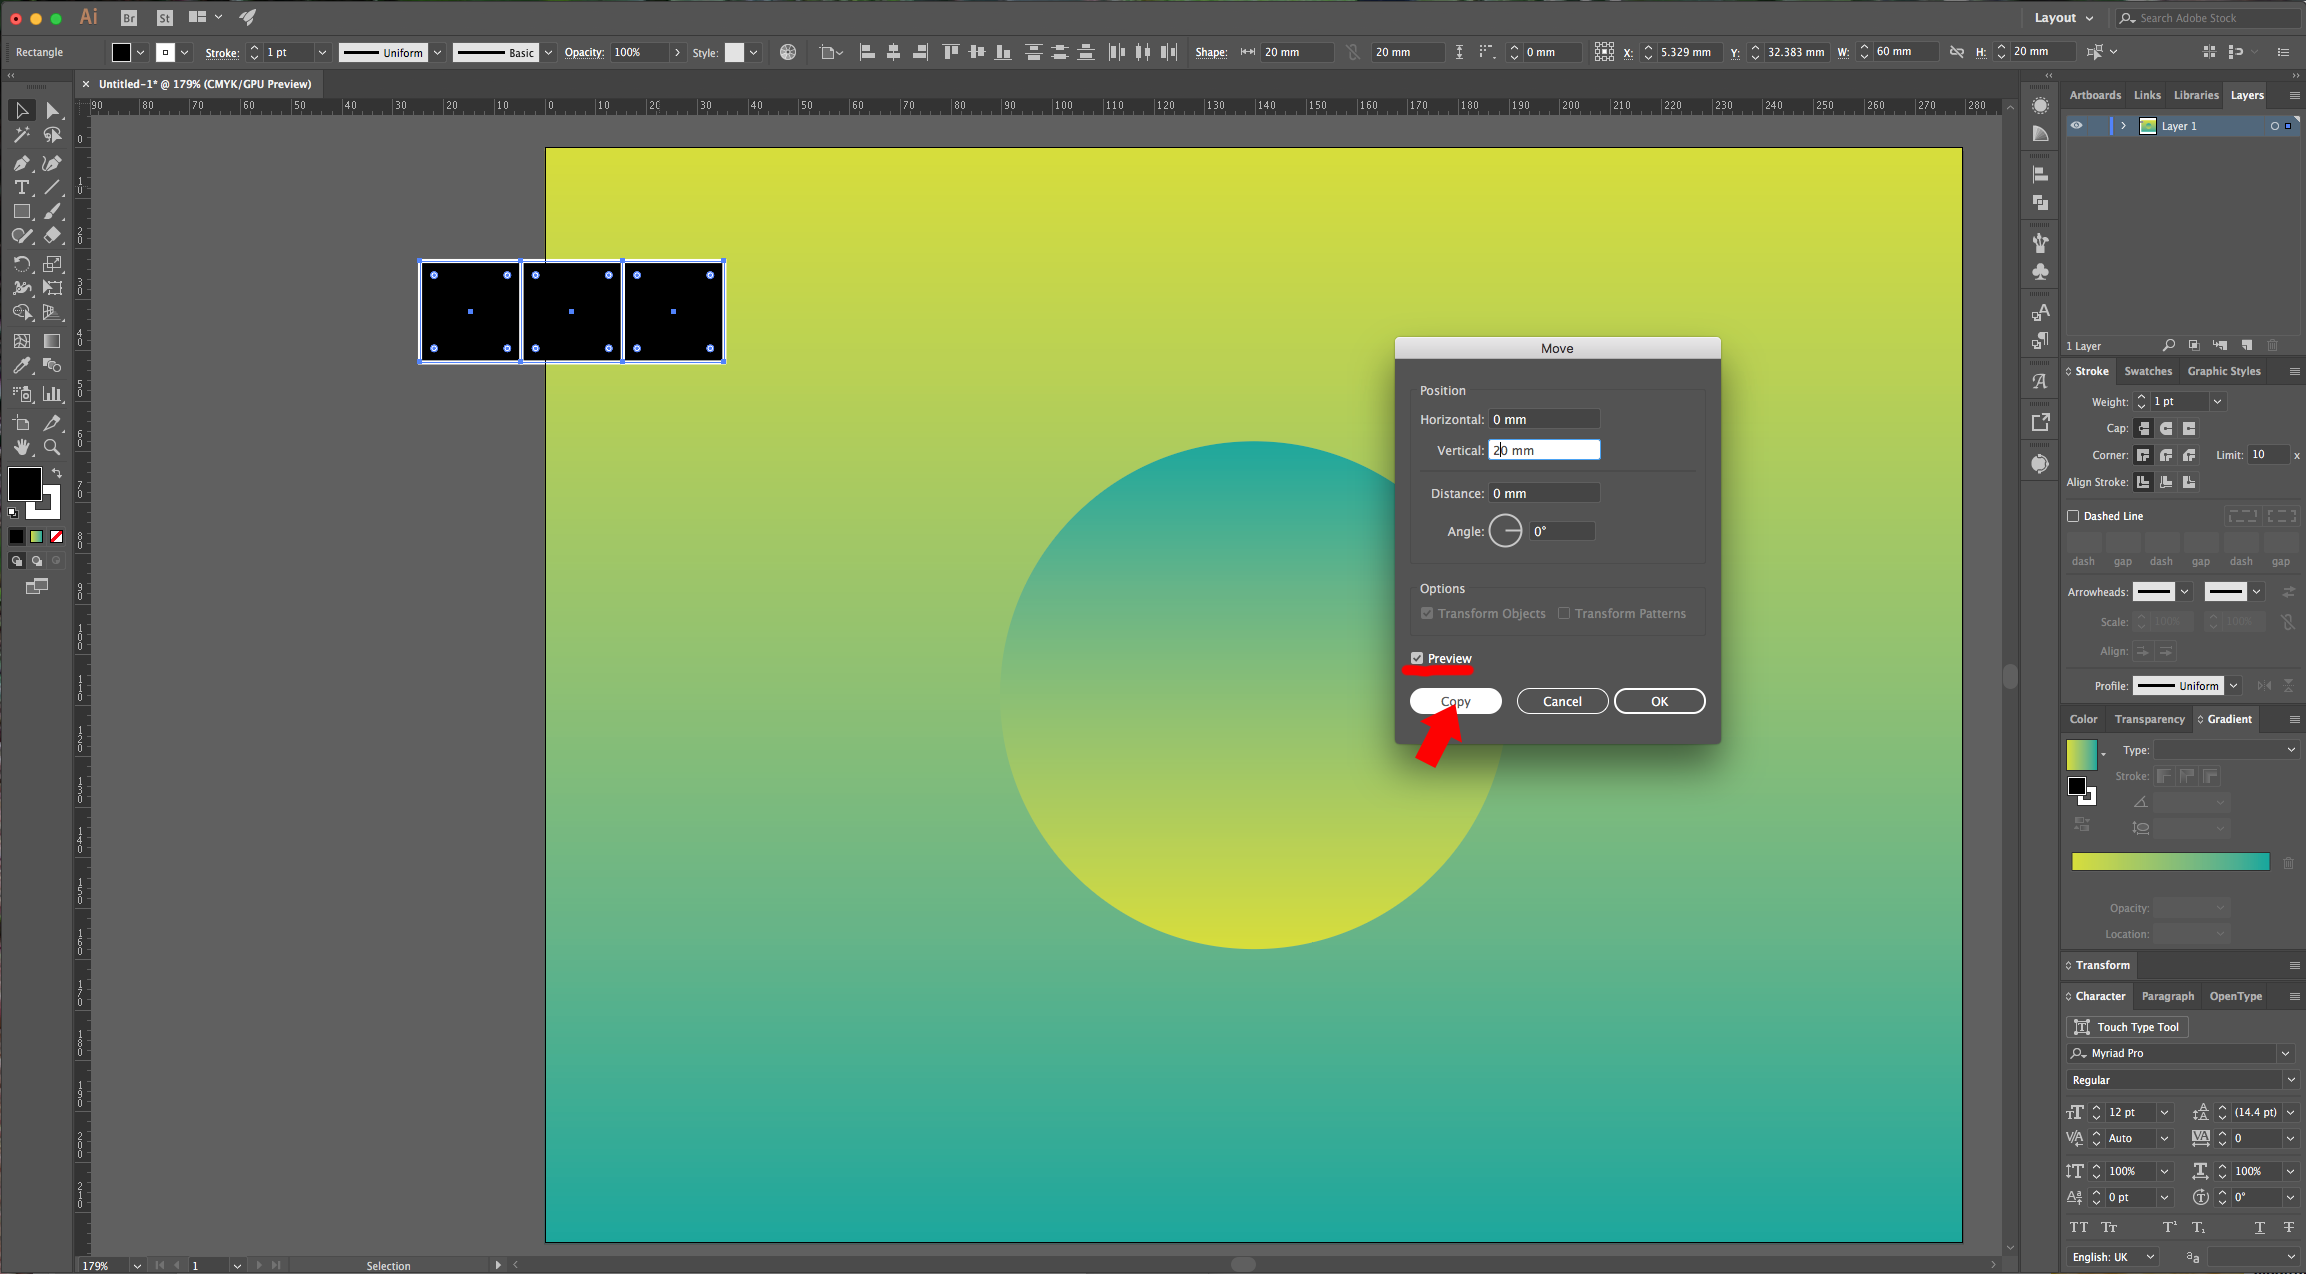
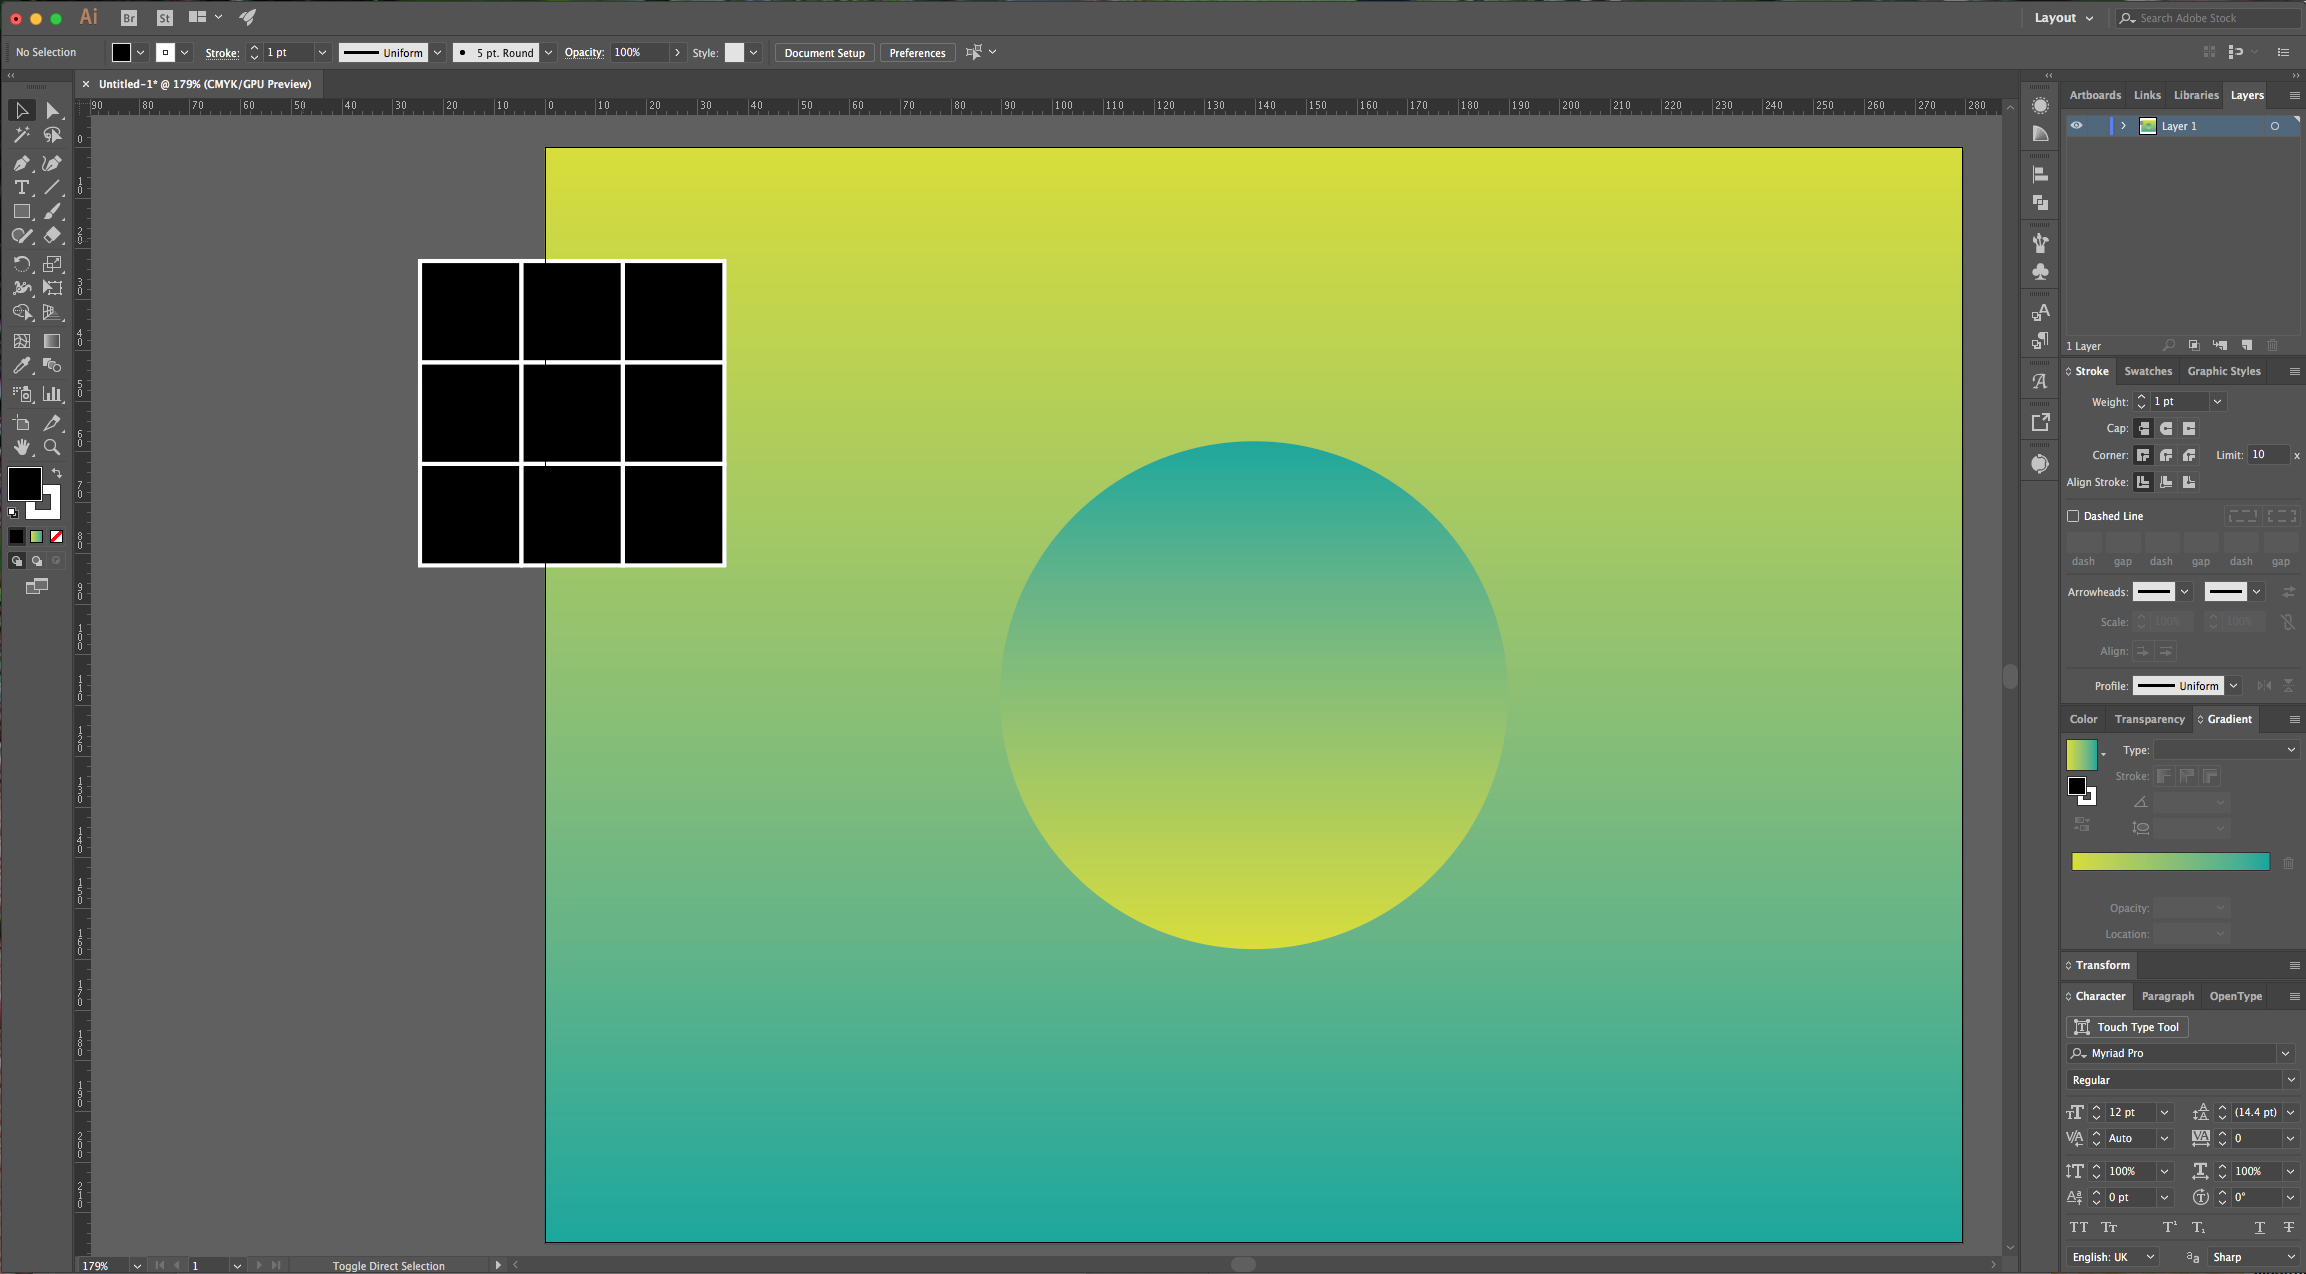
9 - Select your squares and repeat the “Move” command but this time input the 20 mm in the “Vertical” value box. Click “Copy” and then repeat.
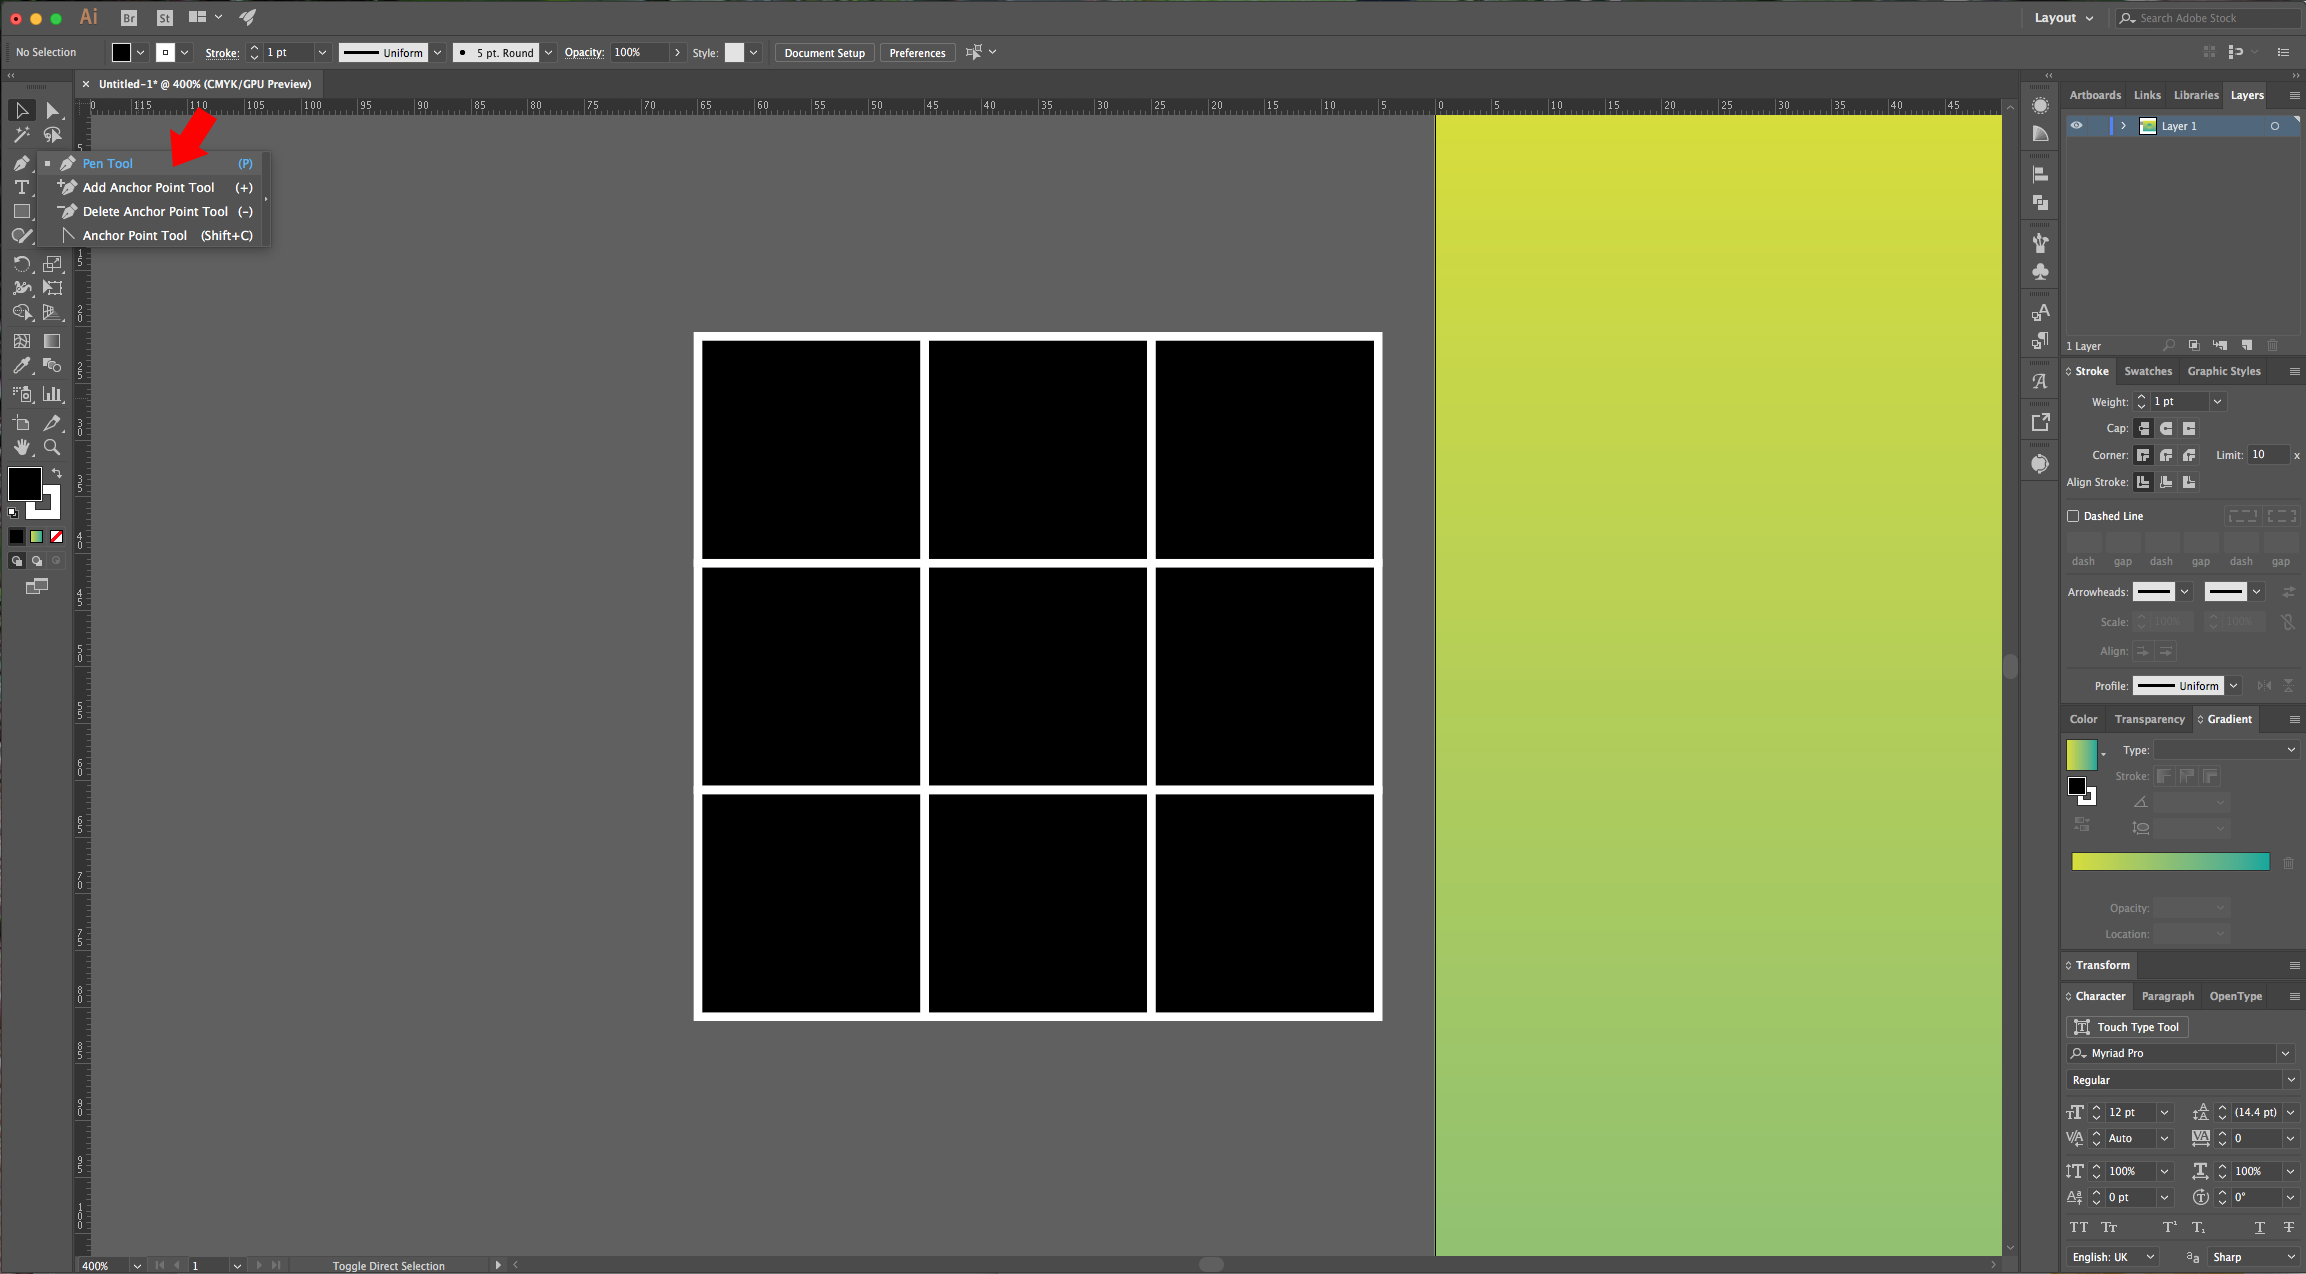
10 - Select the “Pen Tool” (P) and holding the “Shift” key to let you get your lines at an angle, draw a rectangle that has its small faces inside the top-left and bottom-right corners of the square you created. Then draw a line that goes from the bottom-right corner to the top-left corner of your square and click enter to close it. Make sure you have “None” as “Fill” color.
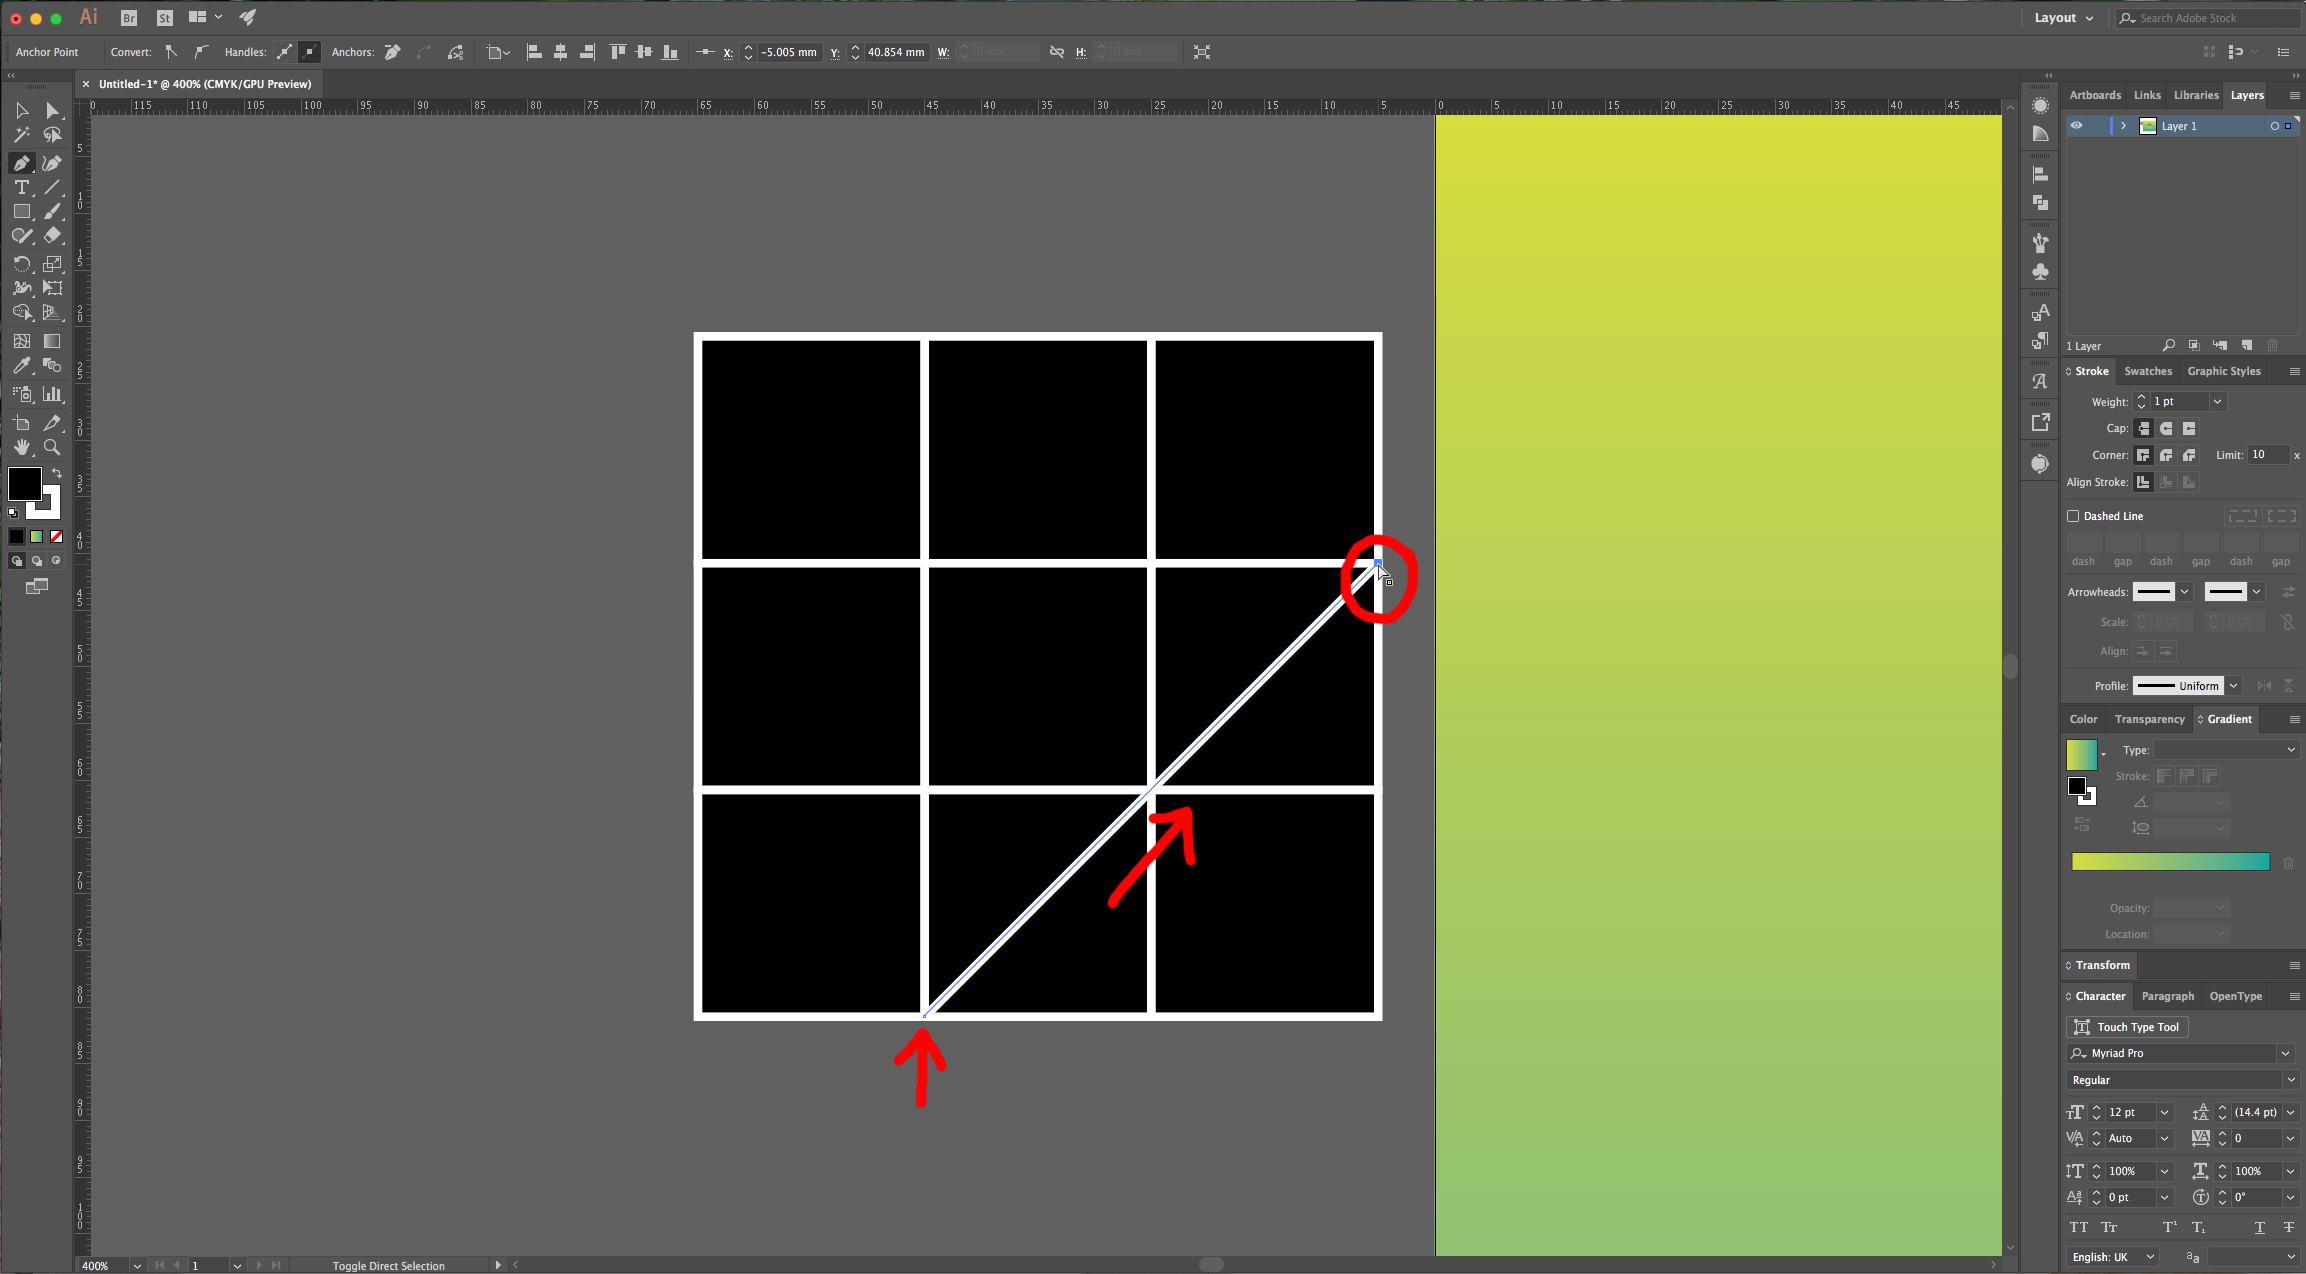
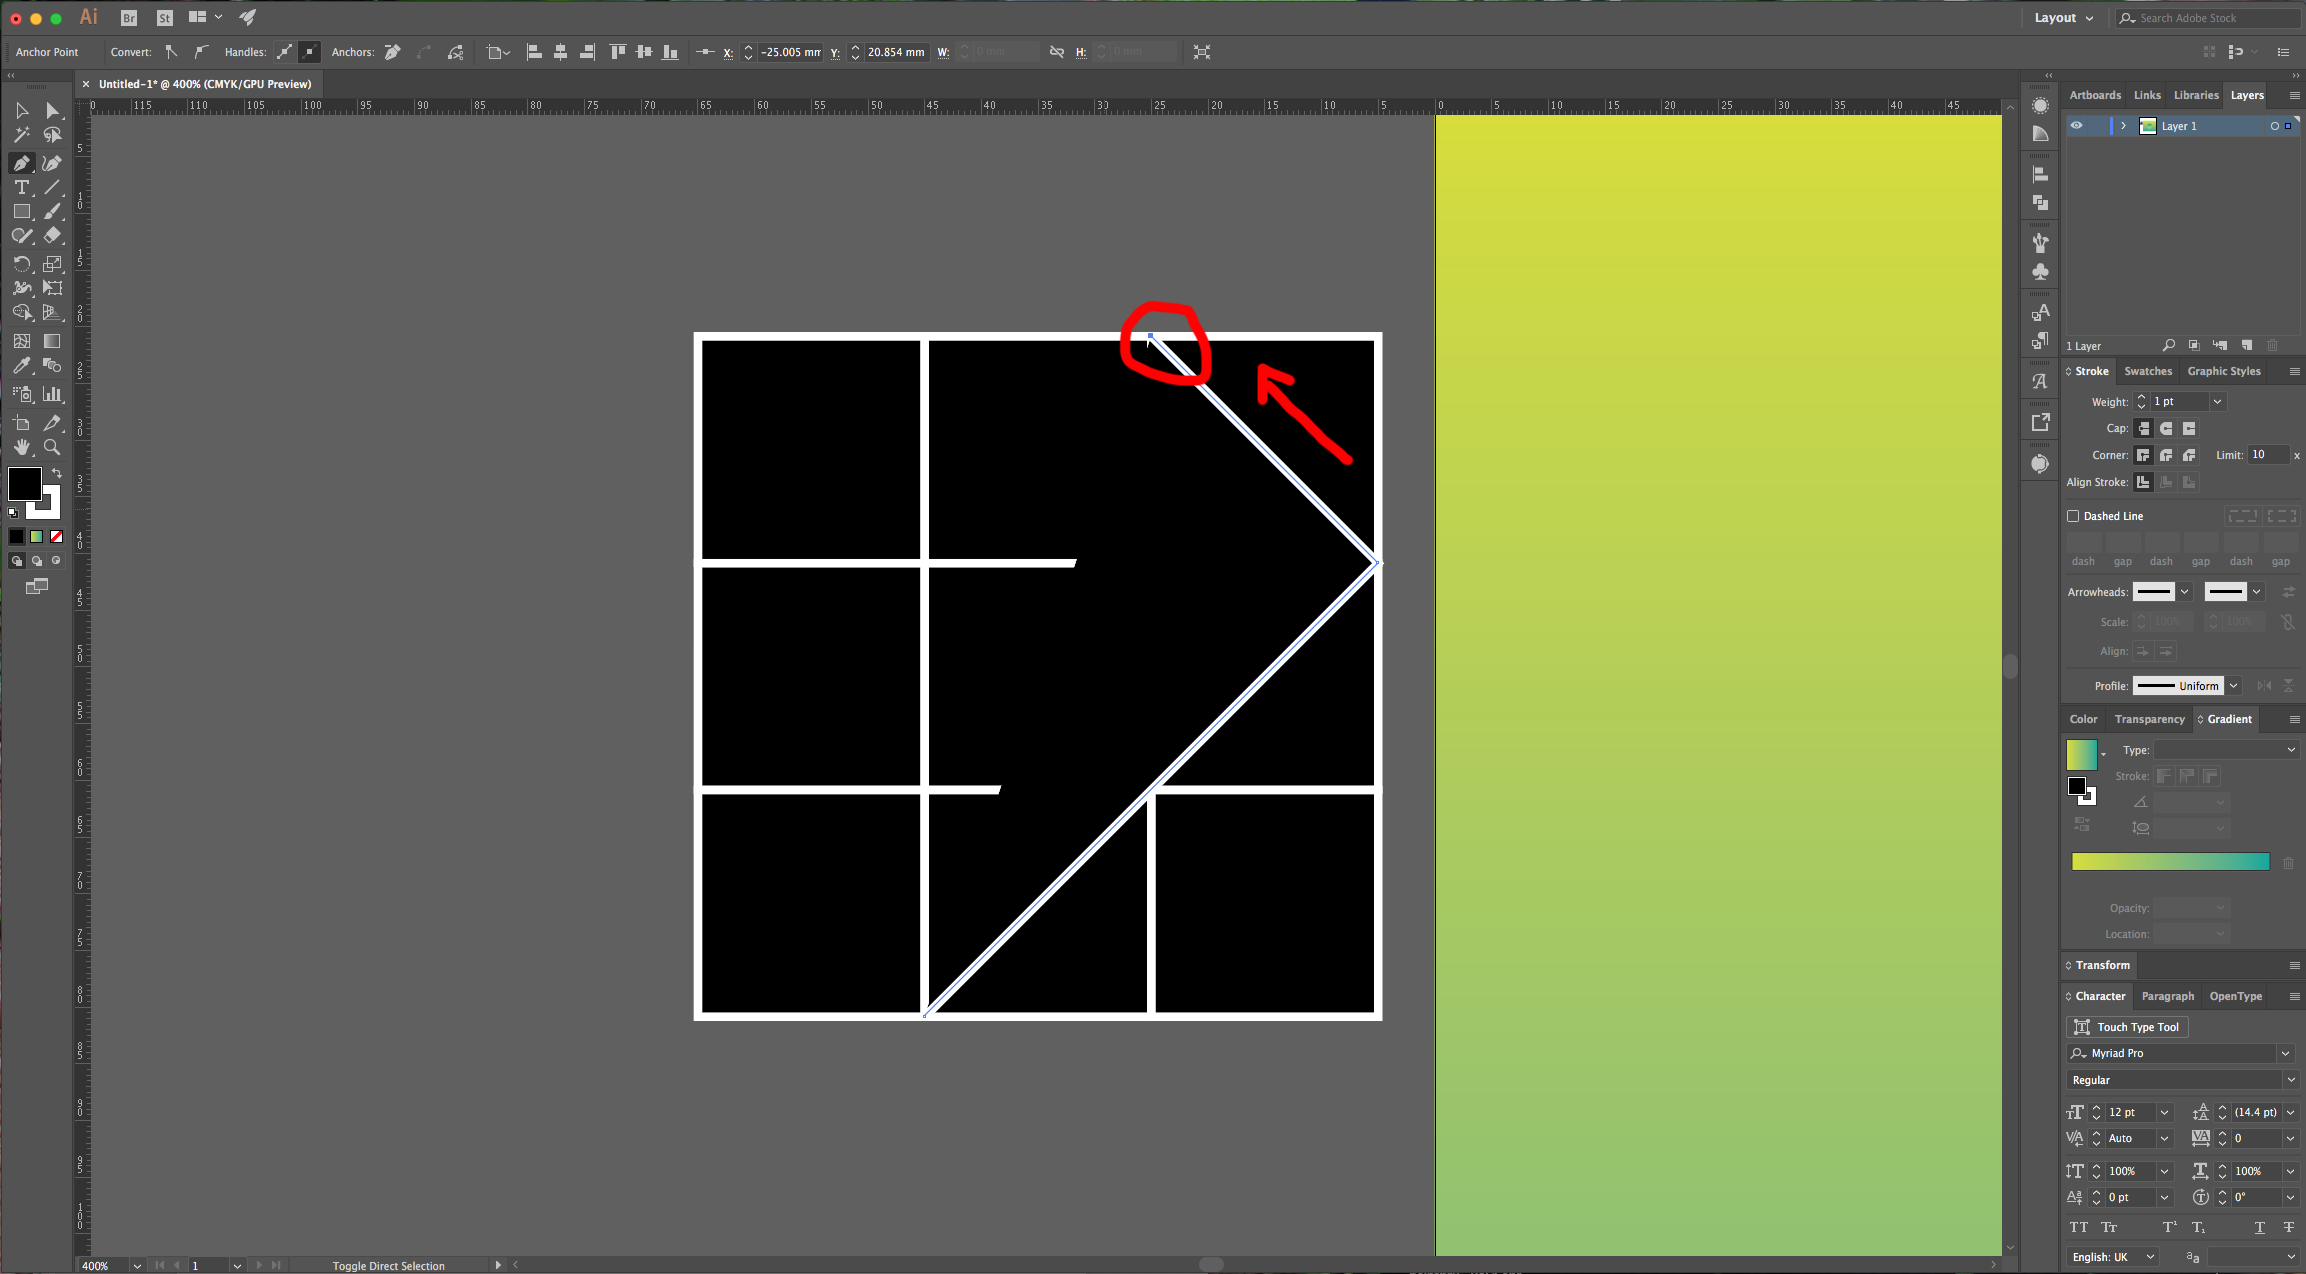
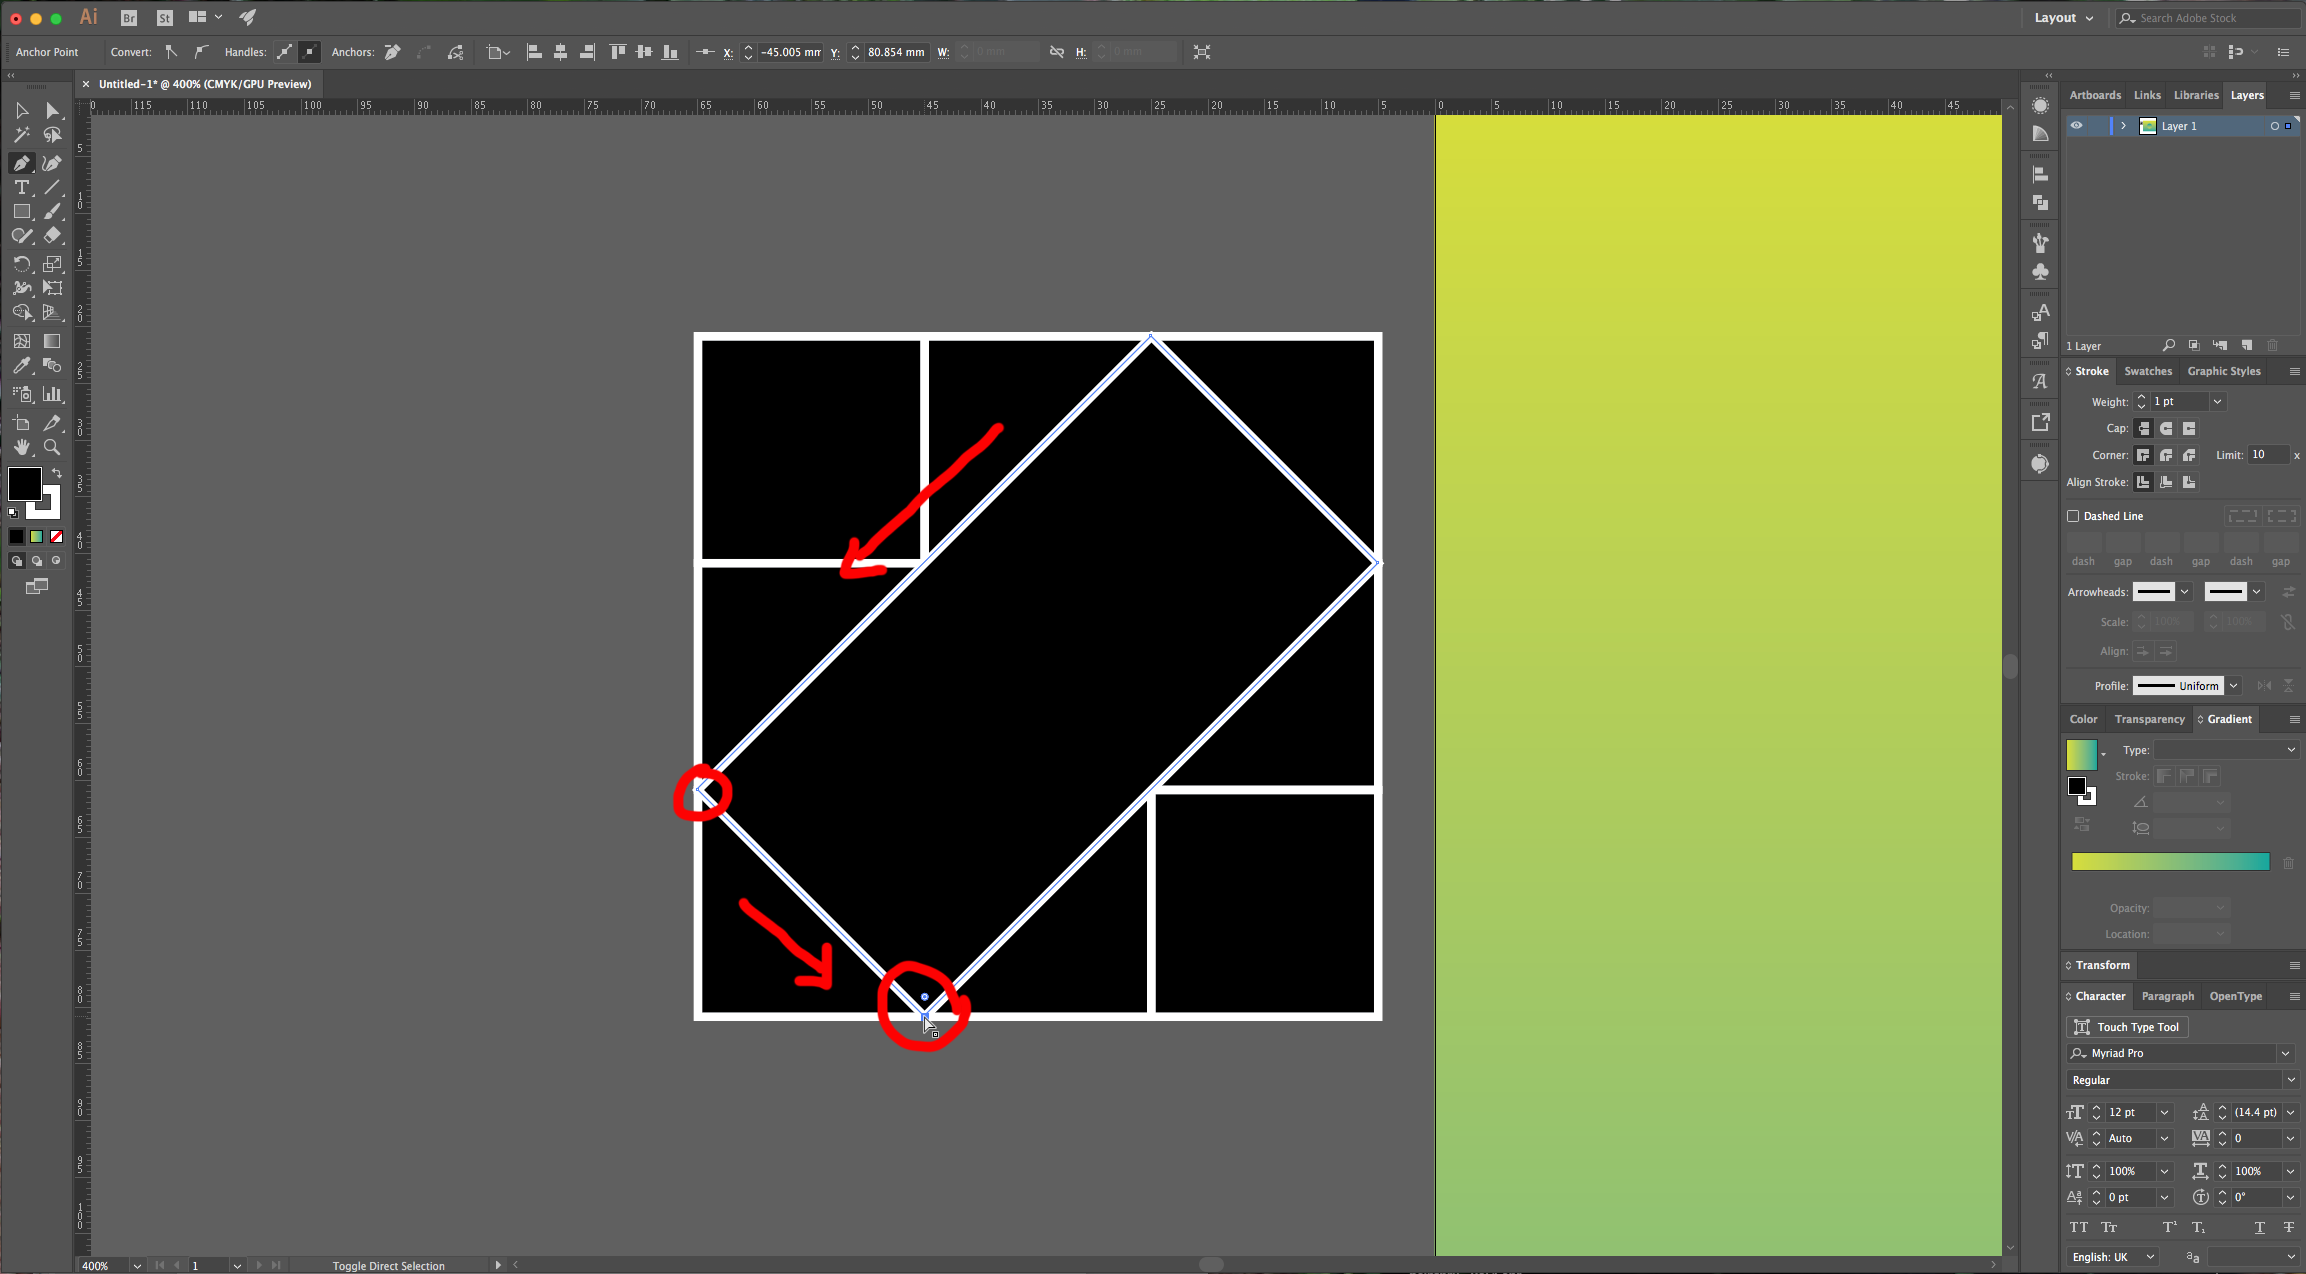
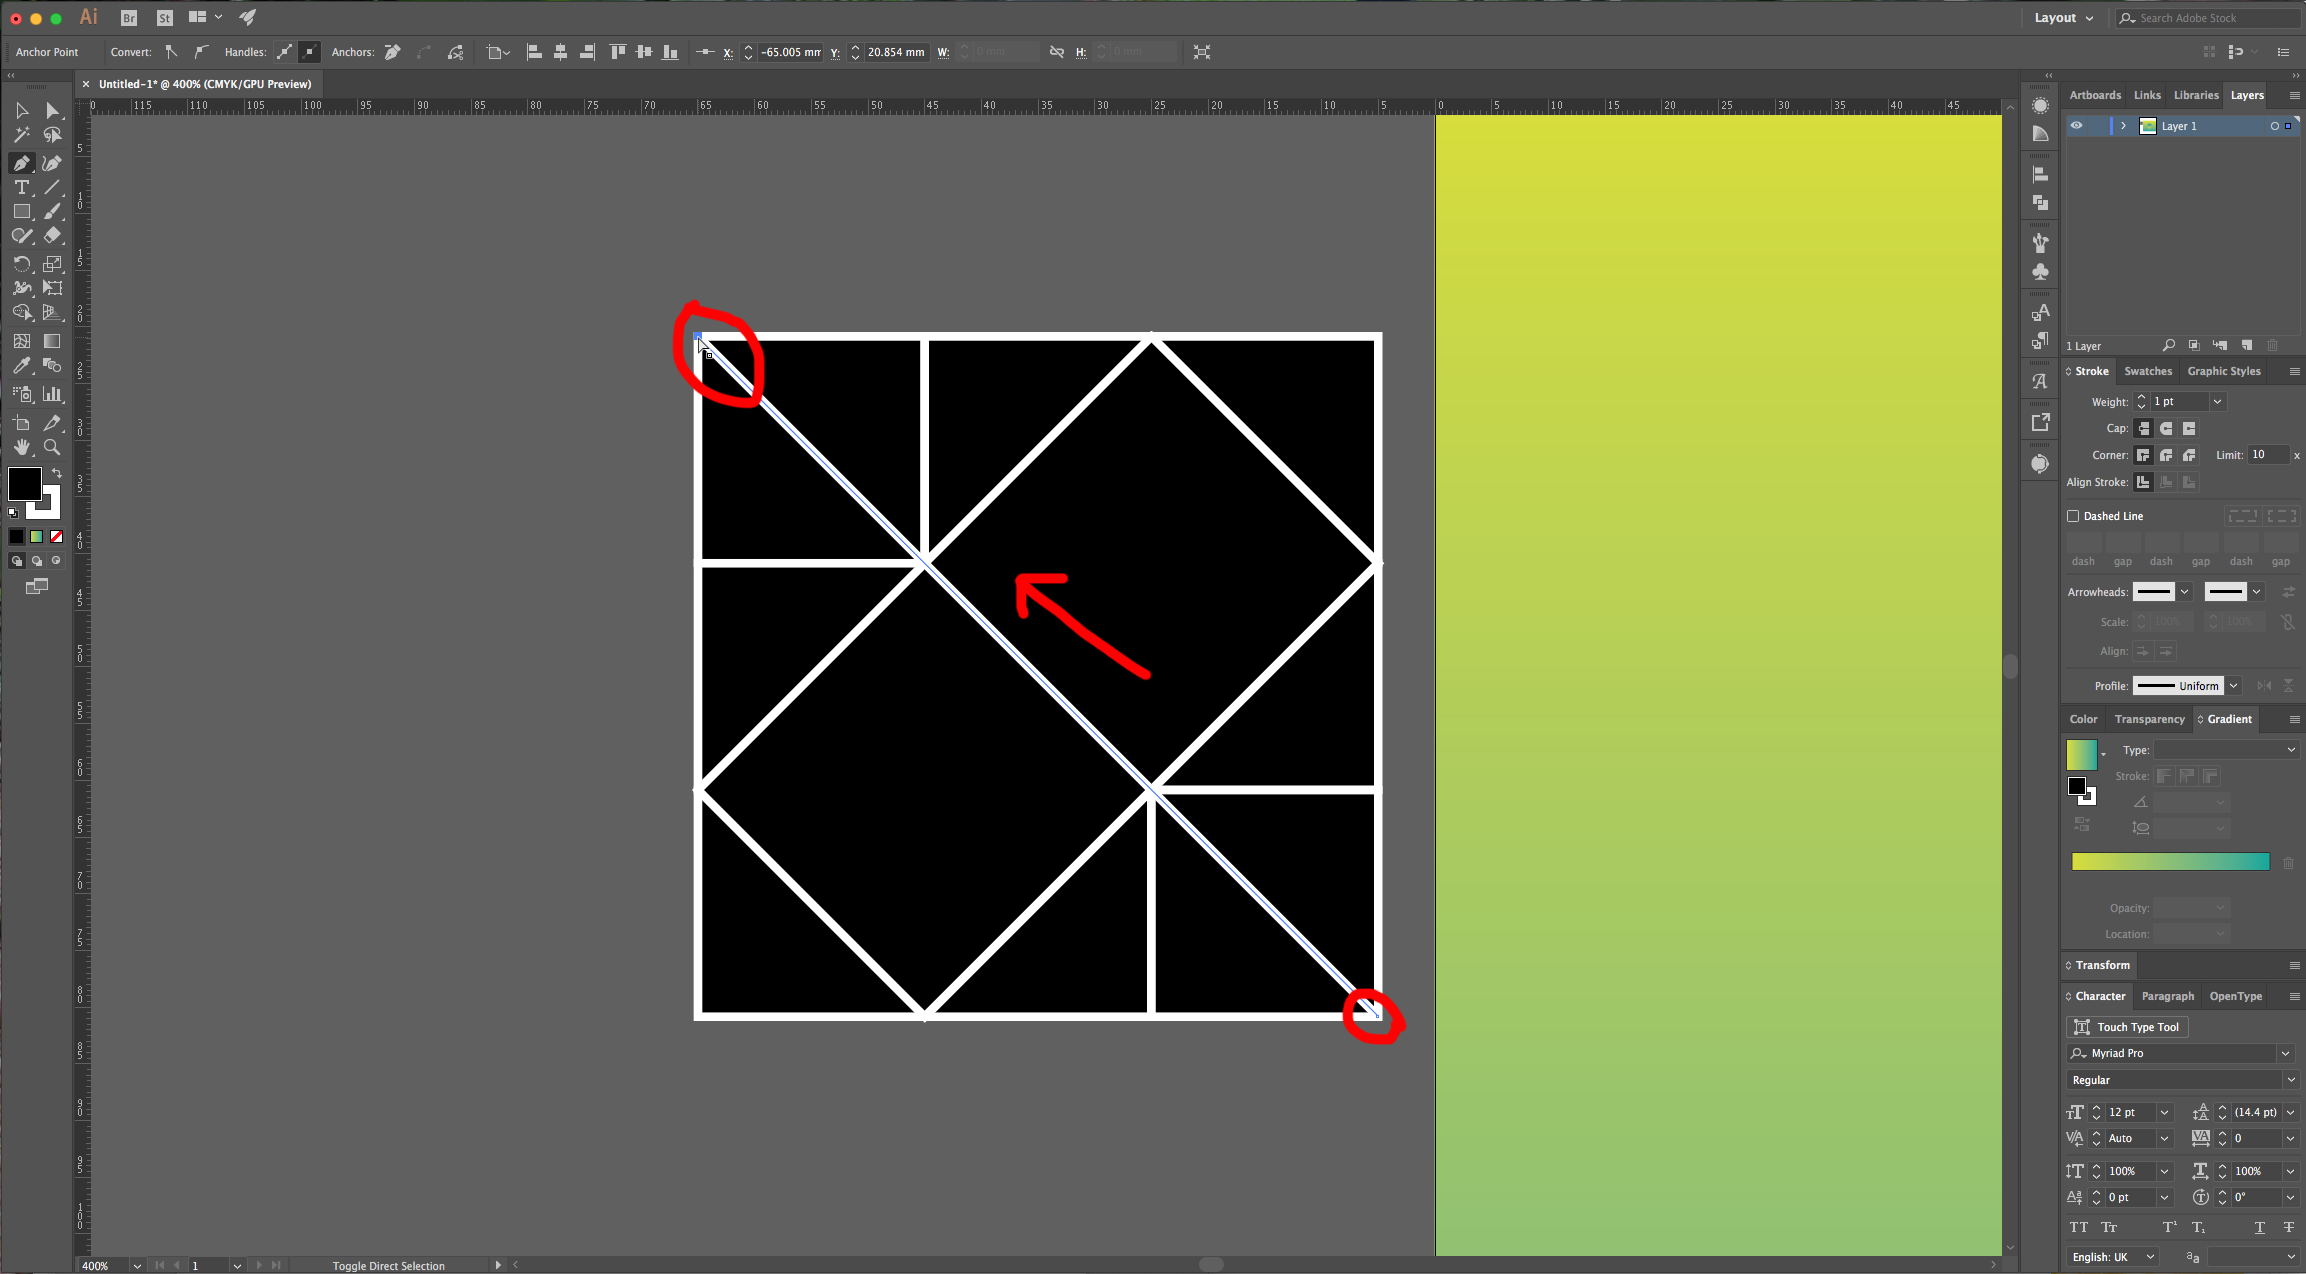
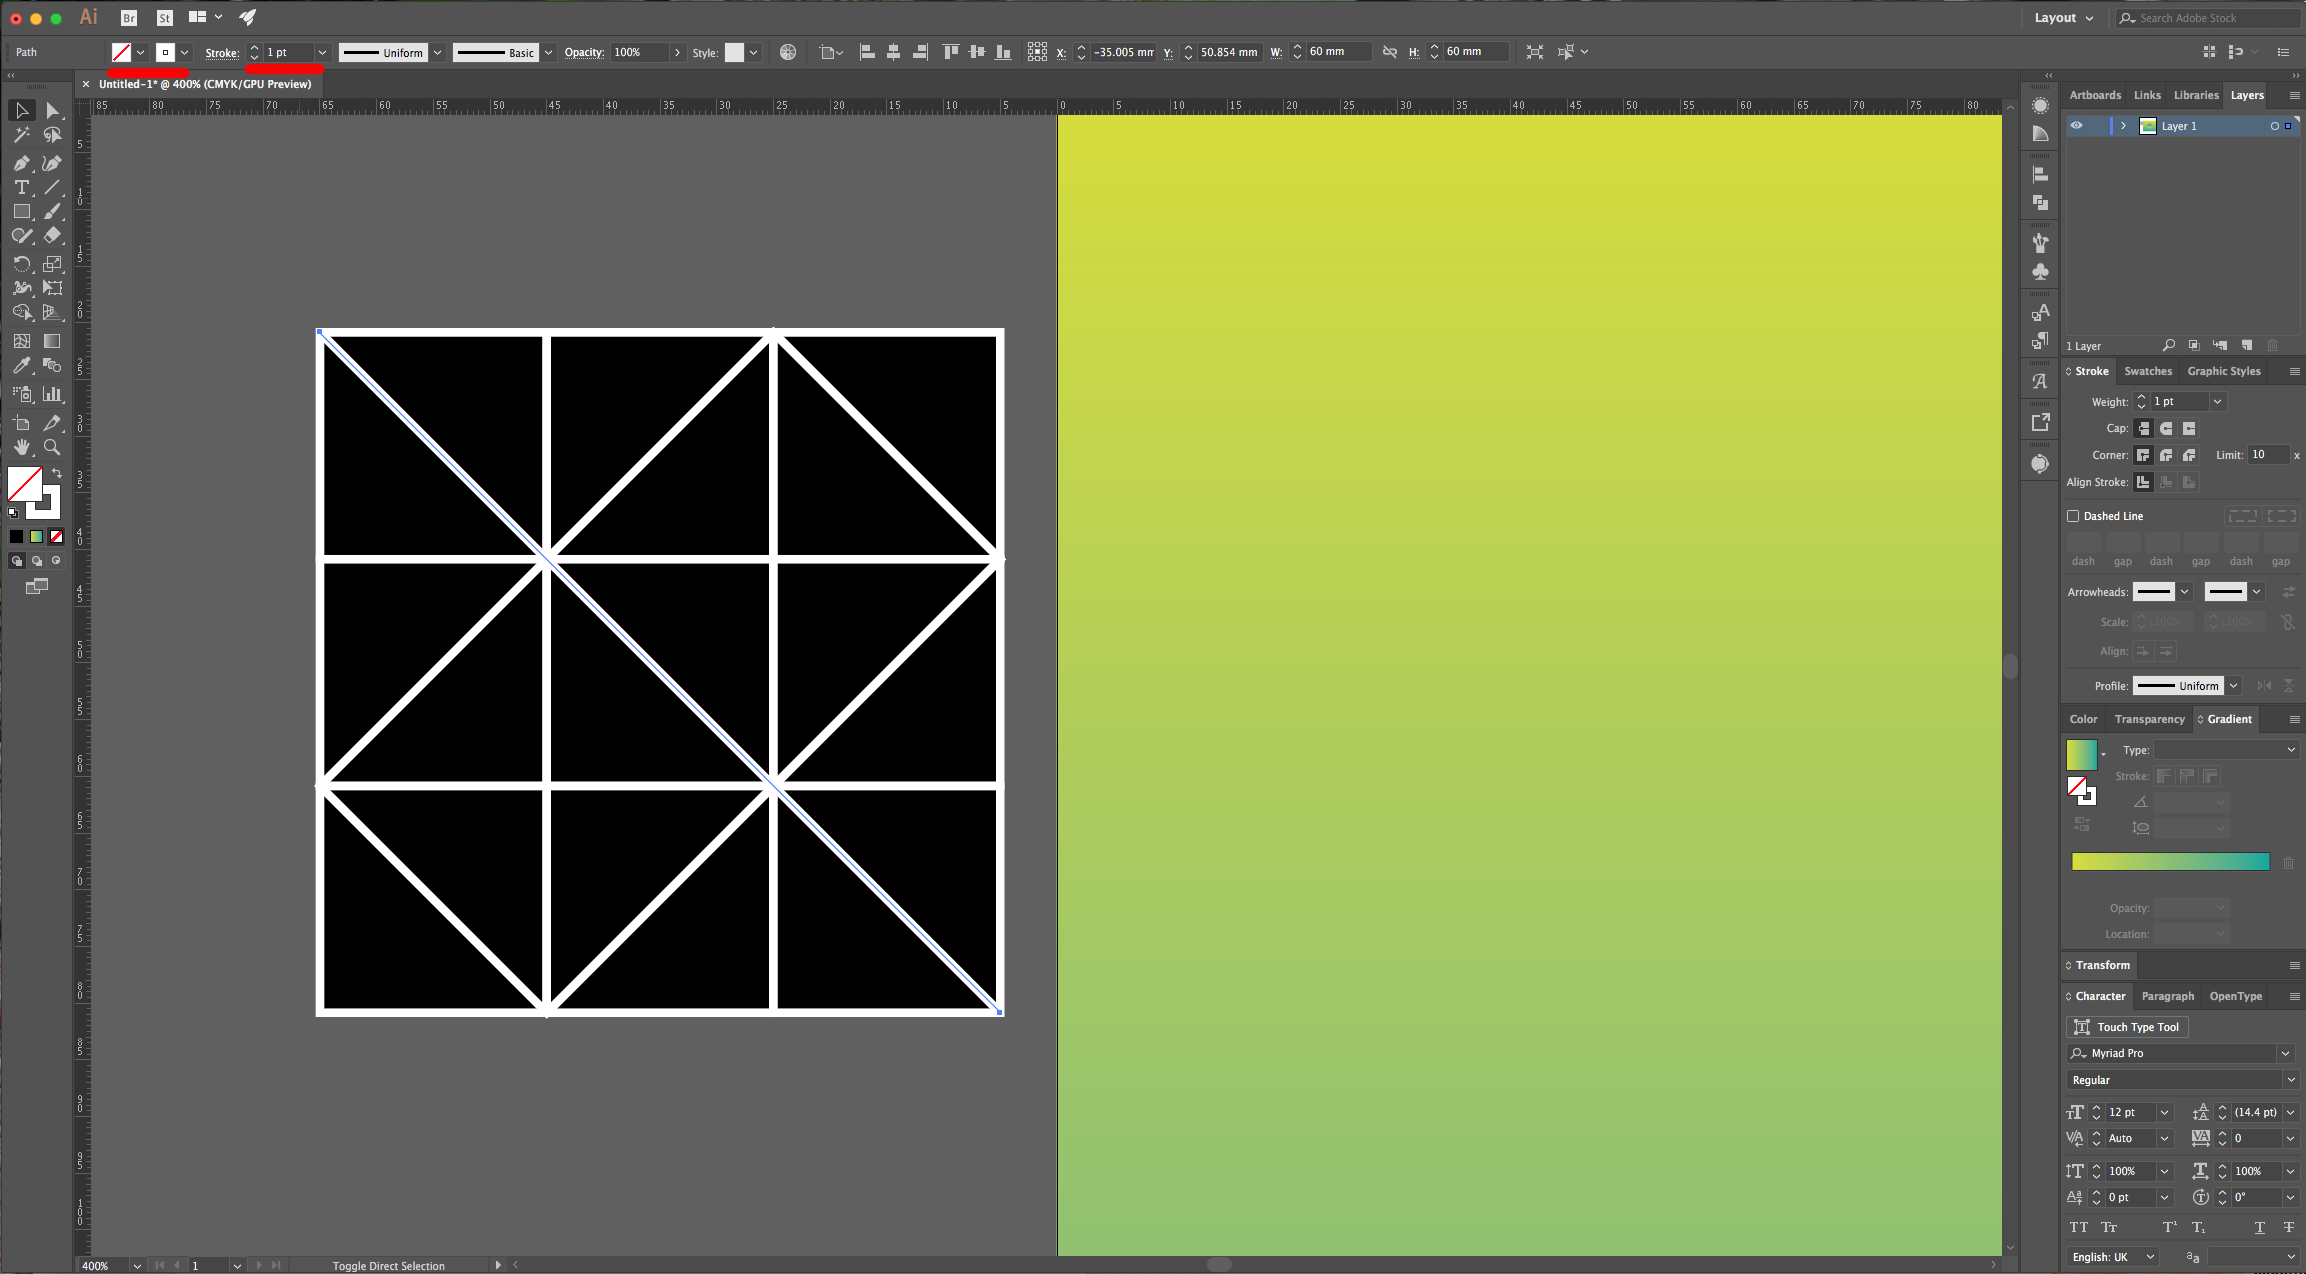
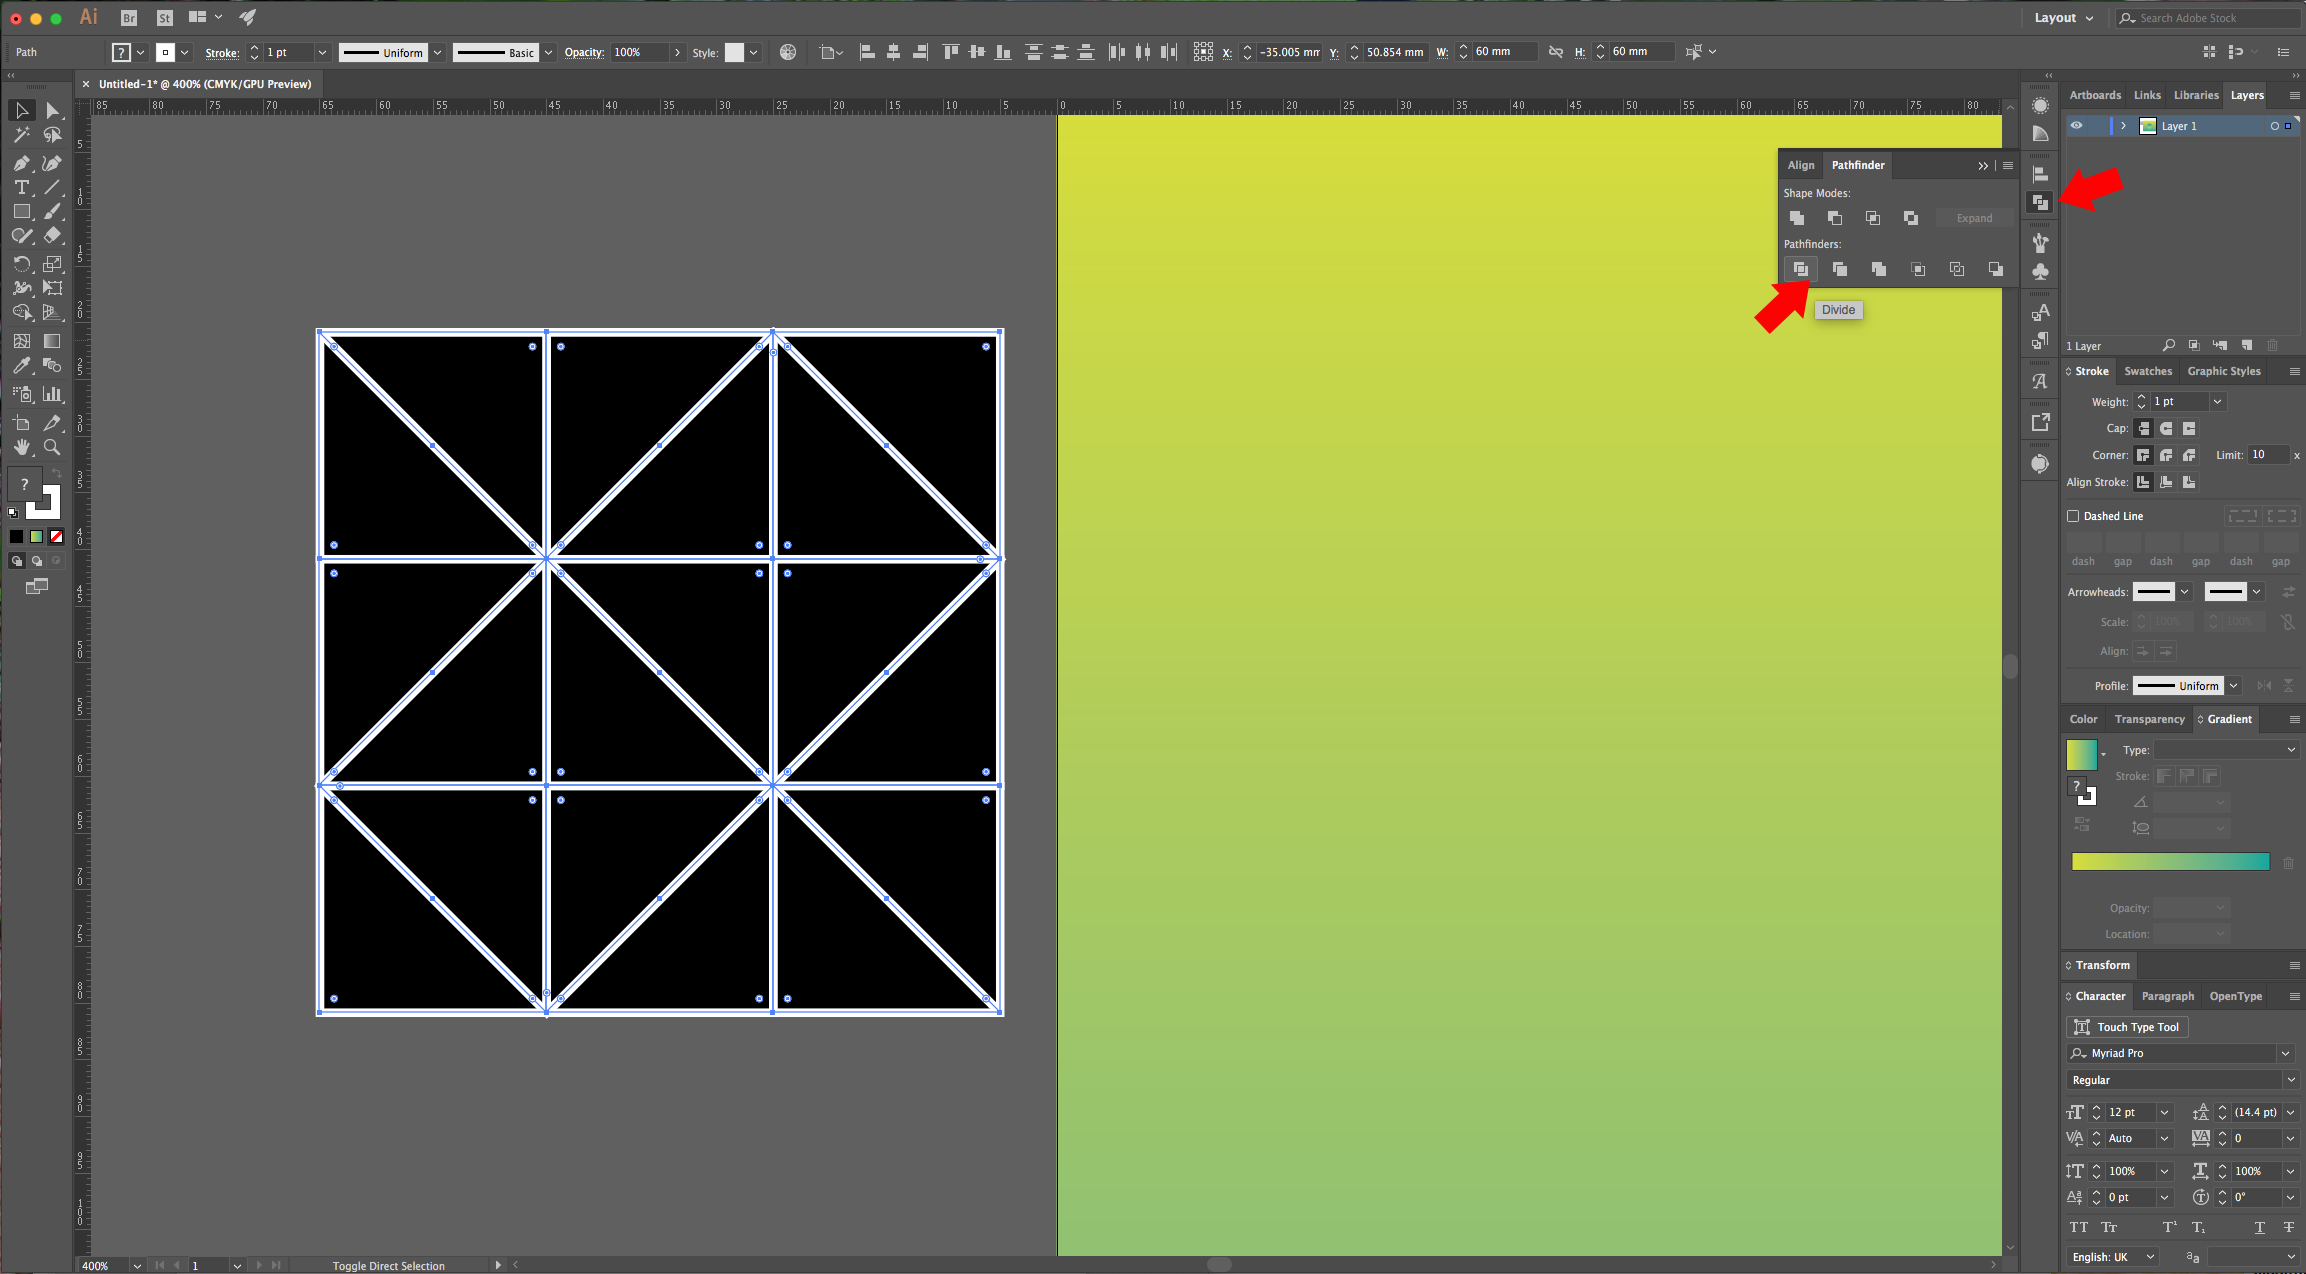
11 - Select all your newly created shapes and in the “Pathfinder” Panel choose “Divide”. Then right-click on top of your shape and select “Ungroup”.
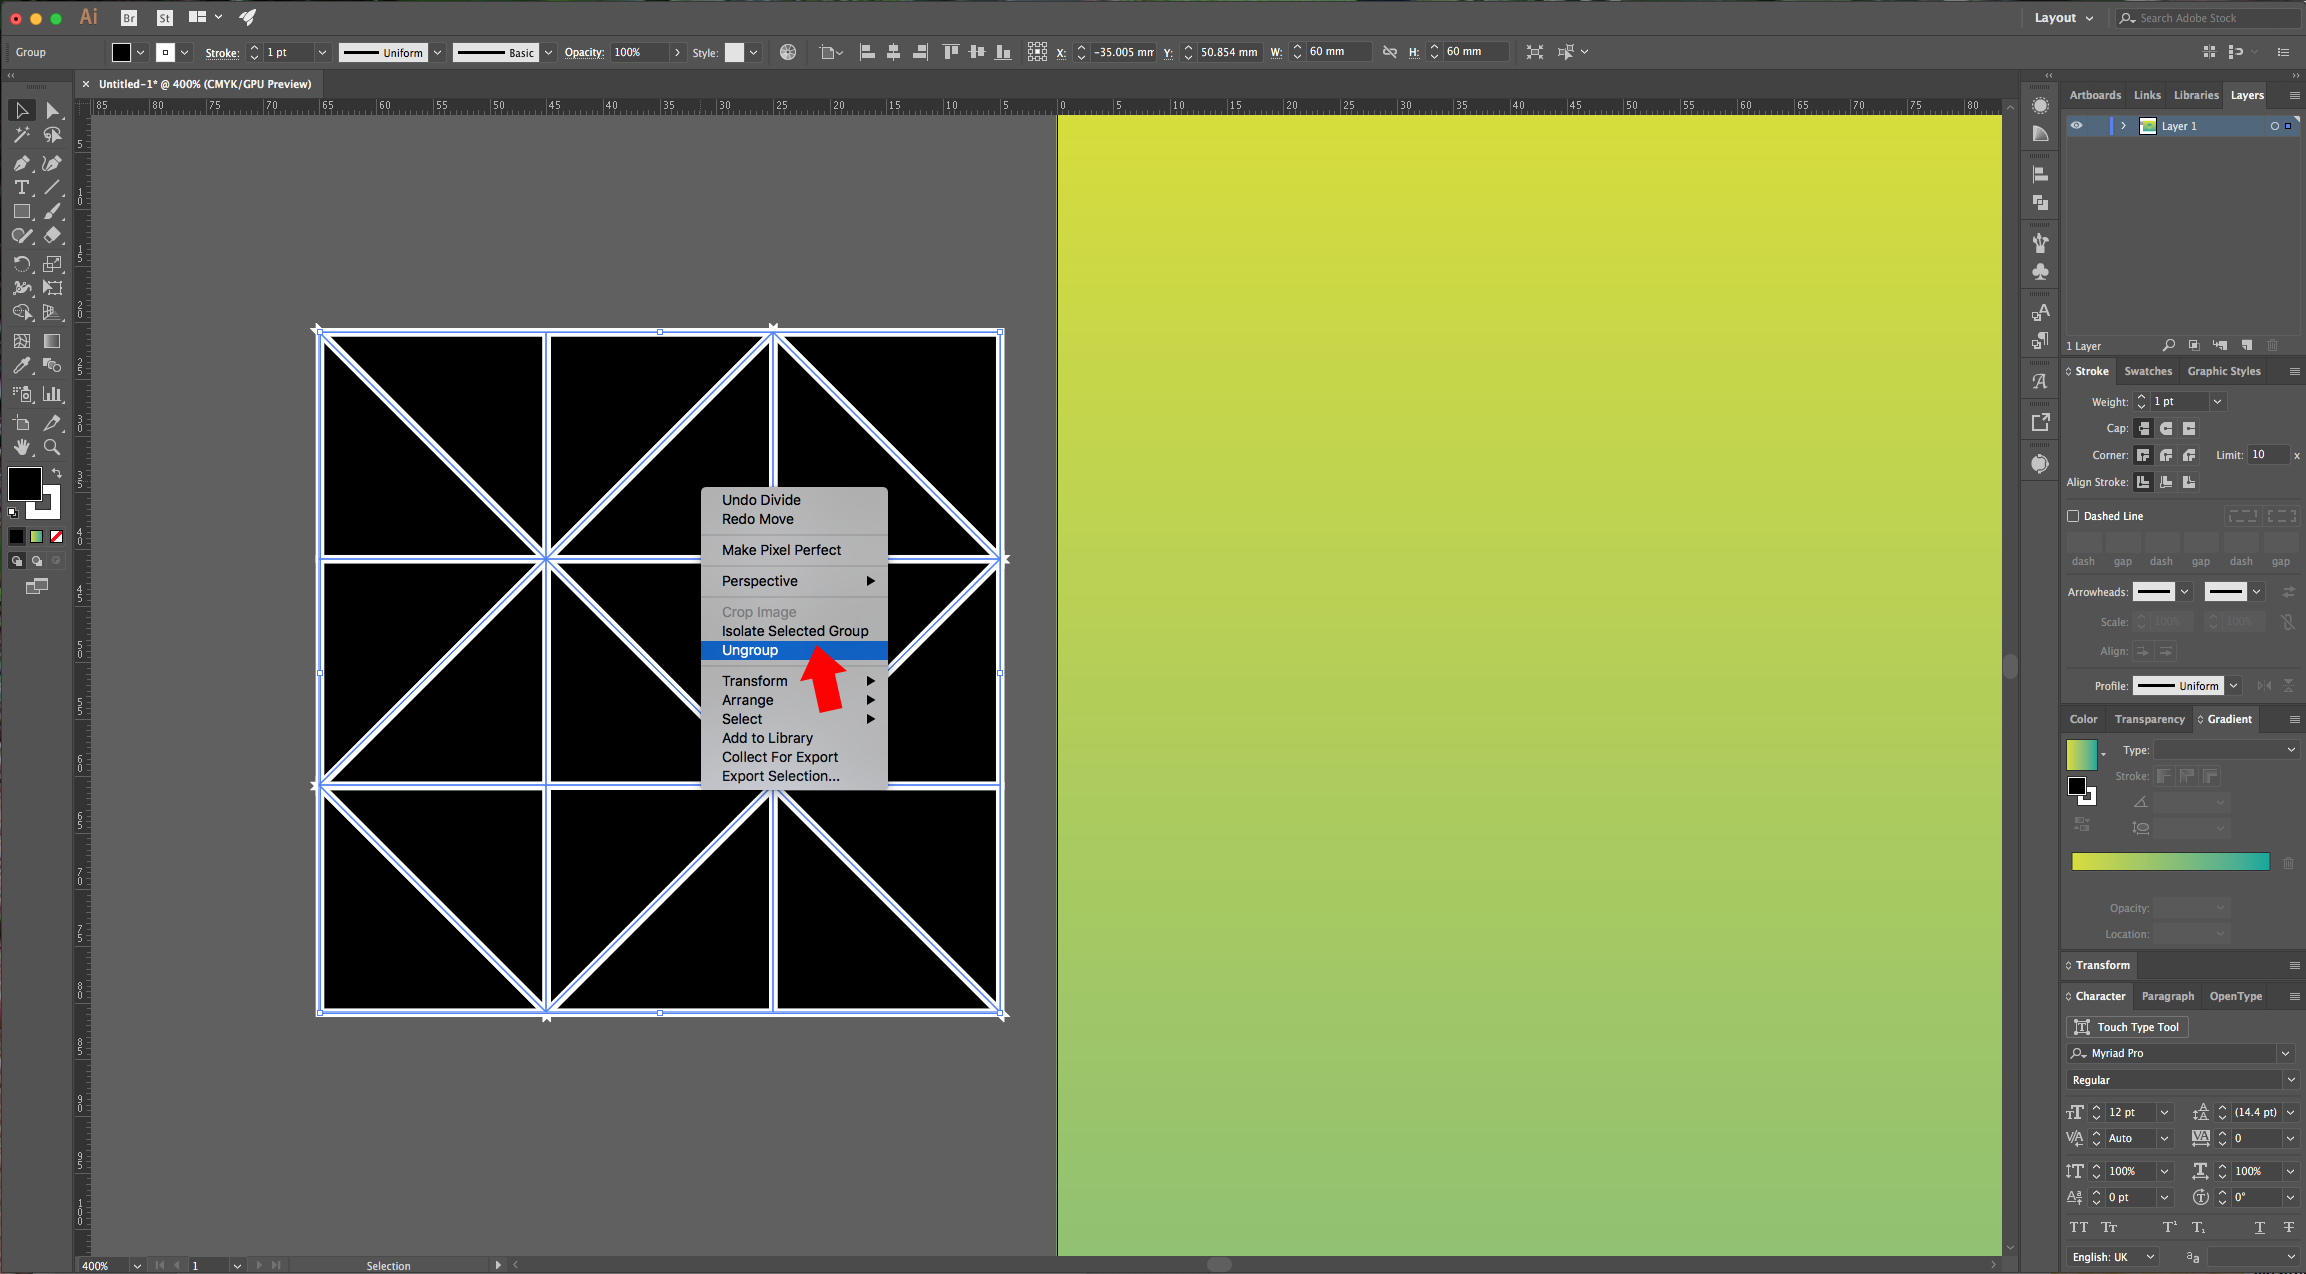
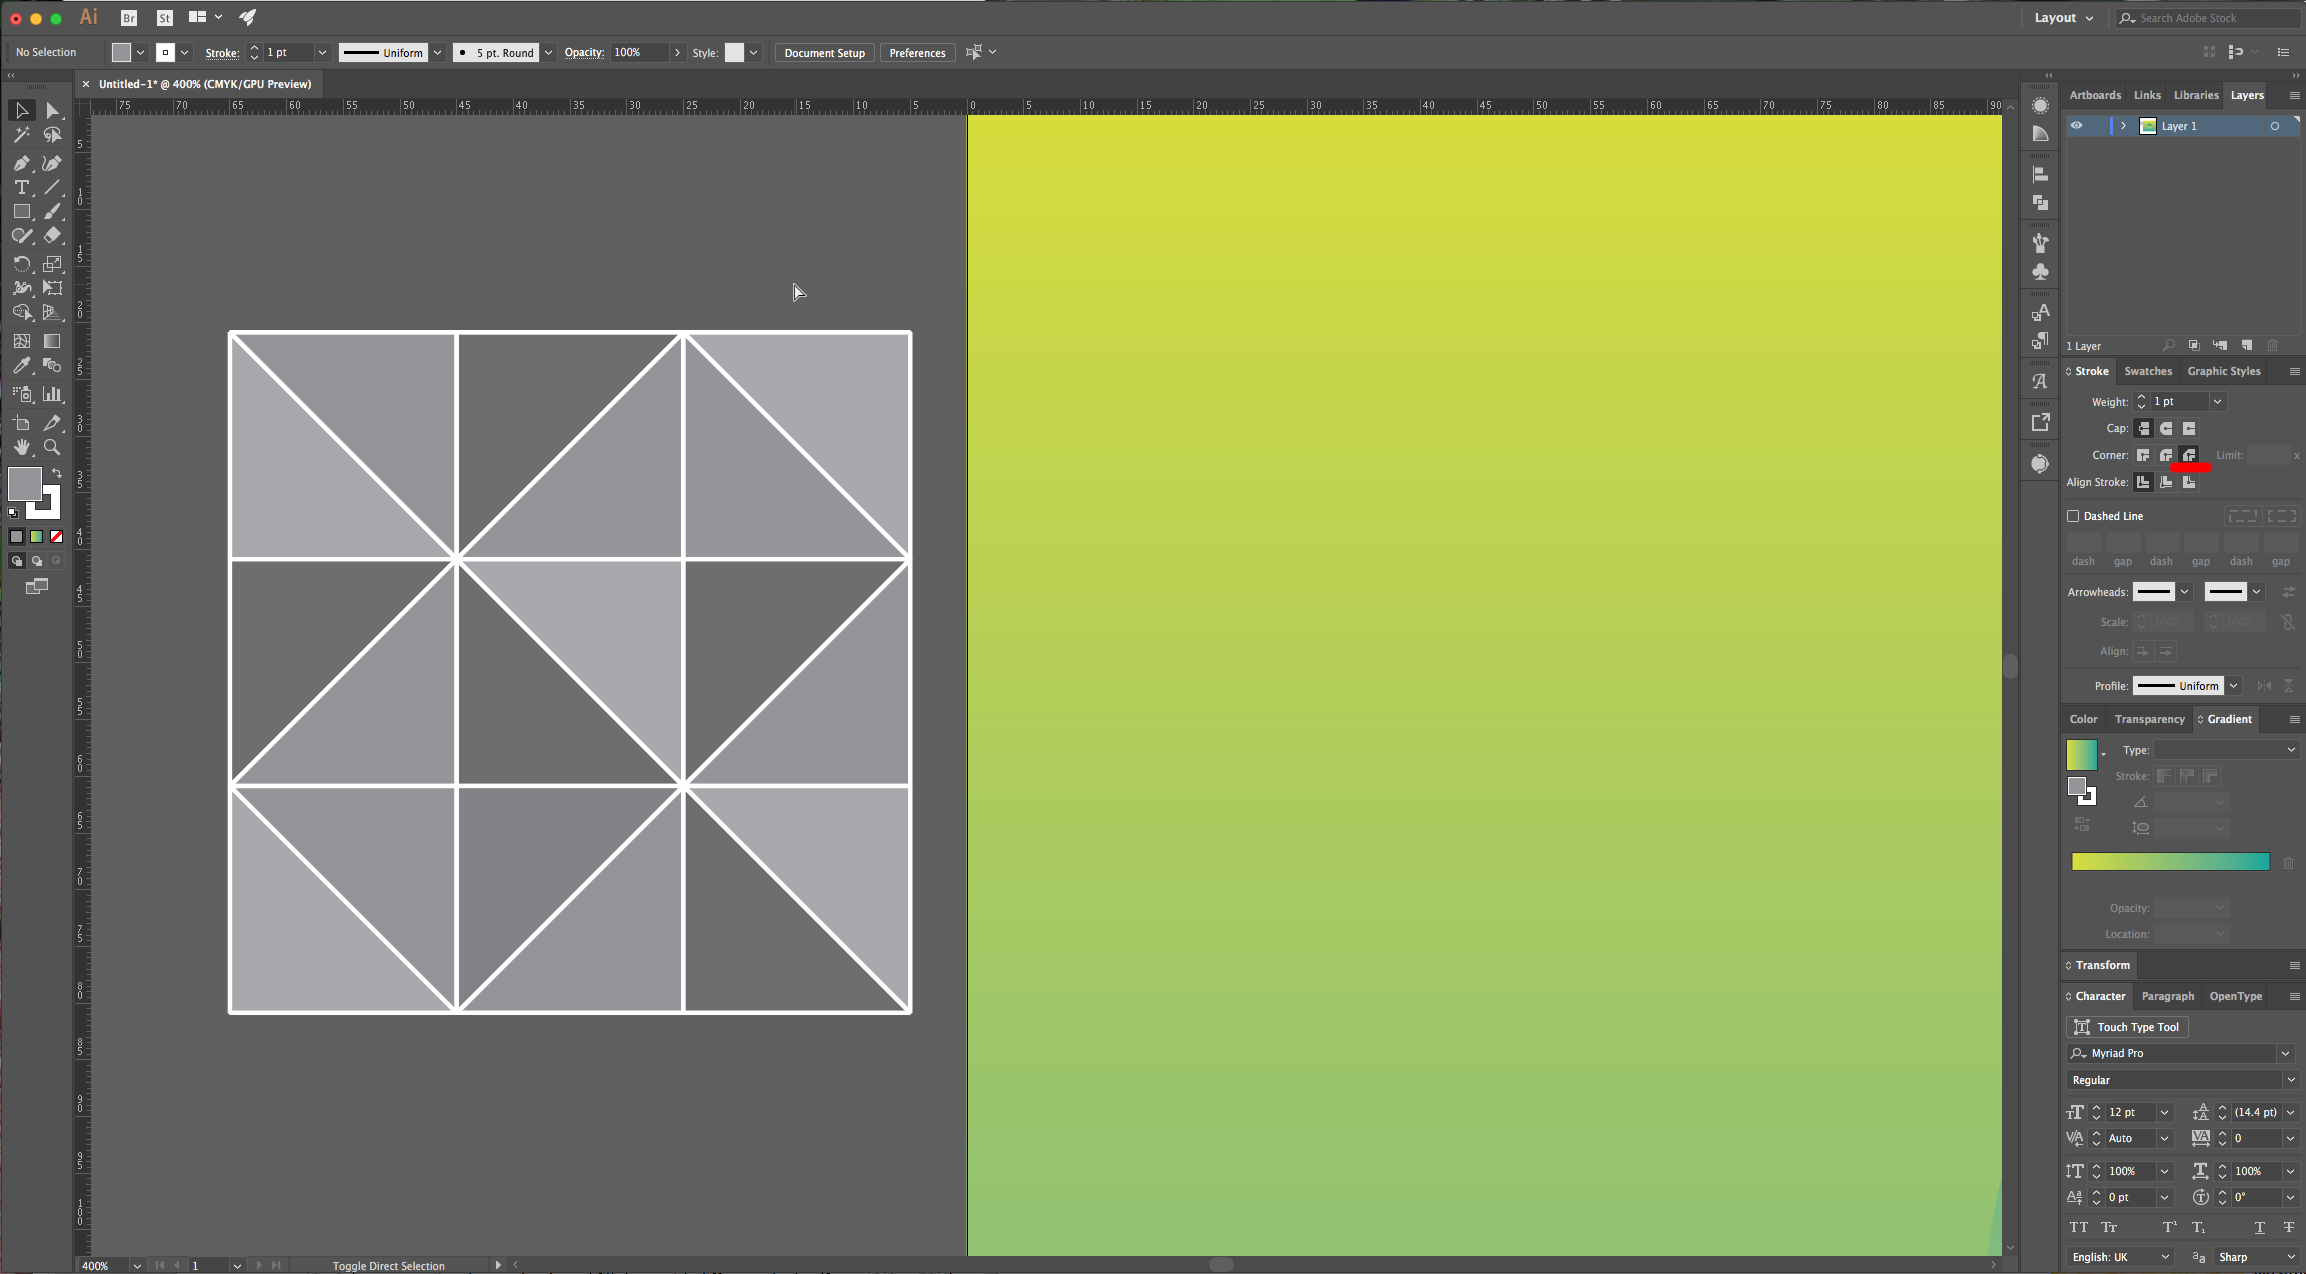
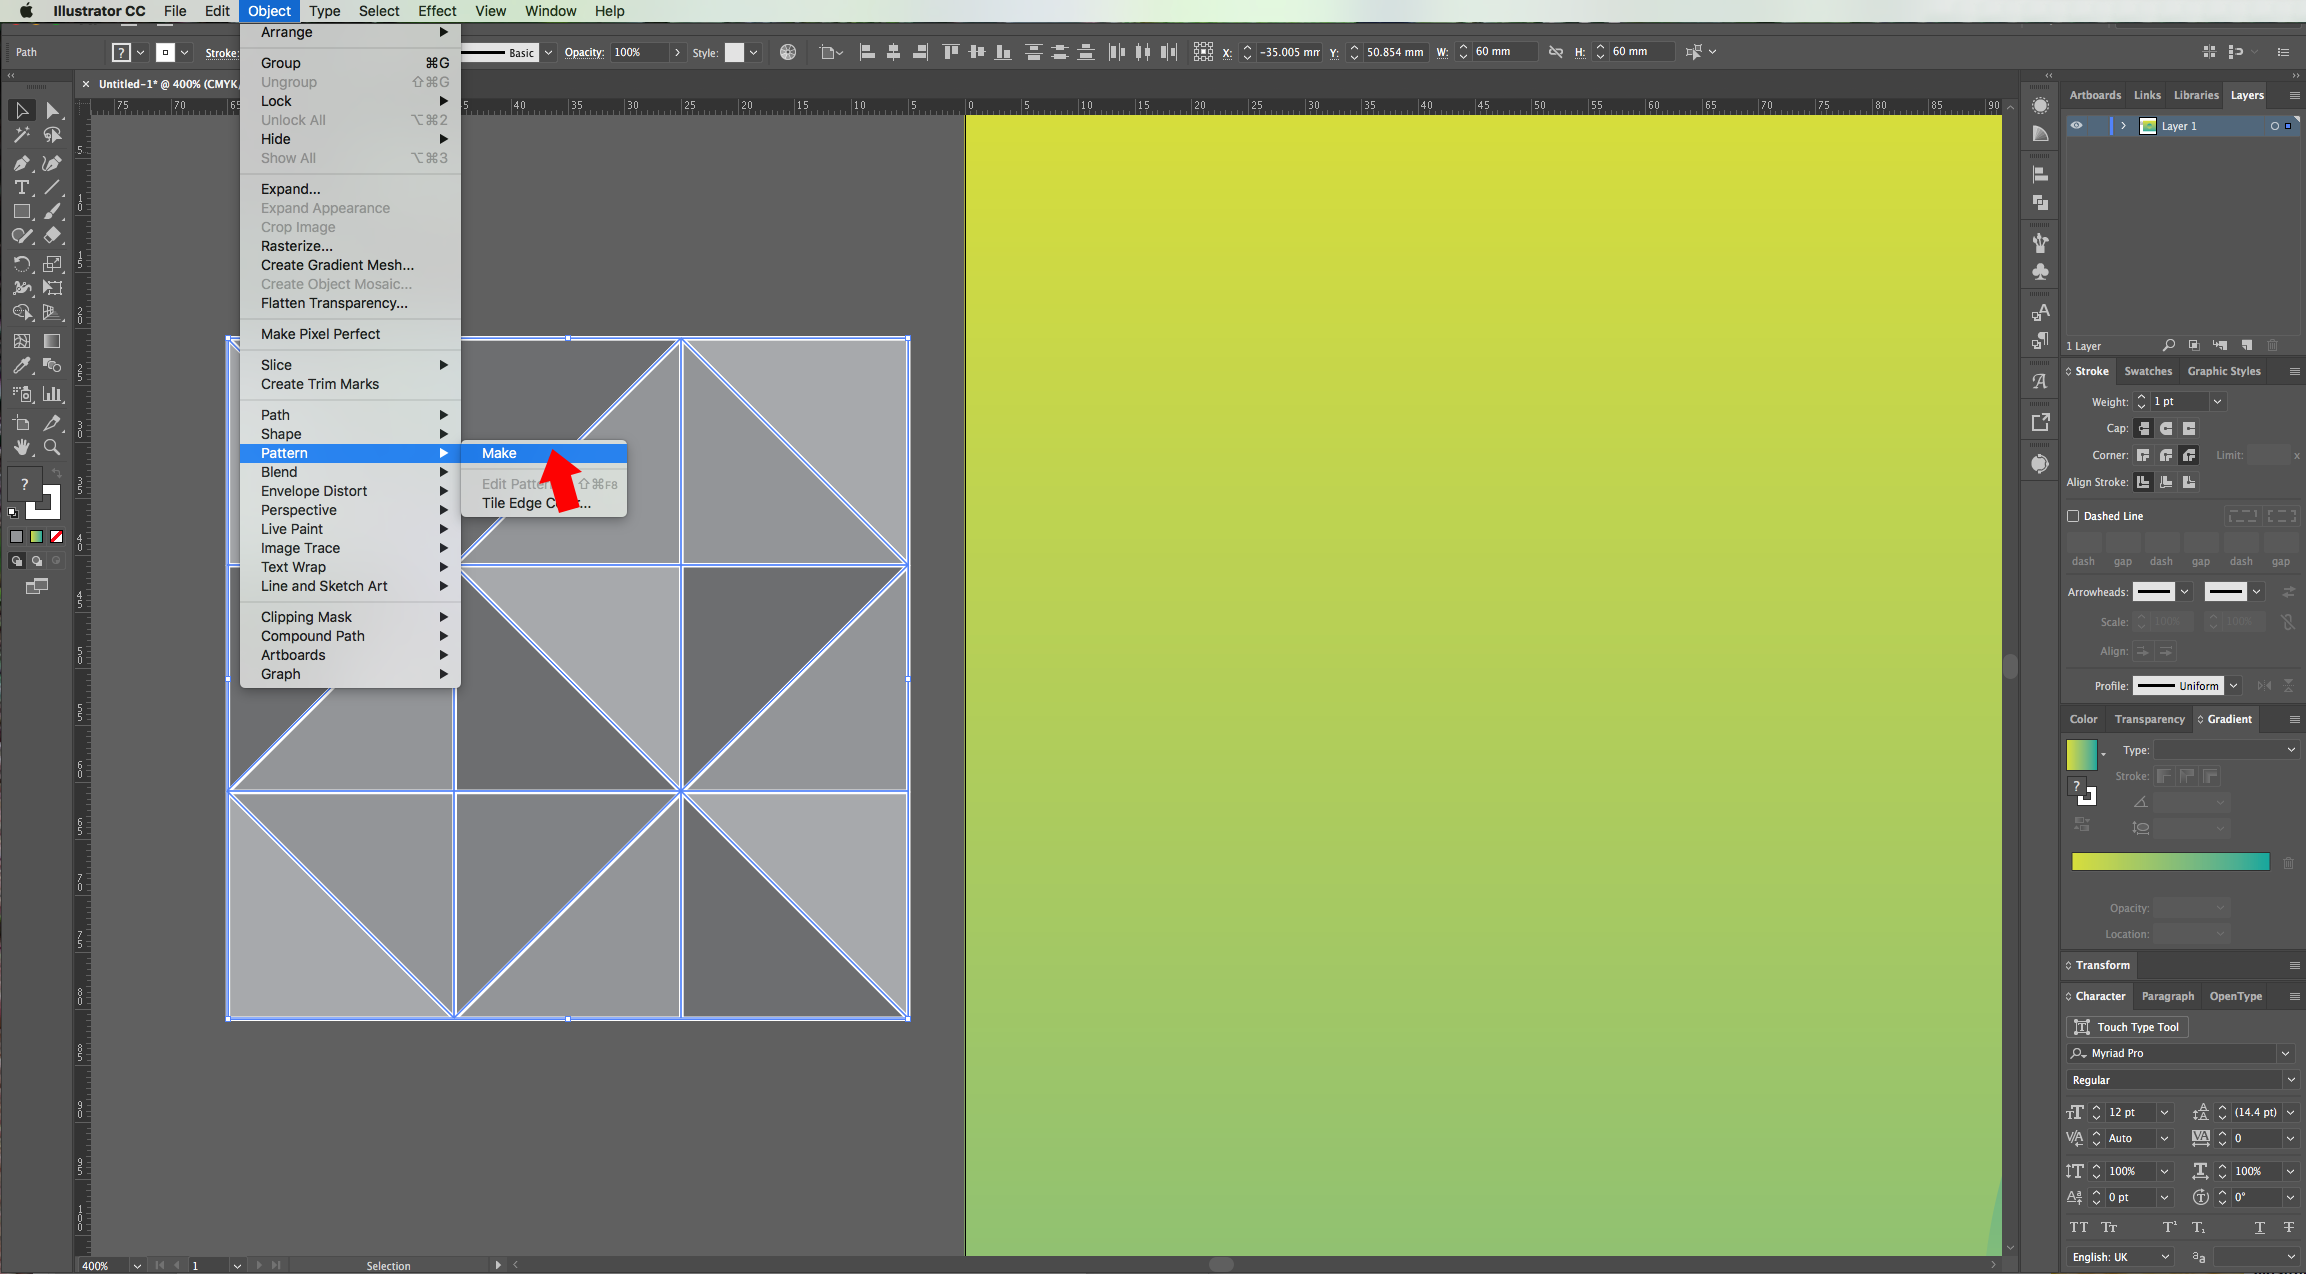
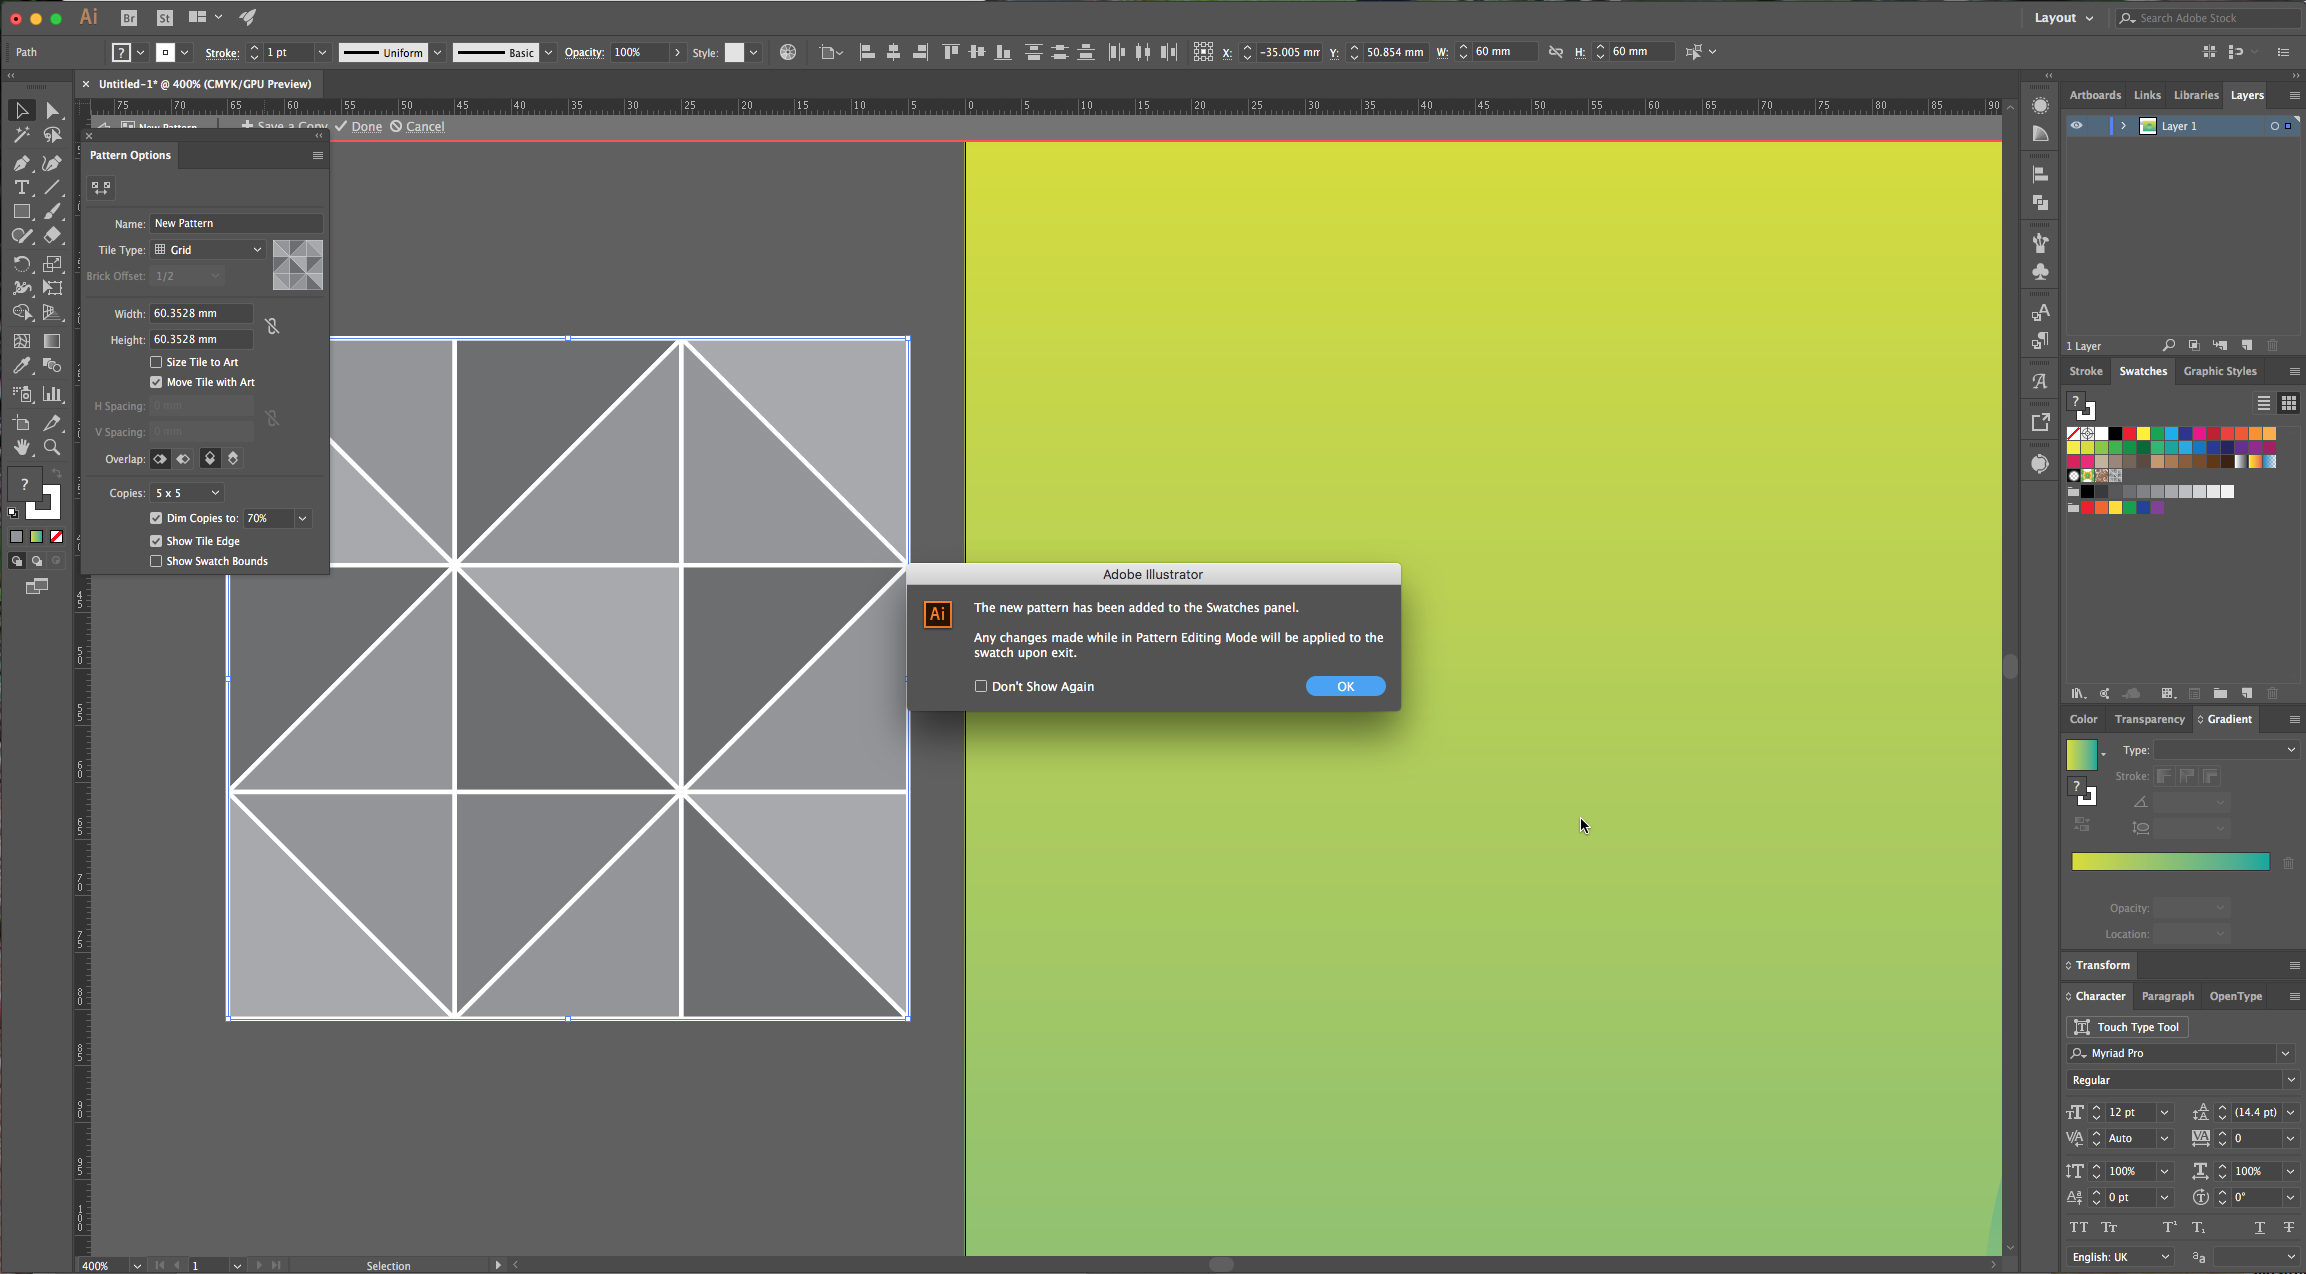
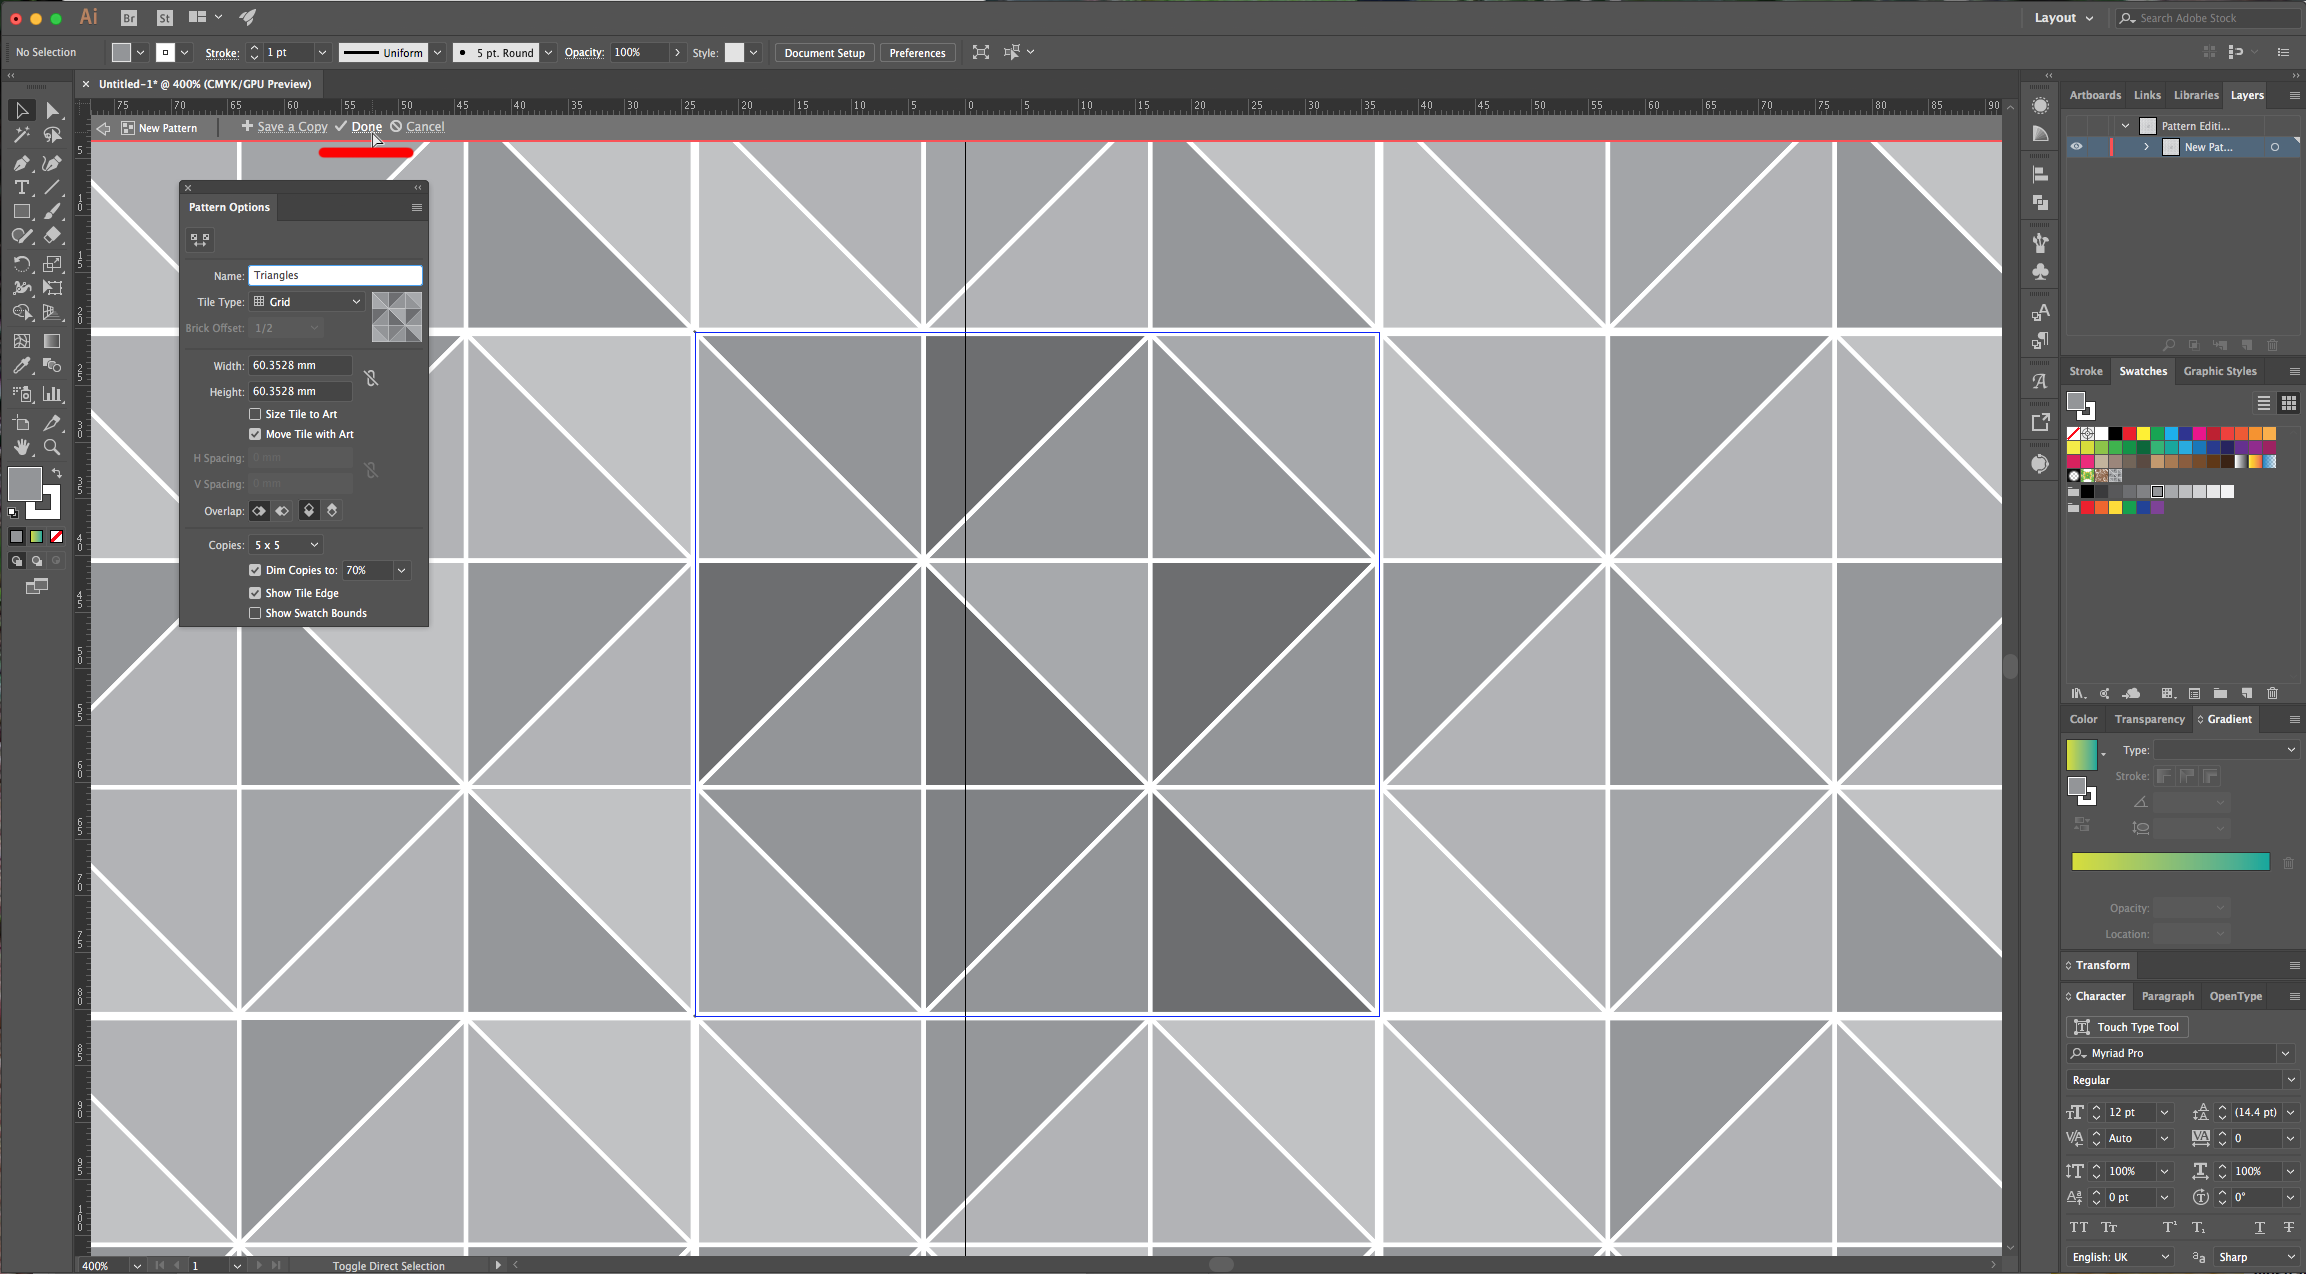
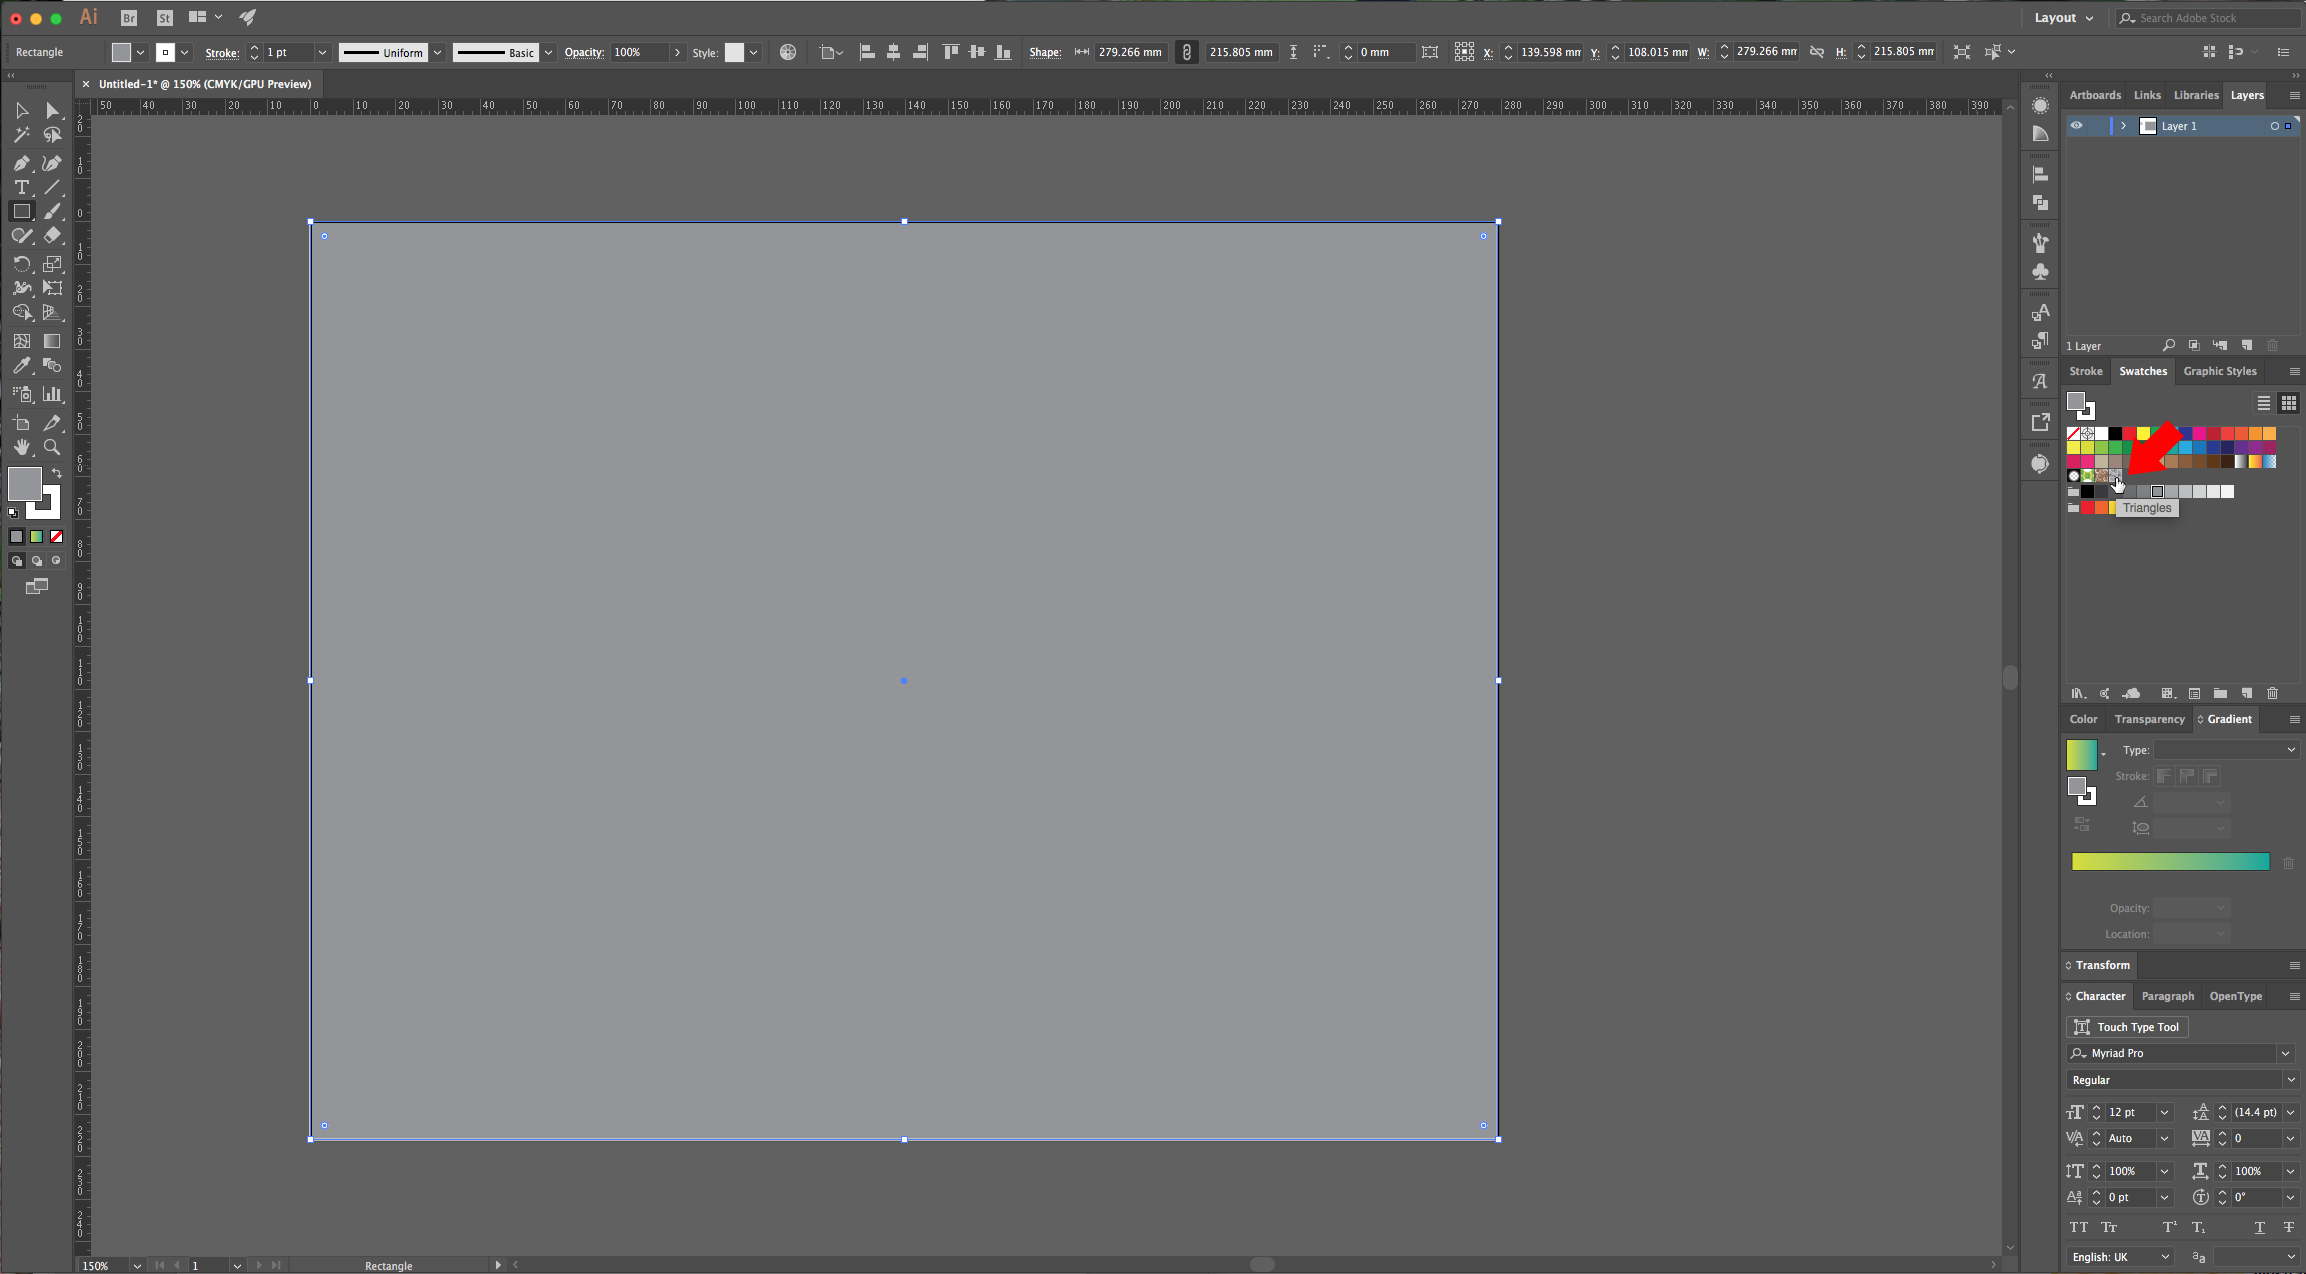
12 - Select some triangles randomly and fill them with different shades (from 40% to 70%) of grey to make a pattern. Select them all and go to Object > Pattern > Make (click “OK” in the Pop-up window) and check if you need to fix something while in the “Patter Options” Panel. Name your pattern and click “Done” in the upper-left menu.
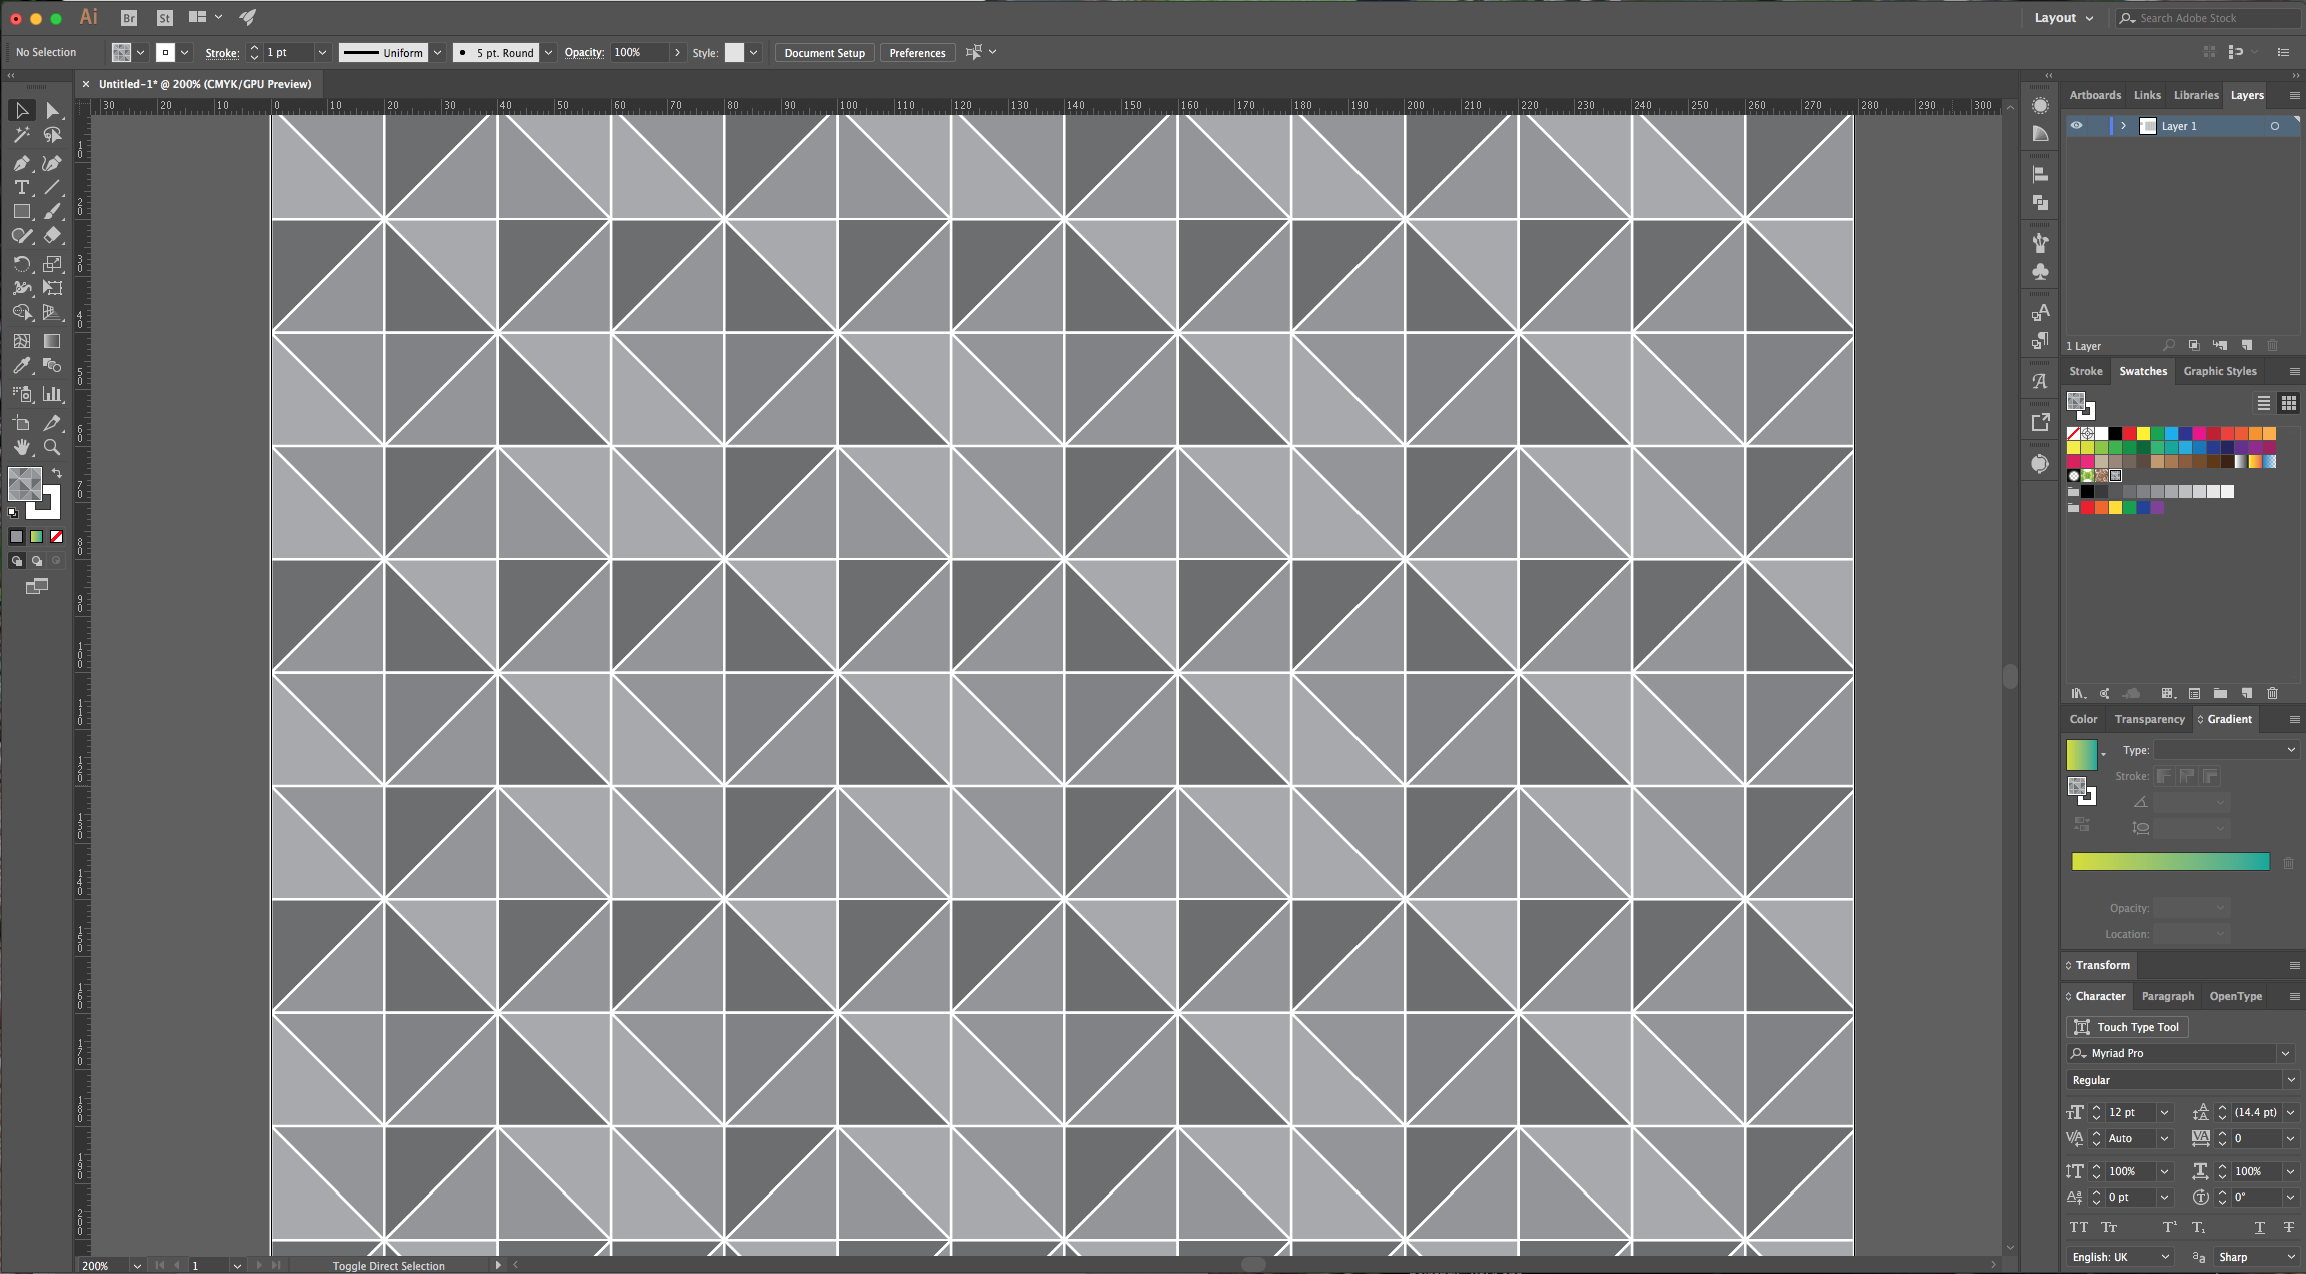
13 - Make a rectangle on top of your document and select your newly created patter as “Fill”. Go to the “Transparency” Panel and change the “Blending Mode” to “Multiply” and lower the “Opacity” to 50%.
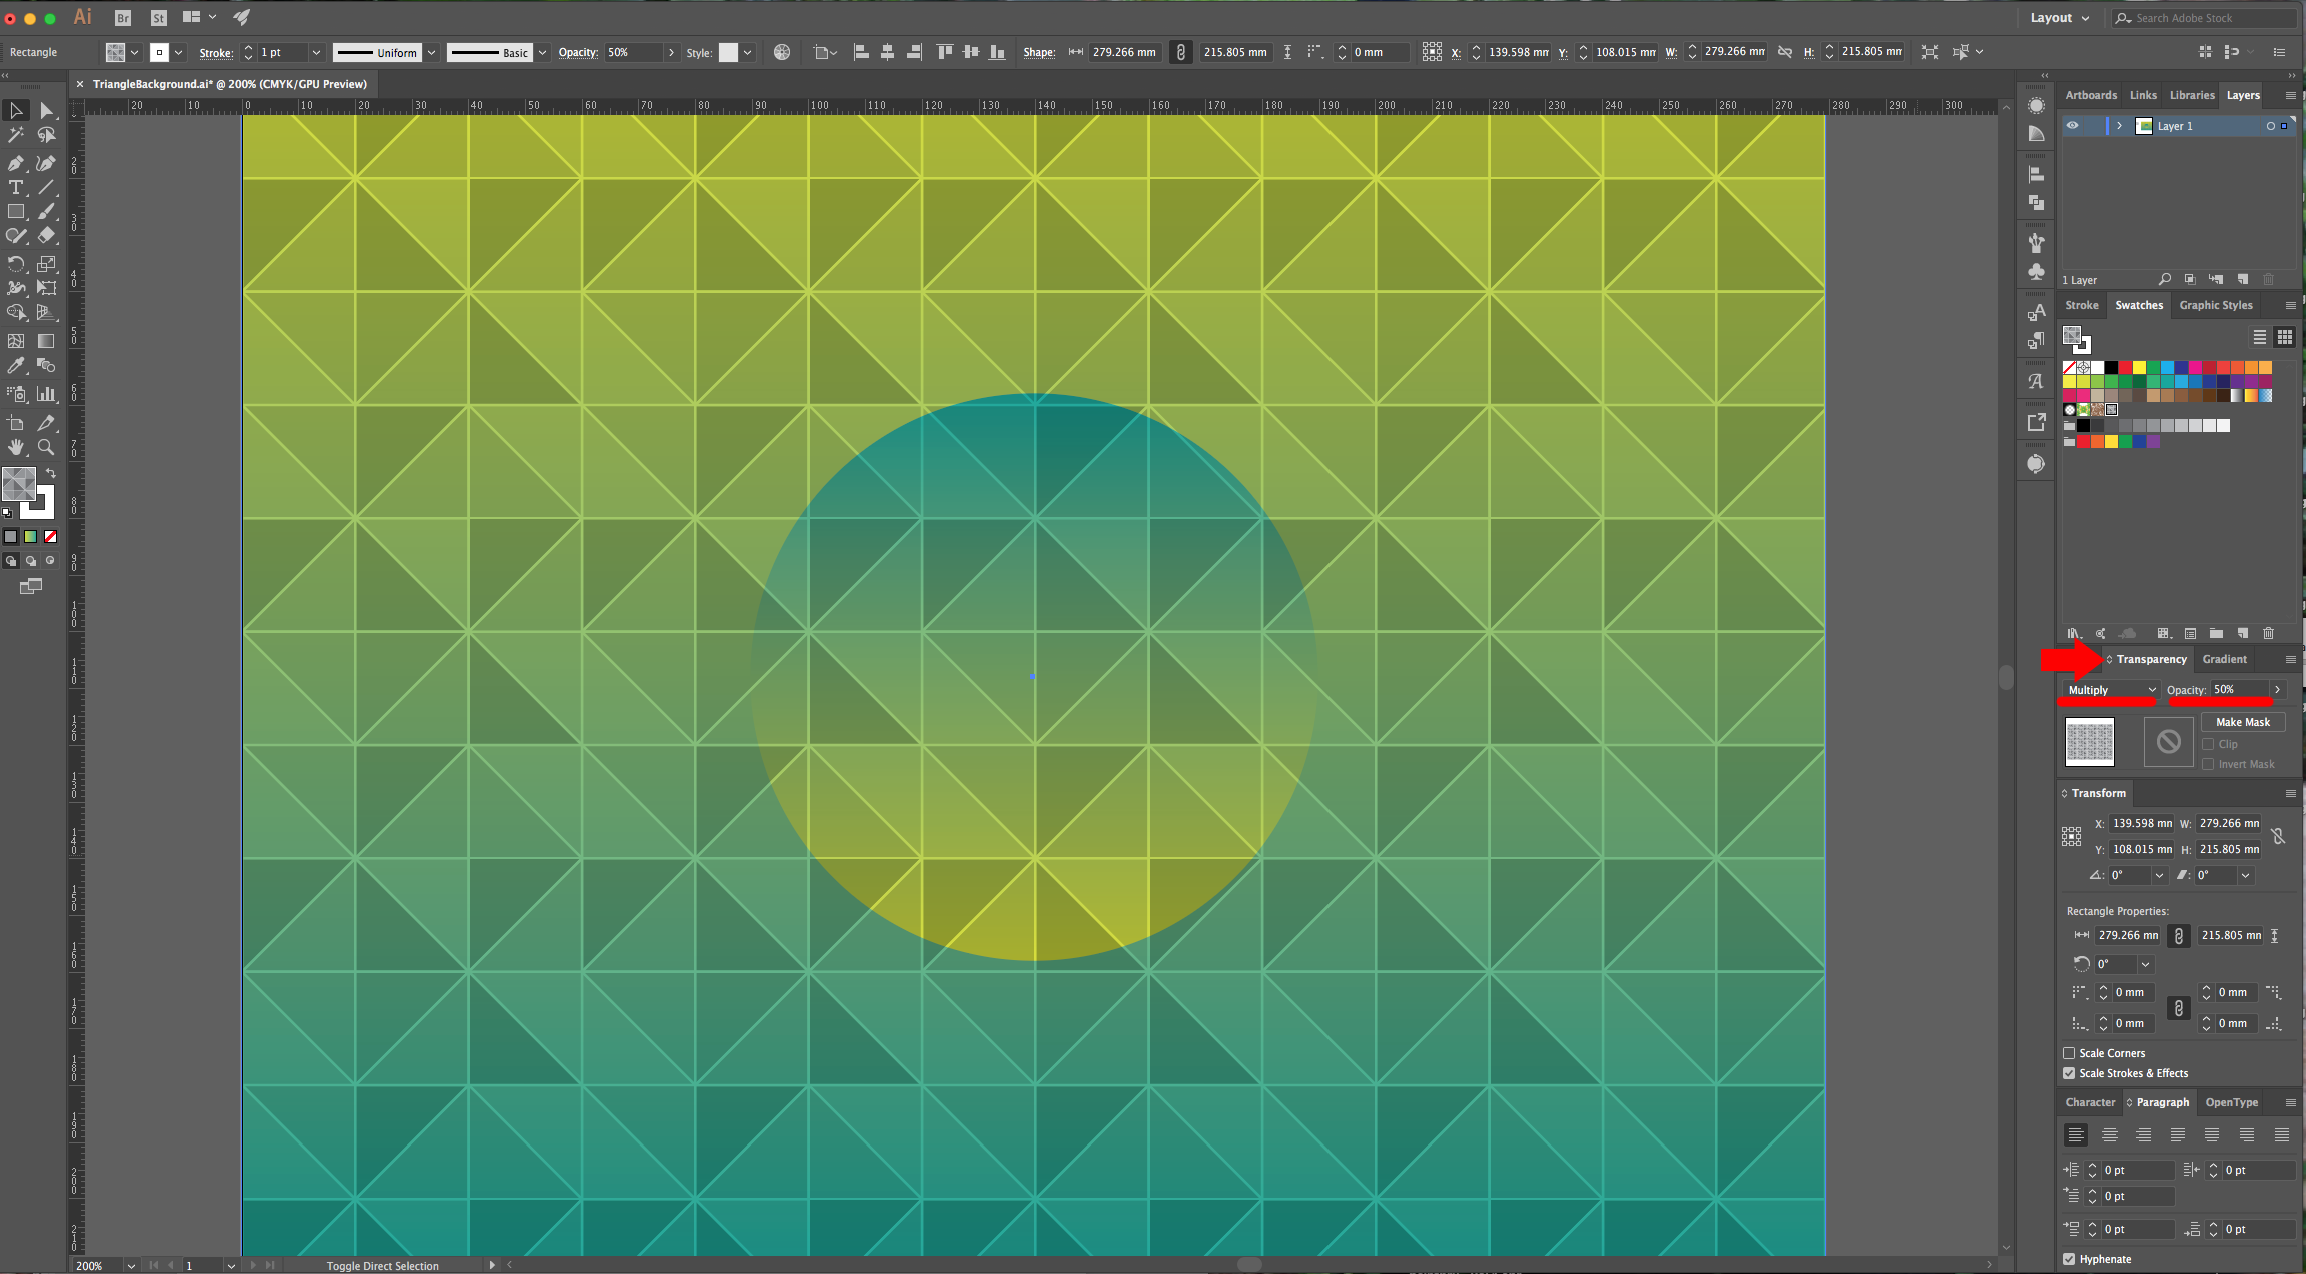
14 - You can change the colors of your background gradient and use other shapes to transform your artwork.
2 - Select the “Rectangle Tool” (M) and draw a rectangle covering the entire document. Choose a “Gradient” as “Fill” and no “Stroke”.
3 - In the “Gradient” Panel make your gradient “Linear” at a 90° Angle and fill it with the colors of your choice (we used two colors from the “Swatch” Panel). To add another shade to your gradient, just click under the point you want to place it (About 50% in “Location”).
4 - Select the “Ellipse Tool” (L), click on top of your document and make a circle with a “With” and “Height” of 100 mm.
5 - Center your circle by clicking un the “Horizontal and Vertical Align Center” buttons in the upper menu.
6 - Reverse your circle’s gradient by clicking on the small button placed to the left on your “Gradient” Panel and remove the center swatch by dragging the little square down. Change the color of the last swatch to #.
7 - Select the “Rectangle Tool” (M), click on your “Artboard” and input a “With” and “Height” of 20 mm. Fill it with black and a 1pt white “Stroke”.
8 - Right-click on your square and go to Transform > Move (Shift + Command/Control + M) and use a value of 20 mm “Horizontal” and click “Copy”. Now, click Command/Control + D to repeat the transformation. You should have three squares.
9 - Select your squares and repeat the “Move” command but this time input the 20 mm in the “Vertical” value box. Click “Copy” and then repeat.
10 - Select the “Pen Tool” (P) and holding the “Shift” key to let you get your lines at an angle, draw a rectangle that has its small faces inside the top-left and bottom-right corners of the square you created. Then draw a line that goes from the bottom-right corner to the top-left corner of your square and click enter to close it. Make sure you have “None” as “Fill” color.
11 - Select all your newly created shapes and in the “Pathfinder” Panel choose “Divide”. Then right-click on top of your shape and select “Ungroup”.
12 - Select some triangles randomly and fill them with different shades (from 40% to 70%) of grey to make a pattern. Select them all and go to Object > Pattern > Make (click “OK” in the Pop-up window) and check if you need to fix something while in the “Patter Options” Panel. Name your pattern and click “Done” in the upper-left menu.
13 - Make a rectangle on top of your document and select your newly created patter as “Fill”. Go to the “Transparency” Panel and change the “Blending Mode” to “Multiply” and lower the “Opacity” to 50%.
14 - You can change the colors of your background gradient and use other shapes to transform your artwork.
by @lornacane
Related Tutorials
Illustrator Tutorials
How to Make a Pastel Gradient Background in Illustrator
Learn how to make a pastel gradient background in Adobe Illustrator.
Illustrator Tutorials
How to Create a Transparent Gradient in Illustrator
Learn how to create a transparent gradient in Adobe Illustrator with this step by step tutorial.
Illustrator Tutorials
How to Gradient Fill Text in Adobe Illustrator
In this tutorial we will show you how to gradient fill text in Adobe Illustrator.
Illustrator Tutorials
How to remove the background from an image in Illustrator
Learn how to remove a background in Illustrator.
Affinity Tutorials
How to Make a Pastel Gradient Background in Affinity Designer
Illustrator Tutorials