By Design Bundles
How to Create Decorative Borders in Inkscape
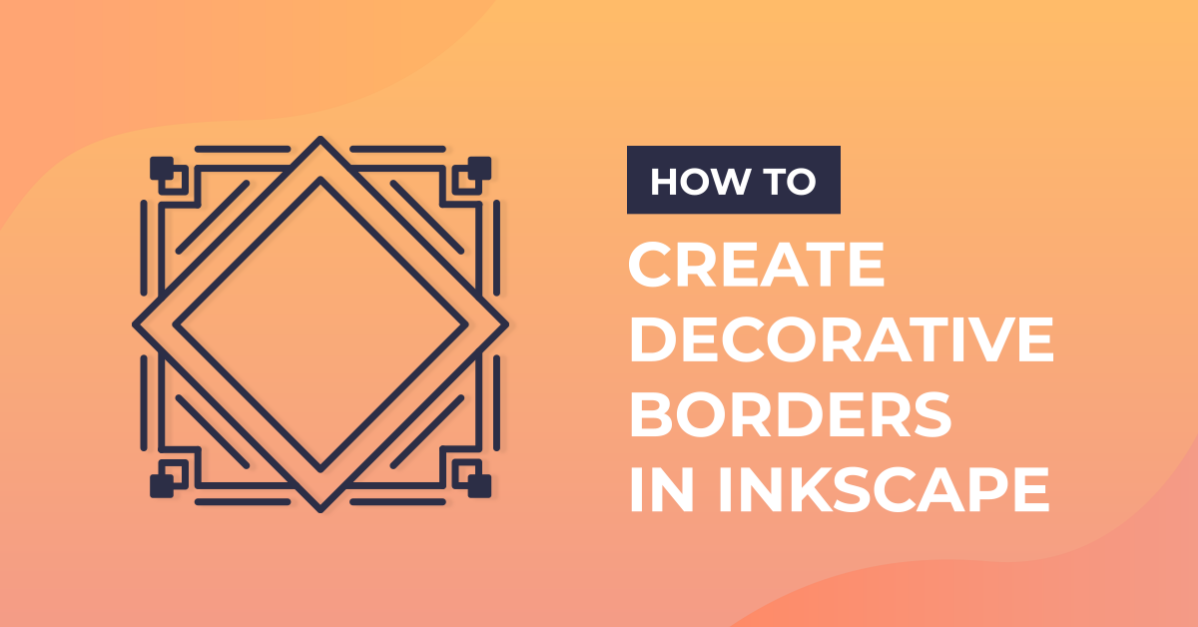
Borders can create a separation between elements or frame a design for more impact. They can be used to highlight content to attract the viewer's attention. However you choose to use a border, Inkscape has a variety of tools to create them. In this tutorial we will show you how to create decorative borders in Inkscape.
Once you have opened Inkscape, click on New document.
Step 1 - Draw out the basic shapes for the border
For this tutorial we will be using basic shapes and Path tools to create the border.
On the left hand side click on Create rectangles and squares. Click + drag out the rectangle shape on the canvas.
Choose a color fill from the bottom palette. To change the stroke hold Shift + click on a color.
We want to enable the snapping tool so that positioning is more accurate. On the right side panel at the top click Enable Snapping. Then further down the panel select Snap an item's rotation center.

Select the Create rectangles and squares tool again. Holding Ctrl, click and drag out a square about 1" x 1". You can also adjust the size using the Width and Height at the top of the screen. Click + drag this square to the top left corner of the rectangle. You will see a small red X appear when the rectangle corner is in the middle of the square.

Duplicate the square three more times and position at the remaining corners of the rectangle.

Step 2 - Use Division to cut out the border design
The Division tool under the Path menu is used to cut objects according to the shape beneath them. Select the rectangle and one square then go to Path and choose Division. You will be left with a small square on the corner.
If you drag this square out, it will leave a cut corner. Repeat this for all the squares a the corners. Remember to select both the rectangle and square for each division.

Move the resulting small squares a little out from the rectangle. You can also use the arrow keys to move them around.

Step 3 - Build up the border
With the base shapes setup we can have some fun by building up the design. You can use any shape you want and manipulate the size and position.
For the rest of the tutorial we used squares and shapes.
Step 1 - Add smaller squares inside the design
Start by duplicating one of the squares and making it smaller. You can use the resize handles or adjust the size with Width and Height.
Click + drag this duplicate until it snaps to the center of the larger square. Create another three duplicates of the smaller square and reposition inside the other larger ones.

Step 2 - Add rectangle accents to the sides
Next we will add some accents to the top and bottom of the border. Select the Create rectangles and squares tool, then draw out a thin rectangle. Make it about the length of the top edge of the border.
Duplicate the rectangle. Then holding Ctrl, click + drag the duplicate down to the bottom edge. You can line up these rectangles however you wish.

Add smaller rectangles to the left and right border edges. A quick way to do this is by duplicating one thin rectangle and rotating. Select the duplicate and click on Rotate selection 90° counter clockwise. Adjust the size and reposition along the left edge of the border.

Duplicate the left side rectangle and move it to the right side. Now click on the initial rectangle design and duplicate as well. Resize and adjust the position of the duplicate in the center of the design.

Step 4 - Fill the border design with color
The design is ready to be filled with color. You can use the color palette at the bottom of the screen. Alternatively you can use the Fill and stroke panel. If not visible, click on the Object menu and choose Fill and Stroke. The panel will open on the right where you can adjust Fill, Stroke and Stroke width. You can also add a Gradient under this panel.
Another way to add a Gradient is by using the Create and edit gradients tool on the left side panel. If you need help with gradients we have a great tutorial on adding a gradient.

Experiment with colors and gradients until you get the desired result. You have now completed your decorative border. Shapes can be moved around, added, duplicated and sizes adjusted to change the overall look.

If you enjoyed this tutorial you may also enjoy our tutorials on making a seamless pattern in Inkscape, creating a marble effect, and using a gradient mesh in Inkscape.