By Design Bundles
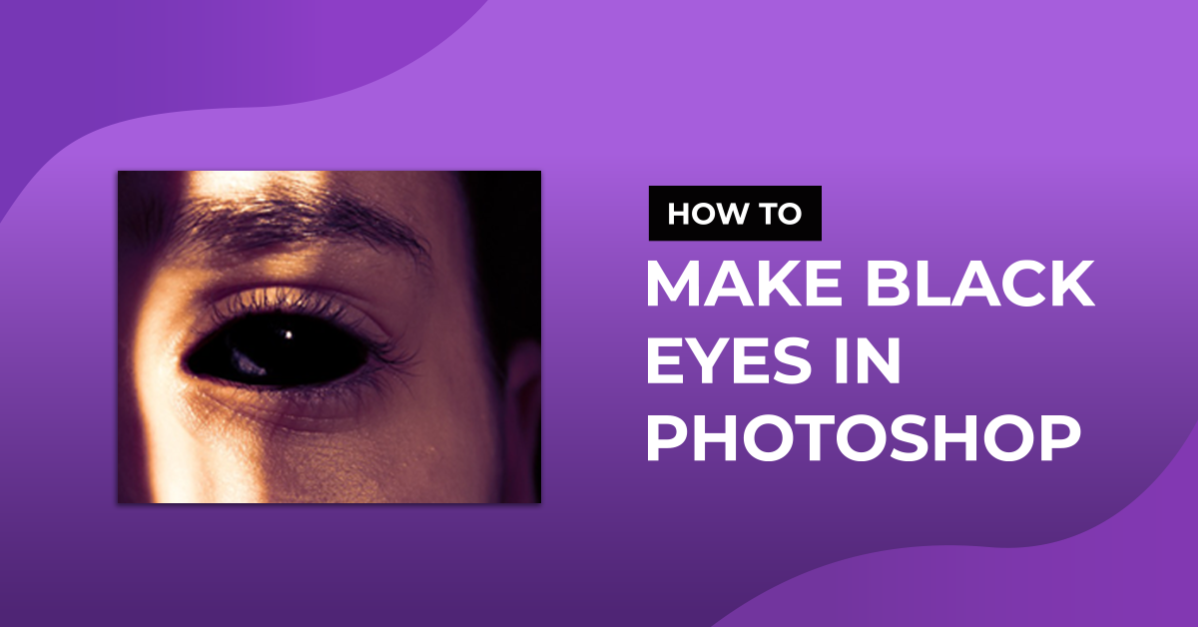
Black Eyes in Photoshop
For this tutorial you will need an image of a face or just the eyes, and some blood images mostly for reference.
1 – In Photoshop open your image. Take notice where the light is reflected in the eyes in your original image.

2 – Create a new layer by clicking on the button at the bottom of your “Layers Panel” and name it “Black”. Choose the “Brush Tool”, make sure the black is your foreground color and pick a “Flow” of 70%, about 80% “Hardness” and about 100 px in size.


3 – Start painting on top of the eyes and cover them completely. You can reduce the size of your brush if you feel it is too big for certain spots. Go to the “Adjustments” panel and create a “Levels” adjustment layer. Move the middle pointer to the right making your image much darker. Select the “Layer Mask” thumbnail and click Command/Control + I to invert the color and make it black.


4 – Select your “Brush Tool” with a white foreground color, reduce the size to 50 px and choose a “Flow” of 50% and a 10% “Hardness”. Paint in the edges of your eye to make them more realistic.

5 – Select your “Black”, “Levels” and “Light” layers and group them together (Command/Control + G) or click the Folder icon in the bottom of your panel.

6 - Name your group “Eyes” and turn it off by clicking on the little eye icon at the left of the layer. Open your “Channel” panel or, go to Window > Channels. Select your Blue channel, right-click on it and select “Duplicate Channel”, click Ok.


7 – Select the copy and go to Image > Adjustments > Levels (Command/Control + L) and create contrast between the reflections and the rest. You can achieve this by moving your middle pointer to the right and then select the right pointer and move it together with the middle one more to the left. When you are happy click OK.


8 – While pressing Command/Control click on the thumbnail of your “Blue copy” to make a selection. Click on the “RGB” Channel on top of the panel to select all the channels and deactivate your copy but keep the selection.


9 – Go back to the “Layers” panel, turn on the “Eyes” group, create a new layer and call it “Light”. Choose your “Brush Tool” (B) and make sure you are using white as the foreground color and start painting on the eyes to uncover your reflections. If you think that you uncovered too much, just change the color of your brush to black and fix it.


10 - Hide your selection and check your result.

11 – To make your image a bit darker go to the “Adjustments” Panel and create a “Color Lookup” adjustment layer. Drag it outside of your group and on top of every layer. Choose the “LateSunset.3DL” option or check the other options and decide which one you prefer.


12 - Your image should look like this:

by @lornacane