By Design Bundles
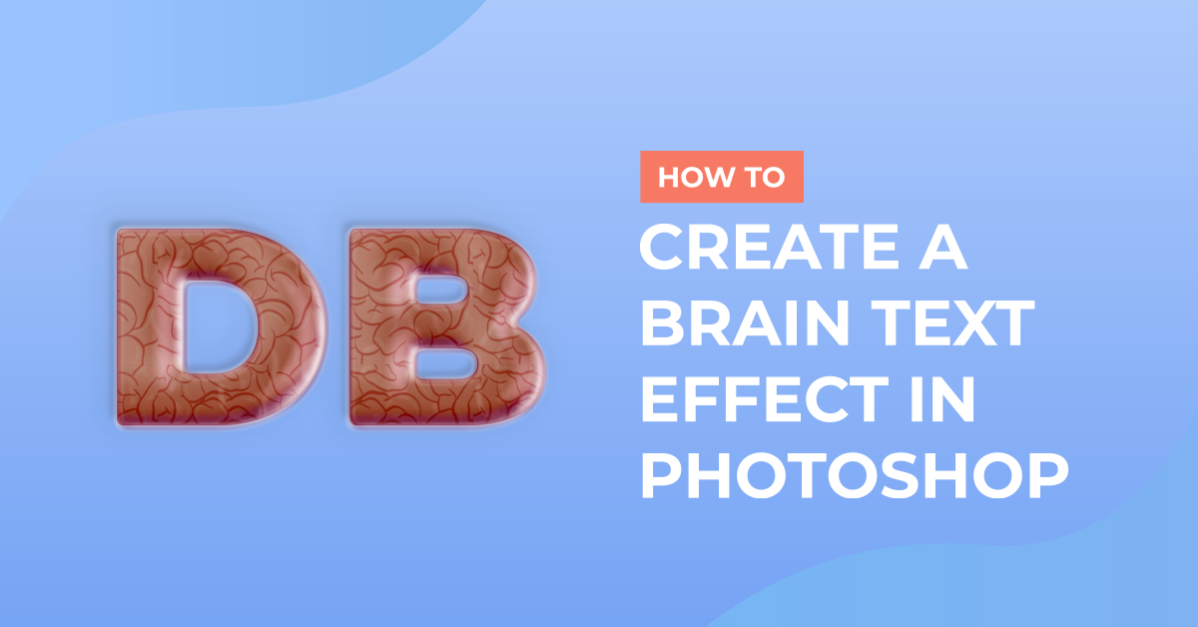
Brain Text Effect in Photoshop
For this tutorial, we will use some free “Brain Patterns” and the Font “Burly” from FontBundles.net (https://fontbundles.net/plusstore/221992-burly-typeface#gtmList=5>mPos=2).
1 - In Photoshop, create a “New Document”, make it 30 by 15 cm and fill it with a dark grey (#454545).

2 - Swap “Foreground” and “Background” by clicking the small curved arrow on the Top Right side of their Thumbnails (X key).

3 - Select the “Type Tool” (T), choose your font (we used Burly), Type text and fill it with a yellowish green (#c4bf3c). Center it inside the Canvas.


4 - Convert your text to a “Smart Object” by right-clicking on top of its thumbnail and choosing the option from the pop-up menu.

5 - Duplicate the text layer four times (Command/Control + J.

6 - And rename the duplicates from top to bottom: “Fill”, then “Pattern”, “Stroke”, “Shadow” and “Outer”.

7 - Double-click on the “Fill” layer and in the “Blending Options” Tab, lower the “Fill” to 0%. You can also do it in the “Layers Panel”.

8 - Now apply the following “Blending Options”:
Bevel & Emboss:

Contour: (Half Round)

Inner Shadow (#6ab5ce)

Inner Glow: (#ffffff)

Satin: (#000000)

Outer Glow: (#000000)

Drop Shadow: (#000000)


9 - If you disable the other layers (use the small eye on the left side of their thumbnail) your text should look similar to this.

10 - Double-click on the “Pattern” layer and apply the following “Blending Options”:
Stroke: (#931c3e)

Inner Glow: (#eb3163)

Color Overlay: (#fa6990)

11 - To add the pattern in the “Pattern Overlay” tab, click on the Small Gear Menu and choose “Load Patterns”. Navigate to where your “Brain Patterns” are stored and “Open” them. Then choose the pattern.


12 - Modify the “Opacity” and “Size” if needed to fit the text better.

13 - Now, double-click on the “Stroke” layer and apply the following “Blending Options”:
Stroke: (#b1224a)

14 - Double-click on the “Shadow” layer and apply the following “Blending Options”:
Bevel & Emboss:

Stroke: (from #ed3669 to #b1224a)

Drop Shadow: (#000000)

15 - Double-click on the “Outer” layer and apply the following “Blending Options”:
Stroke: (from #b12236 to #9c1c31)

16 - You can add a different “Background”, just create a “New Solid Color Fill Layer” by clicking on the small black and white circle at the bottom of the “Layers Panel”. We chose a dark Teal shade (#03363c).


17 - Select all the “Text” layers (“Shift” key) and “Group” them together by clicking on the small folder icon at the bottom of the “Layers Panel”. Name the group “Text”.


18 - Time to add some effects, select the “Text” folder and head to the “Adjustments Panel” to create a “New Color Lookup Adjustment Layer”. We used “DropBlues.3DL” as “3DLUT File”.


19 - To change the text, just double-click on one of the text “Smart Objects” to open it in another Tab and type a new word. Once you are done, “Save” the file (Command/Control + S) and you should see the changes back on the original file.


20 - Check out your Artwork!

by @lornacane