By Design Bundles
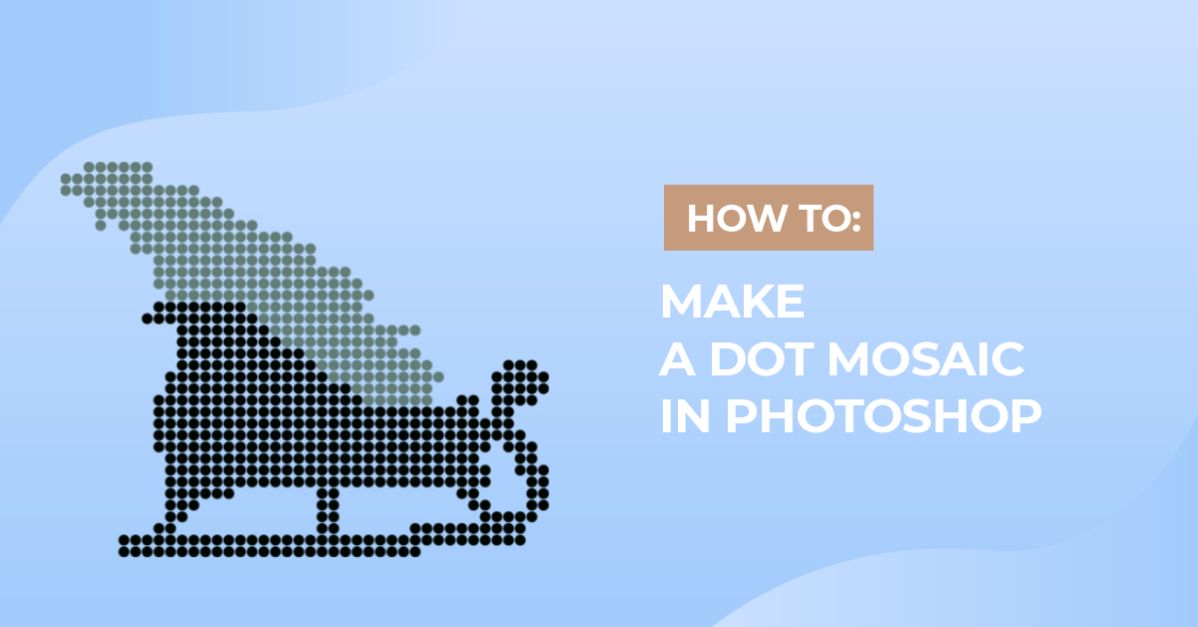
How to Make a Dot Mosaic in Photoshop
For this Tutorial, we are going to use an image with a bright color to turn into a Dot/Marble Mosaic.
1 - In Photoshop, open the image you chose. Right-click on top of its Thumbnail and choose “Convert to Smart Object”.


2 - Select the “Crop Tool” (C). In the Top Menu select “W x H x Resolution” and use a 2000 x 2000 px for “With” and “Height”, and a 150 px/in “Resolution”. Move your image and/or resize your “Crop Area”, then click the “Check Mark” icon on the Top Menu, or hit “Enter”.


3 - Create a “New Layer” by clicking on the button at the bottom of the “Layers Panel”, make sure that Black is your “Foreground” color and click “Alt/Option + Delete” to fill the Layer with the “Foreground” color (Black).


4 - Making sure your “Smart Object” Layer is selected, go to Filter > Pixelate > Mosaic and use a “Cell Size” of 25 square.


5 - Create a “New Document” (Command/Control + N). Use the same “Resolution” as the one used with the “Crop Tool” (150 dpi) and the “Cell Size” used in the “Mosaic” Filter (25 px) as “With” and “Height”. Select the “Elliptical Marquee Tool” (M), place your cursor on the Top-Left corner of your “Document” and hold the “Shift” key while dragging it all the way to the Bottom-Right corner to create a circle. Use “Shift + Command/Control + I” to “Invert” your selection and fill it with Black.


6 - Go to Edit > Define Pattern, give it a name, and click “OK” to save it. You can save your document or just close it without saving since we just need the “Pattern”.


7 - Back in your original “Document”, create a “New Layer”, and name it “Pattern”. Fill it with White using “Command/Control + Delete” (this will use the “Background” color as Fill). Double-click on top of its Thumbnail and apply the following “Layer Styles”:

Pattern Overlay:
Your newly created “Pattern” should be the last one in the “Pattern” window.

8 - Go to the “Channels Panel” and Command/Control-click on top of the “RGB” Channel Thumbnail to make a selection. Go back to the “Layers Panel”, make sure that you have your “Smart Object” layer selected and click on the “Add Layer Mask” button at the bottom of the Panel. Use “Command/Control + D” to “Deselect”.


9 - To check if the “Pattern” and the “Mosaic” are in the same position, you can right-click on top of your “Layer Mask” and choose “Disable Layer Mask” (To get it back just choose “Enable Layer Mask” instead). Click on the small “Chain” icon between the “Image” and the “Mask” in the Thumbnail to “Unlink” them, click “V” to open “Move Tool” and use the “Arrow” keys to move your image to adjust the patterns if necessary.


10 - Double-click on top of its Thumbnail and apply the following “Layer Styles”:
Bevel & Emboss:

Inner Glow:

11 - In the “Adjustments Panels” add a “New Vibrance Adjustment Layer” and increase the “Vibrance” a bit (we used a +60 value). Clip the Layer to the one underneath by clicking on the small button at the bottom of the “Properties Panel”.


12 - Your work should be similar to this.

by @lornacane