By Design Bundles
Colorful Backgrounds in Photoshop
Have you been wondering how you could create a colorful background in Photoshop? In today’s tutorial, we’ll show you how to create a colorful background that you could use for all sorts of projects. You can also add beautiful overlays as we did in the following image to enhance your colorful background.

We’ll be using Photoshop swatches, but you could find some great modern color palettes from Design Bundles to use instead.
Step 1 - Create a New Document
When creating your new document in Photoshop, select RGB Color and 16 bit for the Color Mode.

Step 2 - Open the Swatches Panel
Open the Swatches Panel by going to Window > Swatches. Depending on how your Photoshop interface is set up, it may look slightly different, but the panel will appear on the right side. You can look through the folders for colors to use.

Step 3 - Create a New Layer
Click the Create a new layer button at the bottom of the Layers panel.

Step 4 - Select Your Brush
Select the Brush Tool (B) from the left toolbar.

We want to use a large soft brush. Click the Brush options icon in the Options bar at the top. Set the Size to 500 px and the Hardness to 0%.

Step 5 - Select a Foreground Color and Paint on the Canvas
Pick a color from the Swatches panel for the foreground color. We selected the color Pure Violet. To stay organized, we renamed the layer to match the color name. Then we painted areas of the canvas. You can paint wherever you want.

Step 6 - Add Another New Layer and Paint More Areas With a Different Color
Add another layer on top, select another foreground color, and paint more areas of the canvas. We picked the color Pure Red this time.

Step 7 - Repeat Step 5 Until Canvas is Filled
Keep adding layers and painting the canvas with other colors until you fill the canvas. Each color should be on its own layer.

Step 8 - Apply a Gaussian Blur to Each Colored Layer
Select a layer and go to Filter > Blur > Gaussian Blur.

Enter 200 for the Radius and click OK.

Then select another layer and click on Filter in the top menu. The last filter applied should be listed at the top. It should be Gaussian Blur in our case. Click it to apply it to the currently selected layer.

Apply the Gaussian Blur filter for the rest of the colored layers.

Step 9 - Convert Layers to a Smart Object
Select all the colored layers using Shift. Then right-click on the layers and choose Convert to Smart Object.

Step 10 - Duplicate Smart Object Layer
Select the Smart Object layer and duplicate it by pressing Command/Control + J or right-clicking on the layer and choosing Duplicate Layer.

Step 11 - Apply Filters to the Top Layer and Change Its Blending Mode
Gaussian Blur
Select the top layer and go to Filter > Blur > Gaussian Blur.

Enter 200 for the Radius again and click OK.

Crystallize
Now go to Filter > Pixelate > Crystallize.

Enter 65 for the Cell Size and click OK.

Change Blending Mode
In the Layers panel, change the Blending Mode to Soft Light.

Step 12 - Apply Filters to the Second Layer
Pointillize
Select the second layer and go to Filter > Pixelate > Pointillize.

Enter 3 for the Cell Size and click OK.

Gaussian Blur
Apply a Gaussian Blur with 6.4 as the Radius and click OK.

Step 13 - Adjust Filters if Needed
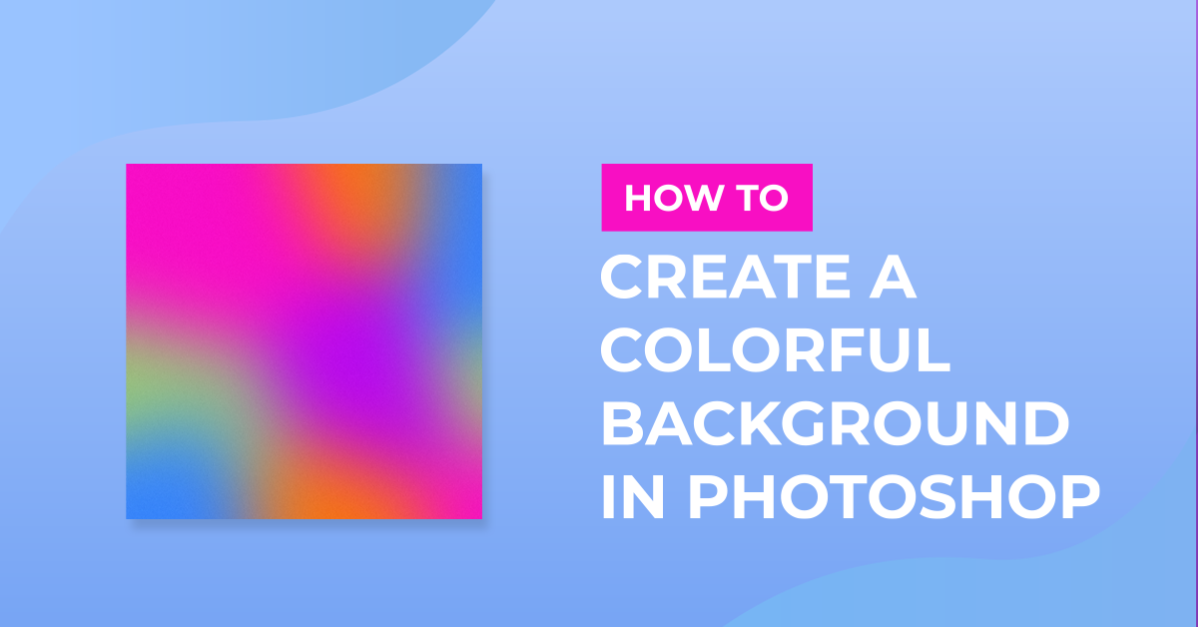
Your colorful background is done and should look somewhat similar to what we’ve created below.
If you need to adjust any of the applied filters, simply double-click on the Smart Filter in the Layers panel.

We hope you create an endless amount of colorful backgrounds in Photoshop! To create some amazing designs, you can use your colorful backgrounds with clipping masks in Photoshop or with overlays in Photoshop like the first image in this tutorial.