By Design Bundles
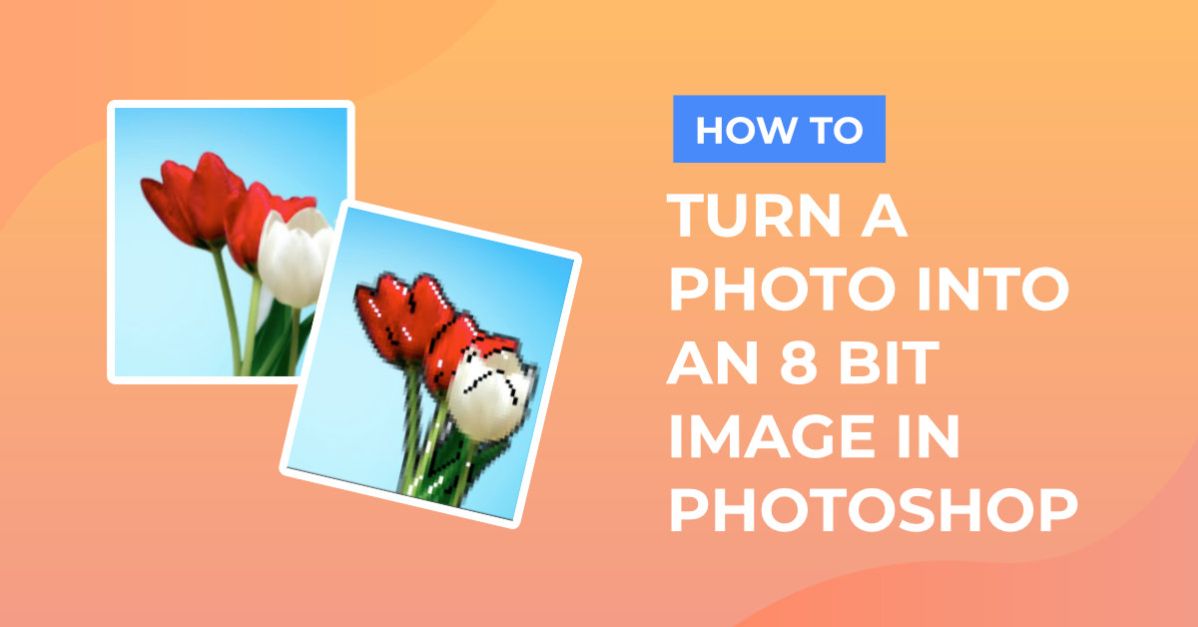
8 Bit Images in Photoshop
For this tutorial you will need an Image or Portrait to work with. Is better if it has a neutral “Background”.
1 - In Photoshop, open the image you chose.

2 - Select the “Crop Tool” (C), choose “W x H x Resolution” and input 500 x 500 px @ 50 px/in. Move and/or resize the crop area to your liking and hit enter or click the “Check Mark” in the Top Menu.


3 - To make your view bigger use “Command/Control + 0” and use the “Quick Selection Tool” (Q) with the “Add to Selection” option and a 20 px and 100% “Hardness” brush to select the subject. You candeselect unwanted portions by using “Remove from Selection” in the Top Menu.


4 - To refine the selection you can use the “Polygonal Lasso Tool” (L) with the “Add” and/or “Remove” options.


5 - Go to Select > Modify > Feather (Shift + F6), use a “Feather Radius” of 1 Pixel.


6 - “Invert” your selection (Command/Control + I) if needed then, “Copy” (Command/Control + C) and “Paste” it (Command/Control + V). This will create a “New Layer”. Hide the “Background” Layer for now by clicking on the small eye icon to the left of its Thumbnail.


7 - Double-click on the Top Layer thumbnail to apply the following “Layer Styles”:
Stroke: (#000000). Right-click on top of its Thumbnail and choose “Convert to Smart Object”.


8 - Go to Filter > Pixelate > Mosaic and use a “Cell Size” of 5 Square.


9 - Go to Image > Adjustments > Shadows/Highlights. Check the “Show More Options” box and in the “Shadows” Tab use a value of 20, 50 and 30 for “Amount”, “Tone” and “Radius” respectively.


10 - Open the “Levels Panel” (Command/Control + L) and use the valuesof 0, .75 and 245.


11 - Go to Select > Color Range, choose “Highlights” and a “Fuzziness” and “Range” of 0%.


12 - Create a “Mask” by clicking on the small button at the bottom of the “Layers Panel”, then create a “New Layer” by clicking on the small button at the bottom of the “Layers Panel”. Go to View > New Guide Layout and use 100 as the number of “Rows” and “Columns”.


13 - Select the “Rectangular Marquee Tool” (M) with the “Add to Selection” option, make sure “Snap to Guides” is on (go to View > Snap To > Guides) and start selecting some squares where you want to add some contour (you can use the original image as reference).


14 - Fill your selection with Black or “Foreground” Color (Alt/Option + Delete), deselect and “Hide” your Grid to check it out (Command/Control + H). Add more Black squares if needed.


15 - Get your Grid back (Command/Control + H) and do the same but this time use White to add Highlights. To change the “Fill” color you can use click (X) to switch the “Foreground” and “Background” colorsand do as before or Fill your selection with the “Background” Color (Command/Control + Delete). Hide your Grid and Turn back On the visibility of your “Background” Layer.


16 - Your “Artwork” should be similar to this.

by @lornacane