By Design Bundles
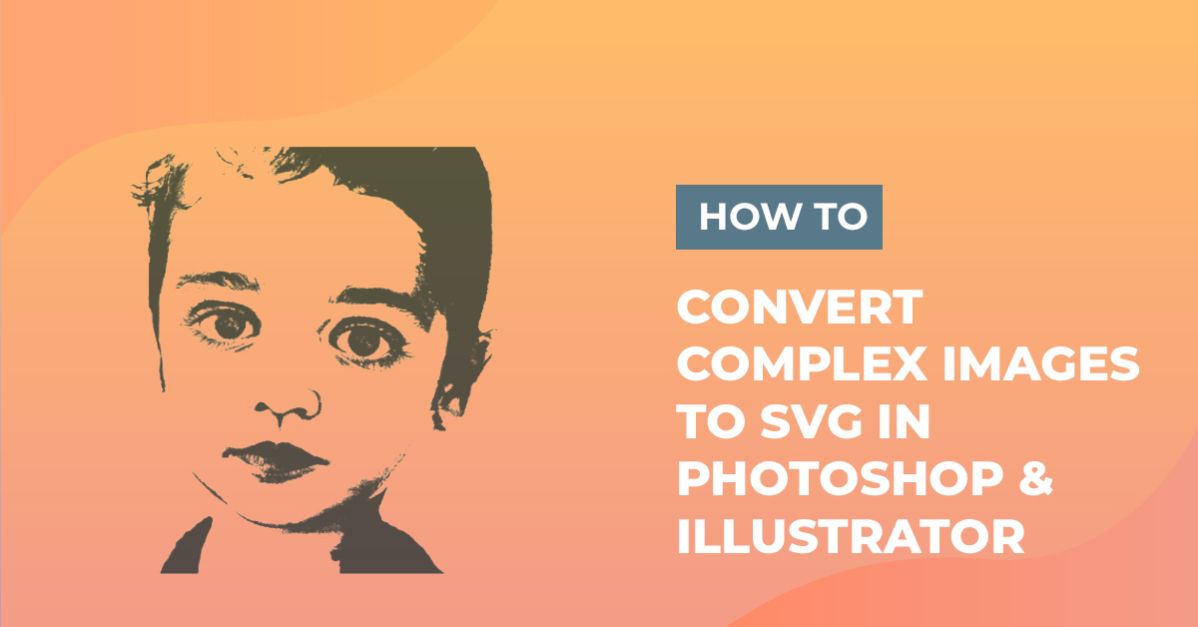
Two Ways to Convert Complex Images to SVG in Photoshop and Illustrator
For this tutorial, you will need an image or portrait to work with Its better if your image is Black & White or will be easily converted into. We will cover two ways of achieving it, one only in Photoshop, and the other with “Image Trace” in Illustrator.
1 - In Photoshop, open the image you chose. Fix the “Contrast” if necessary by going to Image > Auto Contrast.


2 - Duplicate your Layer (Command/Control + J), then, click on the small Black & White icon at the bottom of the Layers Panel to create a “New Solid Color Adjustment Layer” between your two Layers and fill it with White (#ffffff).


3 - Create a “New Black & White Adjustment Layer” on top of everything.


4 - Then, create a “New Exposure Adjustment Layer” on top again and play around with the values until you achieve a dramatic contrast.


5 - Select your Duplicate Layer, go to Filter > Stylize > Diffuse… and choose “Anisotropic”. Then, go to Filter > Sharpen > Smart Sharpen… and move the levers around until you get a good contrast but more detail.


6 - Duplicate your Layer (Command/Control + J), go to Filter > Other > High Pass… and use a “Radius” of 20 Pixels. Change the “Blending Mode” to “Soft Light” and lower the “Opacity” to 80%.


7 - Select both Layers and make a “Group” by clicking on the small “Folder” icon at the bottom of the “Layers” Panel. With the “Group” Folder selected, click on the “Add Group Mask” button at the bottom of the Panel.


8 - Make sure you are working on the “Mask” and that your “Foreground” color is White, then, select the “Eraser Tool” (E) and with a medium brush, erase the unwanted portions of the subject.


9 - Use Shift + Command/Control + Alt/Option + E to Merge all visible Layers and create a “Snapshot”, go to Select > Color Range… and Select “Shadows”. Tweak the “Fuzziness” and “Range” values until you are happy with the selection.


10 - Then, go to the “Paths Panel” and click the “Make Work Path” button to create a “Path” with your selection. Use the “Direct Selection Tool” (A) to select the parts you don’t want and hit “Delete”.


11 - Back in the “Layers Panel” create a “New Color Fill Layer” and choose Black as “Fill” color (#000000). The fill will be applied to your “Work Path” just make sure it is still selected. “Turn Off” the visibility in all your Layers except for the one with the “Work Path” (and maybe the “White Fill” one too) by clicking on the small eye icon to the left of the layers thumbnails.


12 - Go to File > Export > Export As… and choose “SVG” as Format. Click on “Export All”, name your file and save it to the location of your choice.


13 - For the second method, go to File > Save As… (Shift + Command/Control + S), give it a name and choose “JPEG” as Format. Choose “Maximum Quality” and click “OK”.


14 - Open Illustrator, drag your “JPEG” file onto it and re-size the file if needed.


15 - Go to Object > Image Trace > Make or click on the button on the Top Menu (don’t forget to select the imported “Path”). Click “OK” if you get a Pop Up Window.


16 - Open the “Image Trace Panel” and use “Black and White” Mode and check the “Ignore White” box (If the “Preview” box is checked you won’t be able to click the “Trace” button). When you are done, click the “Expand” button on the Top Menu to create your “Path”.


17 - Now, you can save your “Document” by going to File > Save As… (Shift + Command/Control + S) and choosing “SVG” as “Format”.


18 - You can also “Open” the other “SVG” file you created in “Photoshop”.


19 - Check both results and remember that you can achieve more or less detail with both methods by playing around with the different settings.

There you go. You have just created an SVG out of an image. Now give it a try as a cut file with your Silhouette or Cricut.