By Design Bundles
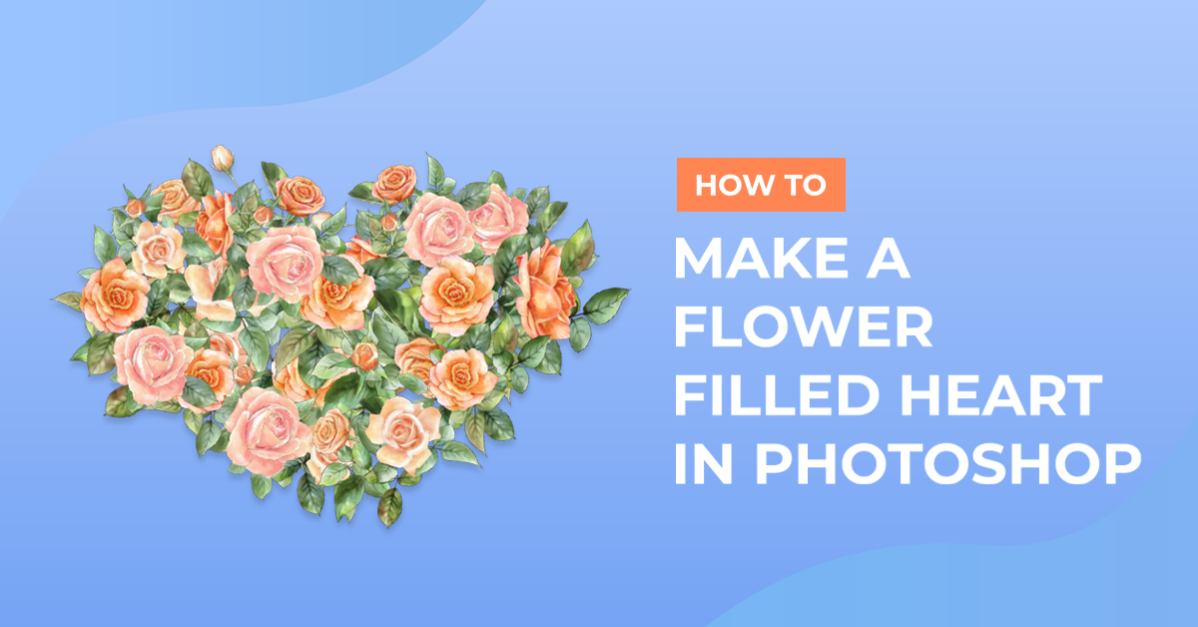
Flower Filled Heart in Photoshop
For this Tutorial, we will use some wall and ivy images for our background. Some outlined flower images to create the Pattern to fill or Heart Shape, and a Bow to add to the Flowers.
1 - In Photoshop, open the Image you chose as “Background”. Check if you need to fix some of the colors and/or contrast. We used the “Auto Tone” (Shift + Command/Control + L). Then go to the “Adjustments” Panel and add a “Color Lookup Adjustment Layer”, choose “3Strip.look”.


2 - Select the “Custom Shape Tool” (U) and in the menu, choose the “Heart Card” Shape. Make it as big as you want.


3 - To fill the “Heart Shape” we are going to create a “Pattern”. Create a “New Document”, make it 500 x 500 Pixels, with a “Transparent” Background (use the same resolution used in your “Background” image). Place the Flower images you chose and arrange them to create a “Bouquet”.


4 - You may need to resize them using “Free Transform” (Command/Control + T) and to “Erase” some portions to make it more realistic. To give it some depth, double-click on the layer thumbnail and apply a “Drop Shadow”. Do the same with every layer to make it more tridimensional.


5 - Select All (Command/Control + A) and go to Edit > Define Pattern, give it the name you want. Save your Flowers as a PNG file because we will use them later.


6 - Go back to your original Artwork and select your “Heart Shape”, double-click on it and apply the following “Layer Styles”:
Blending Options:

Pattern Overlay:

7 - Name your Layer “Flowers1” and duplicate it (Command/Control + J) a couple of times. Rename the duplicates “Flowers2” and “Flowers3”. Double-click on “Flowers2” and change the position of the “Pattern” by dragging it around on top of your “Heart Shape”. Repeat with “Flowers3” until you fill all the gaps.


8 - Right-click on each of the “Flowers” Layers and choose “Convert to Smart Object”, then double-click on one of your “Flowers” and add a “Drop Shadow” with the following values to each “Smart Object”:


9 - To “Fix” the edges of the flowers, open the image you used as “Pattern” and place it on top of your other layers. Use the “Free Transform Tool” (Command/Control + T) to scale and rotate them. Duplicate the “Layer” as many times as needed to cover the edges of the heart and make the “cut” flowers disappear. You may also need to change the order of the “Layers” to send some particular one to the front or back.


10 - Once you are done, select all your new layers and convert them into a “Smart Object”, name it “Flowers4” and give it the same “Drop Shadow” values as the others.


11 - If it seems that the “heart” is too big, select all the “Flowers” Layers and using the “Free Transform Tool” scale them down a bit.

12 - Open the “Bow” image you chose and place it on top of your “Heart”. Resize it and Rotate it as needed. And don’t forget to add a “Drop Shadow” to it too.

13 - Let’s check your work:

by @lornacane