By Design Bundles
How to Make a Holographic Background in Photoshop
There are a ton of different background designs that you can create in Photoshop. Today, we’ll show you how to create a holographic background in Photoshop using several filters.

You can use this background design for various applications, such as backgrounds for social media posts, holographic sticker PNG designs, or printable paper. You can also use it in sublimation designs or simply sublimate it as-is onto mugs, face masks, etc.
If you’d like to purchase holographic backgrounds instead, there are several holographic designs available on Design Bundles.
Step 1 - Create the Colors for the Holographic Background
Convert Layer to a Smart Object
Right-click on the Background layer and select Convert to Smart Object.

Render Clouds
Go to Filter > Render Clouds.

Your layer should look similar to the image below.

Apply Filters From the Filter Gallery
Open the Filter Gallery
Go to Filter > Filter Gallery.

Grain Filter
In the Texture folder, select Grain, and use the following values:
- Intensity: 100
- Contrast: 0
- Grain Type: Clumped

Glowing Edges Filter
Without exiting the Filter Gallery, click on the Add New Filter button at the bottom of the window. Choose Glowing Edges from the Stylize folder, and use the following values:
- Edge Width: 2
- Edge Brightness: 6
- Smoothness: 7

Watercolor Filter
Add another filter and choose Watercolor from the Artistic folder. Then use the following values:
- Brush Detail: 3
- Shadow Intensity: 0
- Texture: 1

Film Grain Filter
Add another filter and choose Film Grain from the Artistic folder, and use the following values:
- Grain: 3
- Highlight Area: 0
- Intensity: 10

Dark Strokes Filter
Lastly, add another filter, choose Dark Strokes from the Brush Strokes folder, and set the following options:
- Balance: 1
- Black Intensity: 0
- White Intensity: 3
- Now click OK.

Apply a Wave Filter
Go to Filter > Distort > Wave.

Set the following values:
- Number of Generators: 5
- Wavelength Minimum: 25
- Wavelength Maximum: 150
- Amplitude Minimum: 5
- Amplitude Maximum: 35
- Scale Horizontal: 45%
- Vertical Scale: 65%
- Type: Sine
- Undefined Areas: Wrap Around

Apply a Surface Blur Filter
Now go to Filter > Blur > Surface Blur.

Set the Radius to 3 Pixels and Threshold to 120 Levels.

Apply a Liquify Filter
Go to Filter > Liquify (Shift + Cmd/Ctrl + X).

You can set the Brush Tool Options to what will work for you, but we used the following settings in the Liquify window:
- Size: 1606
- Density: 40
- Pressure: 100
- Pin Edges: Checked
You want to use a large brush. Then click + drag the brush back and forth over the image on the left to move the colors around. When you are happy with how it looks, click OK.

Step 2 - Create Foil Texture Layer
Create, Rename and Convert a New Layer to a Smart Object
In the Layers panel, click the Create a New Layer button. Double-click on the new layer’s name and change it to Foil. Then convert the new Foil layer to a Smart Object.

Apply Filters
Render Clouds
With the Foil layer selected, render clouds the same way we did with the first layer.

Apply a Gaussian Blur Filter
Now go to Filter > Blur > Gaussian Blur.

In the Gaussian Blur dialog, adjust the slider to blur the clouds. We set the Radius to 90 Pixels, but you may need to use a different setting depending on your canvas size.
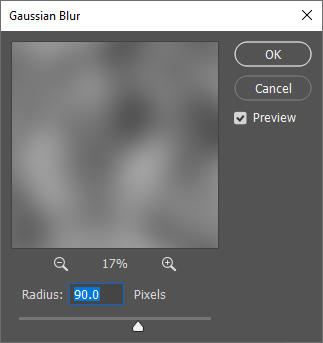
At this point, your Foil layer should look similar to the image below.

Apply an Ocean Ripple Filter
Open the Filter Gallery again and delete all of the previously added filters.

Then select Ocean Ripple under the Distort folder. Set the Ripple Size to 9 and Ripple Magnitude to 11, then click OK.

Change Foil Layer’s Blending Mode
Change the Blending Mode of Foil layer to Screen and lower the Opacity to 80%.

Step 3 - Make Adjustments to Filters if Needed
Because both layers are Smart Objects, you can easily make adjustments to the filters. Simply double-click on the filter in the Layers panel that you want to change.

Step 4 - Add a Brightness/Contrast Adjustment Layer
Select the bottom layer. Then open the Adjustments panel (Window > Adjustments), and click the Brightness/Contrast icon that looks like a sun.

Adjust the Brightness and Contrast to your liking in the Properties panel. We set Contrast to 30 to make the colors pop out more.

Our holographic background is complete! You can make several holographic backgrounds following this guide, as no two will be exactly the same.
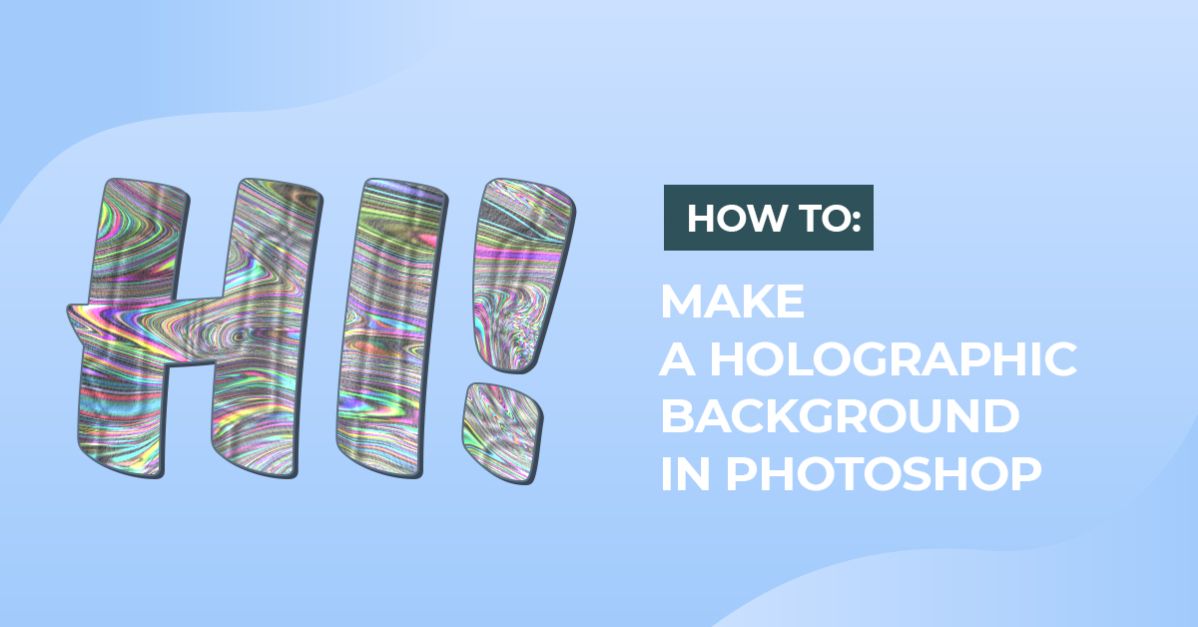
To learn how to create a holographic effect using a slightly different method, you can read our guide on creating a holographic text effect in Photoshop.