By Design Bundles
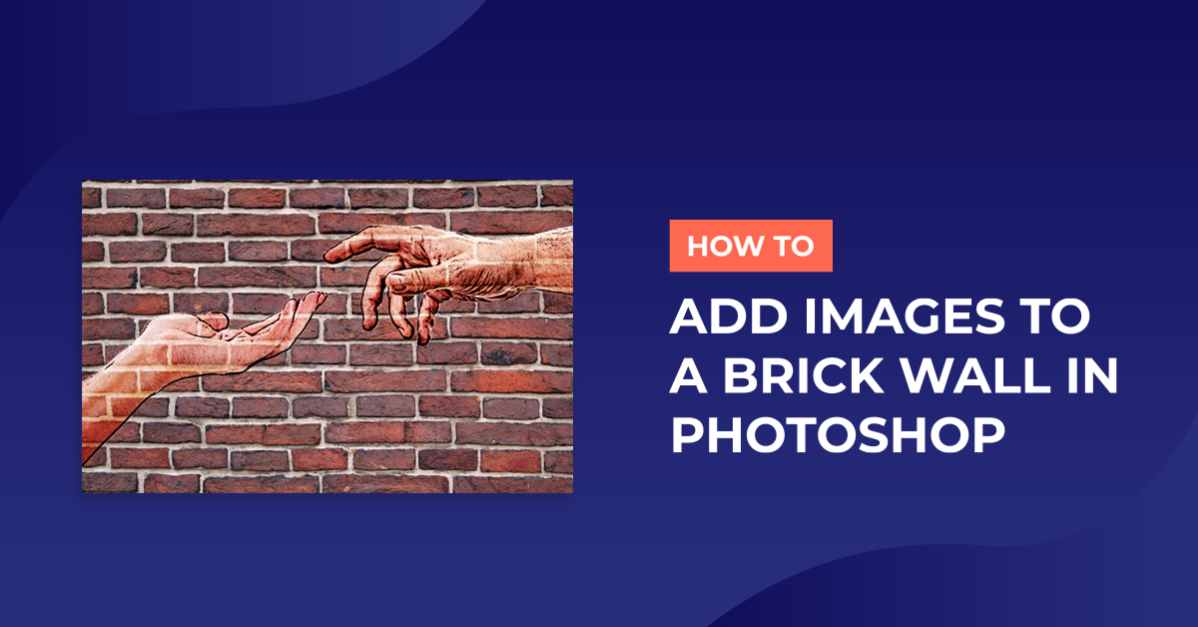
Image on Brick Wall in Photoshop
For this Tutorial, we will use an image of a brick wall for our background, an image of “Graffiti” and some other image to “paint” into the wall.
1 - In Photoshop, open your “Background” image. Check if you need to fix any color or brightness/contrast issue (we applied “Auto Contrast” from the “Image” Menu).


2 - Go to Layer > Duplicate Layer, in “Document” choose “New” and name it “Displacement”. Click “OK”.


3 - In your new “Displacement” document go to Filter > Blur > Gaussian Blur and use a 3.0 Pixel “Radius”.


4 - Desaturate your image (Shift + Command/Control + U), then make sure your image has a good contrast (we applied “Auto Contrast” again). Now, save your document as (Shift + Command/Control + S) a .PSD (Photoshop) file in a location with easy access. Close your document.


5 - Open the image you want to “Paint” on the wall. Is a good idea to choose an image that has a simple background so we can cut it out easily. *

6 - Drag the image into the brick wall file (or copy and paste it). To resize it use Command/Control + T and Command/Control + 0 zoom out and find the “Transform Tool” corners, then use Command/Control + 0 to zoom in again. Once you are happy click “Enter”.


7 - Right-click on your image and choose “Convert to Smart Object”. Give your layer a name.


8 - Select the “Quick Selection Tool” (W) and drag it on top of the pieces of the image you want to keep. Repeat until you are satisfied. Zoom in to be more accurate.
If you want to subtract from your selection, just use the “Subtract from Selection” option on the top menu.
You can use the “Polygonal Lasso Tool” (L) to add/subtract from some of the difficult areas. Click the “Select & Mask” button in the top menu and use a 2 Pixel “Radius” in the “Edge Detection” section and a 2.0 Pixel “Feather”.
Then, output to “Layer Mask”. Or you can cut out the image altogether by choosing “Other Layer” as “Output”.


9 - Go to Filter > Sharpen >Unsharp Mask and use the following values:


Then, go to Filter Gallery > Artistic > Dry Brush and use these values:


Go to “Filter Galley” again and this time use “Colored Pencil” with these values:

10 - Duplicate your layer and remove the filters from the duplicate (drag their thumbnails to the trashcan icon at the bottom of the “Layers” Panel). Double-click on your “Background” Layer to unlock it and position it between the two “Image” Layers with the one with the filters on top.

11 - Change the “Blending Mode” of the “Background” Layer to “Overlay”. Select the top “Image” Layer and change its “Blending Mode” to “Linear Burn” and lower the “Opacity” to 25%.


12 - Select the “Image copy” Layer (the one with no filters) and duplicate it (Command/Control + J). Place it on top of everything. Go to Filter Gallery > Artistic > Plastic Wrap, use the following values. Change the Layer’s “Blending Options” to “Hard Light”.


13 - Duplicate your “Image copy” Layer again, place the duplicate on top and go to Filter Gallery > Sketch > Photocopy and use the following values:

Click the “New Filter” button at the bottom and this time use “Torn Edges” with the following:

Change the “Blending Mode” to “Color Burn” and lower the “Opacity” to 90%.

14 - Select “Image copy 2” (the one with the “Plastic Wrap” Filter) and go to Filter > Distort > Displace, use 10 for “Horizontal” and “Vertical” Scale, navigate to your “Displacemet.psd” file, select it and click “OK”.


15 - Your image should look like this:

* (All the values used in the filters may change depending on image you chose).
by @lornacane