By Design Bundles
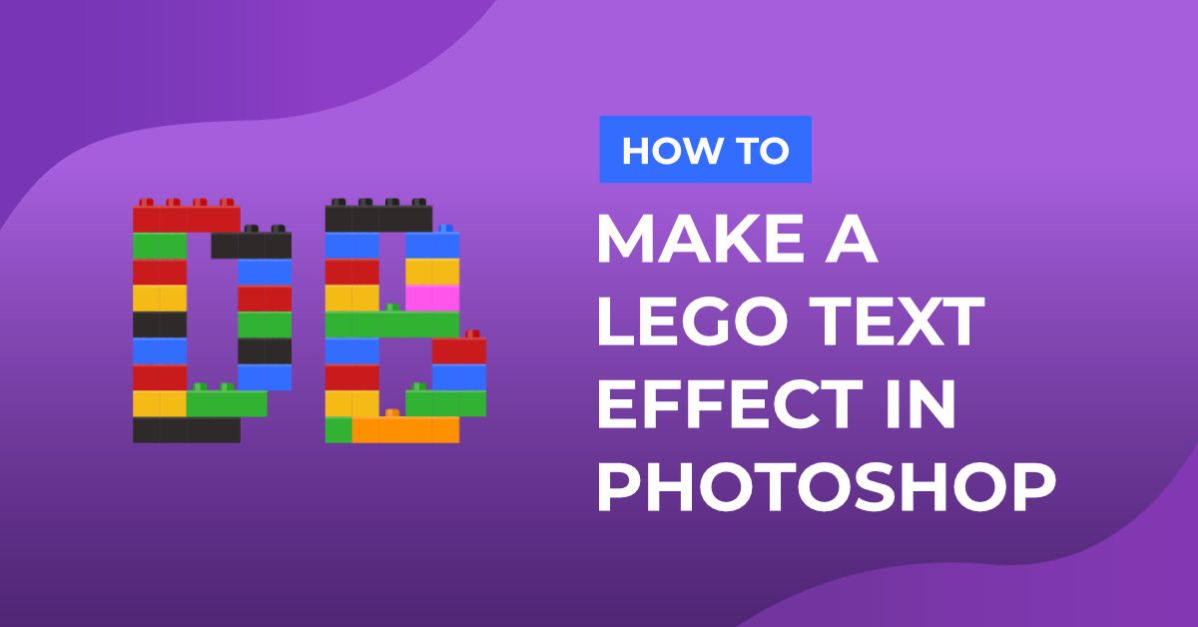
Lego Text Effect Photoshop
For this tutorial, we will be using a free font called Peace.
1 – In Photoshop create a New Document or open an existing one. Add a “New Layer” by clicking on the button at the bottom of the ”Layers” menu and fill it with a bright color (we used #05ba09).


2 – Select your “Type Tool” and type your text. You can use any font you like, but its better if it’s an extra bold and/or squared one. We used a free font called “Peace Sans”. Fill it with a bright contrasting color (#f98904). Increase the “Tracking” to leave some space between letters.


3 – Double-click on your layer and add a “Stroke Layer Style” with the following settings: (color #fc6703).

4 – Right-click on your layer and select “Convert to Smart Object”. Then go to Filter > Pixelate > Mosaic and apply a “Cell Size” of 15 square.


5 – Create a New File with 15 x 15 pixels canvas and fill the “Background” with a medium gray (#aaaaaa). Zoom in to have a better view. Double-click on the “Background” to make it editable and add a “Stroke Layer Style” with these values:


6 – Select the “Ellipse Tool” and draw a circle in the middle of your canvas (hold the “Shift” key while dragging to make it round and fill it with a lighter gray (#cccccc).


7 – Double-click in the circle layer and apply the following “Blending Options”:
Bevel & Emboss:

Drop Shadow:

8 – Now go to Edit > Define Pattern and name it “Lego15x15”. Then return to your first artwork, double-click on your “Smart Object” layer and add a “Pattern Overlay” layer style. Choose the Lego Pattern and use “Overlay” as “Blending Mode”.


9 – To fix the edges of your text you will need to rasterize the “Smart Object” so make sure you are satisfied with your results. Then right-click on the layer and choose “Rasterize Layer”.

10 – With the “Rectangular Marquee Tool” (M) select some of the letters you want to erase then hit delete (Backspace). Repeat this with all the parts you want to erase. Then select other semi-transparent parts you wish to fill fully (you can use the “Magic Wand Tool” (W) if you prefer and fill them with the “Paint Bucket Tool” (G).


11 – You may need to trim some of the incomplete Lego pieces to make your text more realistic. And you can add some “Bevel & Emboss” to your layer with the following values:


12 – Your text should look like this:

by @lornacane
Save