By Design Bundles
Mosaic in Photoshop
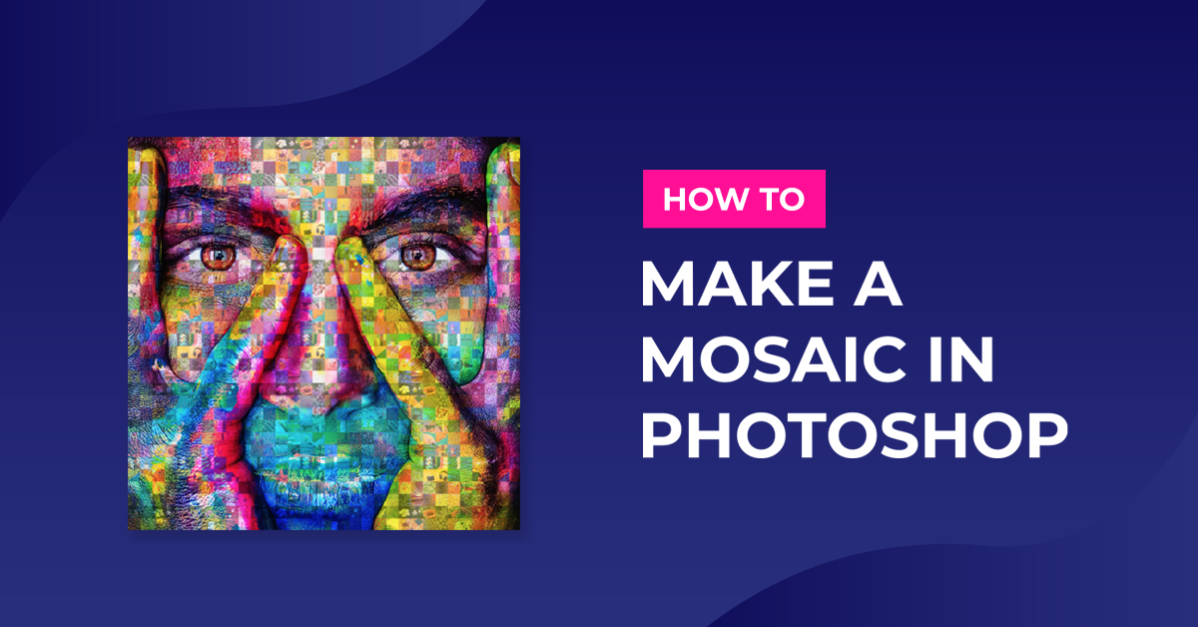
Creating a photomosaic is probably one of the coolest image manipulation techniques that you can do in Photoshop. Photomosaics look amazing and are also a great way to showcase your photography if that’s one of your hobbies. This tutorial will show you how to make a mosaic and create a photomosaic in Photoshop.
For this tutorial, you will need an image for the background, preferably a portrait. In addition to that, you also need at least 100 small photos to be used in the mosaic. If you don’t have your own images, you can find many great images on Design Bundles to use.
Step 1 - Create a Folder for Landscape Images and One for Portrait Images
On your computer, create two folders, one for portrait images and one for landscape images. Place your images in the folders accordingly. We named our folders Landscape and Portrait.

Step 2 - Create a New Action to Resize Images
In Photoshop, open one of the images inside the Landscape folder. Go to the Actions Panel (Window > Actions), and click on the small Create a New Action button at the bottom of the panel.

Give it a name and click Record. We named this action Resize Landscape.

Step 3 - Set Image Size Option Settings
Go to Image > Image Size.

In the Image Size dialog, use the following settings:
- Width: 1
- Width Unit: Centimeters
- Height Unit: Centimeters
- Resample Checkbox: Checked
- Resample: Automatic
- Resolution: 200
- Resolution Unit: Pixels/Inch
Take notice of the Dimensions at the top. In our case, the dimensions are 79 px x 53 px. Click OK.

Step 4 - Stop Recording Action
In the Actions Panel, click the square Stop button. Then close your image without saving.

Step 5 - Repeat Steps 2, 3, and 4 for the Portrait Folder
Repeat starting from Step 2 with the Portrait Folder, but name the new action Resize Portrait.

Then repeat Step 3, but this time, set the Height as 1 cm.

Lastly, remember to repeat Step 4 to stop recording the action.
Step 6 - Run Image Processor on the Folders With the Corresponding Action
Go to File > Scripts > Image Processor.

Click the Select Folder button. Navigate to and select one of your image folders. We selected the Landscape folder first. Then mark the Save as a JPEG checkbox.

Next, mark the Run Action checkbox and choose the action you created for that particular folder. In our case, we selected the action, Resize Landscape.

Click Run and wait until Photoshop finishes applying the action. Then repeat this step for the Portrait folder using the Resize Portrait action.

Step 7 - Gather Images and Create a Contact Sheet
Place all the newly resized images into a single folder. Our folder is named JPEG.

Then go to File > Automate > Contact Sheet II.

Select Folder for the Use option and click the Choose button. Then navigate to and select the folder containing your resized images.

Use the settings below:
- Units: pixels
- Width: 790 (79 x 10)
- Height: 790 (79 x 10)
- Resolution: 200 pixels/inch
- Flatten All Layers: Unchecked
- Place: across first
- Columns: 10
- Rows: 10
- Font: Unchecked
Note: the number of images you are using should be divisible by the number used in Rows and Columns. In our case, we are using 100 images, and 100 is divisible by 10.
Click OK when all the options are set.

Step 8 - Fix Mismatched Image Sizes and Remove White Spaces
We want the images to be uniform and without any white spaces showing, so to fix that, select the Move Tool (V) and ensure that Auto Select is enabled in the Control panel. Then click on the image you want to fix.

In the Layers panel, unlink the image and the layer mask by clicking on the chainlink icon found between the layer’s image thumbnail and the layer mask. Then select the image thumbnail and enable Free Transform by pressing Command/Control + T. Resize or rotate the image as needed. Then, relink the image thumbnail and layer mask by clicking the space where the chainlink icon previously was.
Repeat this with all the images that need it until there are no white spaces between them.

Step 9 - Get Rid of White Edge Using the Crop Tool if Needed
If you see any white alongside any of the canvas sides, just use the Crop Tool (C).

Step 10 - Create a New Mosaic Pattern
Go to Edit > Define Pattern.

Give it a name, such as Mosaic, and click OK.

Step 11 - Add a Pattern Fill Adjustment Layer On Top of the Background Image
Open your background image.

Then click on the New Adjustment Layer button that's the black and white circle at the bottom of the Layers panel.

Choose Pattern from the menu.

In the Pattern Fill dialog, select the mosaic pattern you just created and set Scale to 65% or whatever suits you. Click OK.

Step 12 - Change Blending Mode of Pattern Fill Layer
Change the Blending Mode of the Pattern Fill layer to Overlay in the Layers panel.

Step 13 - Adjust Pattern Scale if Needed
If you want to change the pattern's Scale at this point, you can still do so by double-clicking on top of the Pattern Fill layer thumbnail. We adjusted the Scale to 90% for the image below.

Step 14 - Add a Brightness/Contrast Adjustment Layer if Needed
You can also add a Brightness/Contrast adjustment layer between the Pattern Fill layer and Background layer to brighten the image if you’d like. With your background image layer selected, open the Adjustments panel (Window > Adjustments) and click the Brightness/Contrast icon that looks like a sun.

You can adjust the sliders to your liking. In the image below, we set Brightness to Max.

Then, we changed the Pattern Fill layer’s Blending Mode to Multiply and lowered the Opacity to about 60%.

Below are the two images for comparison. The left image is after, and the right image is before.

As you can see, you can create some fantastic images using mosaics. We hope you had fun following along, and we hope you use this technique to enhance your photos in the future.