By Design Bundles
Rainbow Cake Text Effect in Photoshop
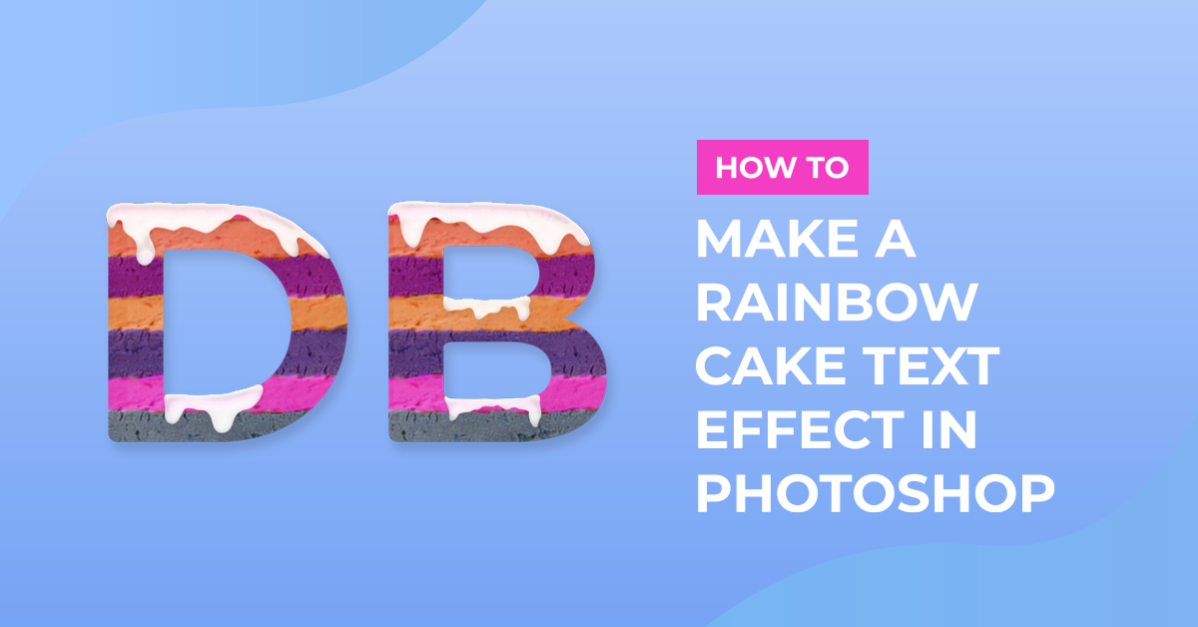
In this tutorial, we are going to use the “3D Text” and “Patterns” created in Part 1 to add cake to your text.
1 – Open the 3D text file you created in the first part of this tutorial. Delete the “Shadow” layer and merge all the other visible layers into a single one by selecting all of them, right-clicking and choosing “Merge Layers”.

2 –Go to Layer > Layer Style > Global Light and change the “Angle” value to 120° and give it an “Altitude” of 30°. Rename your layer “Yum! 1.


3 – Duplicate your “Yum! 1” layer twice (drag the layer thumbnail onto the “Create New Layer” button at the bottom of the “Layers” Panel) and number the duplicates 2 and 3.

4 – Select “Yum! 3”, double-click on it to apply some “Layer Styles”:
Color Overlay: (#fddca8)

Pattern Overlay: (CakeOK6)

Drop Shadow:

5 – Select “Yum! 2” select the “Move Tool” (V) and move it about 5 clicks down. Double-click on that layer and apply the following “Blending Options”:

Bevel & Emboss:

Pattern Overlay: (CreamOK2)

Drop Shadow:

6 - Select “Yum! 1” select the “Move Tool” (V) and move it 33 clicks down. Double-click on that layer and apply the following “Blending Options”:
Bevel & Emboss:

Color Overlay: (#fddca8)

Pattern Overlay: (CakeOK6)

Drop Shadow:


7 – Double-click on your “Yum! 3” layer and add “Bevel & Emboss”:

8 – Then duplicate that layer and move it 15 clicks up.

9 – Create a New Layer by clicking the “Create New Layer” button at the bottom of the “Layers” Panel and name it “Cream”. Select the “Brush Tool” (B).

10 – Draw some dripping cream on top of the letters. You can also use your “Lasso Tool” (L) if you want. Then double-click on the layer and apply the following “Layer Styles”:

Bevel & Emboss:

Satin (#a2f0f5)


11 – Now, you have two options, add a “Background” layer and give it a nice “Fill” color, or open the image you wish to use as “Background” (we used the image of a plate). It is a good idea to select your cake layers and group them by clicking on the little folder icon at the bottom of the “Layers” Panel”.


12 – If you want to rotate, resize or move your text, right-click on top of the “Cake” Folder and select “Create Smart Object”, then you can play with your text without messing with the “Layer Styles”.


13 – You can even apply different “Layer Styles” to your “Smart Object”. Double-click on it on the “Layers” Panel and apply the following:
Inner Glow:

Drop Shadow:

14 – Don’t forget to save your work.

by @lornacane