By Design Bundles
How to Convert a JPEG to SVG in Inkscape
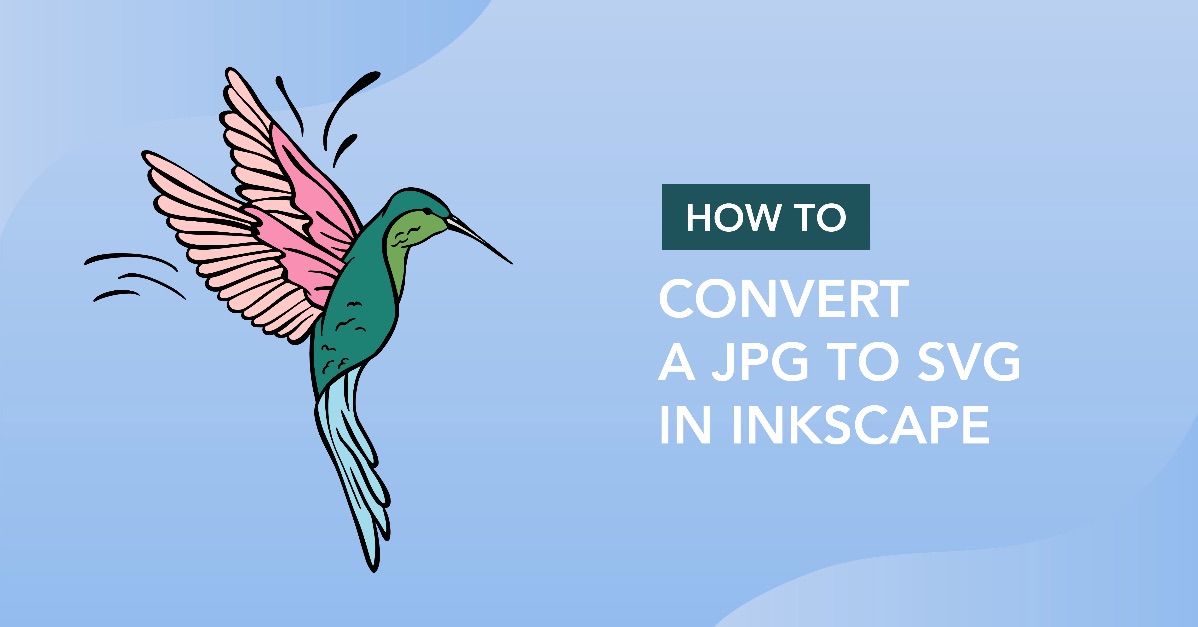
Convert a JPG to SVG in Inkscape following these easy steps. For crafters, a SVG format is their go to for crafting. It allows you to separate elements and edit as needed. But what if you only have a JPG file? In Inkscape, there is a tracing feature that allows you to trace an image and turn it into a SVG file. This file can then be used with your cutting machine.
To show how the tracing feature works we will be using this colorful hearts sticker bundle. We have an awesome variety of cute digital stickers or SVG Imagesif you would like to try a different design.
We have already downloaded and unzipped the file on our PC. If you need more information on this have a look at how to unzip a file on your PC.
Step 1 - Use the Trace Panel
Once you have opened Inkscape, import your JPG file by going to File > Open. When you open an image in Inkscape a window called PNG Bitmap Image Import will appear. Leave the settings as is and click OK.
Something to note regarding the Trace Bitmap option. It is not a perfect tool that will give you consistent results. Results will vary from image to image and some options available will have no effect. This is more a feature that requires you to experiment until you find the result you want.
Locate the Trace Bitmap Feature
We will be using the Trace Bitmap feature to turn our JPG into a SVG. This tool can be found by going to Path > Trace Bitmap. The Trace Bitmap panel will open on the right hand side.

Trace the image
Make sure to select Trace Bitmap, the first option and then Multiple Scans. Singles Scans is generally used for black and white images. As our image is in color, we will use the Multiple Scans option. Click on the image to select then click on the drop down menu under Multiple Scans. Now choose Colors.
We left the Scans at 8, just a little more than the amount of colors in the image. A good amount is between 8-10 scans. Smooth, Stack and Remove Background were all ticked. Stacking will separate the colors into stacked layers, which are easier to handle.

We left the rest of the settings as is and clicked on Update to get a preview of the scan.
Once you are happy with the settings, click Apply. The image below is the result of the Trace Bitmap scan settings. The original JPG is on the left while the traced result is on the right.

Step 2 - Ungroup the elements
Now that we have traced the image we want to ungroup all of the elements. You can delete the original JPG image as we no longer need it. Right click the traced image and select Ungroup.

In the image below, we have separated all of the elements, or in this case, the colors. This will also allow you to see if anything needs to be cleaned up. Luckily, the design trace was nice and clean, ready for use.

The yellow is the most complete design. You can choose to remove the other designs if you only want the design itself.
Step 3 - Save traced image as SVG
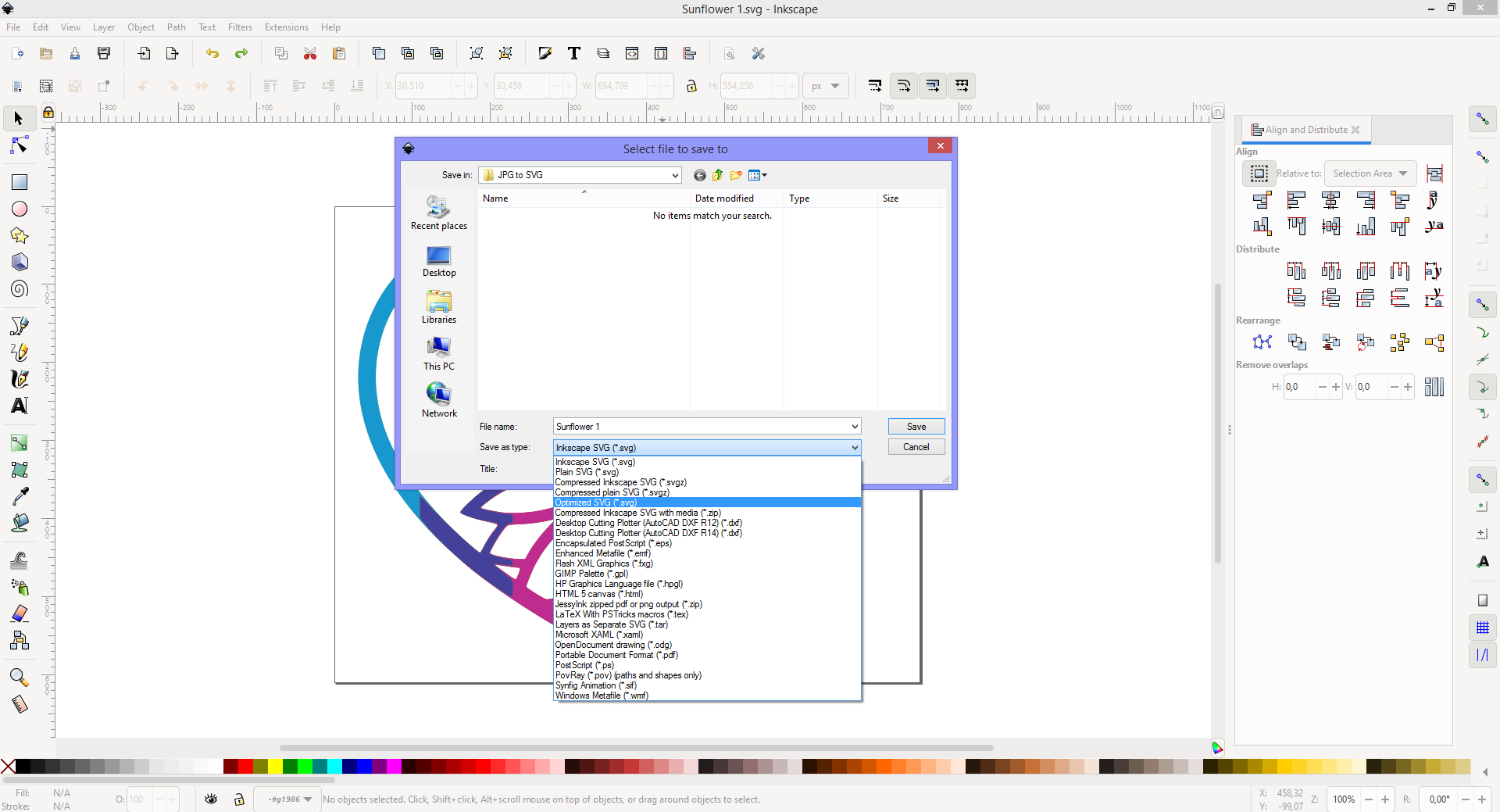
The final step is to save the traced image as a SVG. Once you are satisfied with your traced image, go to File > Save As. In the window called Select File to Save to, choose a location and give the file a name. For the Save as type option, click the drop down menu and choose Optimized SVG then click Save.
You can now open your SVG in the software used for your cutting machine. Here we tested our SVG in Silhouette Studio.

As quick as that you can convert a JPG into a SVG in Inkscape. This is especially great for purchased items that only have a JPG file attached. That's it for this tutorial, we hope you enjoyed it and that the information will help you in your future projects. Don't forget to check out our Free SVG files for Cricut, they'r'e super handy for practicing design work!