By Design Bundles
How to Edit and Create a Custom Canvas Size in Procreate
Creating your artwork on the perfect sized canvas will save you the pain of having to crop or lose quality when scaling up. Your canvas size is the first and most important step that you take when illustrating. But, don’t panic, in this tutorial, I’m going to take you through the steps of creating a custom canvas size and how to edit your canvas size after you’ve already made it.
Please note: To edit your Canvas size you will need Procreate v4.2 or newer. If you have an older version you won’t have the “Crop and Resize” feature.
Step 1 - Add a New Canvas

With Procreate open, tap on the Plus symbol on the far right top corner to add a new Canvas. A “New Canvas” tab will show, tap on the layer + Symbol on the right. (See image below).
Step 2 - Edit Custom Dimensions

The “Custom Canvas” settings will now display on your screen. Let’s have a quick look at some of the settings you’ll want to change. One of the first things you would want to edit is the name of your new canvas size. Simply tap on the “Untitled Canvas” text and enter a name.
Next, enter your custom canvas Width and Height. At the bottom of the screen, you can type your size on the keypad and select a preferred measuring unit. You can also set a custom resolution (DPI) for your canvas, but keep note of the “Maximum Layers” displayed below it. Max layer quality is determined by canvas size and DPI.
Once you have added your custom changes tap “Create” when you are done.
Step 3 - Crop and Resize
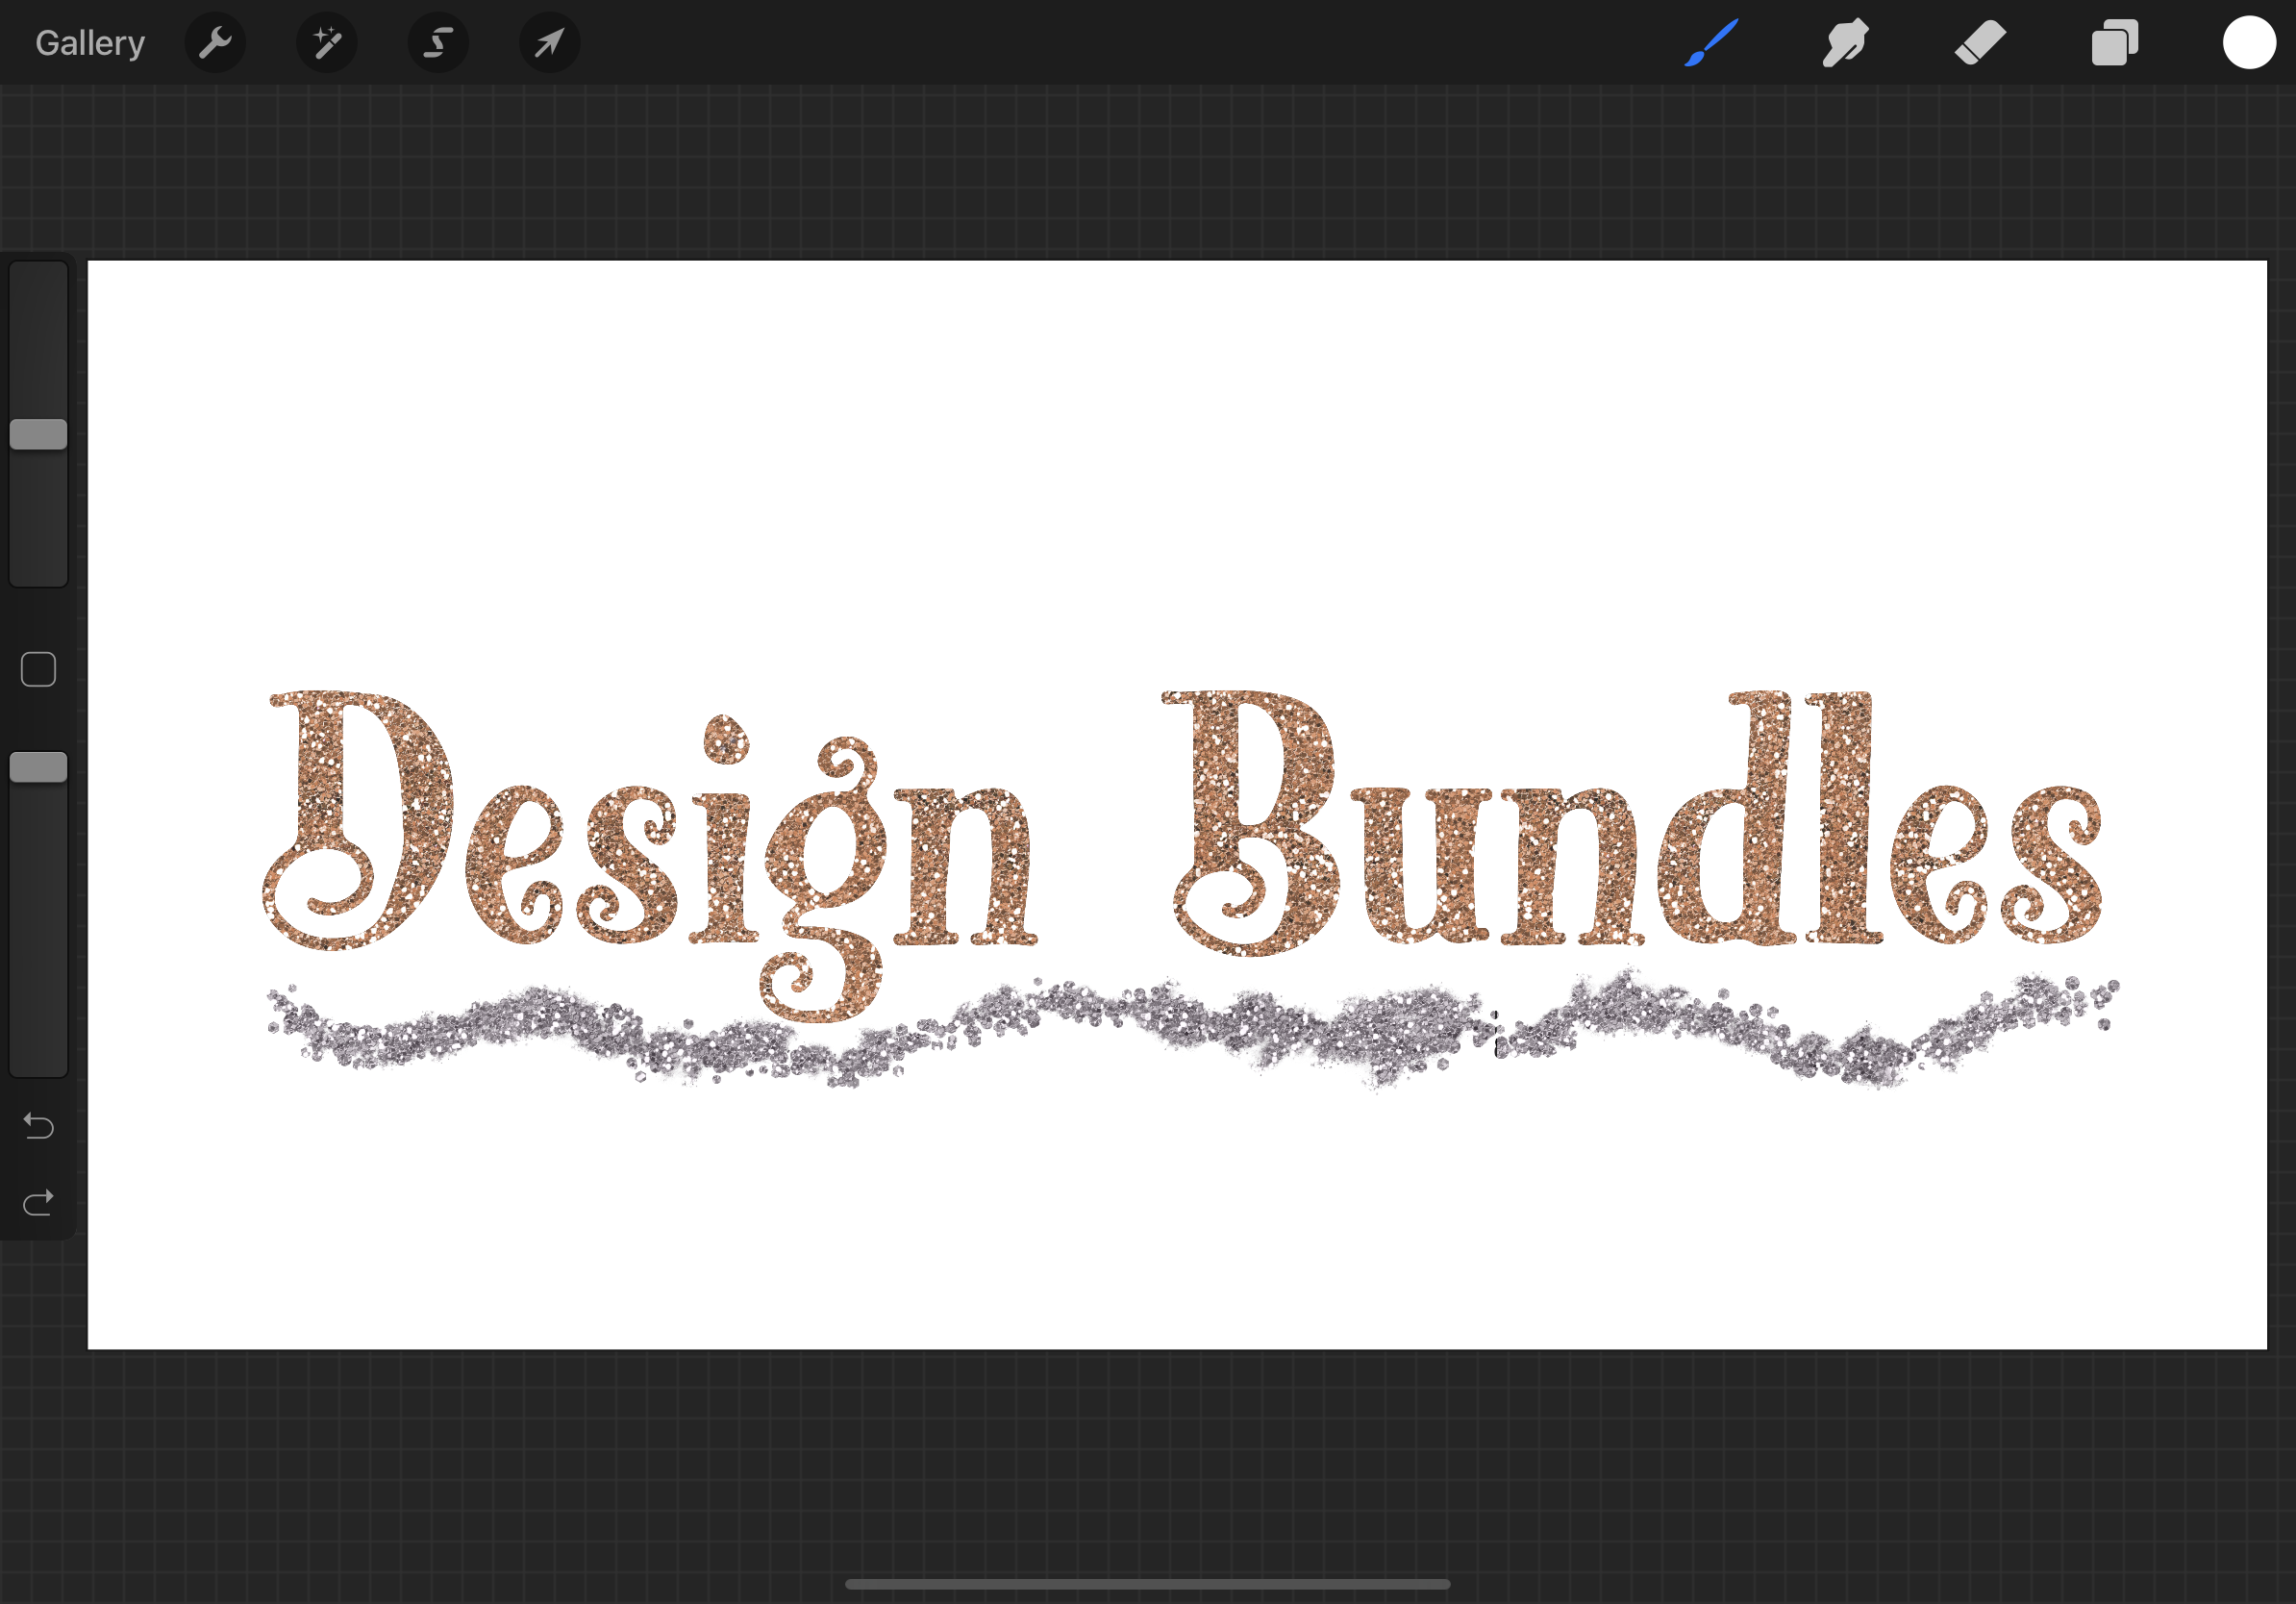
You can change your canvas sizing and DPI without needing to make a new canvas from scratch again. Here we've used a Cute Display Font called Racues from the Plus Hub and I need my canvas wider to fit the text nicely.
To change the size of your canvas, head to the “Actions” panel (wrench) icon on the far left top corner. Tap on “Canvas” and select “Crop and Resize”, which is the first option available.

There are 2 methods you can use to re-size your canvas, drag to resize or input a new size. It is completely up to you which method you want to use. Below I’ll show you what each method offers to resize your canvas.
Method 1: Freeform Crop
You can resize your canvas by pressing and dragging any of the transformation indicators (located on all corners and sides of the canvas). As you drag to resize your canvas you will see a size display indicator that shows the new Width and Height. At the top of your canvas, you will see a Layer indicator which will change as you resize your canvas.

Method 2: Numerical Crop

You are able to input your custom canvas size by tapping on “Settings”. You will see the Settings panel pop up, from here you can edit your size, resolution along with a few additional settings.
Additional Settings
- Resample canvas: This keeps your artwork relevant to the current canvas size. If you make your canvas larger or smaller than what it currently is, your artwork will be resized with it.
- Snapping: When using the freeform cropping method your grid line will snap to the edge of your artwork, allowing for a close and precise crop.
- Rotation: This will rotate your canvas and artwork while keeping your grid lines in place.
Once you are done with setting your new canvas size tap on “Done”.
Our canvas has been resized and I can now display my Design Bundles text inline without having to redo it.
Now you know how to make and edit custom canvas sizes. Check out some of our other Procreate beginner tutorials such as using Alpha Lock, using clippings masks, and how to duplicate an object.