By Design Bundles
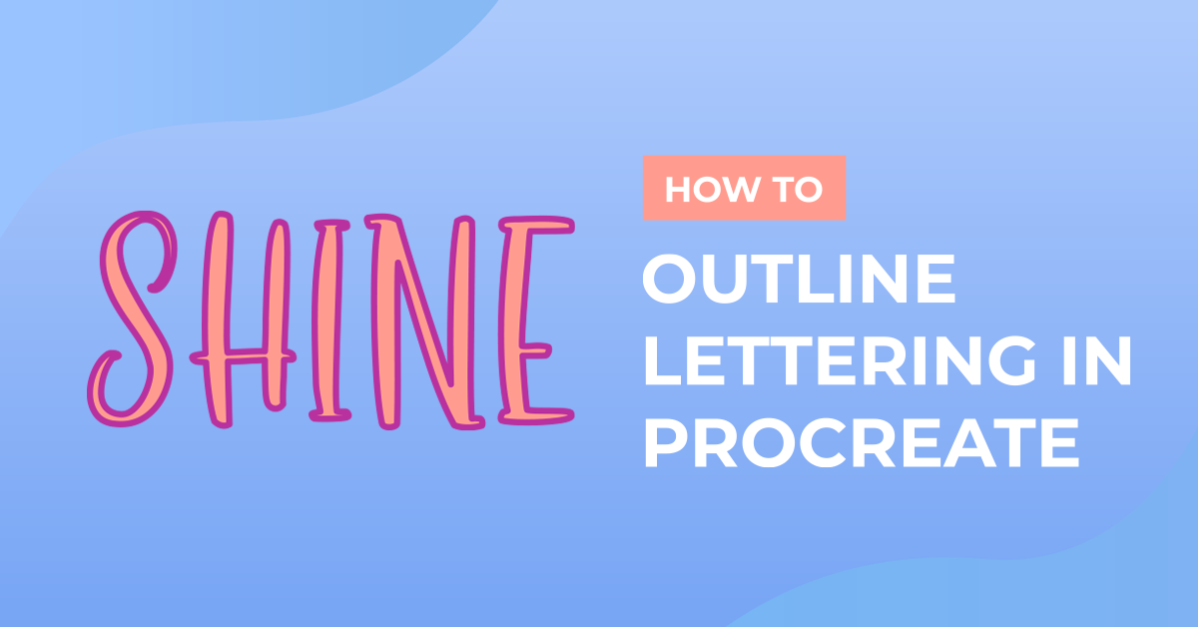
How to Outline Lettering in Procreate
In this tutorial, we will cover how to outline lettering in Procreate. You can also use this same method to outline other objects in Procreate.
There are tons of great modern serif fonts available on Font Bundles, and in this tutorial we will be using the Wild Mango font from KA Designs. If you are using a text, make sure that your layer is rasterized before beginning.
Make sure to choose your background color and color for your lettering before beginning.

Let's get started.
Step 1: Duplicate the layers
Once you have your lettering or design how you want it then you will need to duplicate the layer twice. You should then have three layers of your design.

Step 2: Create a Gaussian blur
Select the second layer – this should be the middle layer. Then select adjustments in the top left corner. Select Gaussian Blur > Layer.

Step 3: Adjust the gaussian blur
Slide your pencil from left to right on the canvas to adjust the gaussian blur slider. Depending on the size of your canvas, you may need to slide a little less or a little more than in this tutorial. I like to go about 7-8%. Don't over do the blur as it will cause problems in the next steps.
Once you do this process a couple times, you will get the feel and understand what percentage you should do in the future.

Step 4: Combine the layers
Combine your bottom two lettering layers to create one layer.

Step 5: Select the design using the selection tool
Select the "select" tool in the top left tool panel. Make sure "automatic" is selected in the bottom panel. Touch your lettering or design and slide your pencil to the right. Only slide until you see a line around your lettering.
You do not want to select the whole canvas. If the canvas is all blue, you have selected too much.

Step 6: Create new layer
Next, create a new layer.

Select the hard blend airbrush and choose a new color.

Step 7: Fill in the outline
Proceed to draw on your new layer to fill in the outside of your lettering. You will then see the outline form.

Step 8: Turn off the "select" tool
Once your outline is complete, you can then deselect the "selection" tool.

Now you have created an outline in Procreate! If you liked this tutorial make sure to check out our other lettering tutorials like how to create ribbon lettering in Procreate and how to create watercolor lettering in Procreate.