By Nadine Spires
How to Paint with Alcohol Markers in Procreate
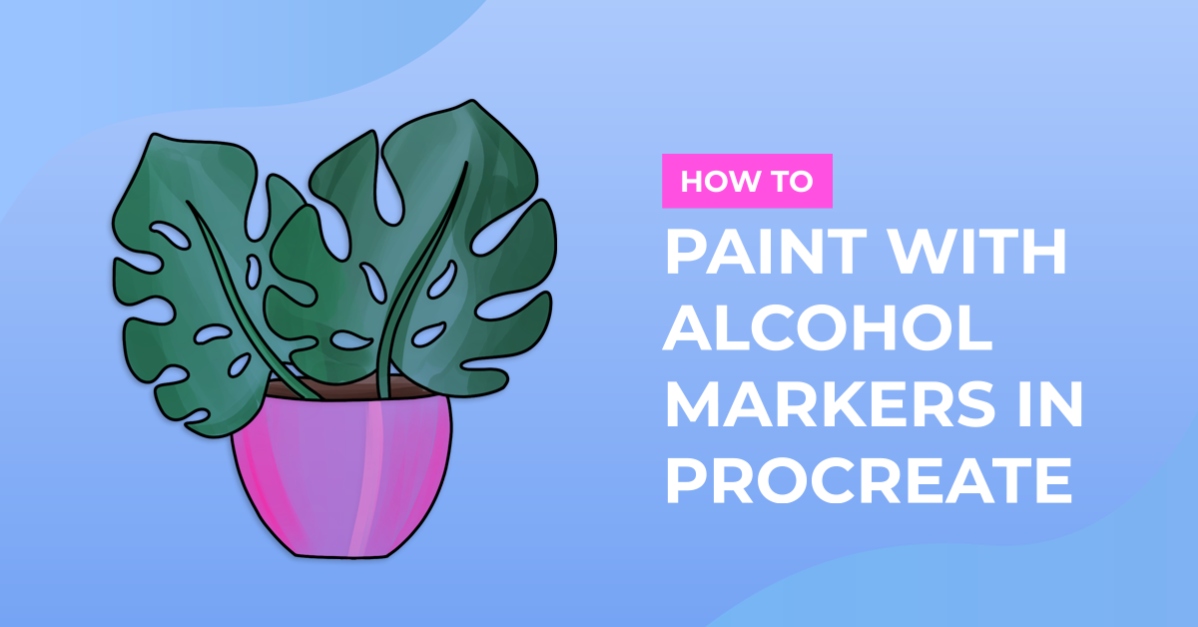
In this fun tutorial you will learn how to paint with alcohol markers in Procreate. Alcohol markers are a favorite for their flow of ink depending on the pressure. This allows for creative blending in designs. The great thing about using Procreate is that you can work on layers and undo any mistakes.

For our tutorial we are using a set of alcohol markers but you can achieve a similar effect with Procreate Watercolor brushes. You can go ahead and install your brushes in Procreate.
Step 1 - Create your Design
We decided to draw a cat for this tutorial. To create the solid line we used the Smooth Inker brush from the purchased brush set. The Brush Size was set at 10% and black used as the color.

Step 2 - Add New Layer and Select Color Palette
Each time we paint over an area we will create a new layer. Tap on the Layers icon to open the layers.
We have our drawing on two layers. The eyes, mouth and whiskers details are placed on one layer called Cat Face. The main body outline is called Cat Body. Tap on the “+” icon top right to add a new layer. Then tap + hold and drag the layer down below the Cat Body layer.
We have more information on using layers in Procreate if needed.
Tap this new layer and select Rename. We named this layer Painting Body.

We created our own color palette, but you can create and use a color palette of your choice. We also have a wide selection of Procreate color palettes ready to use for your projects.
We used a trio combination of light, medium and dark for each color. You are welcome to use the HEX codes below.
#f89239
#feae53
#ffca38
#fb849a
#f99bac
#feaab9
#000000
We will start with the light orange, the third color from the left.
Step 3 - Build up Color for Definition
For the drawing we are going to build up our color to give depth. Each shade of color will be placed on a new layer above the previous one.
We need to begin with the lightest color. The amount of “ink” flow in a brush stroke will depend on the pressure applied.
In the image below, the three brush strokes all have the same size and opacity. The only difference is the amount of pressure applied. This mimics alcohol markers for a more realistic look.

Use the Rad Brush Tip
Tap on the Brush menu and select the Rad Brush Tip from the purchased brushes. Change the Brush Size on the left to 80%, Opacity 100%.

Make sure the Painting Body layer is selected then start painting over the design. Start with light strokes and don’t worry about going outside the lines. You can tap on the Eraser, select the same brush and clean up the design.

Add Medium Shading
We are going to use the same brush and size but with a medium color for some shading. Select the medium orange color, second from the right on the palette.

Create a new layer above the Painting Body layer.
With short, light brush strokes, add the medium color to the inner edges of the design. You can use the image below as reference.
 Create a new layer (Layer 5 in the image) above the previous shading, then select the light orange again. Using light but longer strokes, start blending in the medium and light color. Remember to follow the direction of the previous brush strokes.
 Add Some Dark Shading
As mentioned before, for each shading a new layer is created. Create a new layer then select the dark orange, first color from the left. As with the medium shading, add light, short strokes to the inner edges.

The blending process from here requires blending first with medium orange, then light orange.
Create a new layer, select medium orange and use light but slighter longer brush strokes. Then repeat with a new layer, light orange and apply the brush strokes over the entire body.
The result below is after blending our colors. Remember to use the Eraser to clean up the edges.

Now, add color to the ears using the trio combination of pinks.

Smooth Out Blend
Digital alcohol markers do a great job of mimicking the real thing. However, to get a good blend takes time. The texture of the rough blend adds character. You can smooth it out quickly with the included Blender Brush. It adds a light layer of paint to fill in the gaps.
 Be sure to paint on a new layer and reduce the Opacity to about 20%. Paint over areas you feel need to be blended more.
Step 4 - Add in Final Details
In the final part on how to paint with alcohol markers in Procreate, let’s add in the details.
We used the Rad Round Marker with a Brush Size of 80%. Opacity was set to 100%.
A new layer was created for the orange stripes and the dark orange color used. For the chest and paws, white was used. Then we added some pink to this cute cat’s cheeks.
 We have finished painting our little cat. Why not experiment with the other markers to get different results? We used the Spray 1 brush to add some fun texture to the stripes and cheeks.

Well done on learning how to paint with alcohol markers in Procreate. You can bring your drawings to life in Procreate with these techniques and more. We hope that you enjoyed following this tutorial.