By Design Bundles
Scan N Cut Tutorials4 min
Adjusting objects and text using the node function in brother scan and cut canvas workspace
1- Open canvas workspace.
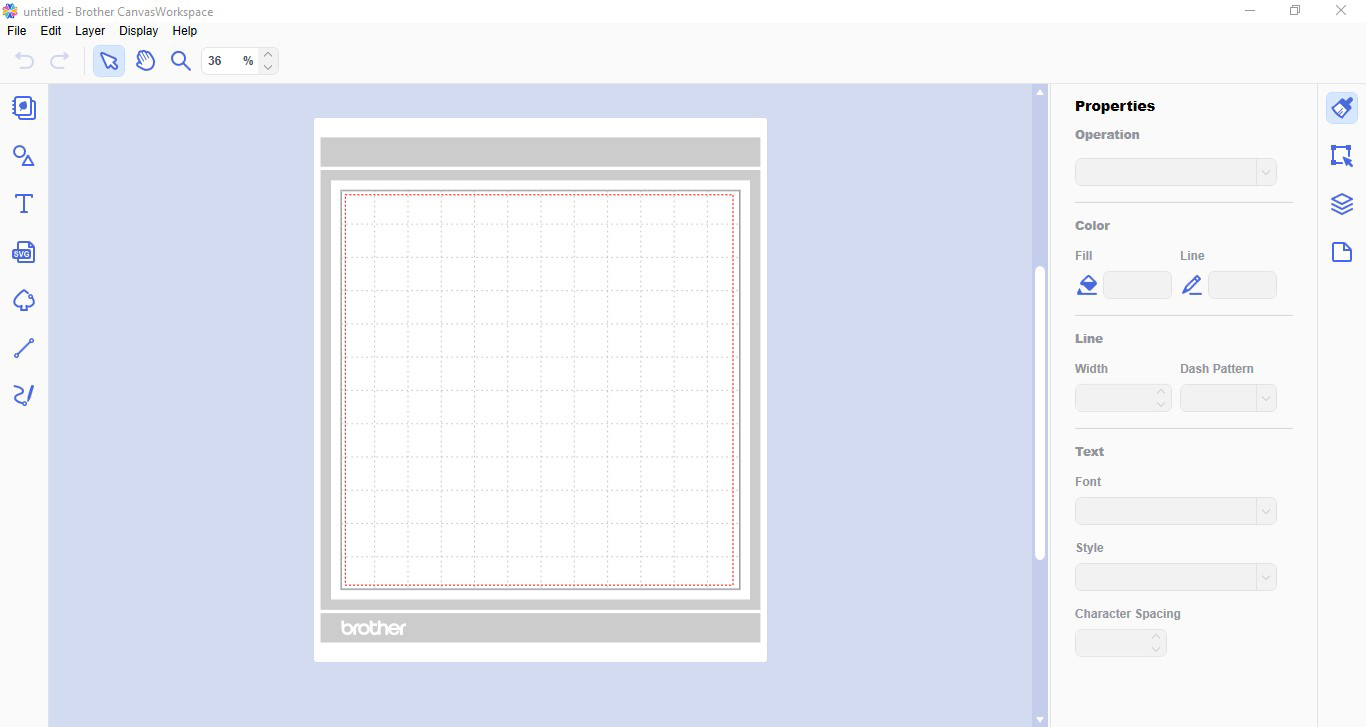
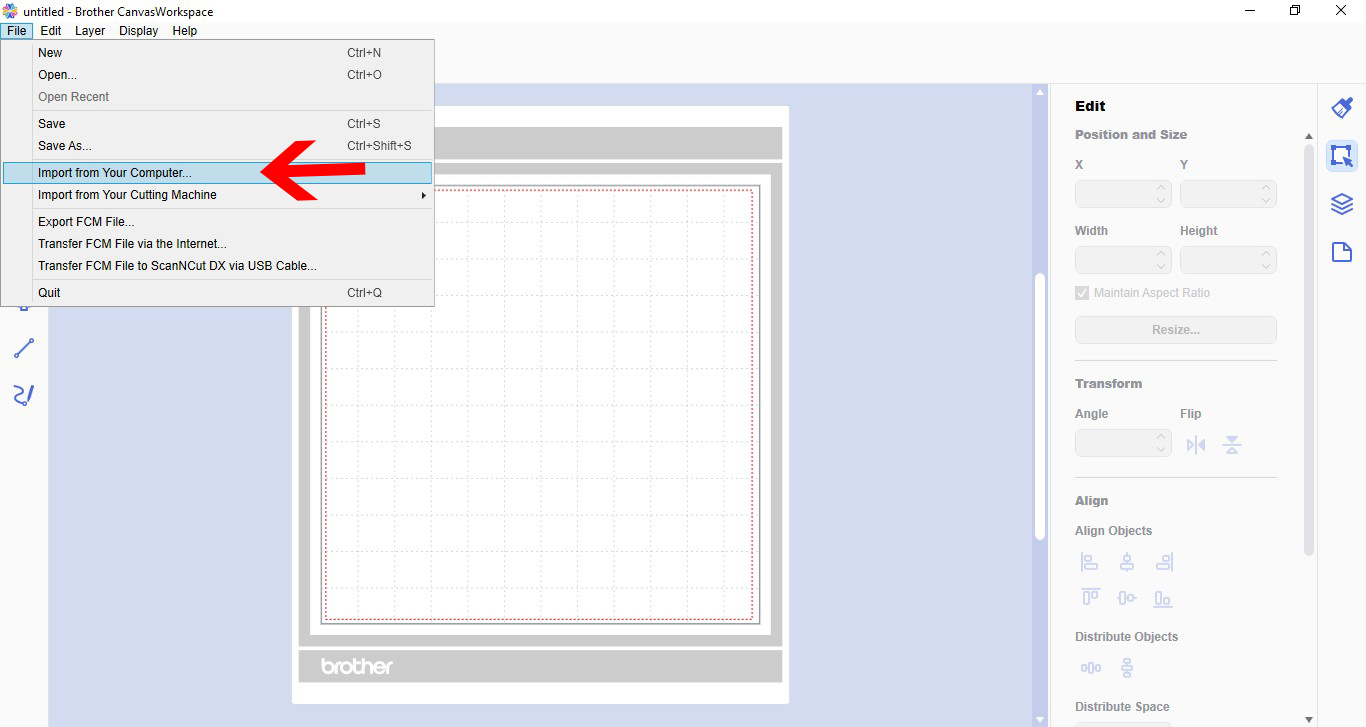
2- You can use the node tool to change previously saved designs and text. to import your design, go to File - Import from your computer.
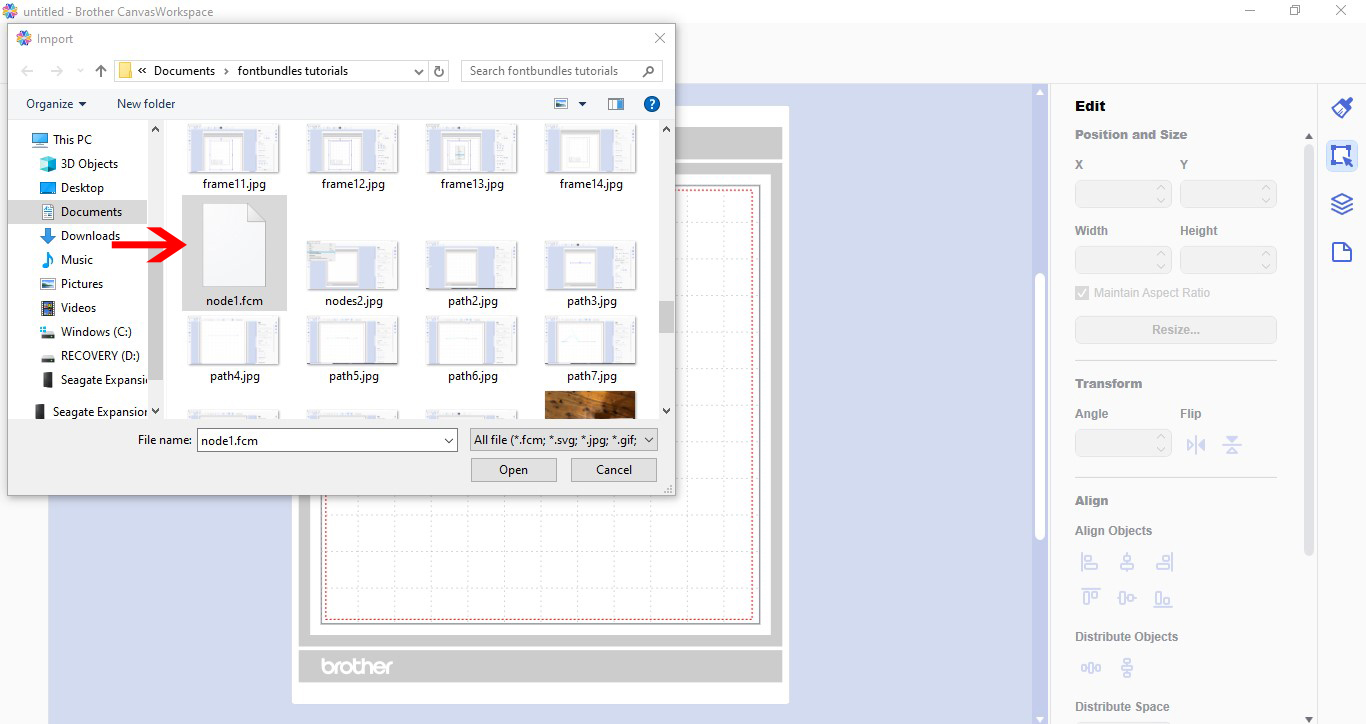
3- Select your design.
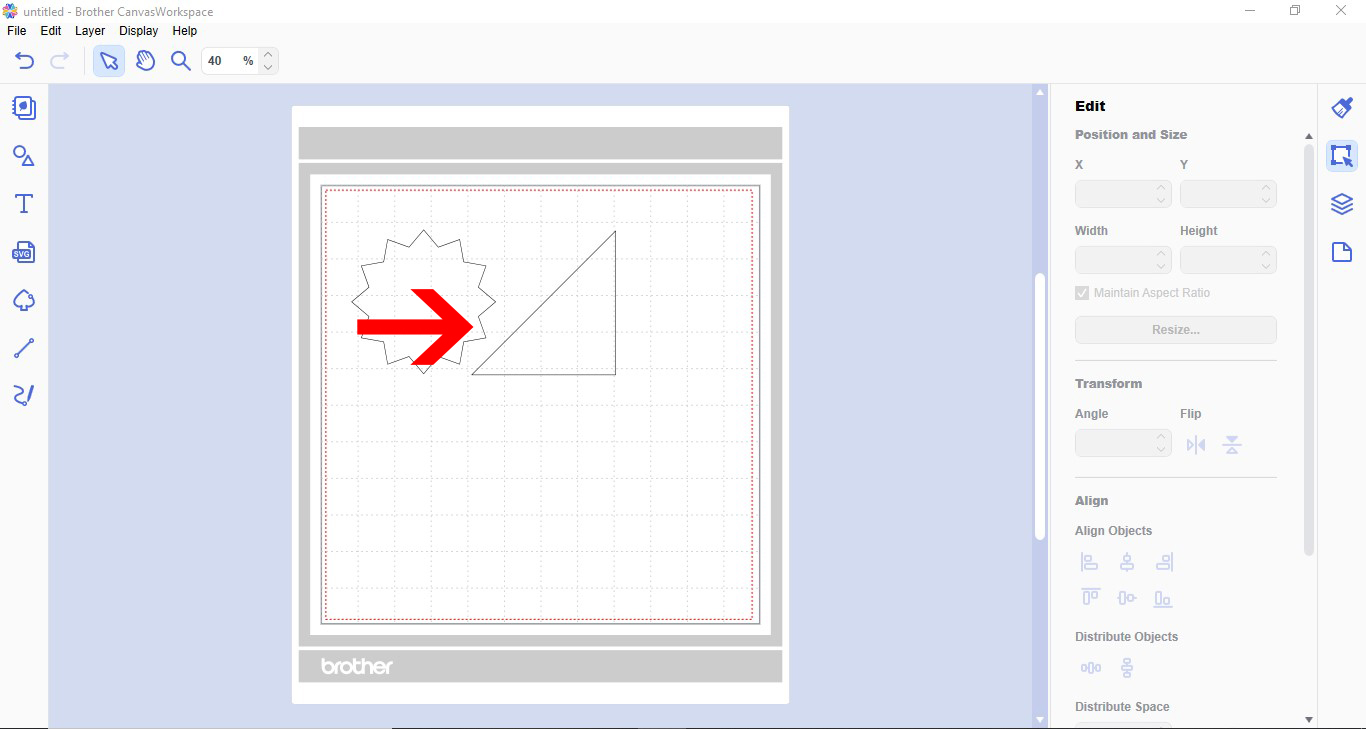
4- Your design will appear on the screen.
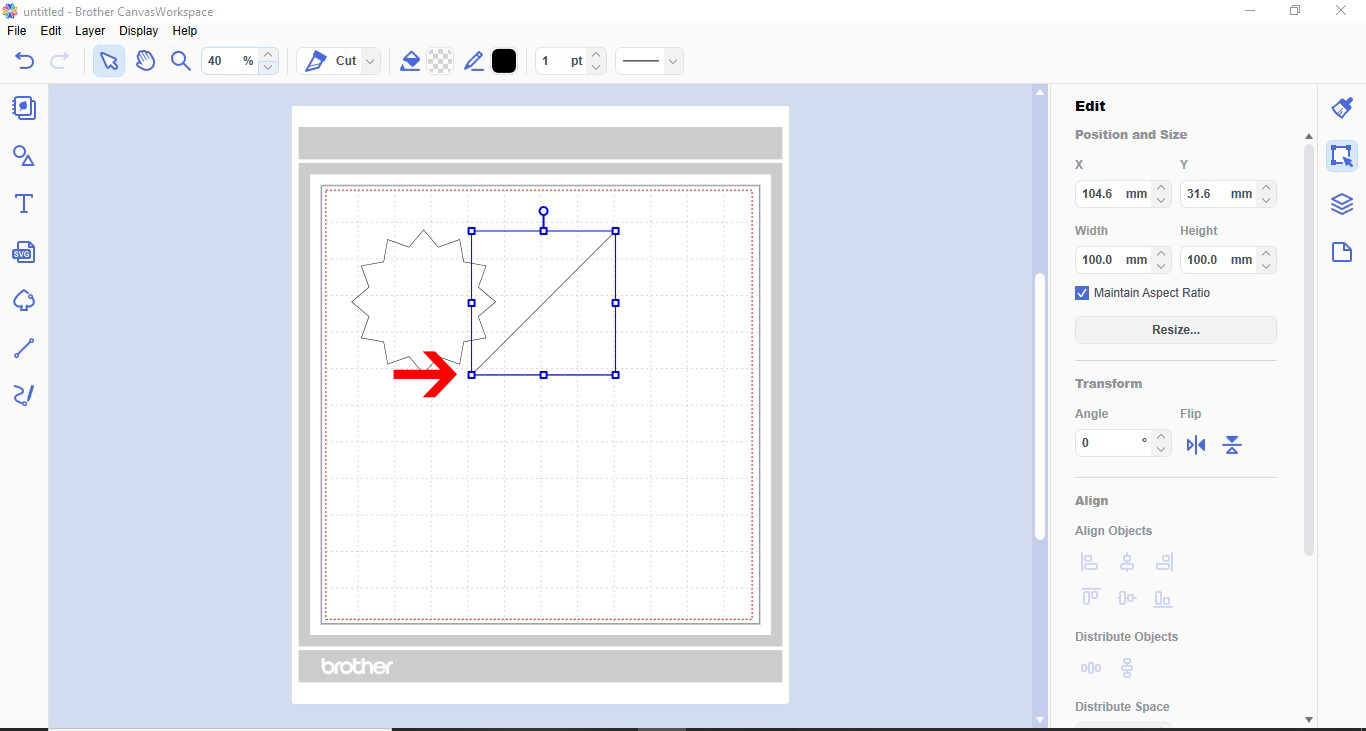
5- Select the part of the design you would like to change.
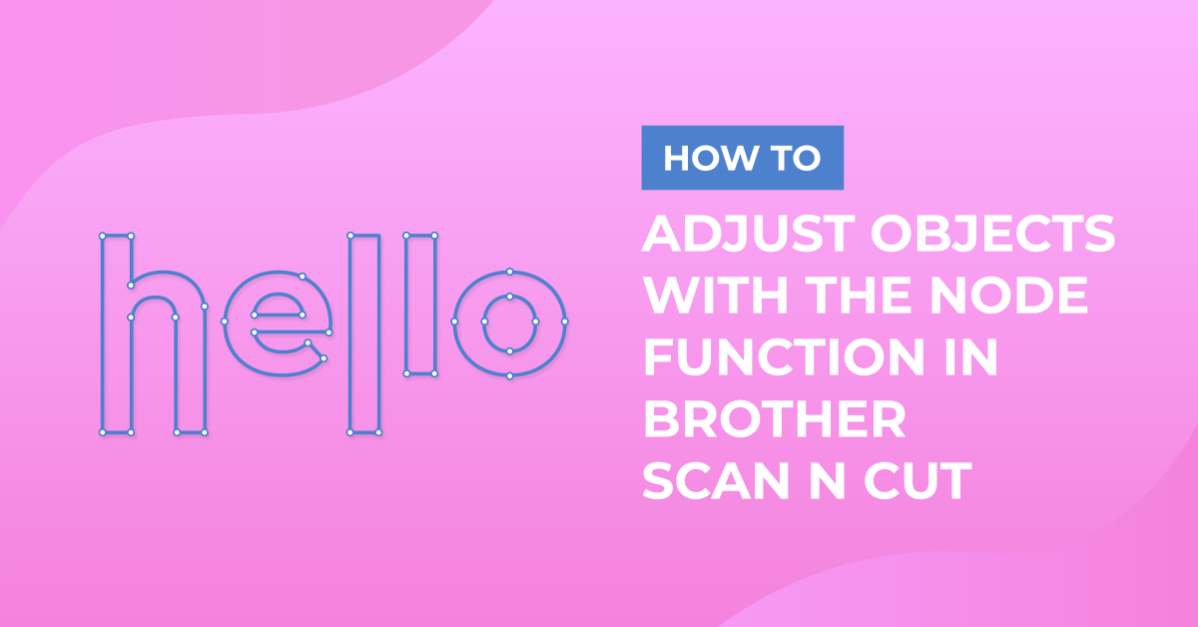
6- Double click on your design. The node function will appear in the top toolbar. Each corner will become a node along with and curves.
7- You can click on a node and move it round the workspace. When moving the node the lines attached to it will move also and lengthen or shorten according to where you place the node.
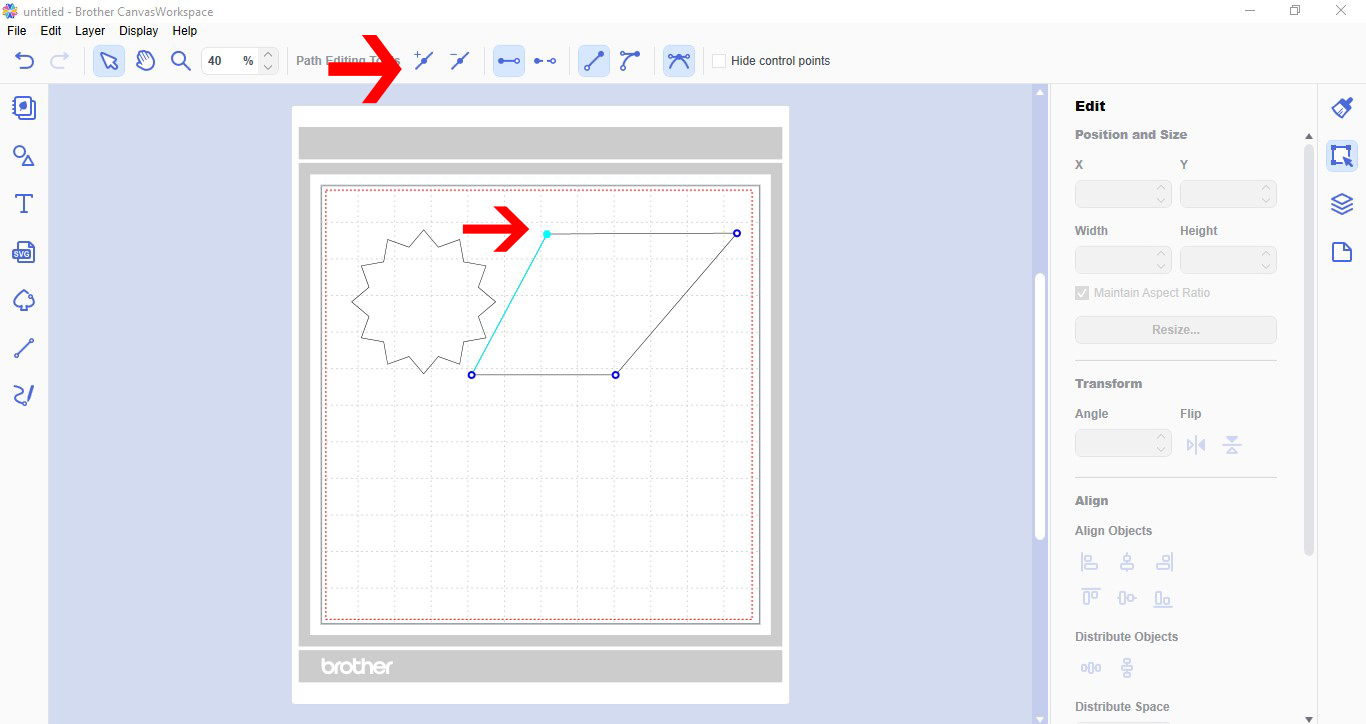
8-You also have the option in the toolbar to add or remove nodes. With a node selected you can add another one to change your design.
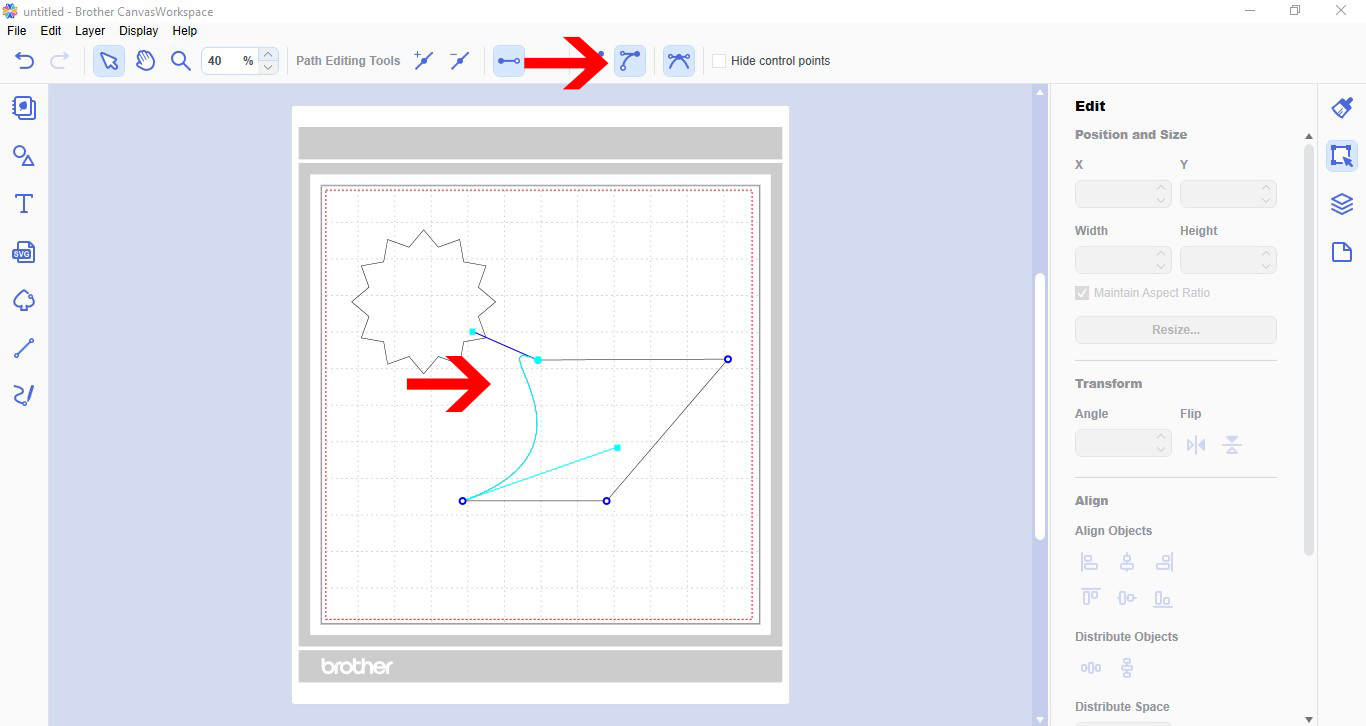
9- You can also change a straight line to a curved line. Click on the curve option. Two handles will appear. You can use them to curve your straight lines either direction.
10- You can also use the node function to alter text. Type your text.
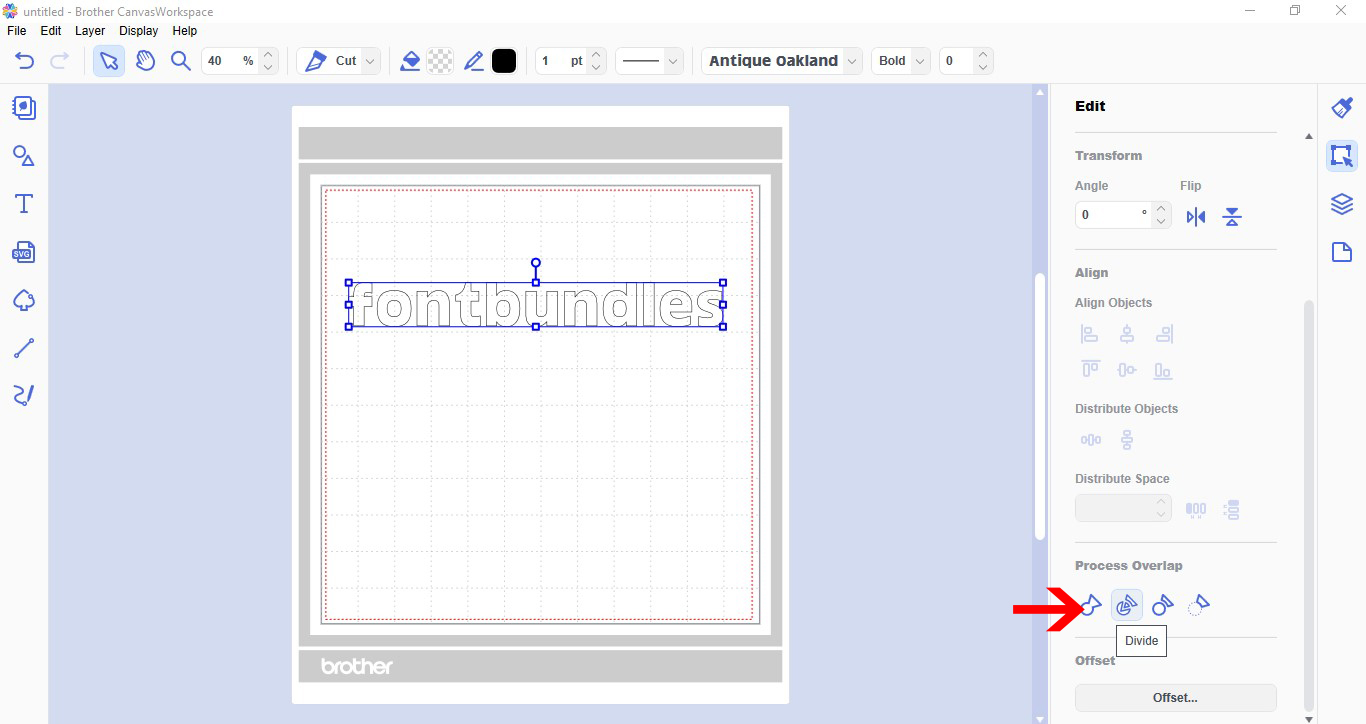
11- Select your text. In process overlap select divide.
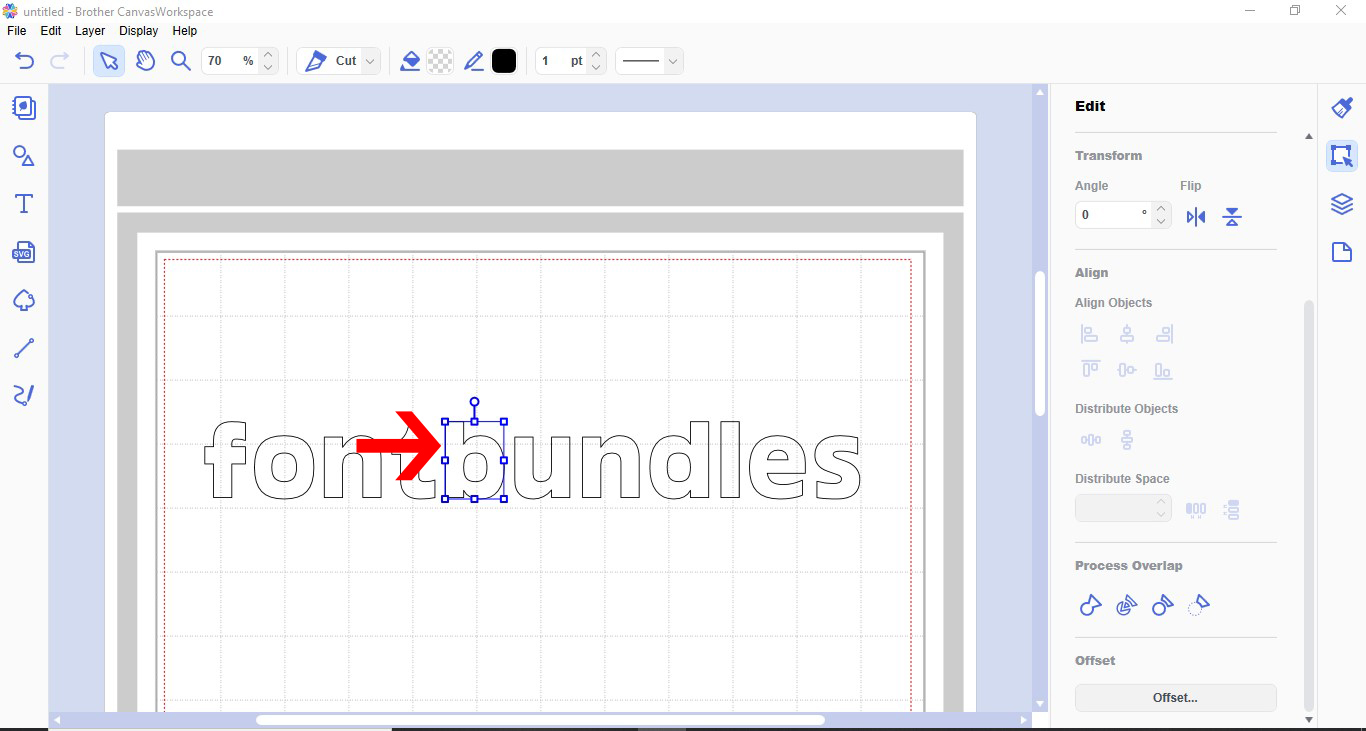
12- Select the letter you want to alter.
13- Double click. All the nodes will appear.
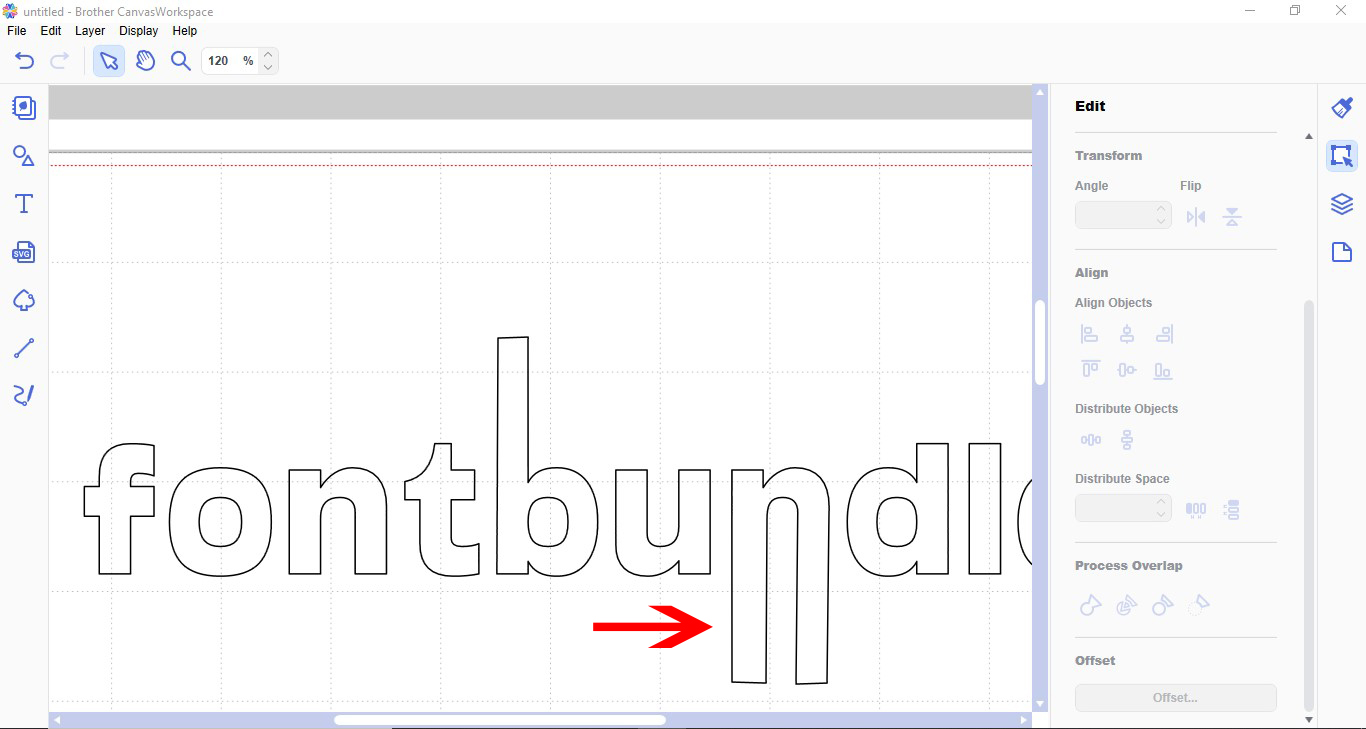
14- You can click and move the nodes to change the shape of the letter.
15- You can Alter any text to suit your needs. Once you click away from the text the nodes will disappear.
2- You can use the node tool to change previously saved designs and text. to import your design, go to File - Import from your computer.
3- Select your design.
4- Your design will appear on the screen.
5- Select the part of the design you would like to change.
6- Double click on your design. The node function will appear in the top toolbar. Each corner will become a node along with and curves.
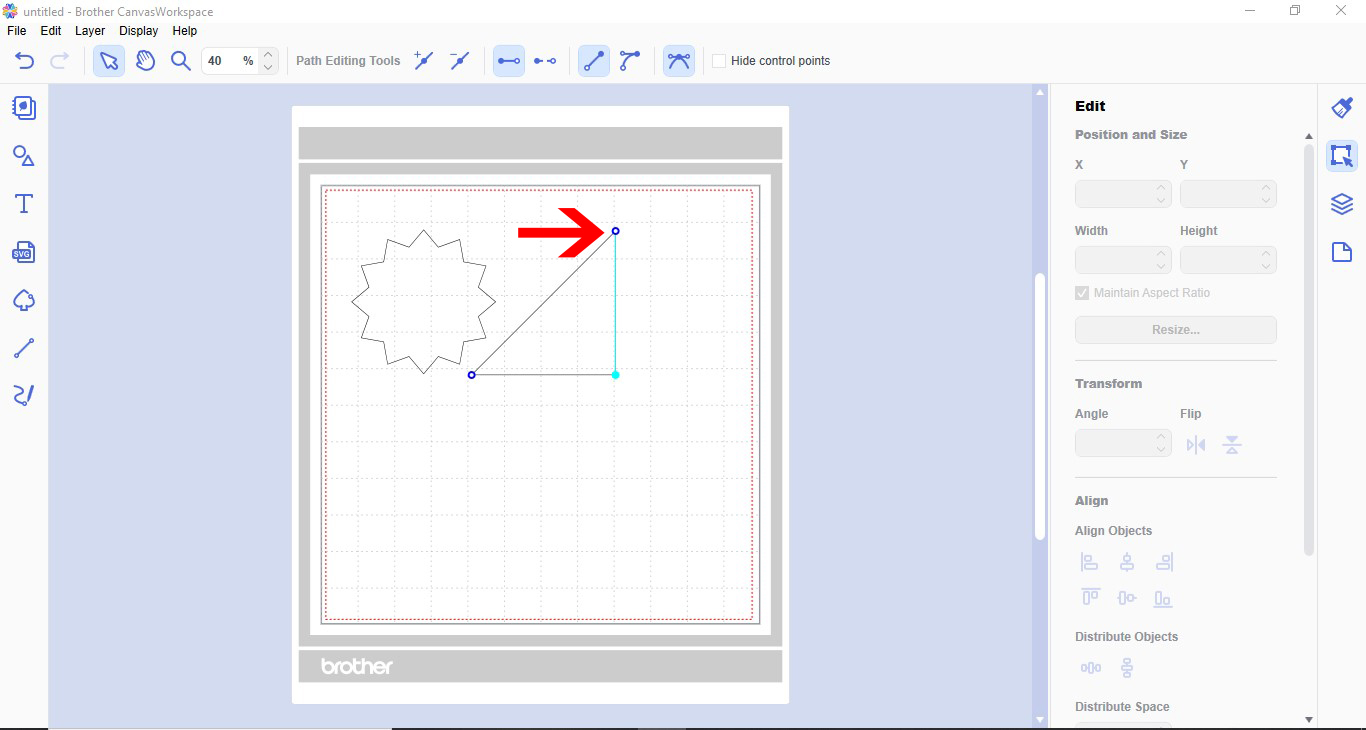
7- You can click on a node and move it round the workspace. When moving the node the lines attached to it will move also and lengthen or shorten according to where you place the node.
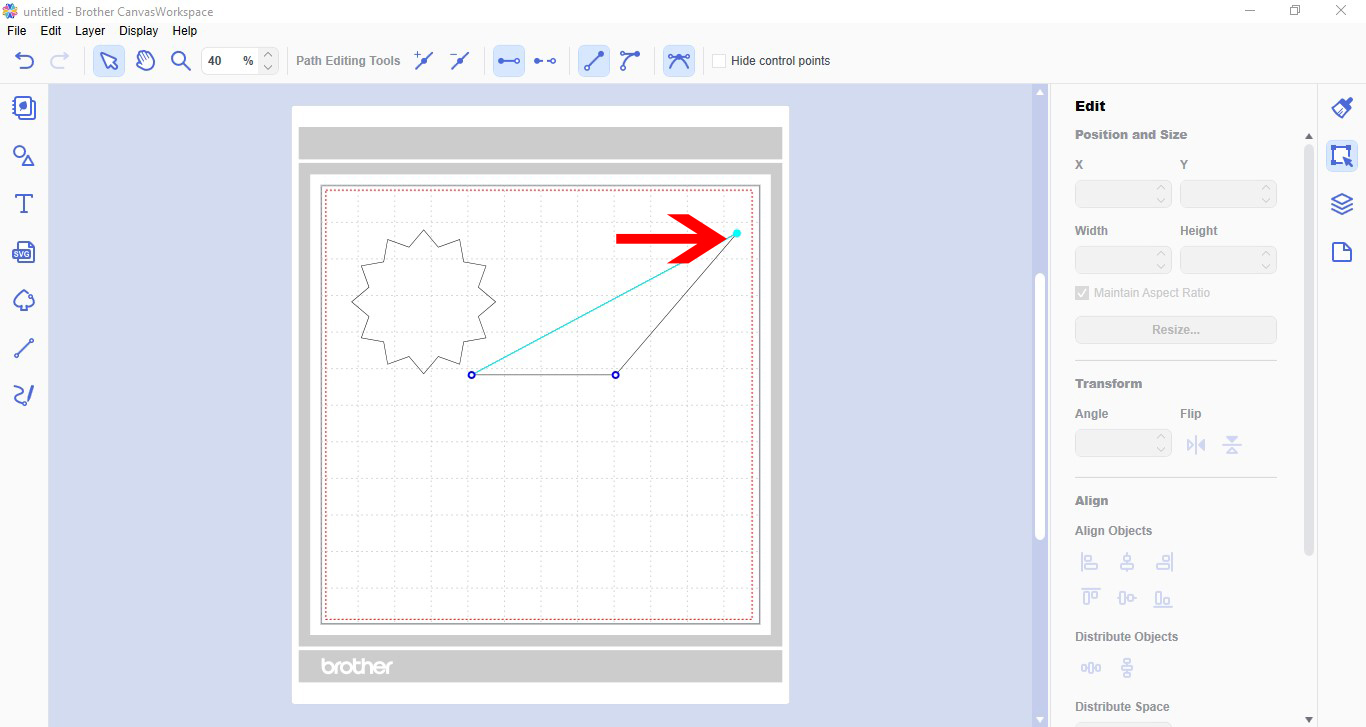
8-You also have the option in the toolbar to add or remove nodes. With a node selected you can add another one to change your design.
9- You can also change a straight line to a curved line. Click on the curve option. Two handles will appear. You can use them to curve your straight lines either direction.
10- You can also use the node function to alter text. Type your text.
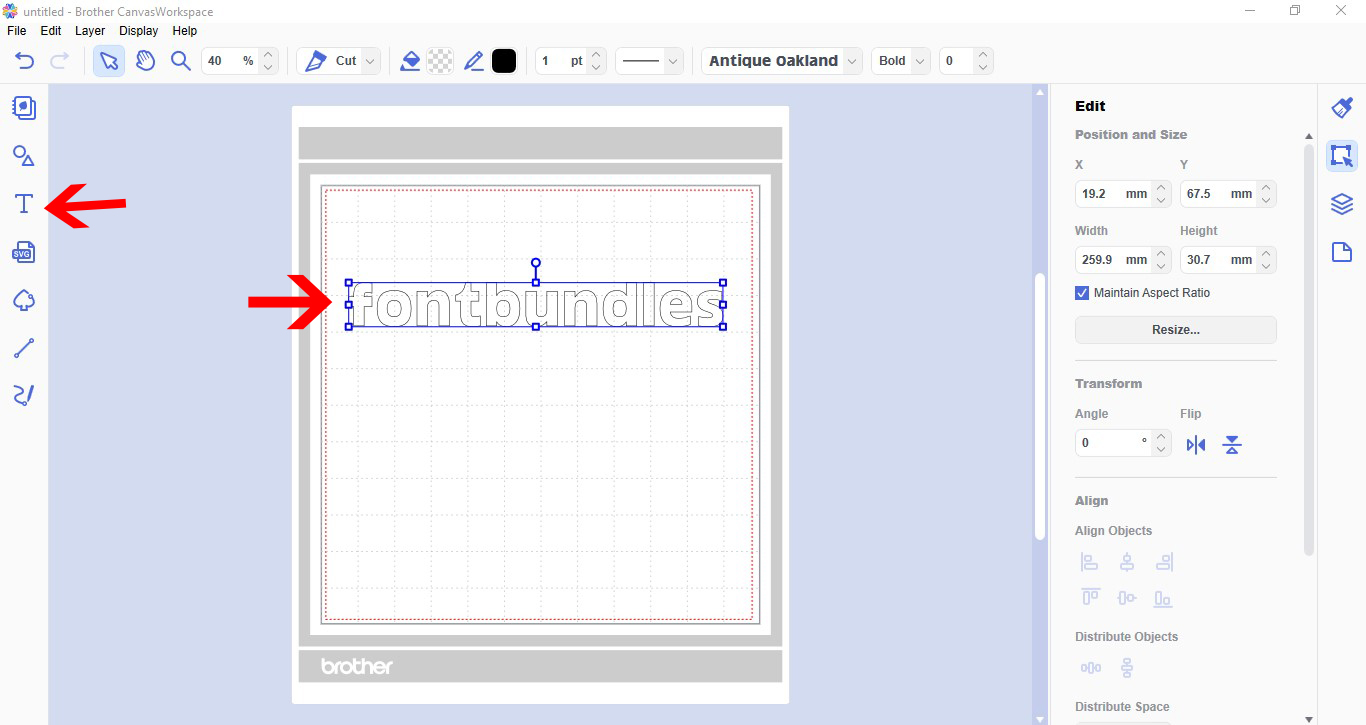
11- Select your text. In process overlap select divide.
12- Select the letter you want to alter.
13- Double click. All the nodes will appear.
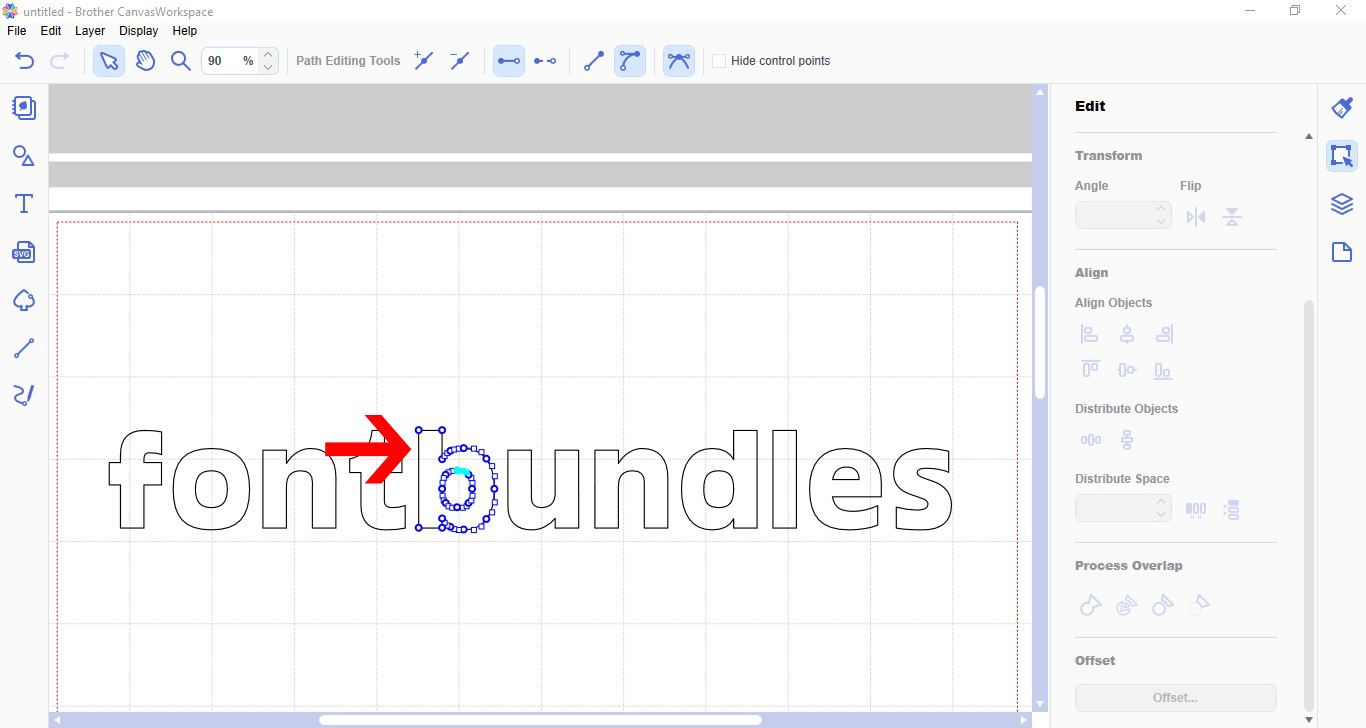
14- You can click and move the nodes to change the shape of the letter.
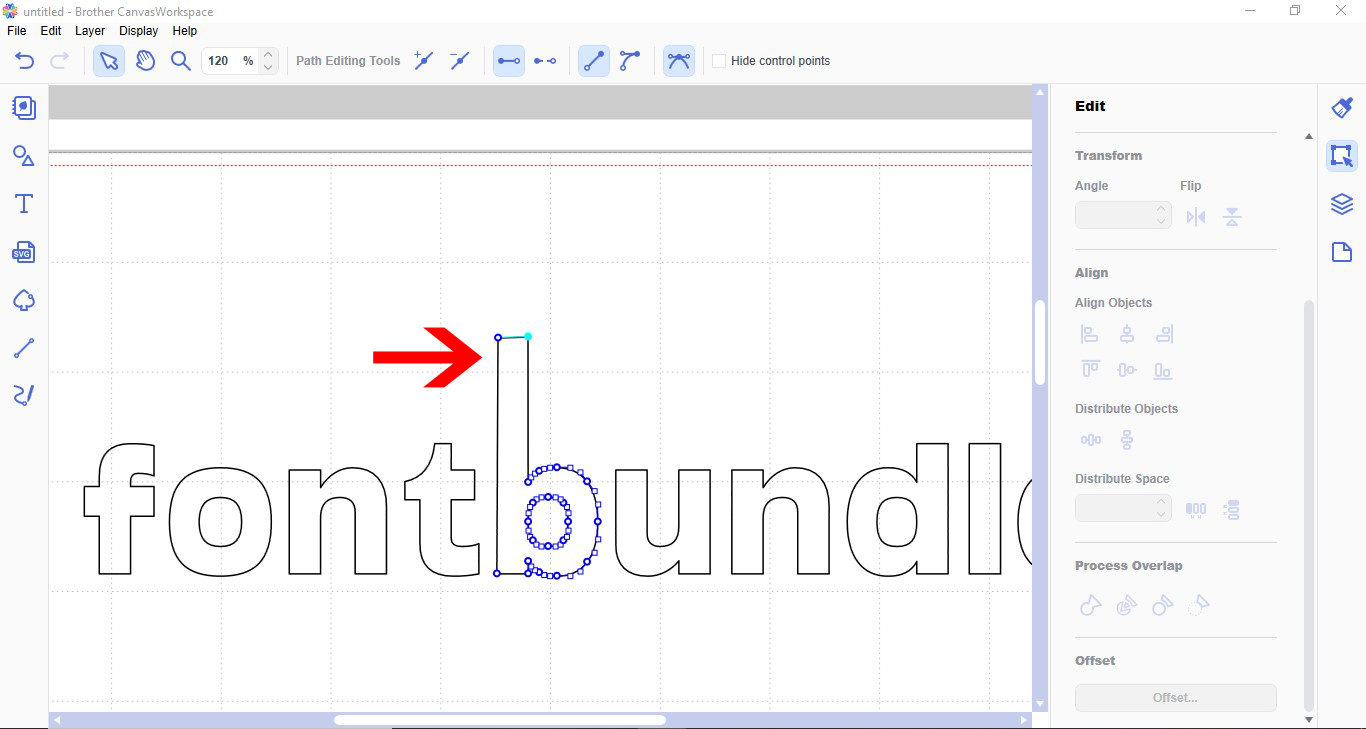
15- You can Alter any text to suit your needs. Once you click away from the text the nodes will disappear.
Related Tutorials
Scan N Cut Tutorials
How to create curved text in brother scan and cut canvas workspace
Learn how to curve text in Brother Scan N Cut
Scan N Cut Tutorials
Two ways to weld text in Brother scan and cut canvas workspace
Scan N Cut Tutorials
How to Fill text in Brother scan and cut canvas workspace with the foil quill
Scan N Cut Tutorials
How to Create an Offset Using the Foil Quill in Brother Scan and Cut Canvas Workspace
Scan N Cut Tutorials