By Design Bundles
Scan N Cut Tutorials5 min
Create a decorative border using the foil quill in Brother scan and cut canvas workspace
*CM900 model used.
1- Open scan and cut canvas workspace.

2- Click on the shapes icon and select a square.
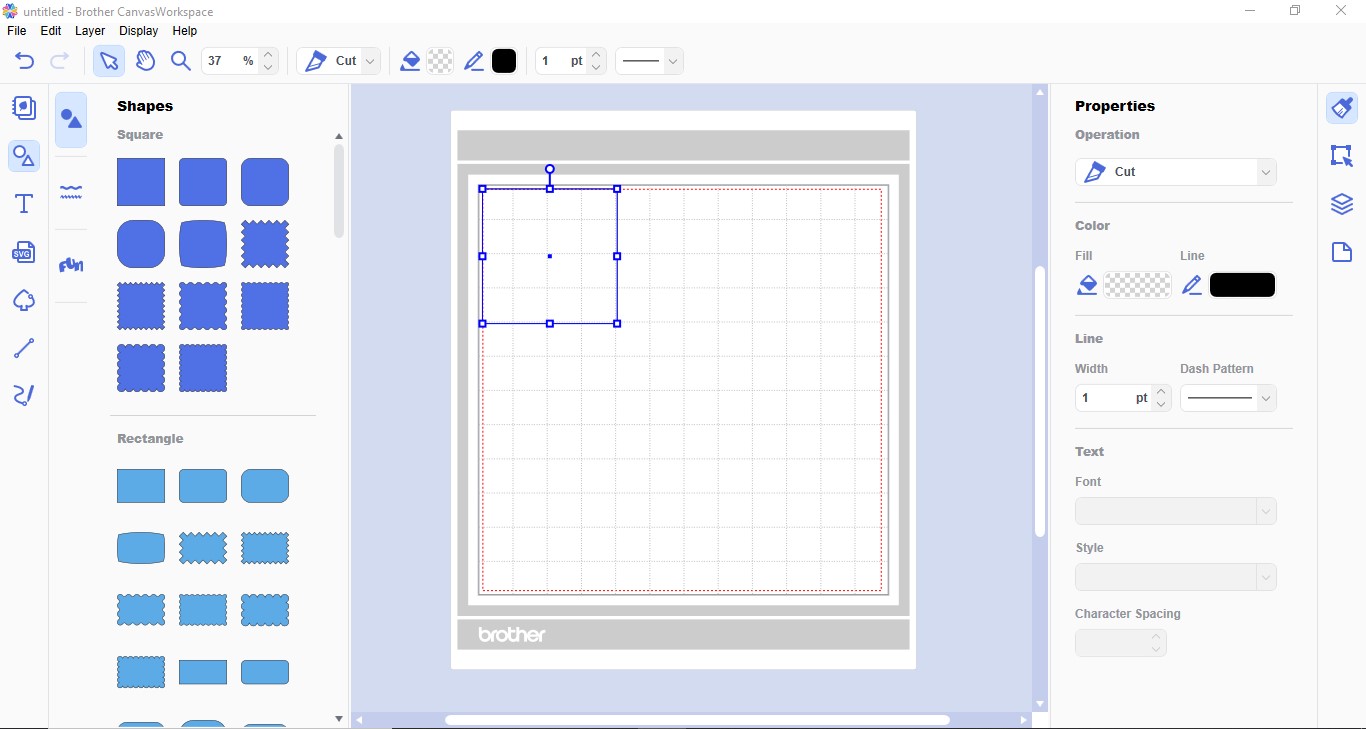
3- Resize to make a rectangle.
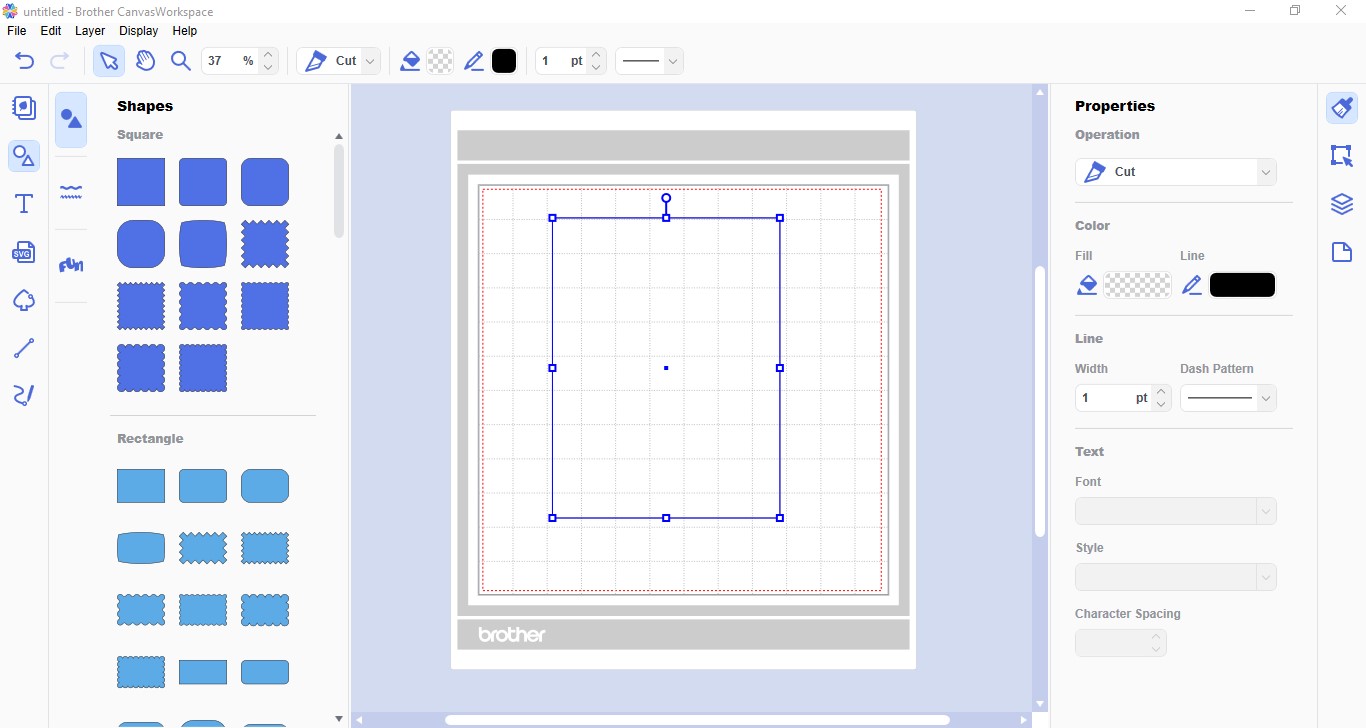
4- Select a border. You can also import a SVG to use as a border.
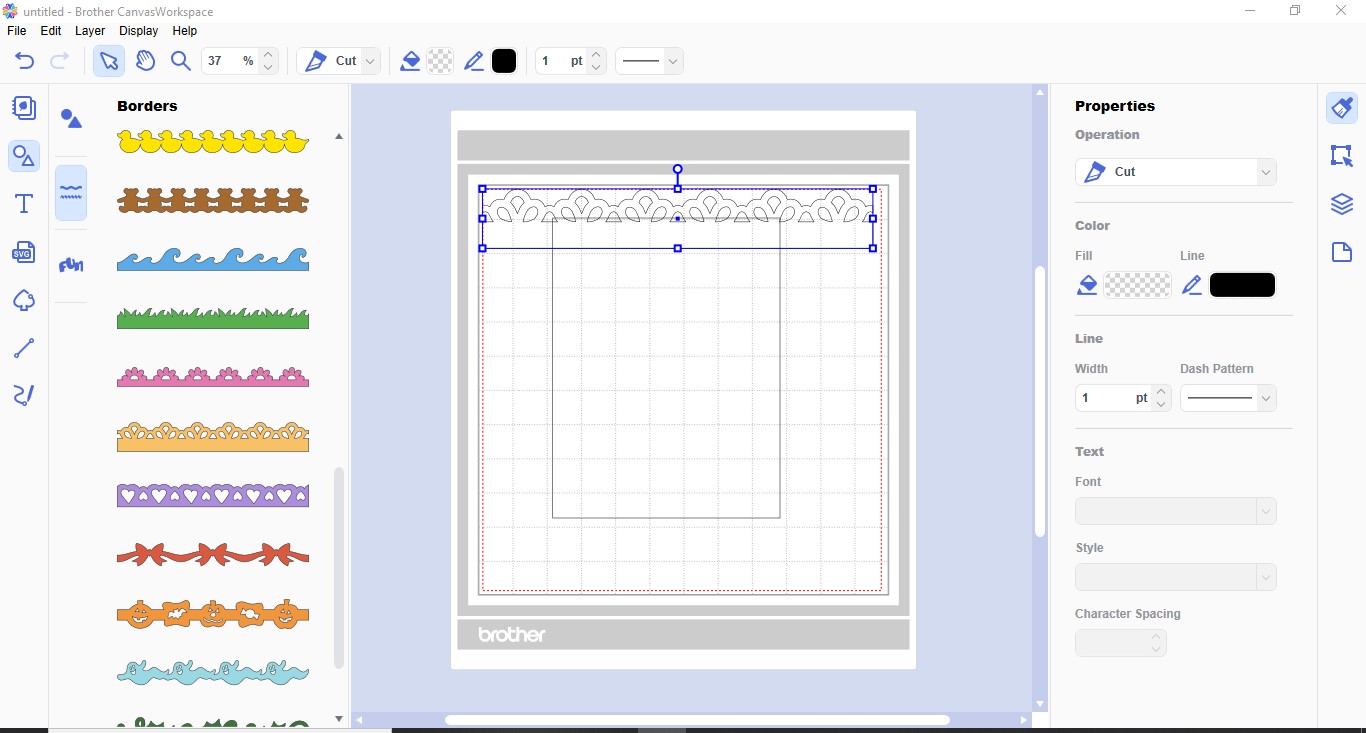
5- Resize the border and place over the rectangle.
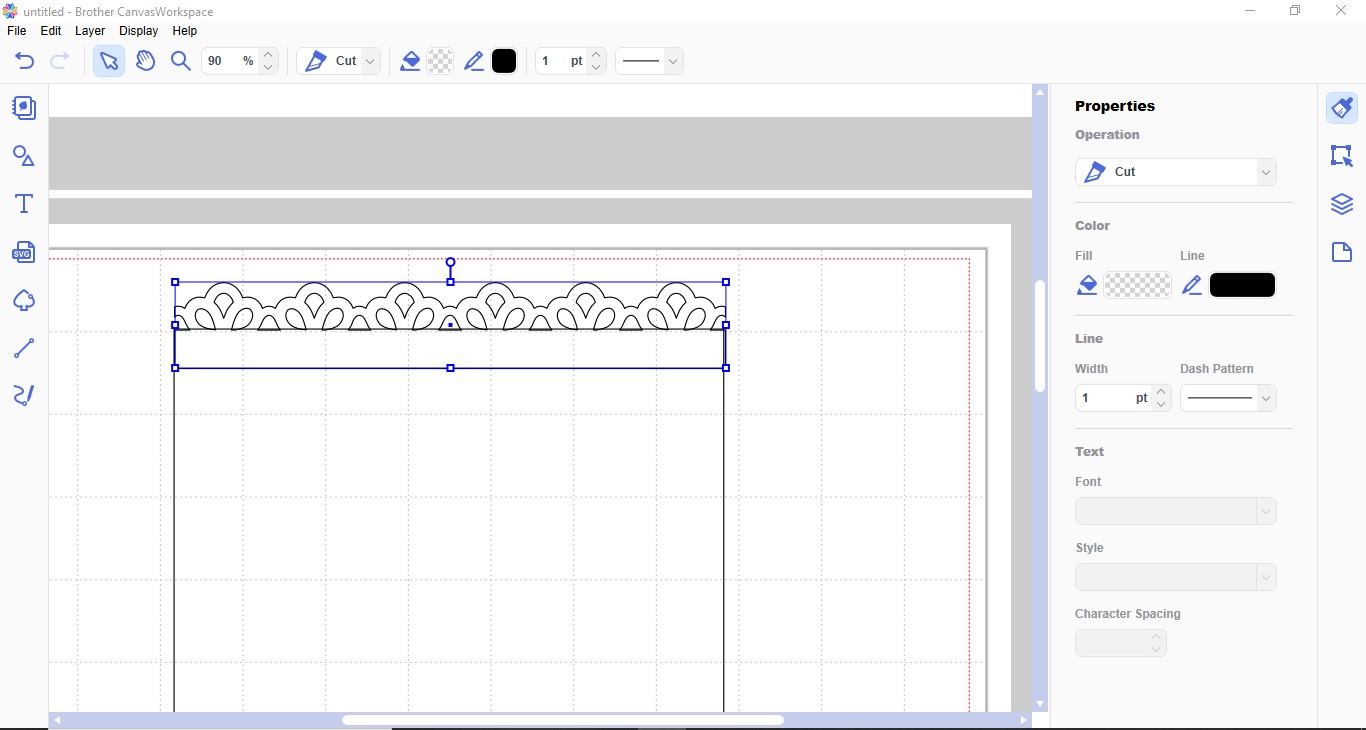
6- With both the border and the rectangle selected, click weld.

7- The border will be welded to the top of the rectangle.
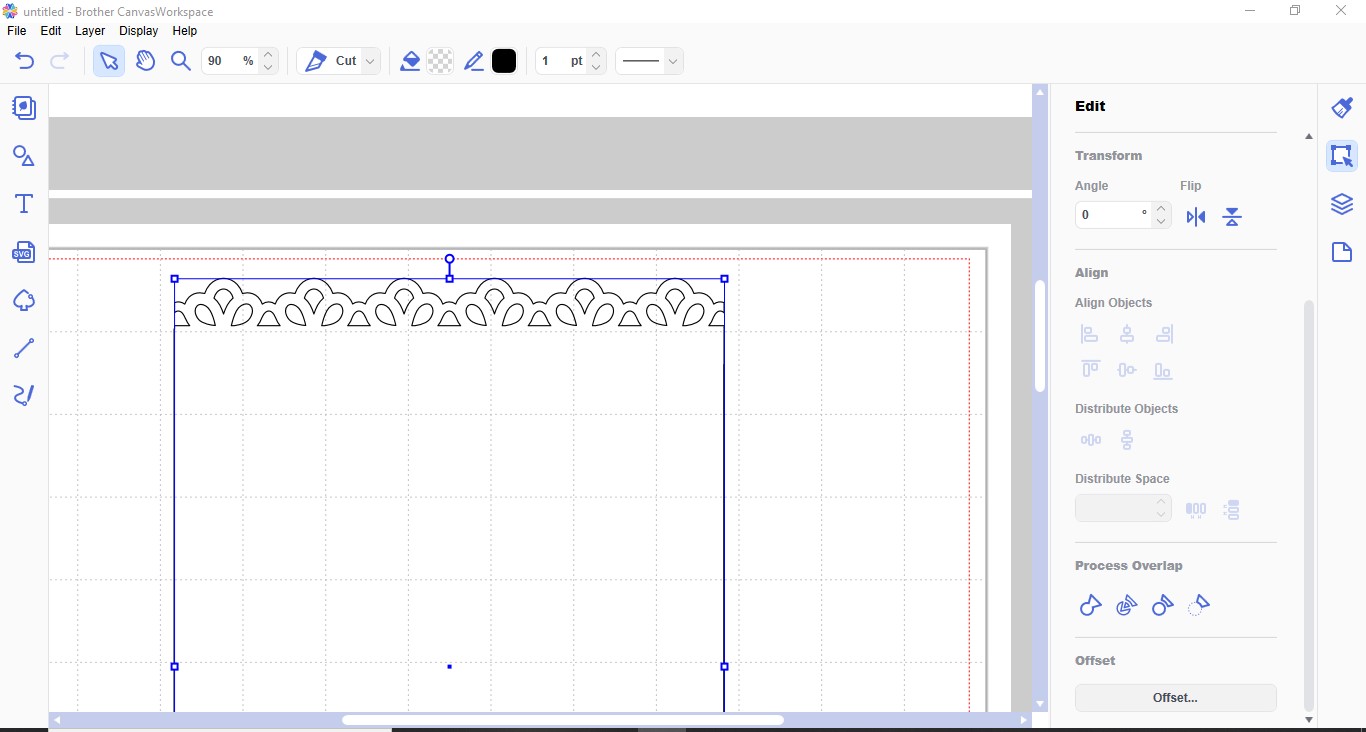
8- Insert the same border and flip it. Place at the bottom of the rectangle. Slightly overlapping . Click on weld.
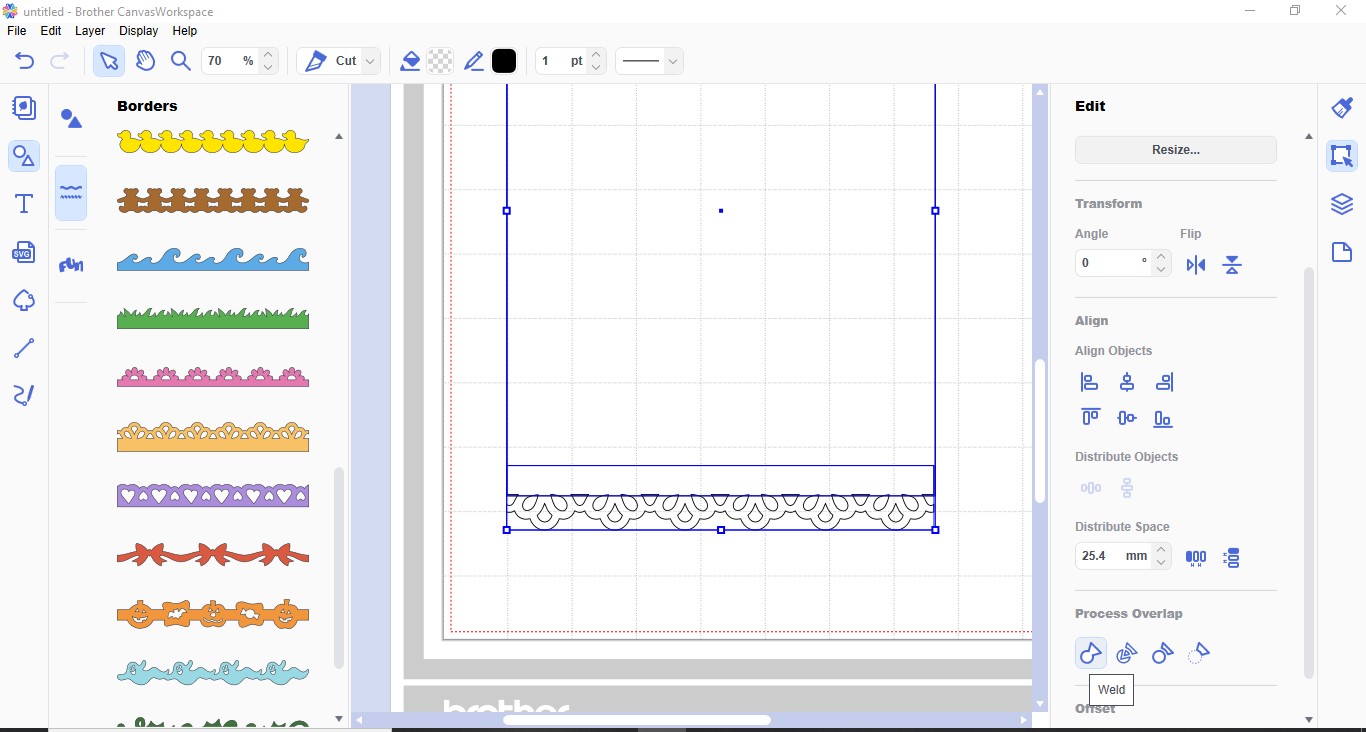
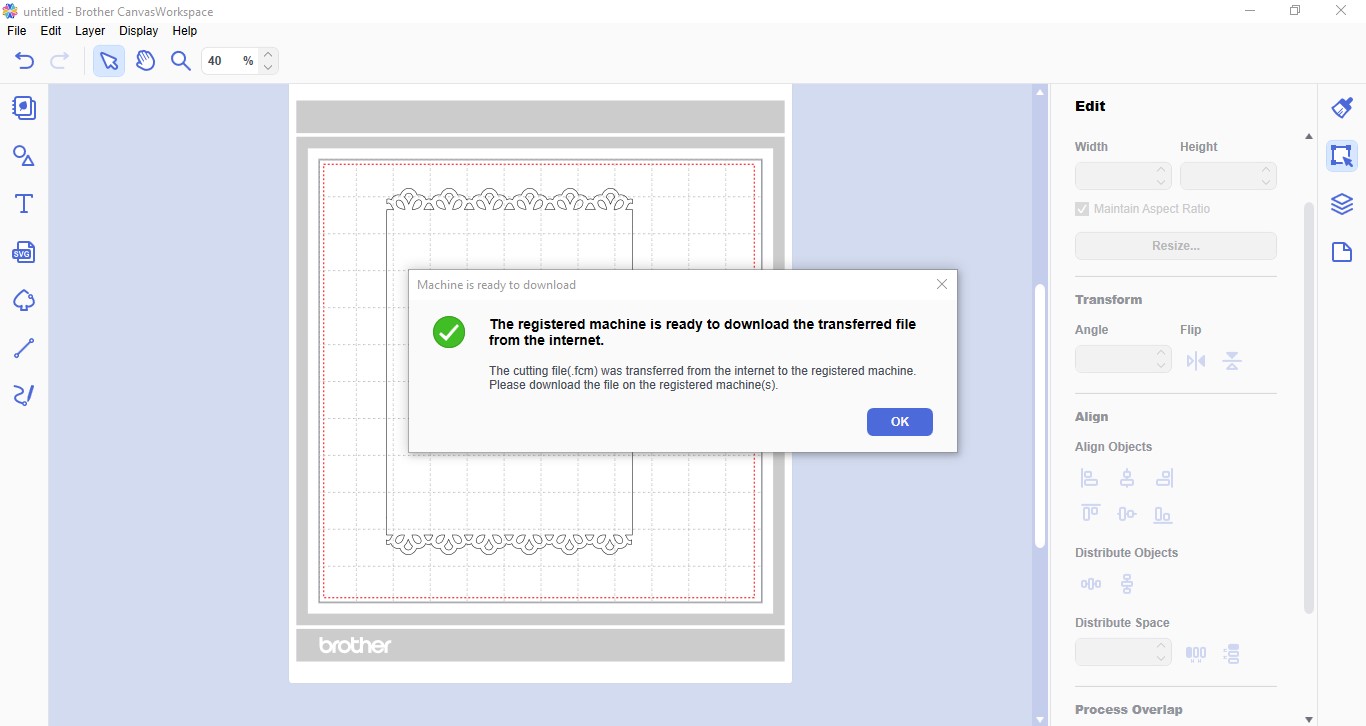
9- Once you have your border complete, click on file, transfer FCM file via the internet. If you do not have a wireless model machine, you can transfer to a USB to place in your machine.

10- A pop up box will appear letting you know the file has transferred to your scan and cut machine.
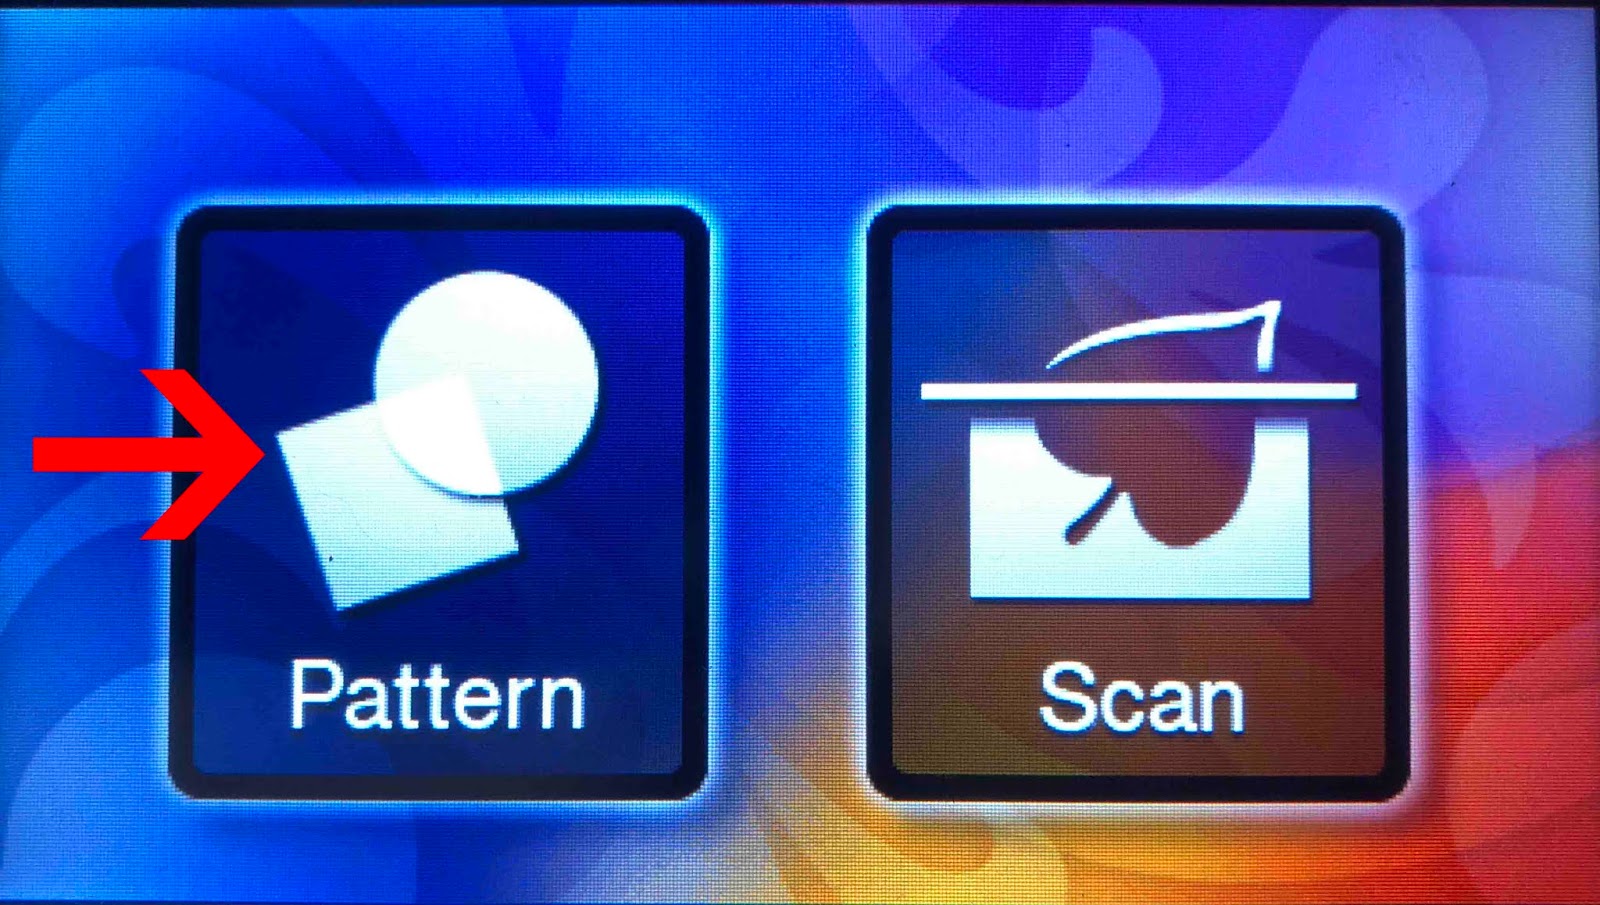
11- Turn on your scan and cut machine. Preheat your foil quill. Click on the pattern icon.
12- Click on the transfer icon.
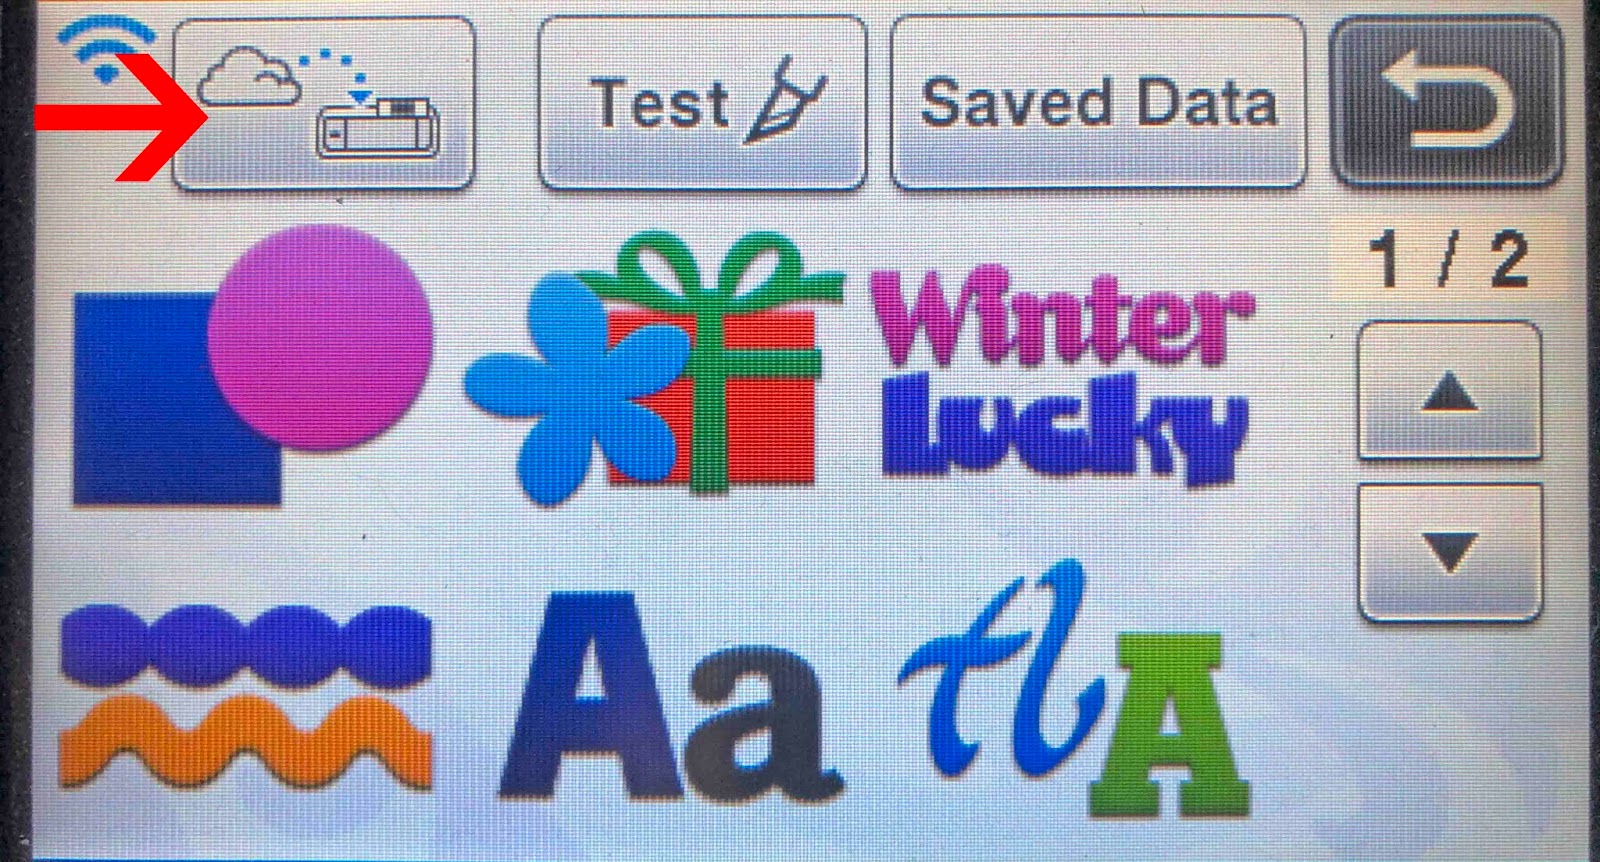
13- Click on the scan icon to scan your mat and material.

14- your design will now appear over your media on your mat. Click OK

15- Click on the draw icon.

16- Click on the draw icon again.
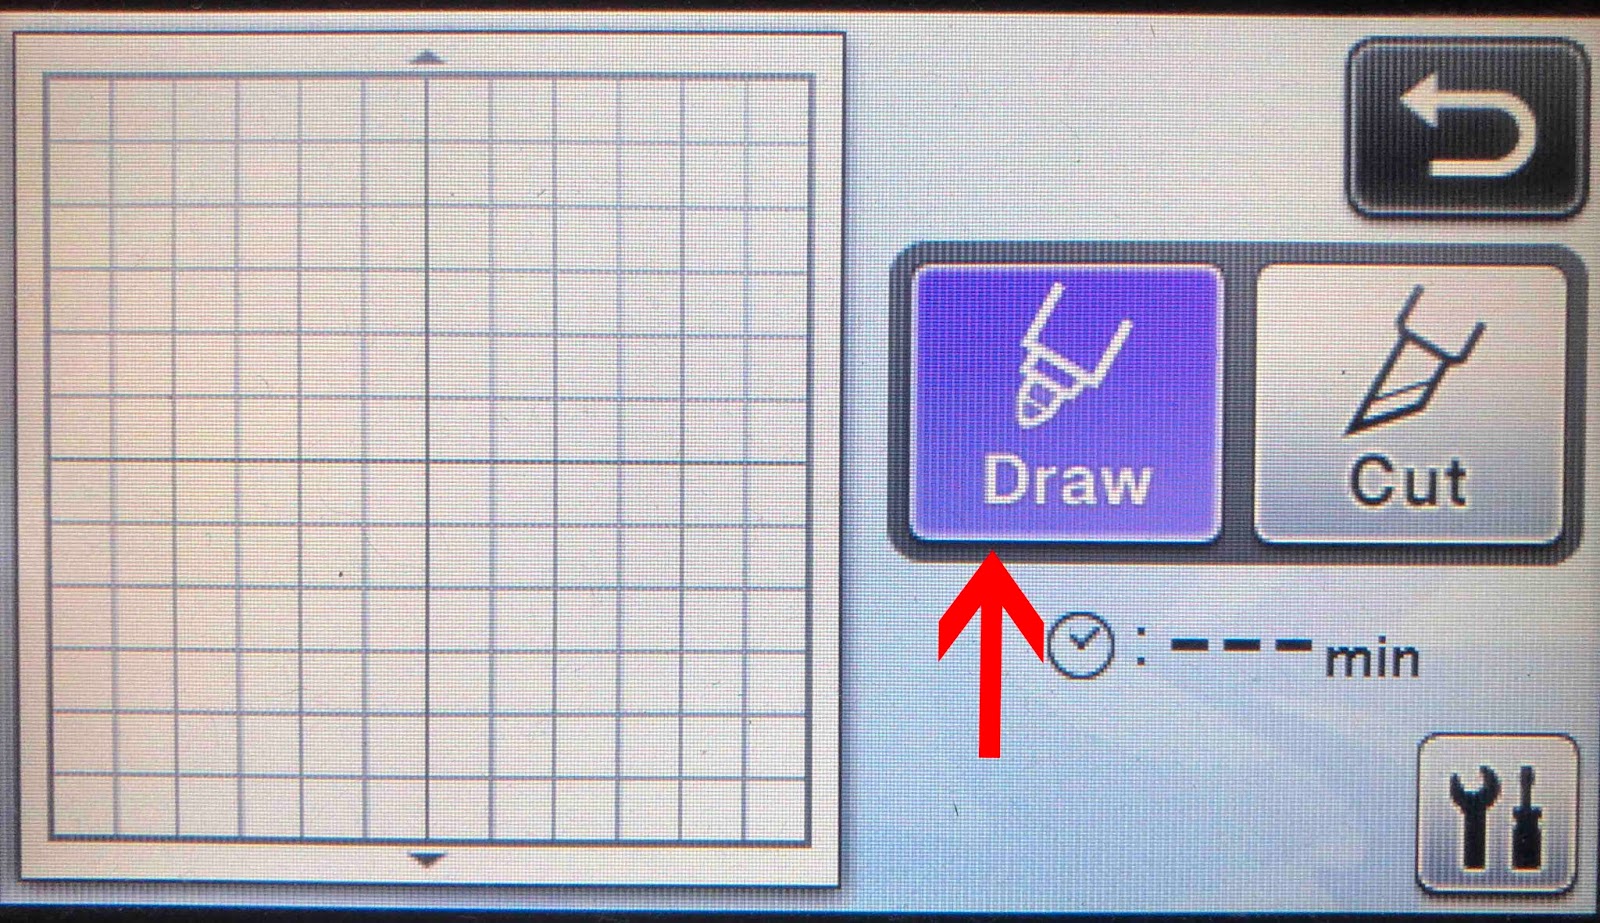
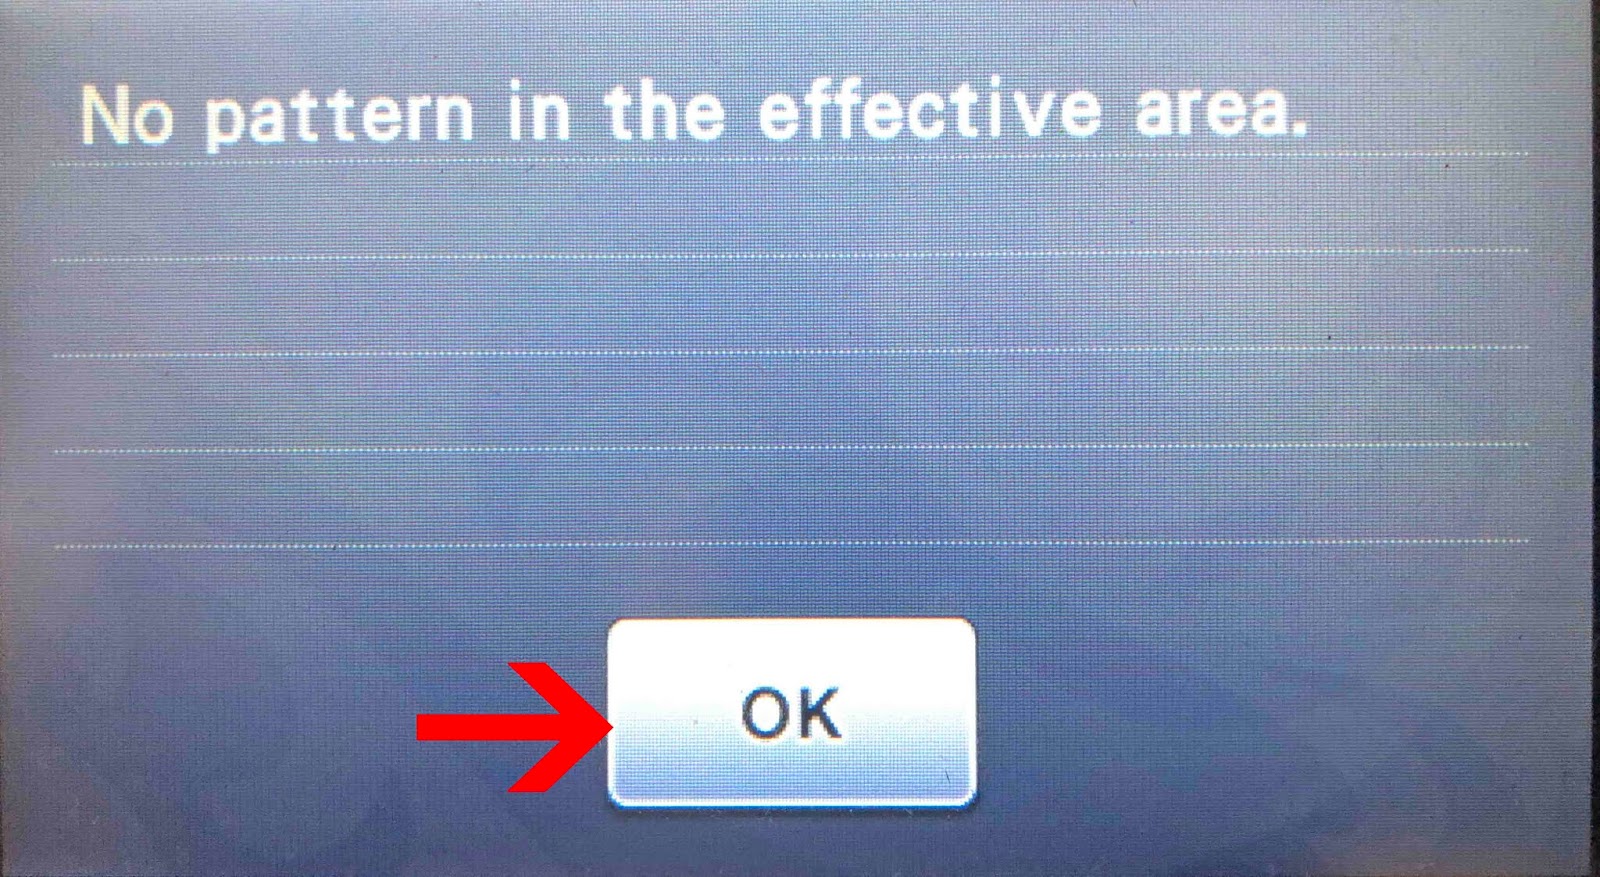
17- If the design is too fine the below window will appear. Click OK.
18- you may then need to use the cut function as a draw function. Click cut. Then click the setting tab.
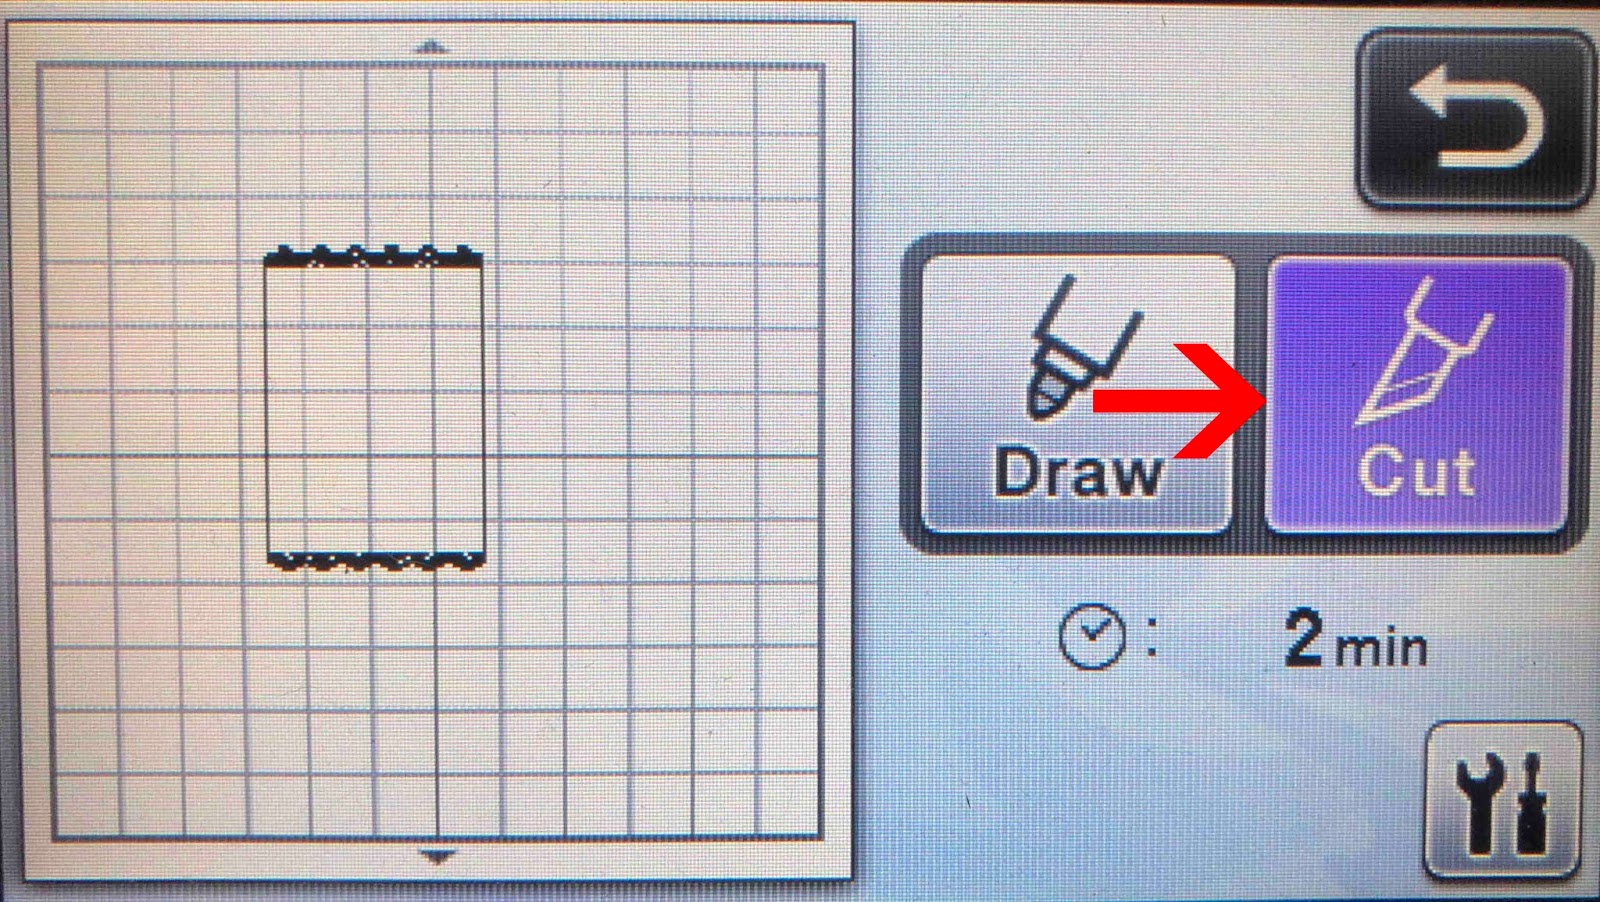
19- Change the cut settings to the settings you would use to draw.
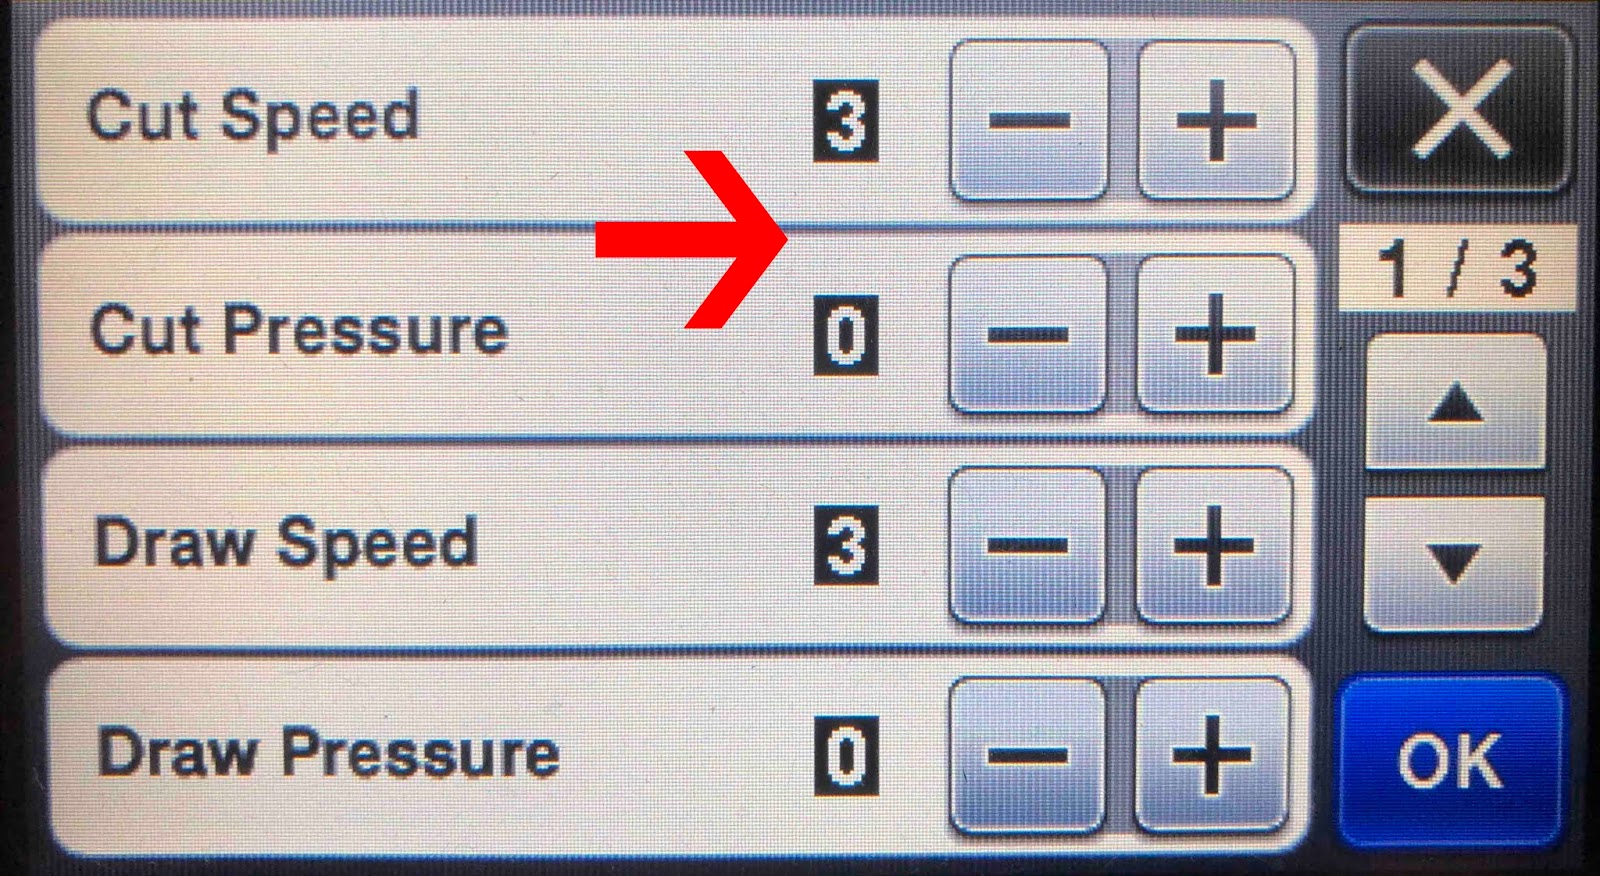
20- The machine will ask you to attach the holder, even if the holder is in place. Click OK.
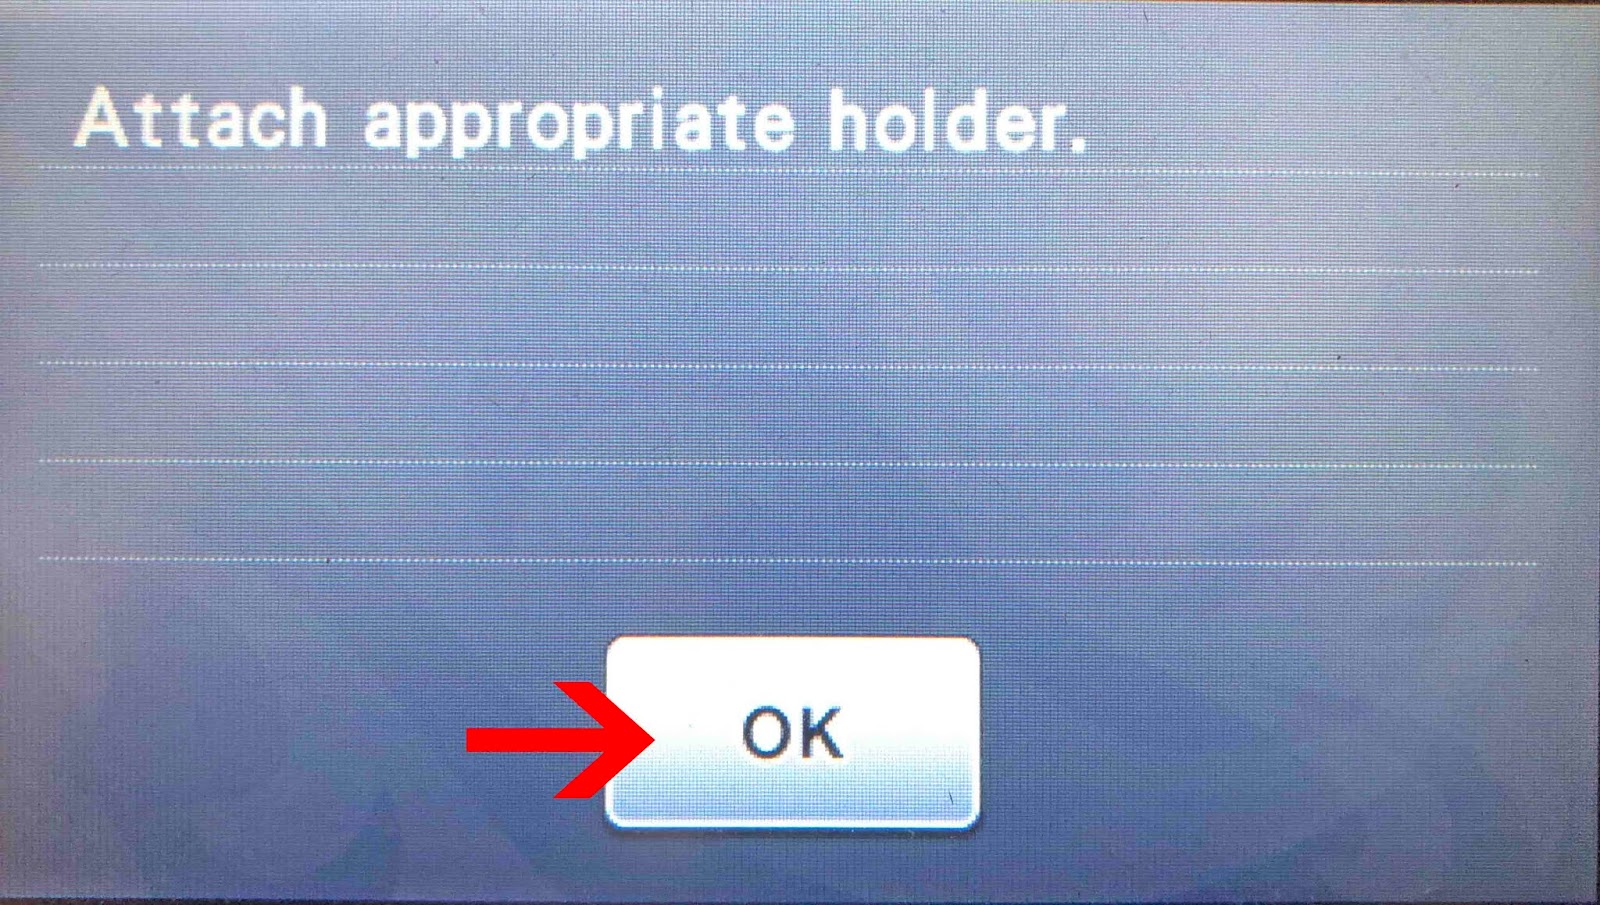
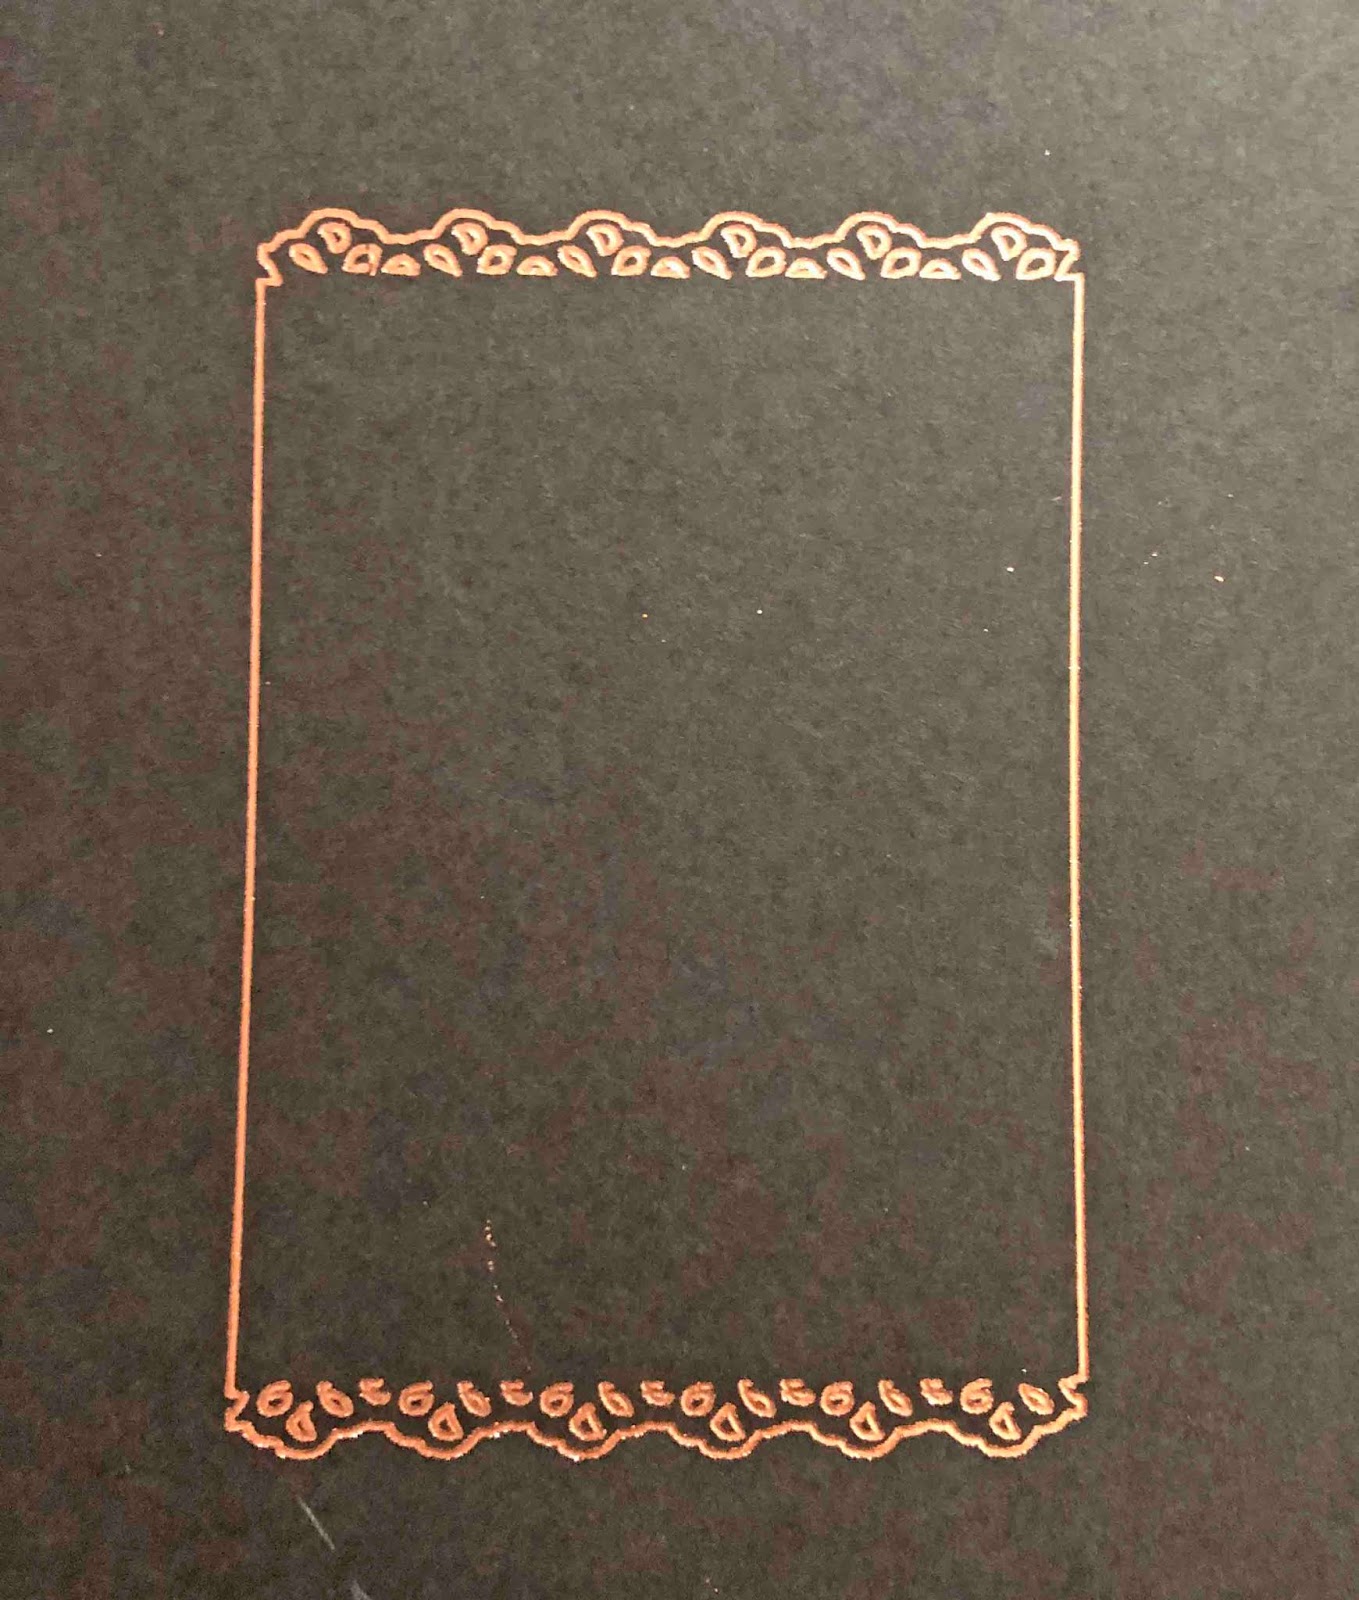
21- Click the start icon. The machine will use the cut function to draw with the design as if it was using the draw function.
Related Tutorials
Scan N Cut Tutorials
How to Create an Offset Using the Foil Quill in Brother Scan and Cut Canvas Workspace
Scan N Cut Tutorials
How to Fill text in Brother scan and cut canvas workspace with the foil quill
Scan N Cut Tutorials
Creating a foiled candle with brother scan n cut machine using the foil quill
Scan N Cut Tutorials
Using the foil quill on ribbon with Brother scan and cut machine
Scan N Cut Tutorials
How to foil on clear stickers using brother scan and cut with the foil quill
Scan N Cut Tutorials