By Design Bundles
Scan N Cut Tutorials4 min
How to Fill a User Designed Image on Brother Scan n Cut
* CM900 machine used.
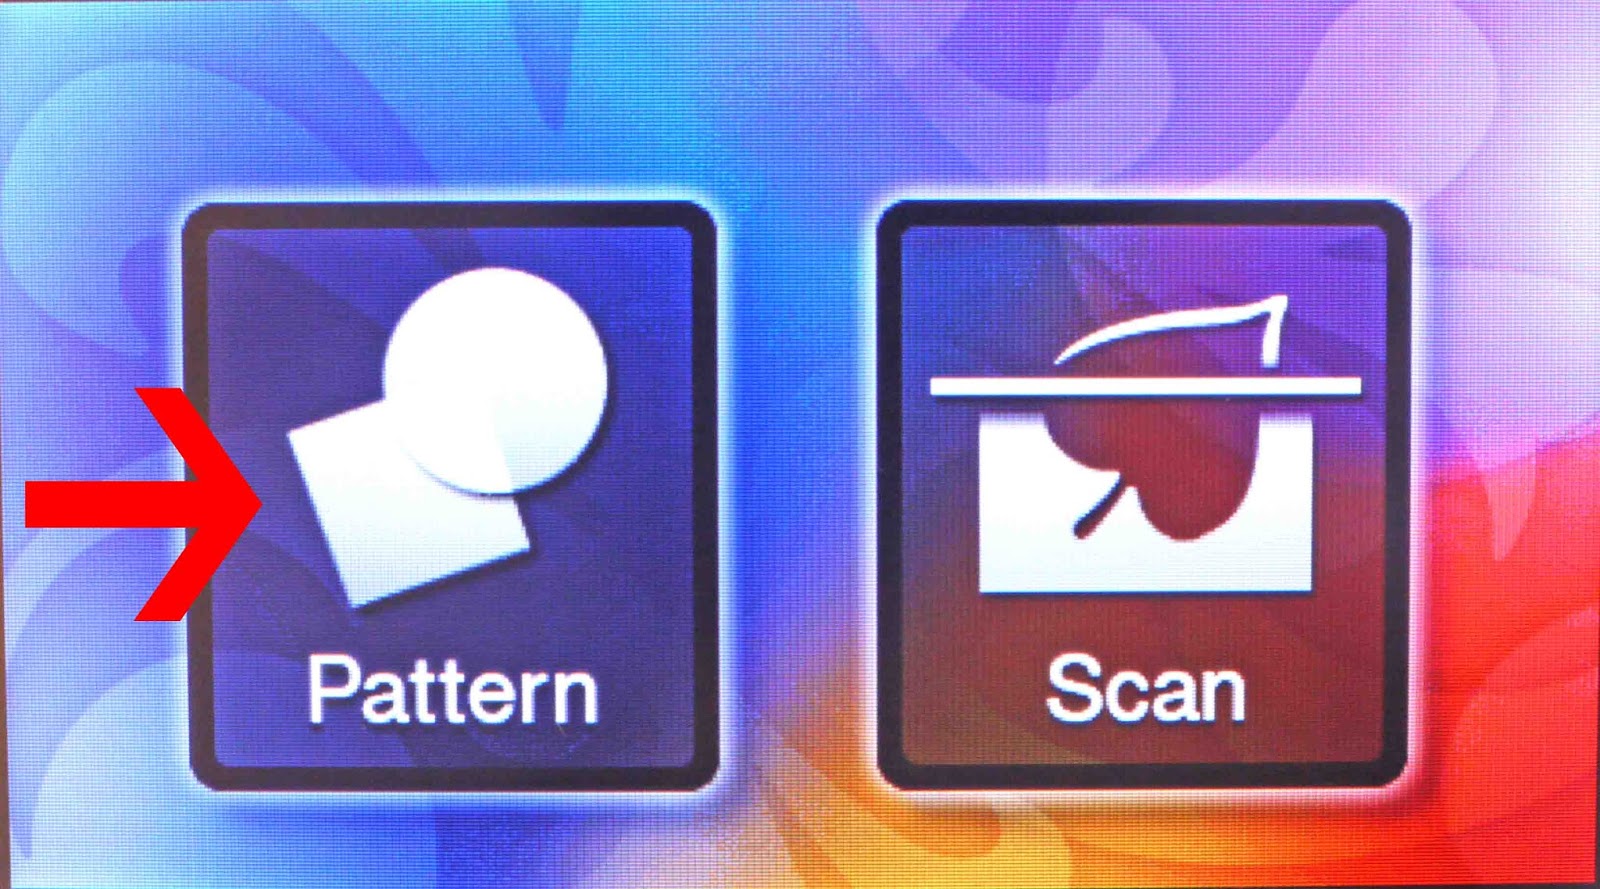
1- Turn on your Scan and cut machine and select pattern.
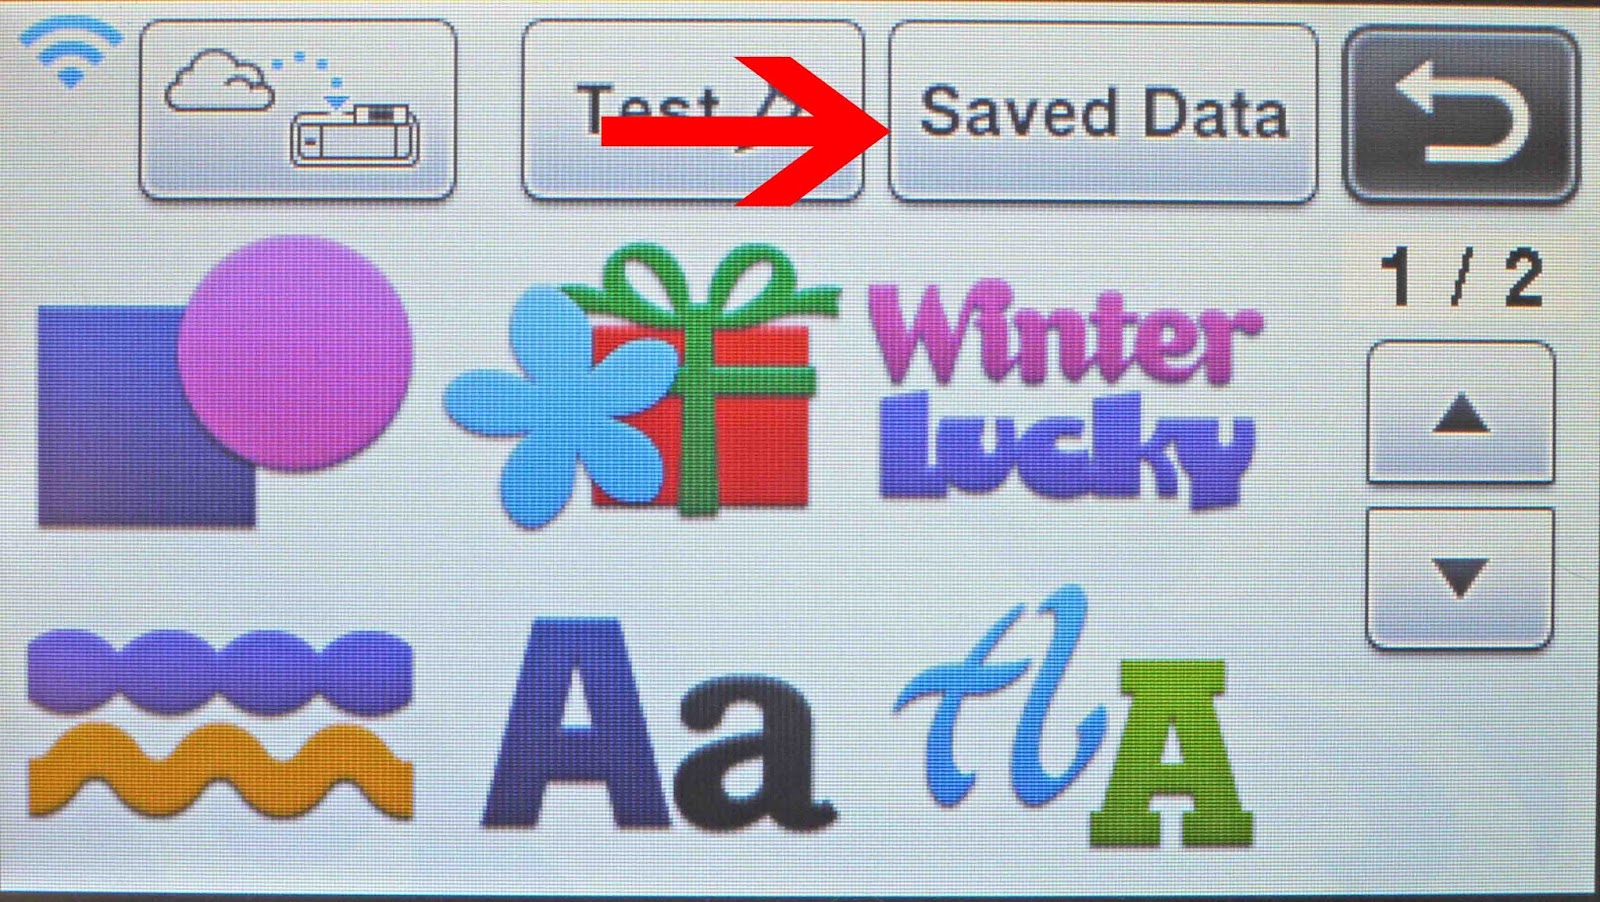
2- Click on the saved data icon.
3- At this point you can select one of the 3 options available saved to scan and cut, saved to USB or saved to PC. all 3 methods are the same. I am going to use a design I saved onto the scan and cut.
Click on the option you would like to use.
4- All your designs will upload. Select the design you need.
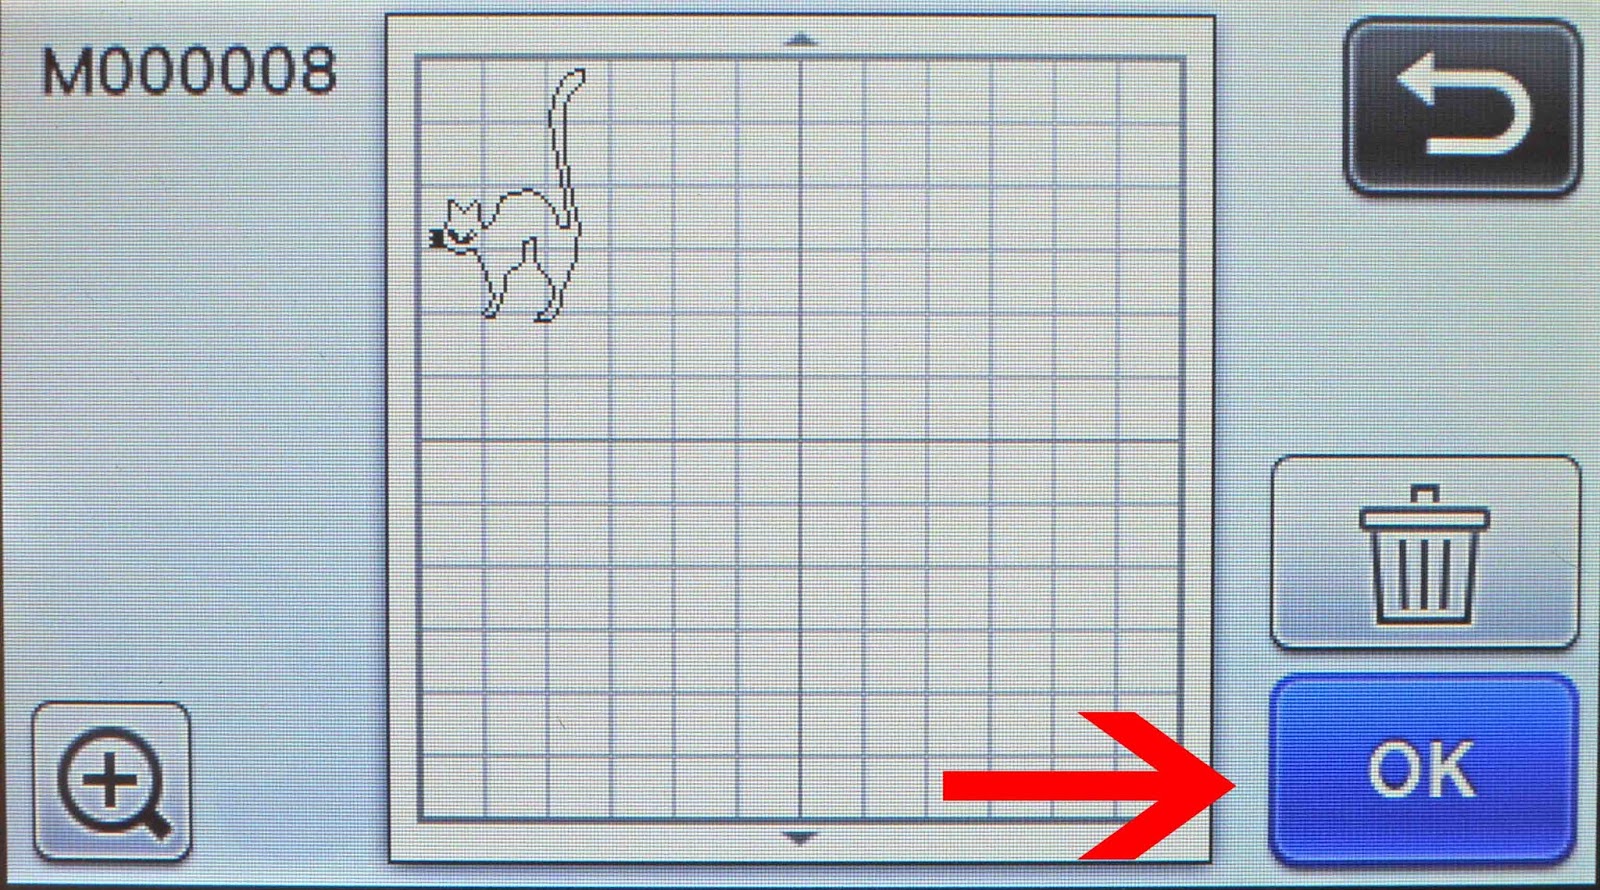
5- Your image will appear on the next screen. Click OK.
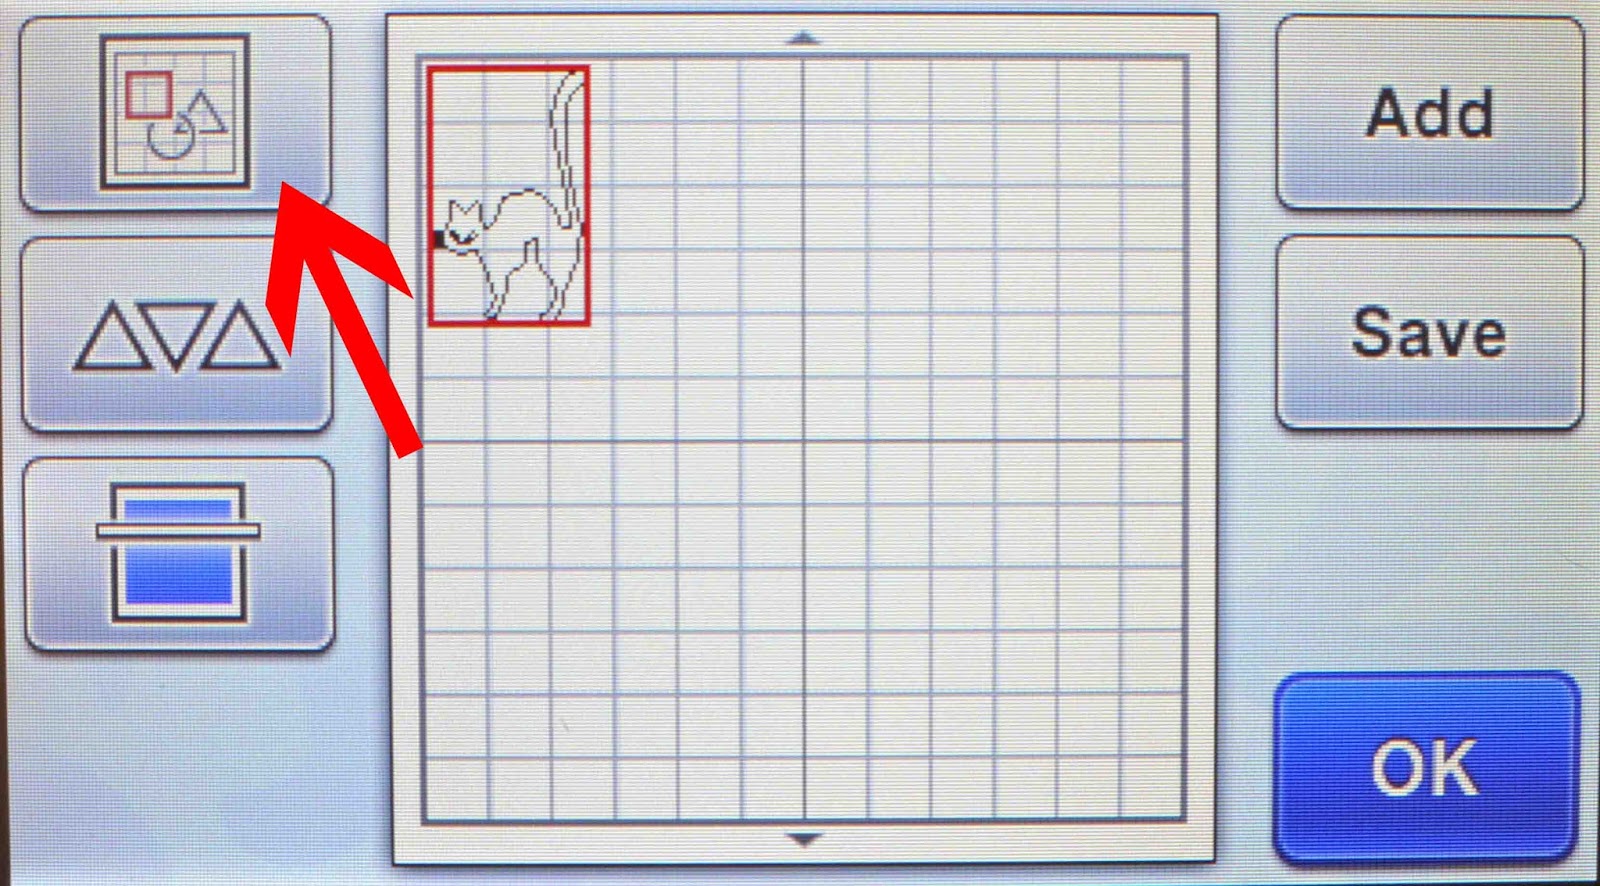
6- Select your image and go to the edit icon.
7- Next click on the adjust icon.
8- This is where you will find the fill option. click on it.
9- Your image will fill in. Click OK.
10- Click OK again.
11- At this point you can add any more images to your workspace. Once you are happy click OK once more.
12- Click on the toolbox icon.
13- Scroll through to find the fill pattern option. click on the toolbox icon.
14- You can now see the fill pattern options.
15- Select the pattern you owuld like (1) and then click OK(2).
16-Click OK.
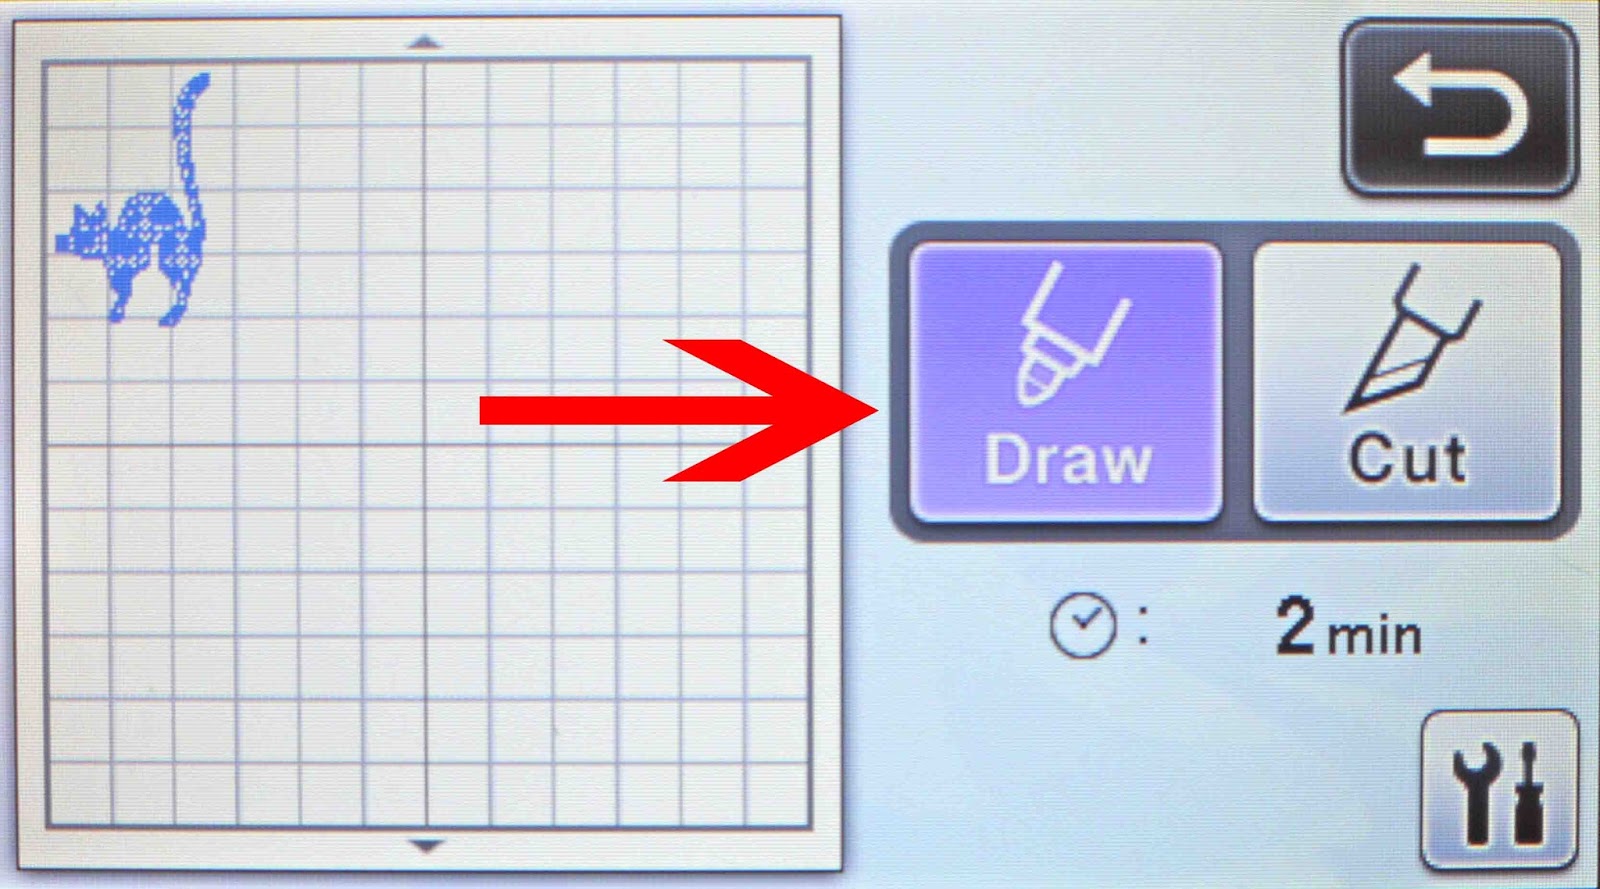
17- Your image will have the new fill pattern in it, and you can click draw.
1- Turn on your Scan and cut machine and select pattern.
2- Click on the saved data icon.
3- At this point you can select one of the 3 options available saved to scan and cut, saved to USB or saved to PC. all 3 methods are the same. I am going to use a design I saved onto the scan and cut.
Click on the option you would like to use.

4- All your designs will upload. Select the design you need.
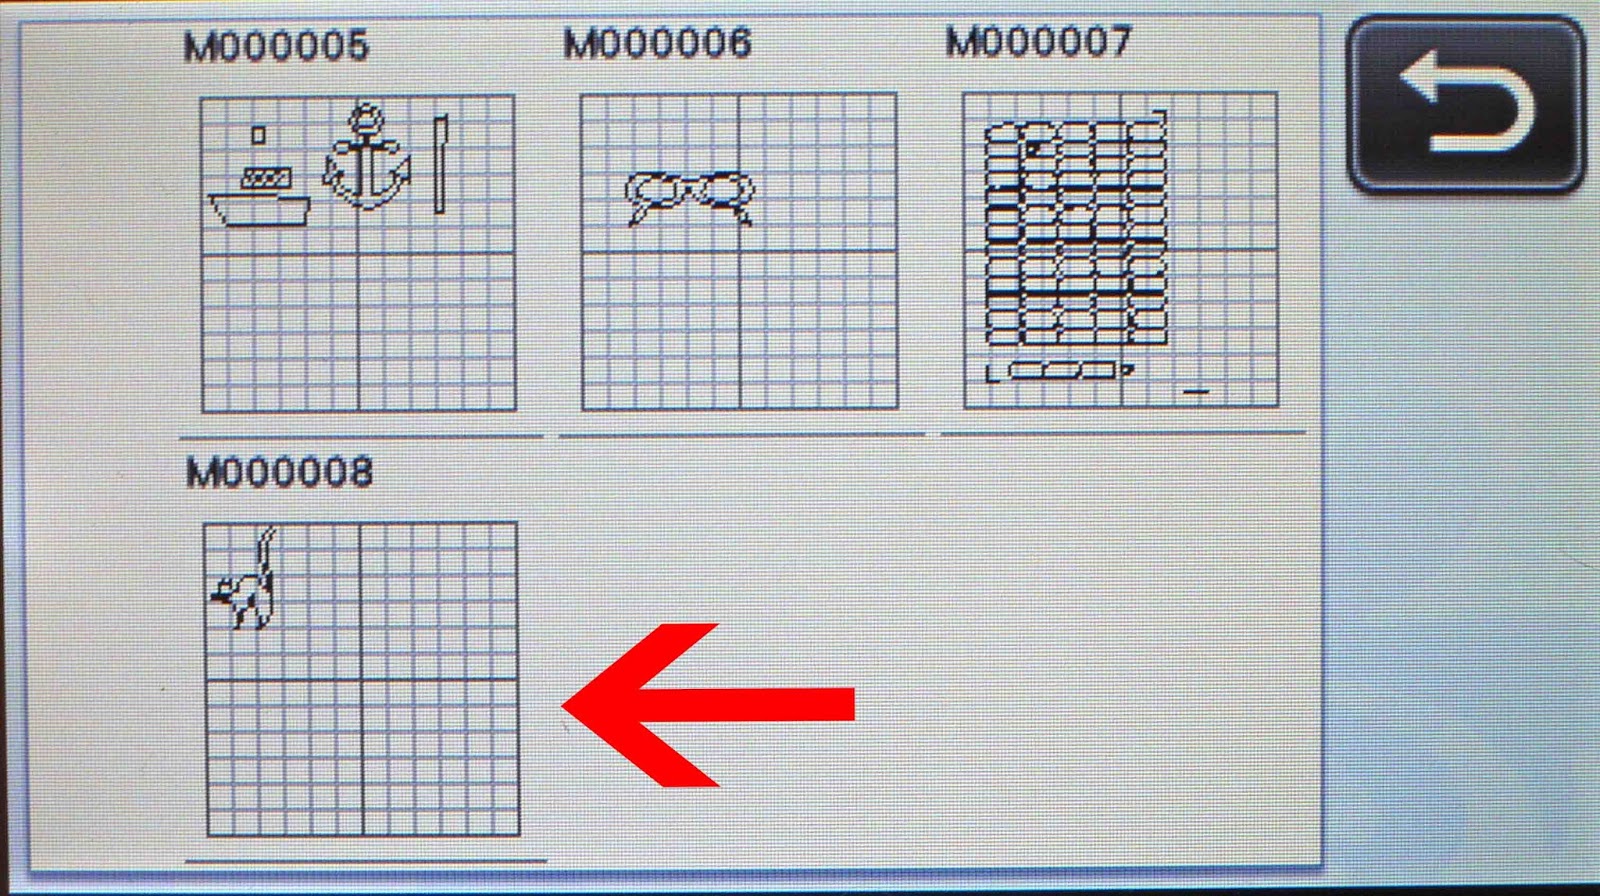
5- Your image will appear on the next screen. Click OK.
6- Select your image and go to the edit icon.
7- Next click on the adjust icon.
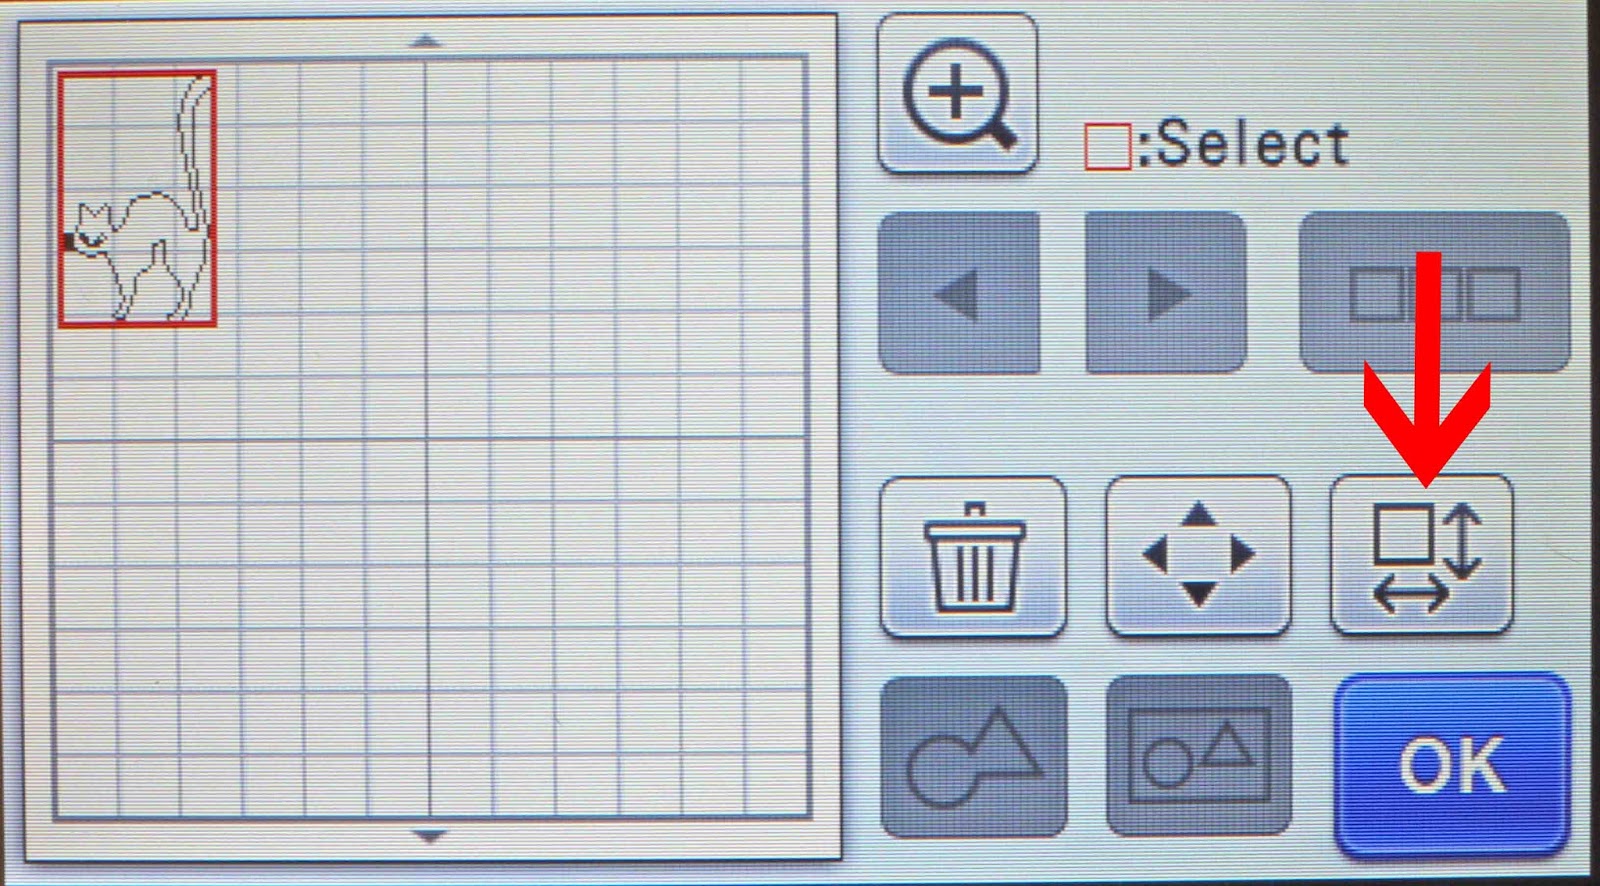
8- This is where you will find the fill option. click on it.

9- Your image will fill in. Click OK.

10- Click OK again.

11- At this point you can add any more images to your workspace. Once you are happy click OK once more.

12- Click on the toolbox icon.

13- Scroll through to find the fill pattern option. click on the toolbox icon.
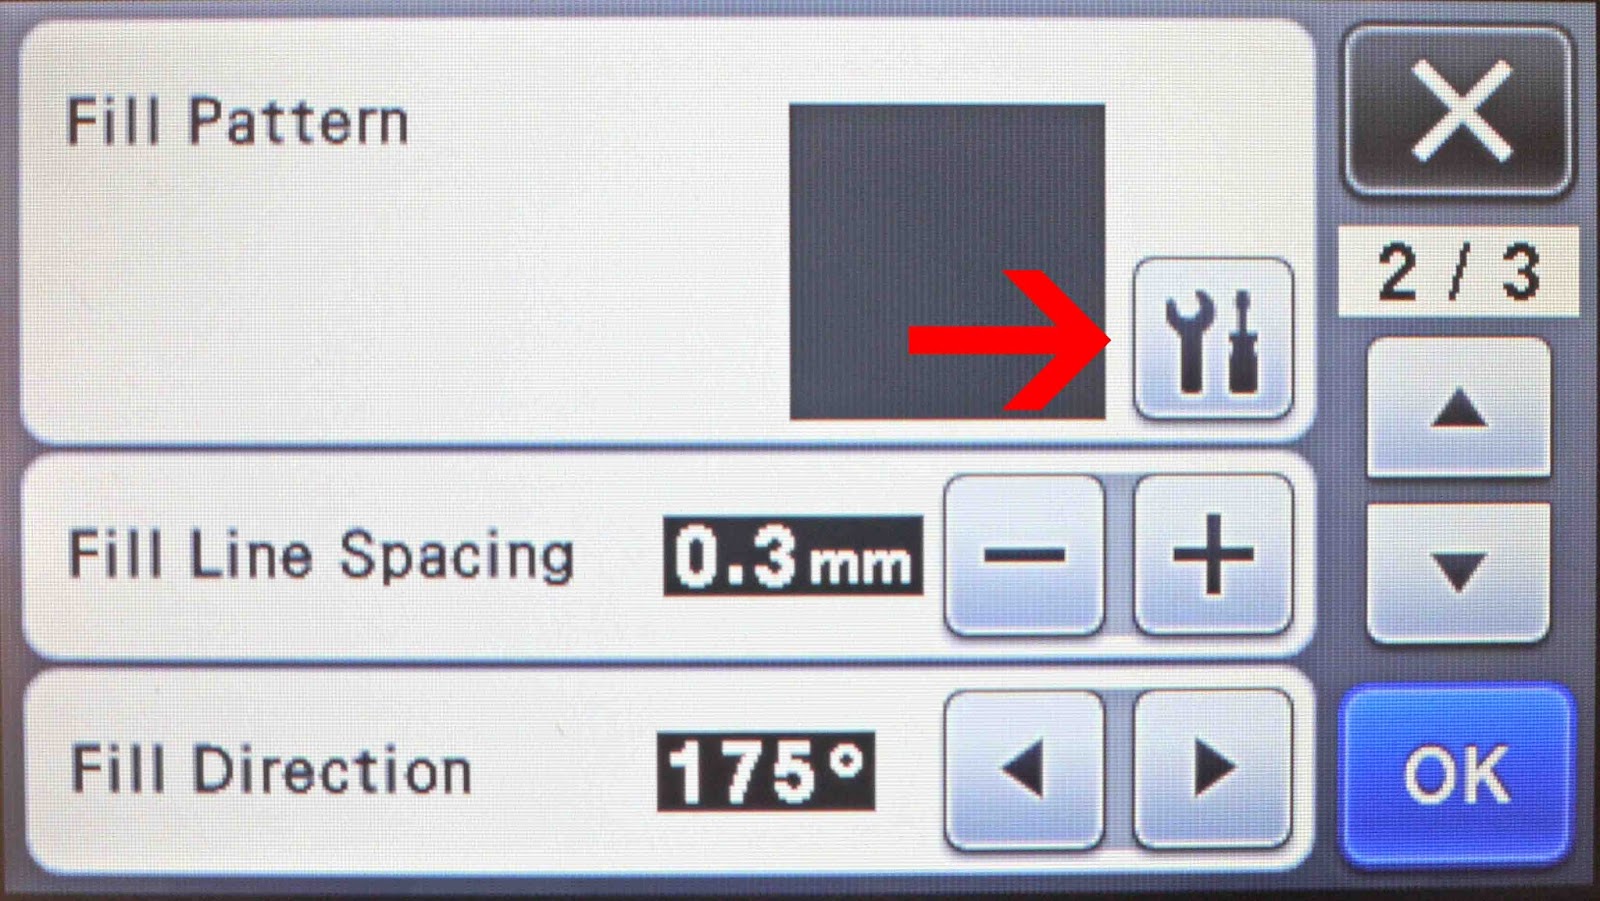
14- You can now see the fill pattern options.

15- Select the pattern you owuld like (1) and then click OK(2).

16-Click OK.

17- Your image will have the new fill pattern in it, and you can click draw.
Related Tutorials
Scan N Cut Tutorials
How to make a image larger than your cutting mat in Brother Scan N Cut canvas workspace
Learn how to cut designs larger than your cutting mat in Brother Scan N Cut canvas.
Scan N Cut Tutorials
How to Foil a JPEG Image with Brother Scan n Cut Machine Using the Foil Quill
Scan N Cut Tutorials
Brother Scan and cut - How to adjust the image detection levels
Scan N Cut Tutorials
Spacing images evenly on a line in Brother scan and cut canvas workspace
Scan N Cut Tutorials
How to Fill in a Preset Pattern in Brother Scan n Cut
Scan N Cut Tutorials