By Design Bundles
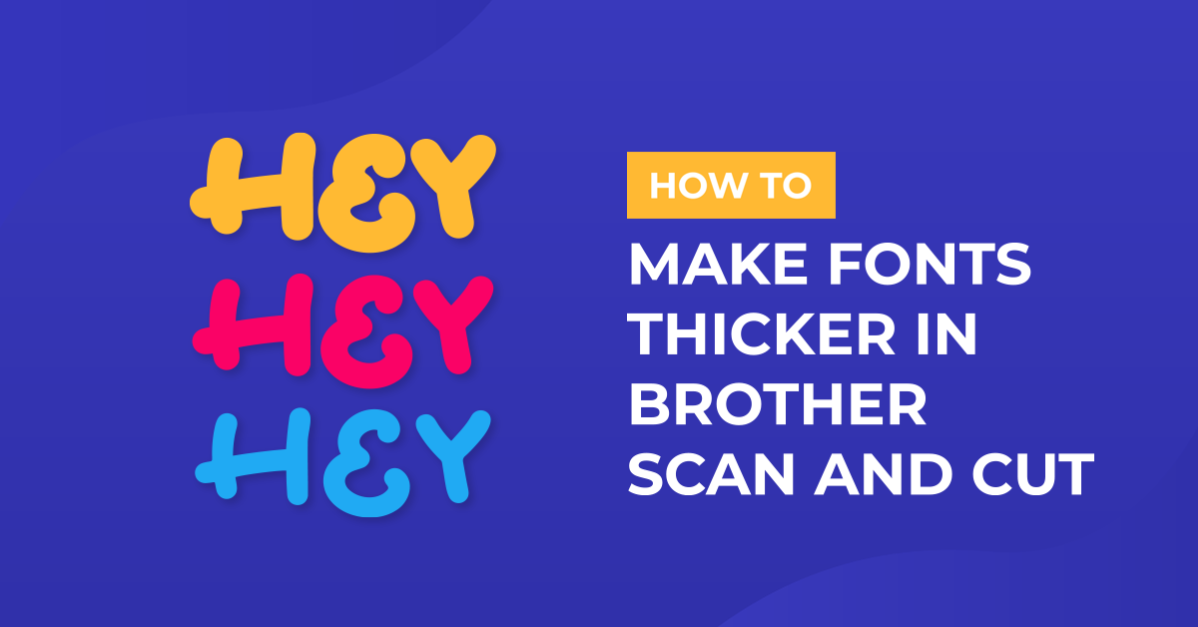
Making fonts thicker and thinner with brother scan and cut canvas workspace
1-Open scan and cut canvas workspace. Click on the text icon.

2- Type your text. Select the font you would like to make thicker. This technique works great with thin fonts that you need to make thicker.

3- Using the character spacing tool, space out your letters so they do not touch.

4- Click on the offset icon.

5- A new window will appear. Adjust the spacing to 0.04, outward offset and make sure the offset outline only is unchecked. Click OK.

6- Your offset will appear around your text.

7- Click and drag the offset away from the original text. As you can see the offset text is slightly thicker.

8- You can also make thicker fonts thinner. Select your text and font. I am usingcheesy grits.

9- Click on the offset icon again. this time make sure inward option is selected. Click OK.

10- Your inside offset is now inside your text.

11- You can make text thinner several times to create different effects.

12- When you create an offset and fill it the middle of the text will not appear. This needs to be corrected.

13- Select the text. click divide. Your text will separate, but also add the middle of the text.

14- When you now fill your text the middles of the text will not be filled.