By Design Bundles
How to Use Advanced Color Settings in Silhouette Studio
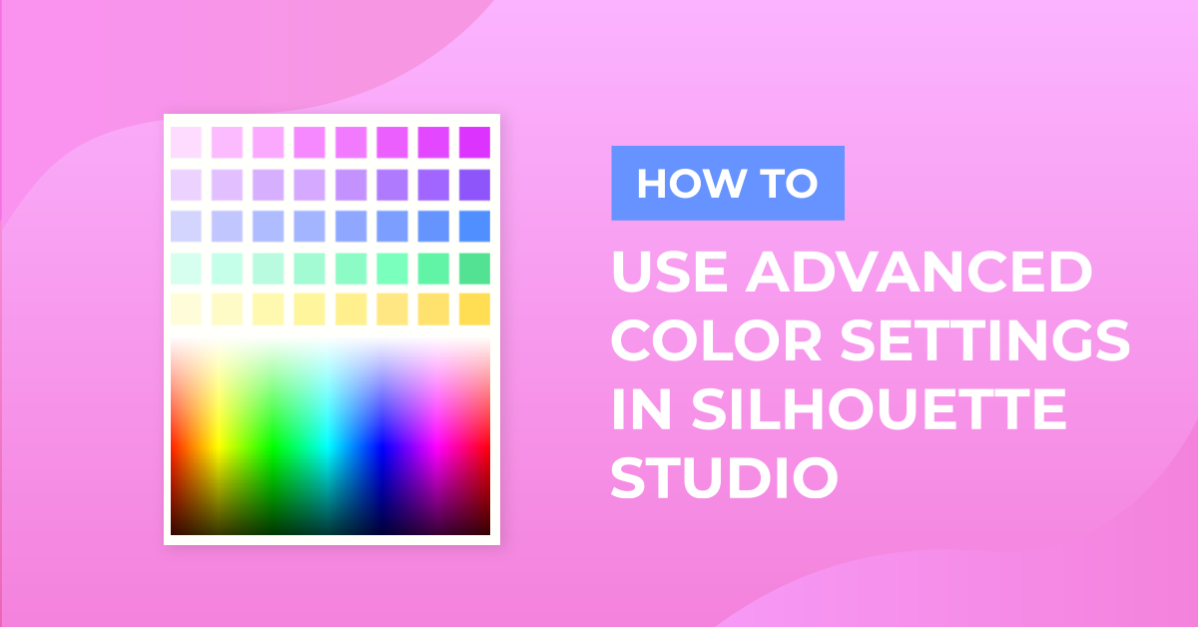
Advanced Color Settings in Silhouette Studio makes it easier to create custom colors. HEX or RGB codes are used for adding more colors to the color palette. This is useful for matching up colors in designs or test printing. In this tutorial you will learn how to use the Advanced Color settings in Silhouette Studio.
We will be using a colorful and fun beach clipart set in the examples. Click and open Silhouette Studio to a new blank canvas.
Using the Eyedropper Tool
The Eyedropper tool is a quick way to select custom colors. Click on the Fill Panel on the right side of the screen. For a shortcut, click on the Panels menu top of the screen and click Fill Color. Click on the Eyedropper Tool and move your mouse over the clipart.
As you move the mouse around a box with a color, HEX and RBG code will appear. This helps to make color selection more specific. Click to select the color you want. It will now be added to the top color palette.

Using RGB and Hex Codes
HEX and RGB codes make it possible to accurately use colors across platforms like web sites, software and more. You can also refer back to the codes to check on the color.
To find the HEX and RGB codes click on the Fill Panel and click on Advanced Color at the bottom. The HEX code is presented with a hashtag and a number. The RGB code is presented as Red, Green and Blue numbers between 0 and 255.

Search for HEX and RGB codes with Google
You can use Google to find specific HEX codes. We did a search fora Fuchsia HEX code.

Copy the code then click next to HEX under the Advanced options. Right click and select Paste. Press Enter or click away to apply the color to object or text that was selected. If you draw out a shape it will be filled with this color.
It's far easier to copy and past the HEX code due to the number and letter combination.

You can also use Google to find RGB codes. RGB codes are important for test printing to check all colors are printing correctly. If you want to only print Red then the RGB code would be R: 255, G: 0 and B:0. Using the code you can be certain only red will print.
The HSL option is for Hue, Saturation and Lightness. You can change the color, the strength and how light or dark it is.
Creating Color Palettes
Creating a Custom Palette with the Eyedropper Tool is one way to save your favorite colors.
Custom Palettes are useful for matching colors when adding text or other objects to a design. You can create more than one palette and delete any unwanted palettes.
Step 1 - Create a New Palette
Click on the Fill Panel to open. Click on New Palette Name, type out a name and click on the plus sign to add it. The new palette will be added but you won't see the name.
There will be a paint palette icon instead. Hover your mouse over the palette icon to see the name.

Step 2 - Add a custom color to the palette
Click on the Eyedropper Tool under the Fill Panel. Move your mouse over the colorful clipart and click to select a color. The color is added to the color palette towards the top of the Fill Panel. With the color selected, go to your custom palette. Click the plus sign to add the custom color. Repeat this process to add your preferred colors.

You can delete a custom palette by right clicking on the palette and clicking Delete (and the name of your palette). With your custom color palette you can match the colors used in the clipart.
Here we created a quick design. A rectangle background and text was added. Both were filled with a color from the custom palette. A bold and cute font by KA Designs was used for the text.

Next we will need to create an offset in Silhouette. The offset was filled with a color from the custom palette.

The Advanced Color Settings allows the color palette to be expanded and customized. Easy to adjust, there is no more guessing exactly what color you are using.