By Design Bundles
How to Make a Table in Canva
Tables are often used for calendars, planners, and charts. These are usually created in spreadsheet software. Although there is no specific table option in the Canva editor, tables are certainly doable in Canva. In this tutorial, I'll be showing you how to add a table to your design in Canva by using the basic square shape from Canva elements.
Open your existing design where you want your table added. For this tutorial, we're going to create a daily class schedule.

Step 1 - Create a header row
We are now going to create the header row for the class schedule.
Add shape to create a cell
From the editor panel on the left, Click Elements > Lines & Shapes and choose Square. Your shape will now appear in your design. You can adjust the shape to change it to a rectangle. Do this by clicking the white handle on the middle and drag it in to decrease its width and height.

Alternatively, if you want to start with a set rectangle shape, you can simply click "R". This will adda rectangle and it can then be scaled to the appropriate size.

Adjust the cell placement
After resizing, bring your cell to the top to create a header.

Copy the cell
Make more rectangles with the same dimension as many times as you need.For our table, we will be needing 4 more cells to complete our header. Select/highlight the rectangle> right-click > copy or press Ctrl/Command + C > paste or press Ctrl/Command +V and arrange them across.

Tidy up cells
To make sure everything is perfectly aligned, select/highlight all 5 rectangles > click position from the toolbar> tidy up.

Step 2 - Create table rows
Add cell
Repeat the same process above in creating a new row. Add the square shape from the elements then resize it. We made the size the same width as the header cell but taller in height. Now change the color, we made it white.

Copy the cell
Make more white rectangles with the same dimension. We will be needing 4 more cells to complete our row. Select/highlight the rectangle > right-click> copy or press Ctrl/Command + C > paste or press Ctrl/Command +V and arrange them across. And again, to make sure everything is perfectly aligned, select/highlightall5 rectangles > click position from the toolbar > tidy up.

Copy the Row
Once you've completed your row, select all of the shapes (the entire row) and copy and paste. Do this for as many rows as you need. For our table, we need 5 rows so we will copy the 1st row four times.

Step 3 - Add more boxes and text
You can add additional boxes. Just repeat the same process in adding square shape from the elements, resize them and arrange their placements.

To add text, click the text button> click any Add a text button or just simply type "T" to quickly add a textbox. With the sample text selected/highlighted, start typing your own text. It will automatically change the sample text.

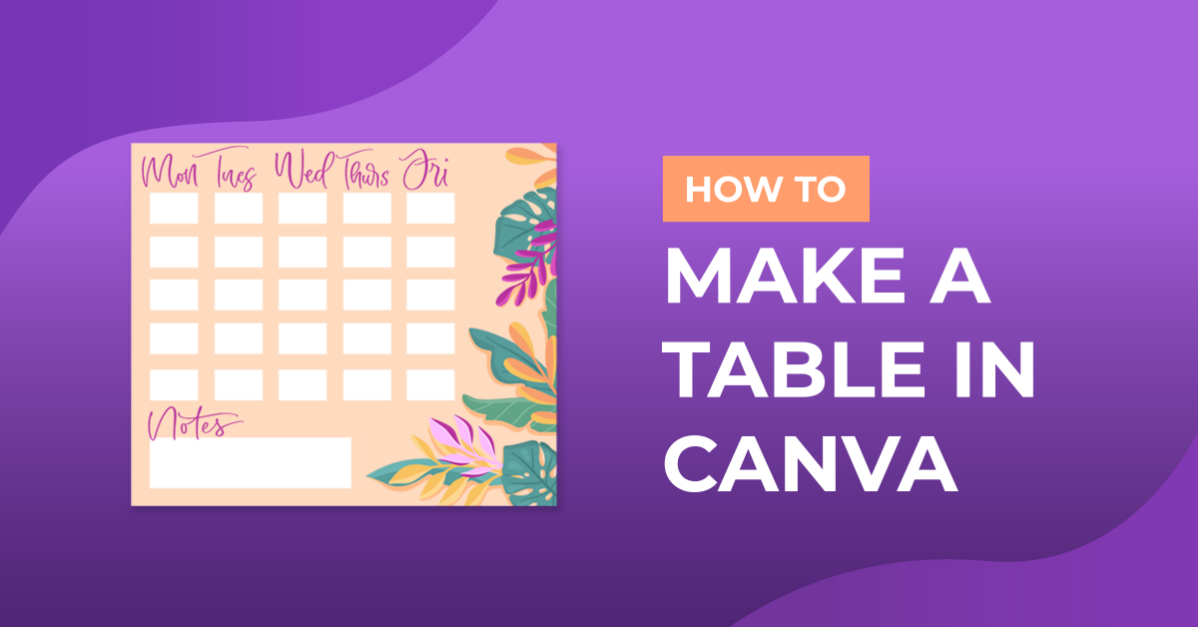
All done! Here's our finished Daily Class Schedule made in Canva.

Next up, check out our tutorials on downloading your Canva files, using alternate glyphs in Canva, and animating text in Canva.