By Design Bundles
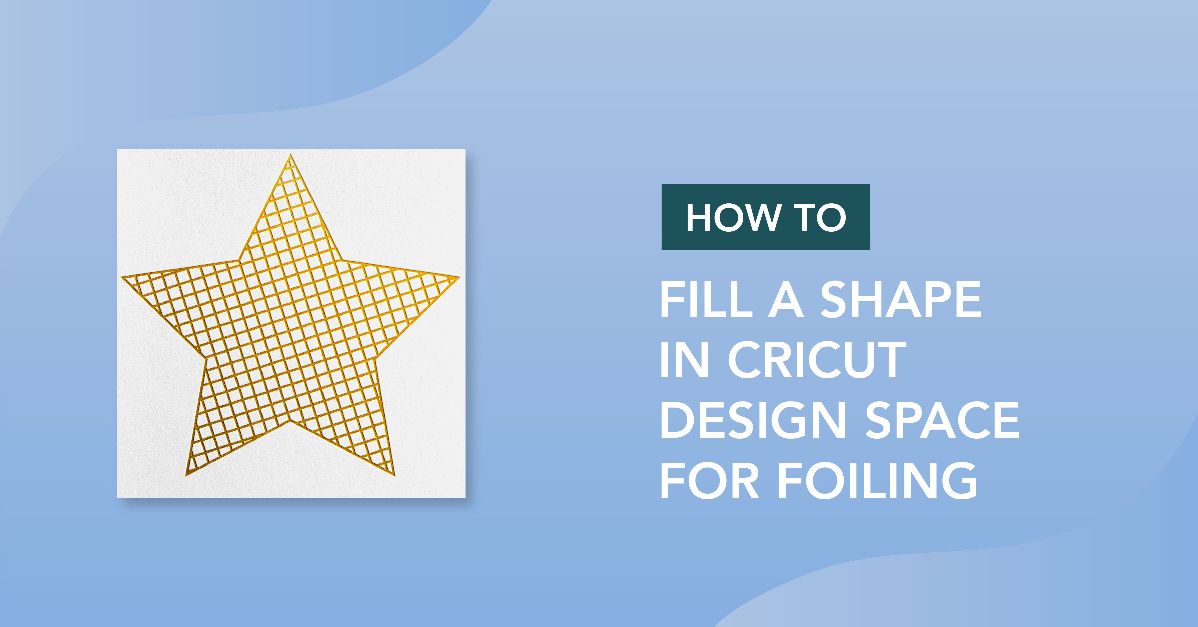
How to Fill a Shape in Cricut Design Space for Foiling
*3rd party software is required to fill shapes as Cricut design space does not have this capability. using 3rd party software is at your own risk.
1- To fill shapes you will need to download and install Inkscape free software. Once this is installed you will need to download and install a crosshatch extension for Inkscape. Go to evil mad scientist online and download the Axidraw software for your PC/mac.

2- Once downloaded install the extension.

3- Open Inkscape. Insert your design or click on the shape tool.

4- Resize your design.

5- Click on extension- Axidraw utilities- Hatch fill.

6- A new window will pop up. Click on live preview.

7- The fill lines will appear. you can adjust the pixels between the lines so you can have a wide or narrow gap.

8- adjust to suit your needs. The closer you make the fill, the more it will appear when you foil to be a full fill.
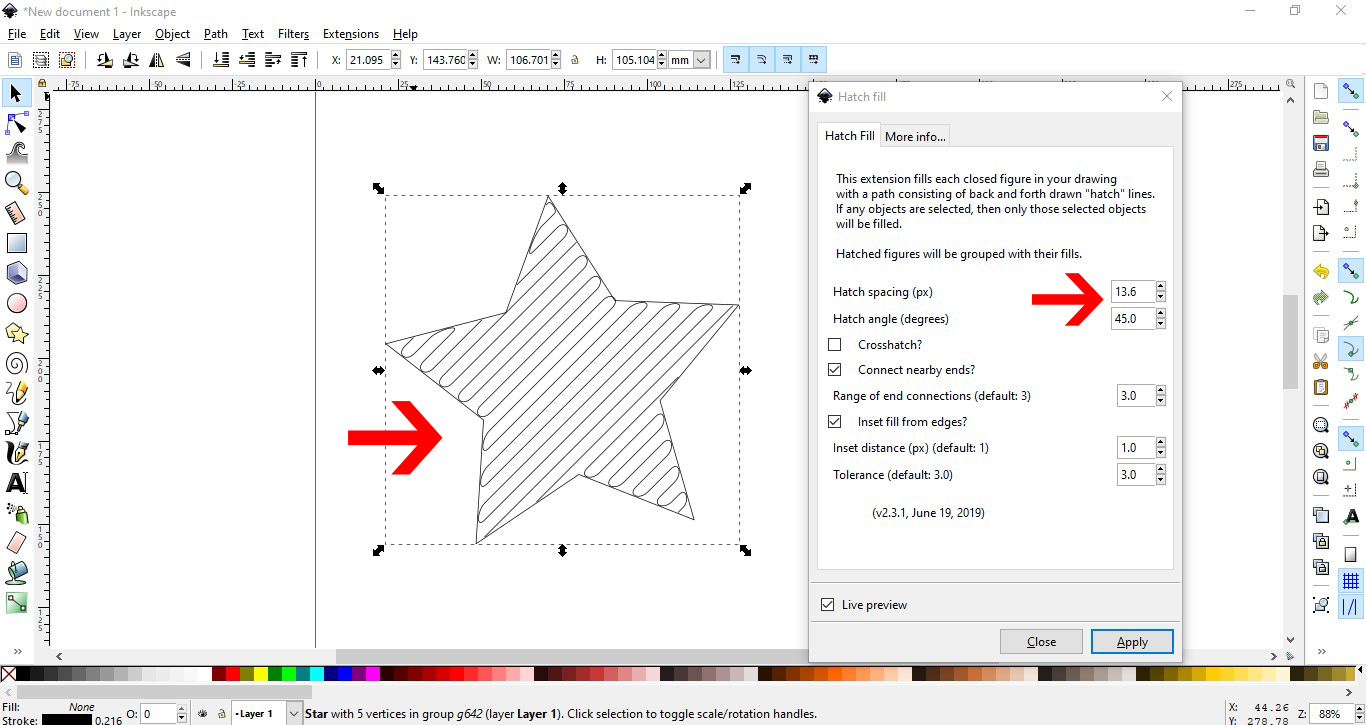
9- You can also click the cross hatch option to fill a different way. Click apply.

10- With the shape selected, right click and ungroup.

11-This will now separate the original shape from the fill. you don't need to do this if you want the edge to foil.

12- Once you are happy, go to file - save as.

13- Save as a SVG file.

14-Open Cricut design space. Click upload.

15- Click on upload.

16- Click on browse.

17- Your design will now appear for you to name and save. As you can see the fill lines are there.

18- Select the design and insert.

19- Your design is inserted into the design space. It will appear filled and no lines. This is because the file automatically converts to a cut file when you upload it.

20- Go to the line type drop down box and select the draw option. You will see that the fill lines are now visible.

21- Click on go and then adjust where you want the design on your cutting mat. Click continue.

22- Select the media type and insert the foil quill into clamp A.

23- Make sure the dial is set on your media type. Click Go.

24- Your machine will start to foil your design.

25- Your design is now foiled.

How lovely did that come out? You can do so much with the Foil Quill and your Cricut. We hope you enjoyed following this tutorial and learned something new.