By Nadine Spires
How to Create a Watercolor Text Effect in DesignScape
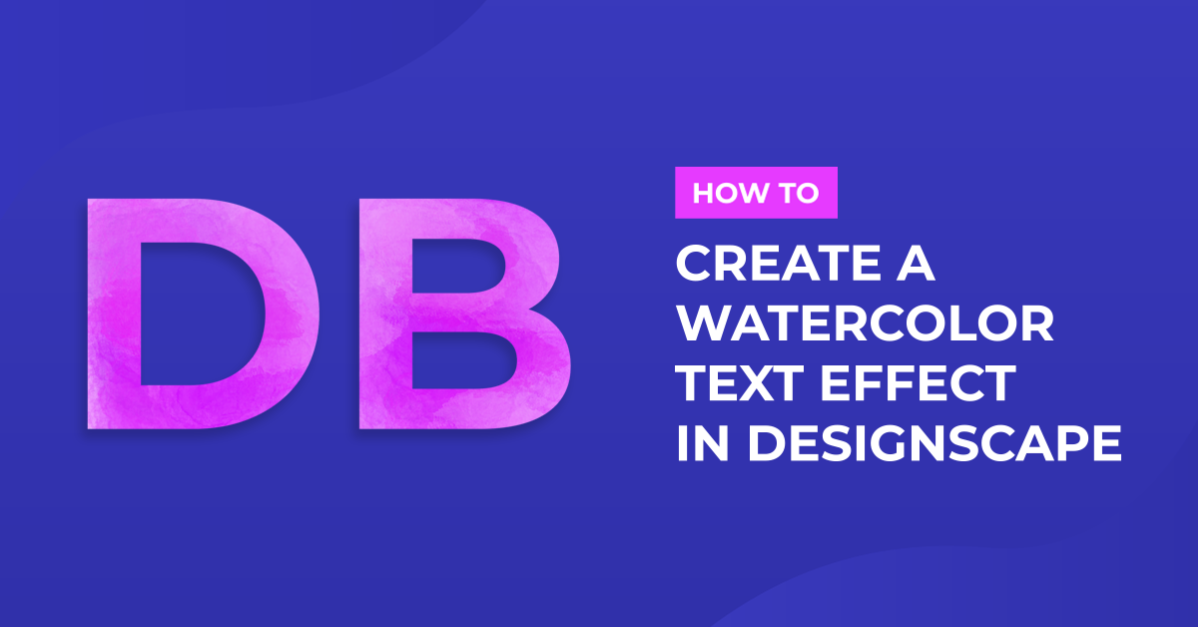
Would you like to learn how to create a watercolor text effect in DesignScape? Then follow our tutorial as we guide you step by step. Watercolor text has the feel of brush strokes dipped in watered down paint. It adds a creative and handmade texture to your projects. We will show you how to create a watercolor text effect from scratch.

DesignScape is a browser based editing program available to Gold Plus Members. We do have a free 30-day trial if you want to give the Gold Plus Membership and DesignScape a try.
We chose to use a wedding script font called Stephanie but we have tons of great modern script fonts to choose from.
Step 1 - Create the Watercolor Effect
Once you have opened DesignScape, create a new project with the dimensions 1500 x 1000 px and 300 DPI. We are going to start without a color fill and instead add that later. This will allow us to change the color whenever we want.
Apply Clouds Filter
Now, go to Filter > Render > Clouds.

Below is the result of adding the Clouds filter.

Add Filters from Gallery
We are now going to add multiple filters from the Filter Gallery. Click on Filter > Filter Gallery. In the Filter Gallery your image may go dark as the Glowing Edges filter is automatically applied.
Under the Brush Strokes category, click on Sprayed Strokes. You will see the filter name on the right change to Sprayed Strokes. We used the following settings.
Stroke Length: 15
Spray Radius: 8
Direction: Right Diagonal
Add a New Filter Layer
Each time you want to add a filter, you need to click on the New filter layer icon bottom right. Click to add a new filter and a duplicate of the current filter will be created.

With the top layer selected, under the Brush Category click on Spatter. The following settings were used.
Spray Radius: 15
Smoothness: 6
Create Additional Filters
To create the watercolor effect, we need to add another three filters. Keep in mind that each filter needs a New filter added first. We added the following filters beginning with the top one. The Dry Brush filter will be added twice.
Select Dry Brush (filter three) under the category Artistic. Use the following settings:
Brush Size: 4
Brush Detail: 8
Texture: 1
Select Underpainting (filter four), under the Artistic category
Brush Size: 40
Texture Coverage: 40
Texture: Canvas
Scale: 100
Relief: 0
Light: Top
For the last filter, again select Dry Brush (filter five)
Brush Size: 10
Brush Detail: 10
Texture: 1
Once all the filters have been added, click OK.
Step 2 - Add your Text and Color
We are now ready to add our text and color.
Add a Color Overlay
First, we are going to add a Color Overlay. To do this click on the eff icon at the bottom of the Layers Panel. Then select Color Overlay.
Next, change the Blend Mode to Overlay. If you want a lighter version you can try Screen as the blend mode. Then click Ok to close out of the Layer Style panel. If you want to change the color simply click on the eff icon on the Background layer or the selected layer.
Create your Text Object
On the left side toolbar, click on the text tool and create your text. You can leave the color fill as black as the color is not important. We need to move the Text layer beneath the Background layer.
Under the Layers Panel, click and drag down the Text layer so it sits beneath the Background layer.
Hold Ctrl + click on the Text layer to make a selection.
Now, with the selection still active, click on the Background layer. Right click and select Clipping Mask. Then, go to the top menus, click on Select > Deselect.
Step 3 - Edit the Text Layer
Let’s add an Inner Glow from the Layer Style panel to soften the edges of the text. At the bottom of the Layers Panel, click on eff > Inner Glow.
The settings for the Inner Glow can be adjusted as needed but we used the following settings.
Blend Mode: Normal
Opacity: 80%
Noise: 0%
Click on the Color Picker box and choose white. Leave the Gradient as is.
Technique: Softer
Source: Edge
Spread: 0%
Size: 6 px
Contour: Roundy Hill
Range: 100%
Jitter: 0%
Then click OK.
Step 4 - Add the Final Touches
Let us add the final touches such as a canvas background then adjust the blending modes.
Change Background Blend Mode
We decided to change the blending mode of the background and make it lighter. This is the great thing of working non-destructively, you can go back and change what you want. Double click on the eff icon on the Background layer.
In the Layer Style panel, make sure to click on the Color Overly option. Change the Blend Mode to Screen.
Add a Canvas Background
Next, add a canvas background for a more realistic look. We used a digital canvas paper from the Plus Hub but any canvas background will work.
Drag and drop the canvas background into DesignScape. Then, click and drag down the canvas background until it’s the bottom most layer.

Change the Text Layer Blend Mode
Click on the Text layer to select it then click on the Blend Mode > Linear Burn.
That’s it, you have created a watercolor text effect in DesignScape. Remember, your Background layer is non-destructive. This means you can click on the eff icon on the layer, then change the color with the Color Picker.
We hope that you enjoyed learning how to create a watercolor text effect in DesignScape. This technique can be applied creatively across so many different projects. DesignScape is an awesome editing program feature packed for your designing needs.