By Kia Lor
How to Make a YouTube Outro Template in DesignScape
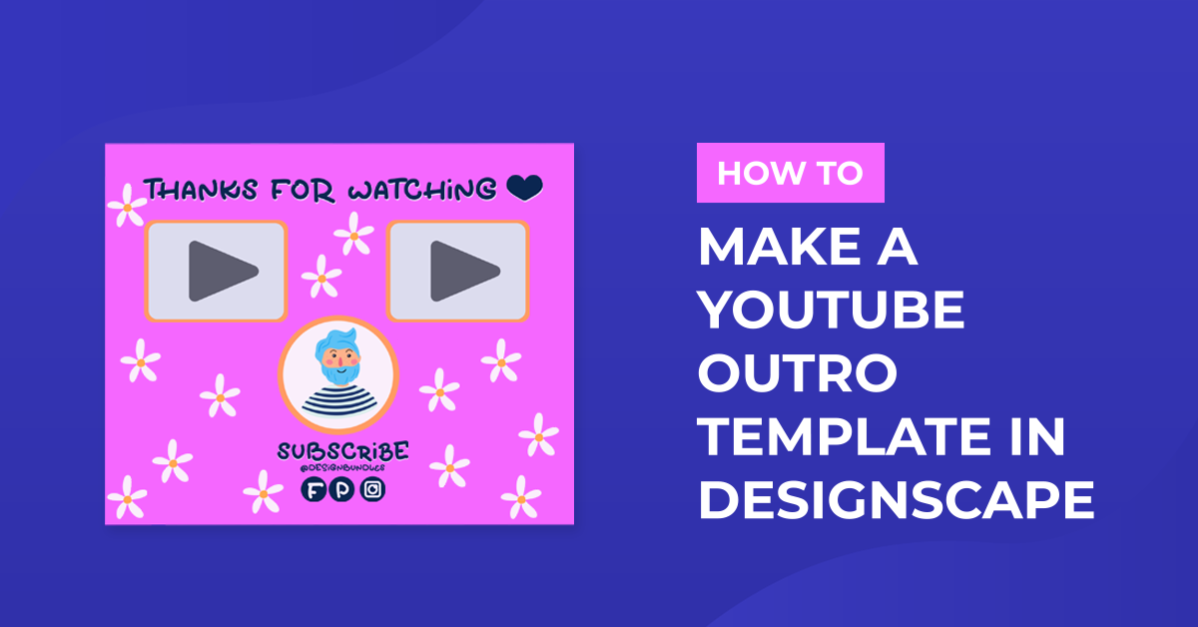
Now that you have decided to start a YouTube channel, we will show you how to make a simple Youtube outro template in DesignScape. A YouTube outro, also called an end card, is an excellent place to put call-to-action prompts. You can use outros to direct your viewers to like the video, subscribe to your channel, follow you on social media, and/or to your other videos or channels.

If you’ve been debating whether you want to get Illustrator/Photoshop, why not try DesignScape? There’s no software to download and install because it’s all online, and you can still use your own fonts. DesignScape comes with the Gold Plus Membership, and we actually have a free 30-day trial of the Gold Plus Membership if you’d like to try it out.
When making YouTube channel art, you want to keep the design consistent across your channel by using a consistent color palette, logo, and styling. We will use the same background and fonts as the YouTube banner we created in our tutorial on making a YouTube channel banner in DesignScape.
Step 1 - Create a New Project
Follow our guide on starting a new project in DesignScape. We will create a project with the dimensions 1920 x 1080 pixels. If you’re using different dimensions, make sure the aspect ratio is still 16:9.

Step 2 - Add and Adjust the Background
Drag and drop your background onto the canvas. We used a paint texture background.

Scale and transform your background as needed using the Move Tool (V).

Step 3 - Add Placeholder Shapes
Next, we will add two rectangles for video elements linked to two other videos, a circle for a subscribe button, and some social media icons.
Add Rectangles for the Video Elements
Select the Rectangle tool (U). Then change the Fill to white and the Stroke to none in the top toolbar.

Click on the canvas to open the New: Rectangle dialog. Enter 615 for the Width and 345 for the Height, then click OK.

Right-click on the rectangle layer in the Layers panel and select Duplicate Layer.

Place the rectangles where you want them with the Move Tool (V).

Add a Circle for the Subscribe Button
Select the Ellipse tool (U) and click on the canvas. Enter 298 for the Width and Height and click OK.

Move the circle to where you want it with the Move Tool (V).

Add Social Media Icons
You can drag and drop social media icon images onto the canvas. Then resize and place them where you want them.
We used some minimal vector social media icons and centered them on top of pink circles. The “f” icon was created using the cute handwritten font, Frosted Gingerbread.

Step 4 - Add Text
We imported our fonts, Freshly Baked and Toddler Tantrums, beforehand. If you’re unsure how to do this, check out our guide on importing fonts to DesignScape.
Add “Thanks for Watching”
Select the Type Tool (T) and choose your font in the top toolbar. Click on the canvas and type your phrase. Change the font size if needed.
We used the Toddler Tantrums font and typed out “Thanks for Watching!!” Move your text if needed.

Add “Subscribe”
Next, add “Subscribe” under the circle. We used the Toddler Tantrums font for this text as well.

Add Social Media Handle
Finally, we will add our social media handle next to the social media icons. We entered “@designbundles” with the Freshly Baked font.

Step 5 - Add Extra Details
This step is optional. You can keep your template simple, but we will add some extra details for a little bit of flair.
First, duplicate the rectangle and circle layers. Then make the duplicate shapes slightly larger. Apply a dark grey color (#1b1b1b) to the Stroke in the top toolbar, and change the solid stroke line to a dashed line. Lastly, lower the duplicate shape layers’ opacity to 75% in the Layers panel.
Use the Pen tool (P) to add an arrow pointing from “Subscribe” to the circle.

Step 6 - Adjust Design Elements if Needed
Now that all the design elements have been added, you can make final adjustments if needed. Looking at the overall layout, you may want to resize the text or move some pieces around.
Step 7 - Export YouTube Outro as a PNG File
The last step in DesignScape is to save and export your YouTube outro template as a PNG file.

Your template is ready to be used. You can add it to the end while editing your videos.
Note: the actual elements that link to your other videos and your channel for subscribing can be added when you upload your video to YouTube.
Below is our YouTube outro template with video and subscriber button elements in place.

We hope you enjoyed this tutorial on making a YouTube outro template in DesignScape. Your template doesn’t have to be exactly like ours, and you can follow these basic steps over and over to create different templates that will fit your channel.