By Christine Hattingh
How to Draw a Burger
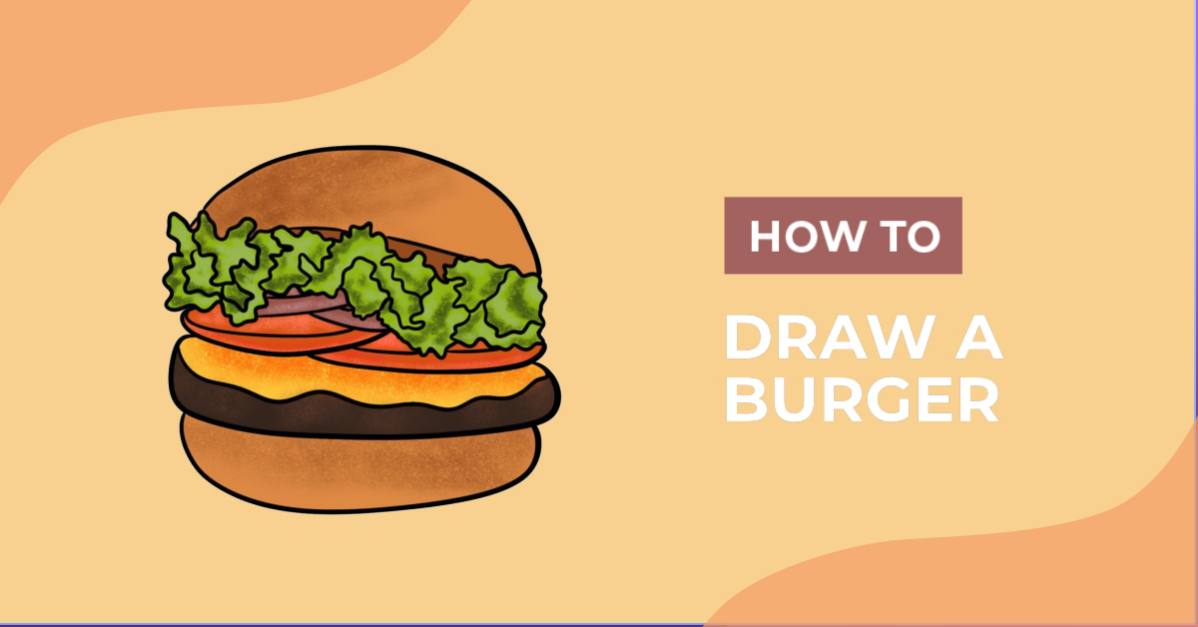
In today’s tutorial, you can easily learn how to draw a burger. Perfect for fast food packaging or whimsical stickers to add to your notebook. As we guide you through the steps, you will create a delicious burger illustration from scratch.
With your creativity and our guide, you can create a whole bunch of different crafts with your food illustration.

Before we make our fast food drawing, gather your art supplies. This can be in the form of traditional mediums like crayons or acrylic paint. Or use digital apps and programs to draw your burger clipart.
Looking for more food illustration drawing exercises like this one? Check out our drawing guides on how to draw a taco and draw a pretzel for more food fun.
Step 1 - Create the Layers of your Burger
Start by creating the layers of your burger using a sketching medium. This can be any type of pencil or medium that is light enough to be covered with color.
We will start our layer creation at the top and work our way down. Feel free to change layers to create your styles of burger art, such as beef or vegan-friendly.
Sketch the Top Bun
At the center top of your drawing area, sketch a rough half-circle or bean shape to create the top bun.

Add the Lettuce
Below your bun, add lettuce by drawing a rectangular shape that is made of wavy lines. The top of the lettuce was sketched to overlap the bottom of the bun.

Add the Tomato and Onions
Below your lettuce, sketch the edges of the sliced tomatoes and onions. We sketched the tomatoes in red and the onions in blue in our image below as a visual guide.

Add the Patty
Next, draw a rounded rectangle for the patty but you can change the shape if you want. As we are making a hamburger drawing, we shaped our patty accordingly.

Add the Bottom Half of the Bun
Lastly, add the bottom half of the bun. We sketch the bottom half of the bun a little bit narrower and more rounded than the patty.

Step 2 - Create Outlines of your Burger
Define the outline of your fast food clipart with a marker, pencils, or Procreate inking brushes. Start tracing over each layer on your burger, making sure to sketch the lines you want and skip those you don’t want to make permanent.

Once you have outlined your layers, carry on to outline the smaller details. Like we did with the onions, add more wavy lines to your lettuce and a line through the patty for the cheese.

Step 3 - Add Color to your Burger
Gather the colors that you want to add to your burger outline. For our design, we added the base color, and then applied some shading using a Procreate texture brush. The shading can be dark or light, depending on whether you want shadows or highlights.
We used a color palette with shades of brown, green, purple, red, and yellow. Here is the final result.

Yummy! Your burger drawing looks amazing and just like the real thing. Add some fries or a beverage and you have a whole meal created. Want to create a menu with other kinds of burgers? We’ve got an in-depth guide on how to create a brochure in Canva for your restaurant or wedding menu.