By Nadine Spires
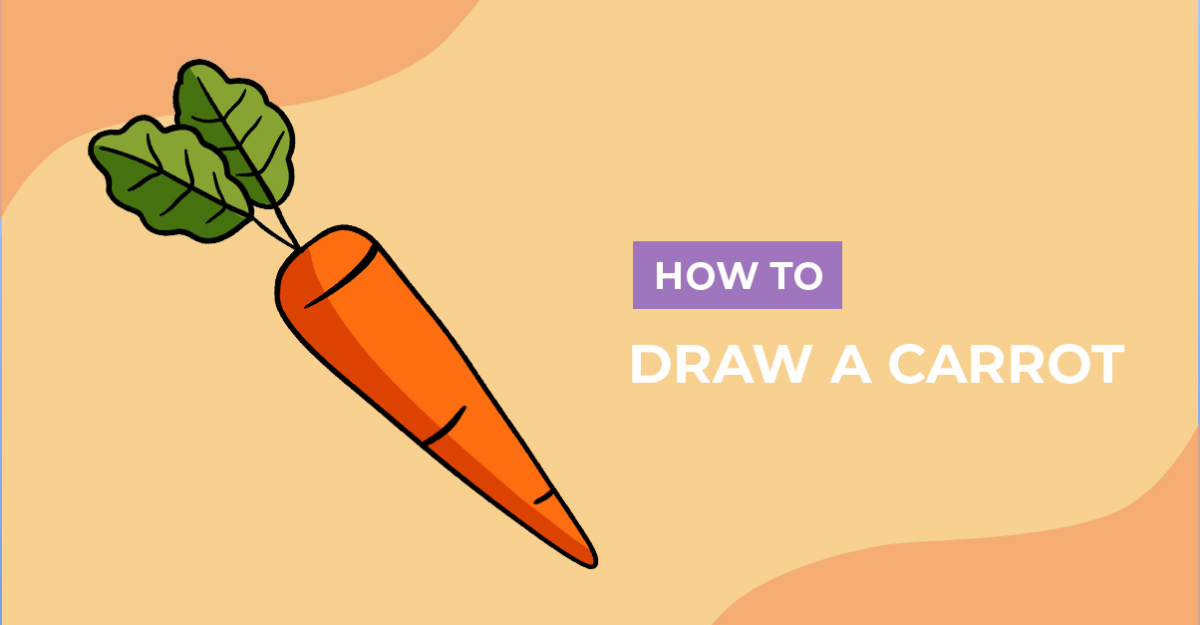
How to Draw a Carrot
Today you will learn how to draw a carrot with these easy step by step instructions. With vibrant colors of orange and green, this beginner drawing is a fun addition to your illustrations. You will easily find carrot sketches on menus, gardening projects, creative ideas such as food stall packaging and baby grows with cute bunnies.

This drawing tutorial can be created with Copic markers, colored pencil sets, by painting with brushes or any medium on hand including Procreate brush packs. We have an amazing drawing tutorial for beginners section if you want to try other ideas.
We are using Procreate and the following Procreate inking brushes. If you are looking for more options, be sure to check out the collection of Procreate brushes for sketching on Design Bundles.
Step 1 - Create a Rough Sketch of a Carrot
To get started, let us roughly sketch the simple shapes that make up our sketch. It's recommended to use a medium that can easily be removed or covered up, for example, a pencil.
Sketch the Base Shape
For the base shape, sketch a long narrow triangle that is upside-down and at an angle. The pointed edge on your triangle sketch is the bottom of the carrot while the short flat line is the top.

Sketch the Stem and Leaves
At the top of your carrot, sketch two short lines. Now add two oval shapes to the ends of these lines. These will form the guidelines for the stems with the ovals for the leaves.

Step 2 - Outline the Rough Carrot Sketch
Next, we are going to outline our carrot with a more permanent medium like a marker or pen. Start by outlining the carrot triangle shape, then round the corners at the top.
Outline the two stem lines and draw a leaf shape. The leaves can be wavy, as seen in the example below, or a teardrop shape. Once you are done outlining, you can remove the rough sketches.

Step 3 - Add Color and Detail to Your Carrot
In the final step, we are going to add color to our carrot drawing. For our color palette, we chose a light and dark shade of orange. A light and dark shade of green was used for the leaves.
Add the Base Colors
Fill the carrot base with a light shade of orange. Then add color to the leaves with a dark shade of green.

Add Depth to your Carrot Drawing
We are going to create depth with shadows and highlights. We will be using dark orange for the shadows, followed by a light color green for the highlights.
Use dark orange to color the top half of your carrot with a slightly curved line. Then, add light green to the lower halves of the leaves, as we did in our example image below.

Draw the Final Carrot Details
Once you have finished coloring in your carrot, use the same outline medium from Step 2 to add the final details.
For our drawing, we added a line through the center of our leaves with shorter lines on either side for the veins. At the top and bottom sides of our carrot, we drew lines for the indents.

Great job on drawing your very own carrot! You can change things up by creating a bunch of carrots. Then add your illustration to your Easter ideas like stickers, card projects, shirts and more! We hope you enjoyed following along with this step by step guide on how to draw a carrot.
Don't forget to check out the FREE Procreate brushes section for instant downloads with dual commercial and personal use license.