By Design Bundles
How to Draw a Christmas Tree
When the festive season draws near, Christmas crafting is not far behind. In this step-by-step tutorial, we’ll get you into the Christmas spirit and show you how to draw a Christmas tree. We will be using basic shapes and adding decorations for that final touch. You can use any medium of choice, whether digital or by hand.
To get started, select the supplies that you want to use. You can use anything you have on hand like pencils and crayons.
If working with drawing software you can use Procreate, Photoshop, Inkscape and so on to draw your Christmas tree.
For this tutorial we will be using Procreate with a liner brush from this Procreate brush pack to draw the Christmas tree. You can also use a Procreate lettering brush if you want your outlines to have varied thickness.
Step 1 - Sketch the Basic Tree Shape
You can begin by using a pencil or a light color of your chosen medium. Start off by drawing a rough triangle for the tree, a rectangle right below for the trunk, and a narrow rectangle at the bottom for the platform. Refer to the image below if you need some visual reference.

Step 2 - Draw Christmas Tree Outlines
Next, you are going to create the outlines for the Christmas tree leaves, trunk, and platform. For the Christmas tree start at the top and work your way down. Draw the jagged edges so they extend past your base triangle shape. Do this on each side then, at the bottom, draw them pointing down.
Once you have made the outline for the tree, draw the trunk and platform outline.

Step 3 - Draw in Christmas Tree details
We will now divide the tree area into segments to help with adding details. Draw three horizontal lines to divide your Christmas tree into four segments.

Begin on either side of the line segments and add more jagged edges pointing down. These will be the detailed leaves. Use the image below as reference.

Step 4 - Delete initial sketch
The outline of your Christmas tree is done. You can now delete your initial sketch that acted as a supporting guide. We want to have a nice clean design before adding color and decorations.

Step 5 - Add color to the Christmas Tree
Now for the best part, it’s time to add some color to your Christmas tree. Start by using lighter colors and gradually adding darker shades. This will create depth and texture. For the main tree use light green.
Then add a darker green color in random areas to give your leaves more body.
For the trunk, you can use a shade of brown and add lines to give it a wooden texture. Your platform can be any color. Add patterns, shading, or anything you would like to make it pretty.

Step 6 - Add Christmas Tree Decorations
Time to decorate our tree. Get creative and use as many or as few decorative elements as you want. Before adding finer details, we quickly sketched a layout of where to place our decorations.
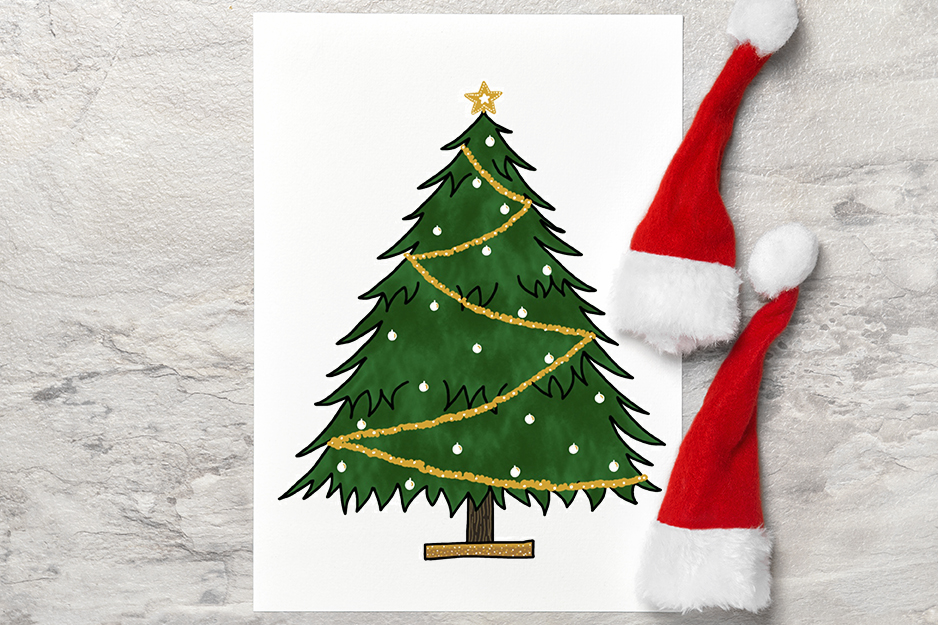
For our Christmas tree, we went with a traditional star topper, garland, and Christmas ball ornaments. The garland was created at a sloped zig zag angle. We also added a few circles for our ball ornaments.

Once you are happy with the layout, go ahead and add the finer details. If drawing by hand, add some fun effects with available crafting media. This can include paint, metallic markers, crayons, glitter and more. If using drawing software, play around with brushes, overlays and so on.

Your festive Christmas tree is now complete and ready to be used in your projects.
If you enjoyed this tutorial, make sure to check out our other drawing tutorials such as how to draw a turtle or how to draw a flower.