By Christine Hattingh
How to Draw a Dog
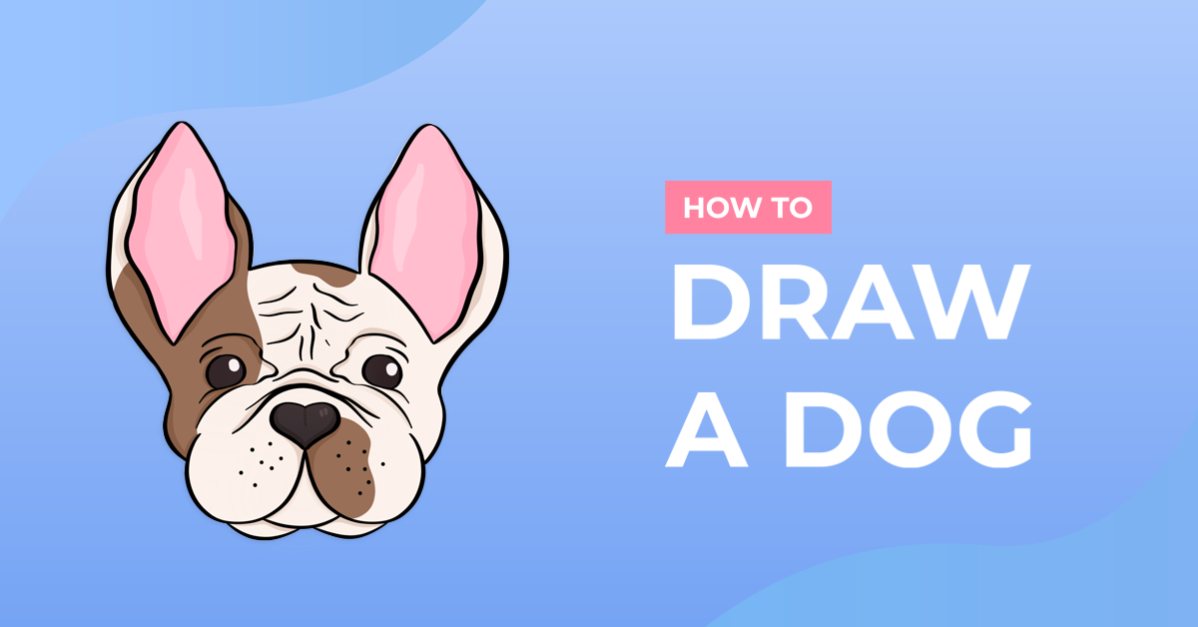
Today we are going to have a look at how to draw a dog, more specifically, a French Bulldog. Dog’s are goofy, big and small, and known as man’s best friend. We will take you through step-by-step, from sketching basic shapes to coloring your dog.

Before starting this tutorial, get all your supplies together. You can use any medium you have available, like crayons, markers, Procreate, or Photoshop.
We are using Procreate, and if you are too, you can use these versatile Procreate brushes to draw your dog.
Step 1 - Sketch Basic Shapes of the Dog
In the first step of how to draw a dog, you are going to sketch the basic shapes of the dog's body. You can use a medium that is easily removed, like a pencil or a light color that can be covered up.
We are going to start with sketching two rough ovals, one for the head and a bigger one for the body. Looking at our image below, you can see that the two ovals overlap.

Then at the bottom of the body shape, sketch two vertical lines connected to the edge of the body and sketch two small ovals at the end of the lines for the paws.
Step 2 - Draw the Outlines of the Dog
With the basic shapes of your dog sketched, switch to a more permanent medium to draw the outlines of your dog. You can use a pen, marker, or even a dark color of the medium you have on hand.
Outlining the Face
We are going to start drawing the outline of the dog's nose in the center of the head with a short line below it. Then draw the dog’s cheeks around the nose, go down to the bottom of the head sketch, and curve back into the nose line, almost like a boomerang.

Next, draw a curved line in between the cheeks for the chin. Then draw an oval on both sides above the dog’s cheeks for the eyes.

Next, draw the outline of the head using the head sketch as a guide. Looking at our image below, you will see we pointed out where on the head to draw a bit of an indent to define the dog’s head more.

At the top of your dog’s head on both sides, draw the ears. Looking at the image below, you can see that the ears curve out and in on the outer sides.

Outlining the Body
With your dog’s face outline done, you are going to outline the body of the dog. Following the guide of the body sketch, begin outlining one side of the dog's body. Going all the way down to the leg lines as we did.
Take note of where our outline curves in and around the paw area. The inner leg outline goes straight up towards the chest area with a big enough gap between the front legs. Do the same for the other side.

Next, we are drawing the outlines for the back legs. On one side of the dog’s body, draw an outline starting at the ear slightly curving and going down toward the front paw and end the outline against the front leg outline.
In the middle of the dog’s chest gap, draw the other back leg as we did below.

Step 4 - Draw the Dogs Face Details
In this step of how to draw a dog, we are going to start adding details to the dog’s face. Some key areas you may want to add details to are the eyes, skin folds on the forehead, nose detail, cheeks, and ears.
Feel free to add as much detail to your dog as you want to.

Once you are done with outlining your dog and drawing all the details, you can go ahead and remove the support sketch.

Step 5 - Color in Your Dog Outline
The final and our favorite step in how to draw a dog is adding color. Whether you are using traditional mediums like paint, crayons, or a digital medium like Procreate, there are a few key points to keep in mind when adding color to your drawing.
Always try to use complementary colors. Start with your lighter colors and build up to your darker colors. Fixing a mistake will be a lot easier on lighter shades. Have fun and be creative!

Now you know how to draw a dog, and we hope you had fun with this tutorial as much as we did. Want to do another tutorial like this? Why not have a look at how to draw a cat or how to draw a giraffe?