By Nadine Spires
How to Draw a Rat
Today we are going to show you how to draw a rat. These furry little animals with big ears and long tails are incredibly sociable pets and companions. You can use your drawing for educational purposes, illustrating children's books, or something fun for your pet rat.

Before we scurry into this step-by-step tutorial, collect your drawing supplies together. You can use any medium you have available such as watercolor paints, colored pencils, crayons, or digital programs like Procreate, or Photoshop.
For this tutorial, we will be using Procreate to create our rat drawing. If you are following along with Procreate, you can use ink Procreate brushes to outline, color, and add texture to your drawing.
Step 1 - Sketch the Rat Body Shape
Let’s start our drawing by first roughly sketching the base shape of our rat's body. Sketch an egg shape, with the rounded end leaning towards the left. This will be the rear body of our animal clipart.

Next, sketch a smaller egg shape on the left of the body, for the head. Be sure to leave a gap between the body and head as seen in the image below.

Connect the head and body by drawing an inward curved line at the top and at the bottom. See our sketch below for a visual guide on how to do this.

Step 2 - Sketch the Rat Legs and Tail
In this step, we are going to roughly sketch the legs and tail. First, sketch two front and back legs at the bottom of the body.
Following our image below, you can see that the rat's front legs are placed from about the middle point of the body. The back feet are longer than the front and closer to the rear end of the body shape.

Next, sketch the tail extending out from the rear end of the body and curving around towards the front. As with most animal tails, the tail should be thicker at the base of the body and narrower at the end.

Step 3 - Add the Final Details to Your Rat
In this step, we are going to sketch the ears, eye, and nose of our rat. Begin sketching the ears at the top to the right of the head shape. The front-facing ear should be fully visible while only the top of the other ear should be visible.
Next, draw the rat's eye in the middle of the head shape. Then sketch a heart shape on the left side of the head for the nose.

Step 4 - Outline Your Rat Sketch
With our rough sketches complete, let's permanently outline the drawing. You can use any medium like a pen or permanent marker. Only outline the sketch lines you want to be included, leaving out any overlapping areas you don't want.
We drew jagged edges in a few places so it appeared as if the fur was sticking out. Small bumps were added to the paws for definition and eye detail was added.

Add any extra details needed to bring your rat clipart to life. Remember to draw in the whiskers to complete your illustration. Once you are done with the outline, you can remove your rough sketches.

Step 5 - Add Color to Your Rat
With our outline done, it's time to add some color. Choose whatever color palette you want, from standard shades of brown and white to colorful hues of pink and purple.
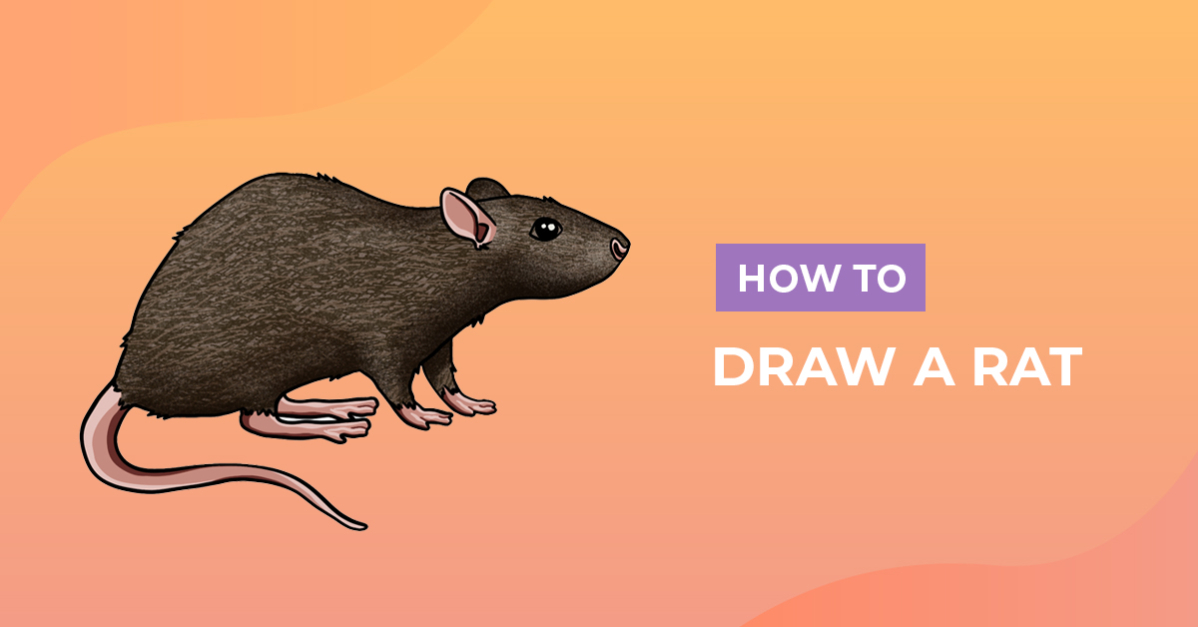
For our illustration, we chose a pinkish brown for the ear, nose, feet, and tail. We then used brown to color the rest of the body.

Lighter shades of brown and pink were used for highlights while darker shades were added for the shadows. Your rat drawing is now ready for your projects. If you want to add texture, we will show you how to do this in the next step.

Step 6 - Create the Hair Texture on Your Rat
In the final step, we added the hair texture to the body of our rat drawing. Using darker shades of brown, draw thick lines similar to a hatch effect.
Tip: Use Procreate hair brushes to save time when adding hair textures to your drawings.

Use darker shades to create shadows at the bottom and lighter shades for highlights on the top. We have a very helpful tutorial on how to shade in Procreate if you need some guidance.

Great job on learning how to draw a rat! Did you know you can apply these simple steps when creating other furry animals? We hope this critter tutorial has sparked your creativity to keep on drawing and having fun at the same time.