By Christine Hattingh
How to Draw an Axolotl
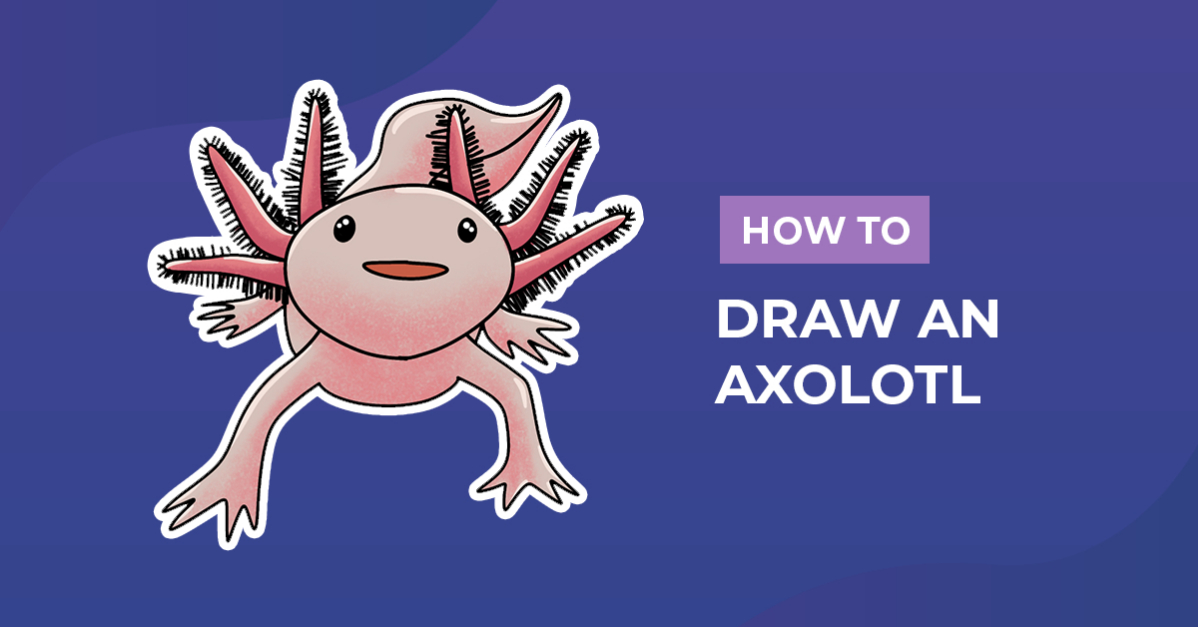
Have you ever wanted to draw an axolotl? We have, and in today's drawing lesson, we are going to take you step-by-step on how to create this amphibian drawing. With their cute faces and shades of pink, these aquatic creatures are perfect for quirky and unusual projects.

Did you know that the axolotl is an endangered amphibian? You can use your drawing skills to create this salamander clipart for educational studies. Teaching and learning with classroom projects are great ways to create awareness of amphibian conservation.
For this axolotl sketch, use any drawing supply you have on hand including traditional mediums like colored pencils and paint. You can also create this salamander drawing using Procreate and Photoshop.
For our drawing, we are going to use Procreate. We will also use the standard monoline brush and these versatile Procreate brushes to add color and texture to our axolotl.
Step 1 - Create Rough Sketches of your Axolotl
In the first step, we are going to use a sketching medium. You can use a pencil or light-colored medium to make your rough sketches. Make sure to use something that can easily be removed or covered up later on when adding your color.
Sketch the Head
Let's begin by drawing the head of our axolotl. Create the head shape by roughly sketching a horizontal oval.

On either side of the head, add the external gills of your axolotl. An axolotl has three external gills on the left and three on the right side of the head. Draw long rounded shapes for the gills as we did in our sketch below.

Sketch the Body and Limbs
Next, add the two front legs below the head. Draw two oblong shapes below either side of the head, each with a bend in the middle. We drew this in red below to make it easier to follow.
At the end of the legs sketch the toes by drawing four-pointed shapes. Then, sketch a half circle just below the head (shown in blue). Place this behind the two front legs as seen in the image below.

Above the front legs, on either side of the head, draw the back legs. Sketch the back feet the same way you did with the two front legs.

Lastly, add the tail of your axolotl. Draw a wavy pointed shape at the top of the head leaning towards the right.

Step 2 - Add the Details
To complete the axolotl sketches, we need to add the eyes, mouth, and feathering to the external gills. Draw two small ovals on the head with a wide gap between them. Then, draw a half circle for the mouth in the center of the head and just below the eyes.

Create feathering detail around the gills by drawing a bunch of short lines extending out and around.

Step 3 - Outline your Rough Axolotl Sketch
Trace over your sketch lines and outline your drawing with a permanent pen, marker or Procreate brush. Leave out any overlapping sketch lines you don't want to keep.
Add a line towards the bottom of the tail to complete your outline. If you want to remove any sketches, do this after outlining your drawing.

Step 4 - Add Color to your Axolotl
In our final step, we are going to bring our axolotl to life by adding color. Fill the axolotl body sketch with pale pink and add a contrasting pink to the external gills. Next, use red for the mouth and black for the eyes.

You can easily create depth by adding brighter or darker shades for shadows and highlights. We know you will love using Procreate texture brushes to add colored details to your drawings.
In the final image below, we used the same pink color that was used for the gills to create shading. This was applied to the bottom of the head, body, and limbs. A darker pink was also applied to the gills. Add a couple of highlight lines to your axolotl and dots to the eyes for a finishing touch.

Now here is a little character that is sure to melt someone's heart. We love the idea of a sublimation print and a cute quote on a t-shirt. How would you use your newly created axolotl illustration?
Thank you for joining us in today's tutorial, it was so much fun! Don't forget, we have even more free drawing tutorials just waiting for you.