

By Christine Hattingh
How to Draw a Tie
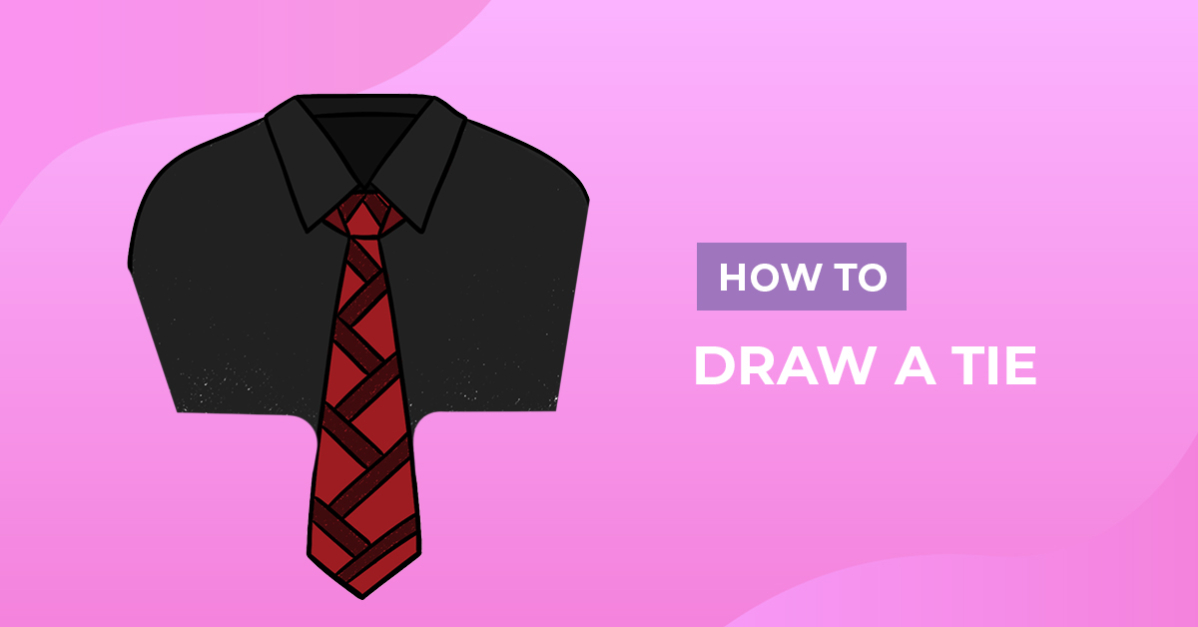
In this tutorial, you can learn how to draw a necktie. Apply your illustration to all kinds of crafts and projects. Add elements and text to create birthday cards, and Happy Father's day mugs for your super dad or use it as a mockup for your pattern designs. Through this step-by-step drawing exercise, you will learn how to sketch, outline, and add color to your tie clipart.

Before we get started, get your drawing supplies together. You can use any available art or craft supply or even an app like Procreate.
Want to create a sublimation design using your drawings, but don’t have Photoshop? You can do sublimation projects with DesignScape. If you're not a member yet, sign up today for a FREE 30-day trial of the Gold Plus Membership. Not only will you get access to DesignScape, but you will also get Plus Membership exclusive products as well.
Step 1 - Create Rough Sketches of Your Tie
In this first step, we will create rough sketches of our tie, using a sketching or light-colored medium. Our tie drawing will need to be symmetrical.
You can either freehand your drawing, use a ruler or Procreate drawing guides to help.
Make the Collar of the Shirt
Follow our sketch below and draw an upside-down triangle. Below the triangle, shown as number 2, draw an open triangle with the top point overlapping the bottom of the first triangle.
At the top left and right corners of the first triangle, draw a short angled line. Then, draw a line on both sides to connect with the bottom (second) triangle.

Complete the Tie
At the center, between the shirt collar, create the top-tied part of your tie as we did below. Below this, draw an oblong shape that is narrow at the base and wide at the end. On the end add a triangle point.

Add Extra Details to your Sketch
Add any extra details you feel your design needs. This can be shoulders, collar details, etc. You can also add a pattern design in this step or when you add color to your tie.

Step 2 - Permanently Outline the Tie Sketch
With our rough sketch complete, change over from a sketching medium to a permanent one for the outlines. This can be a darker shade of your medium, markers, or Procreate inking brushes.
Begin outlining all sketch lines that you want to be included and when done, remove your sketches.

Step 3 - Add Color and a Pattern to your Tie
For this step choose the color palette that you want to use. For our shirt, we used dark grey and used a contrasting red for the tie. You can use solid colors for your drawing or use texture brushes in Procreate to add a unique style.

To complete our drawing, we added a pattern to the tie. We added stripes with a darker shade of red. Do you want to add patterns to your drawings quickly in Procreate? We have a great selection of Procreate pattern brushes to make a drawing that much easier.

You have reached the end of our drawing tutorial. We know this will look amazing as part of your Father's Day clipart. Create a set of ties with all kinds of patterns and colors to use with your projects. We hope you had fun following this quick and easy beginner drawing tutorial.



